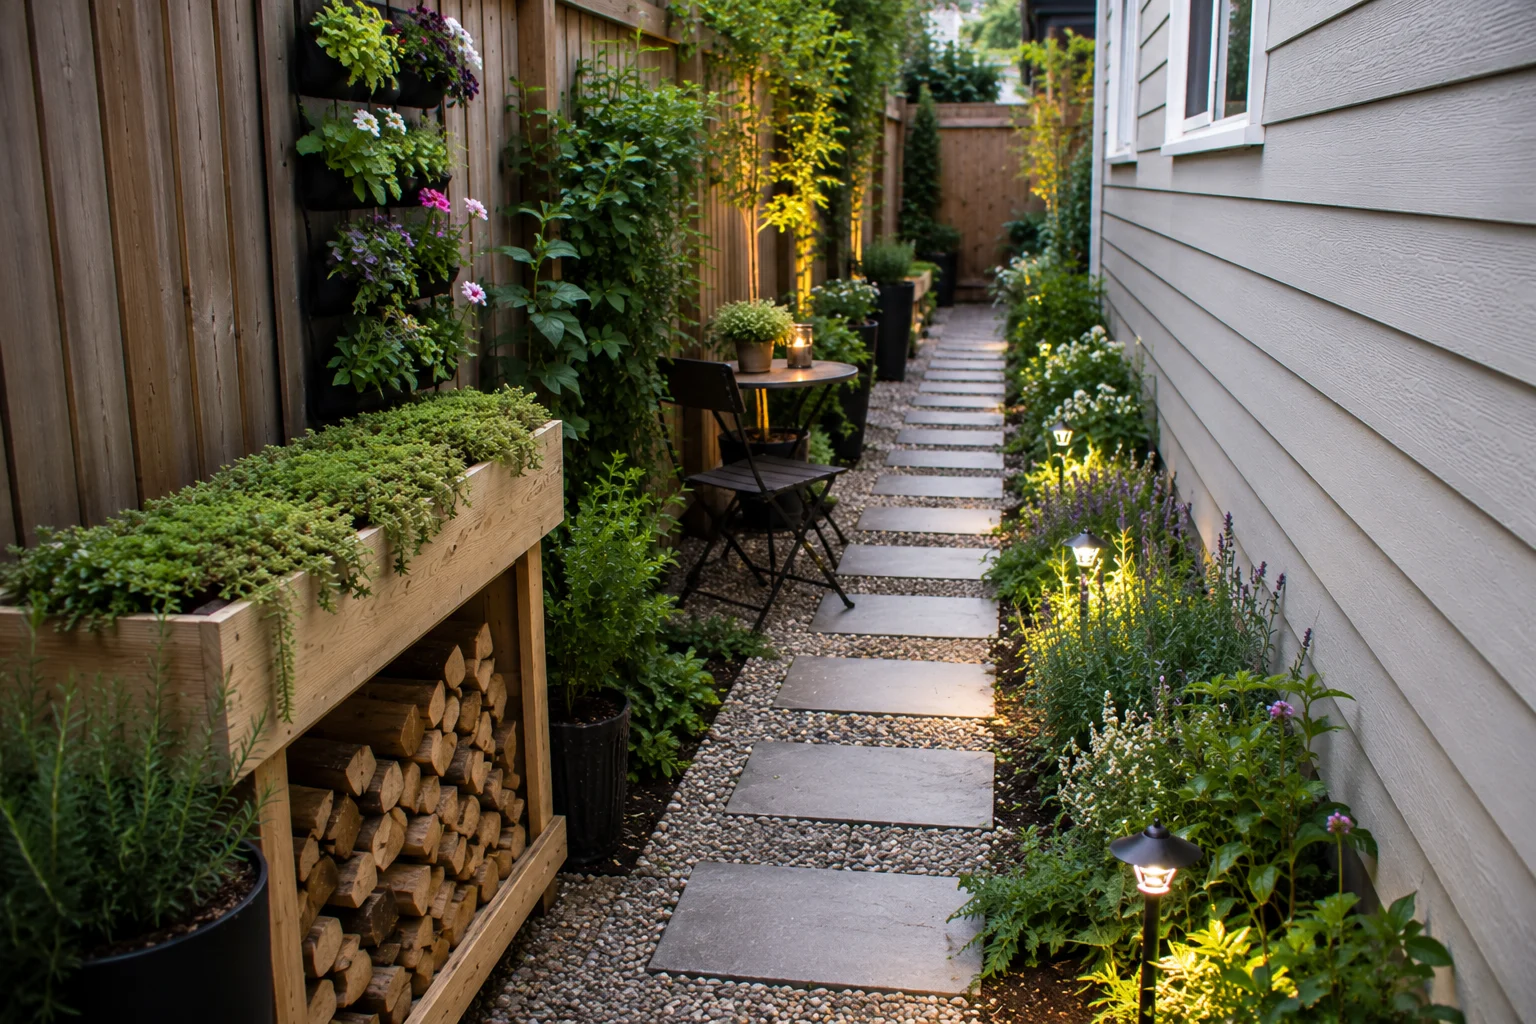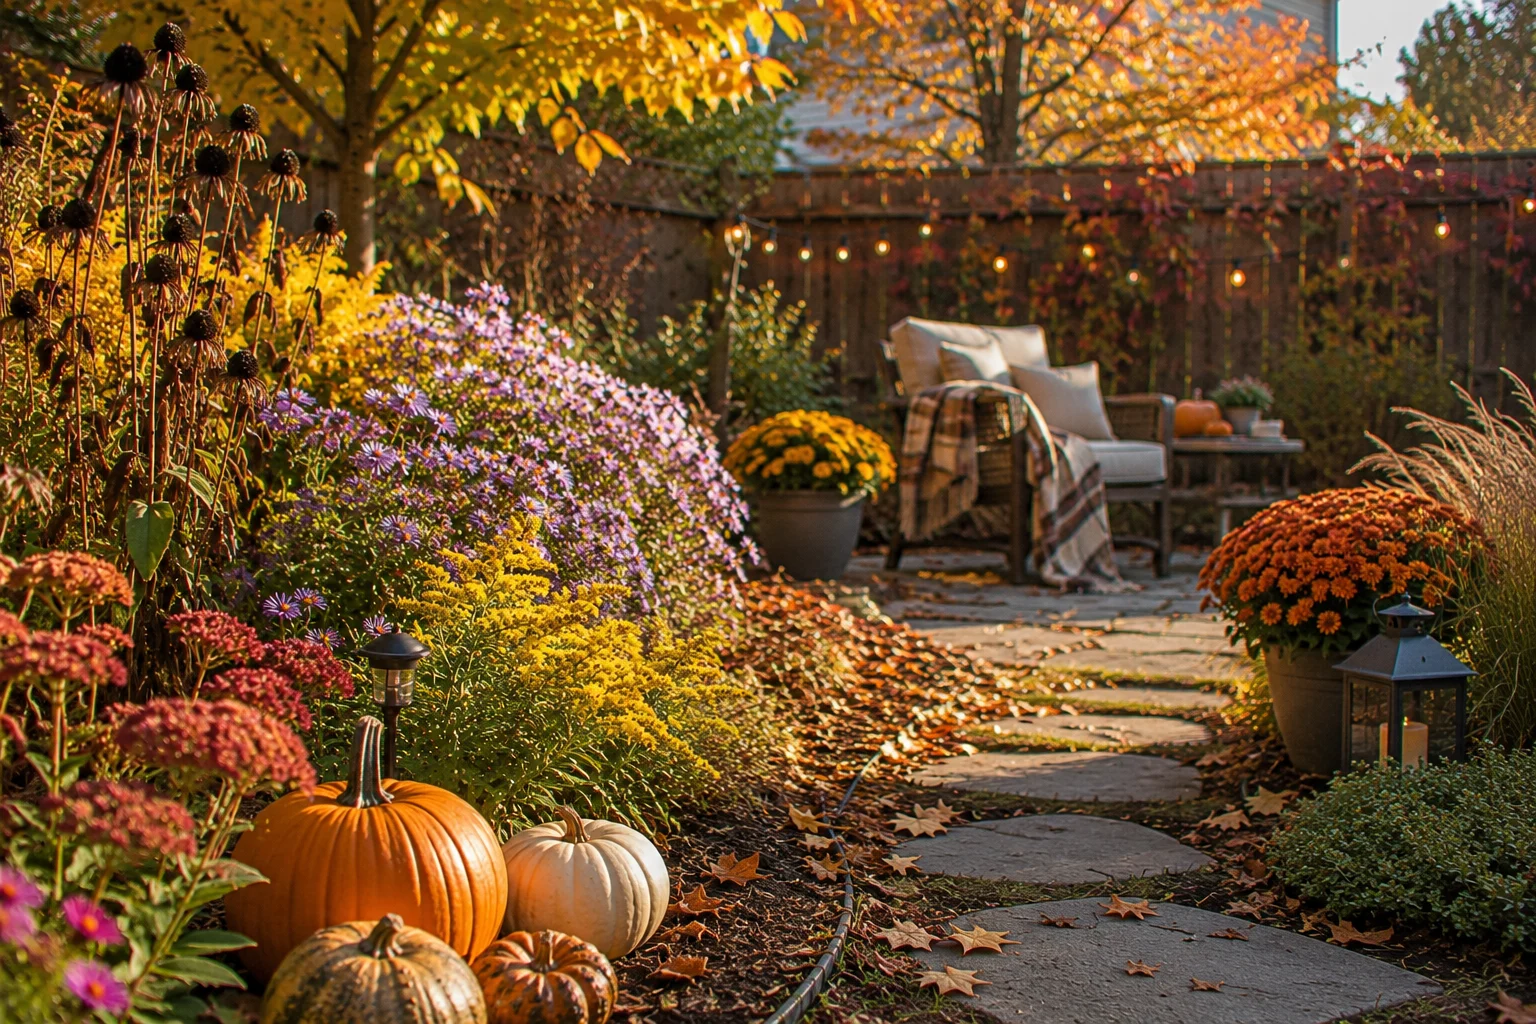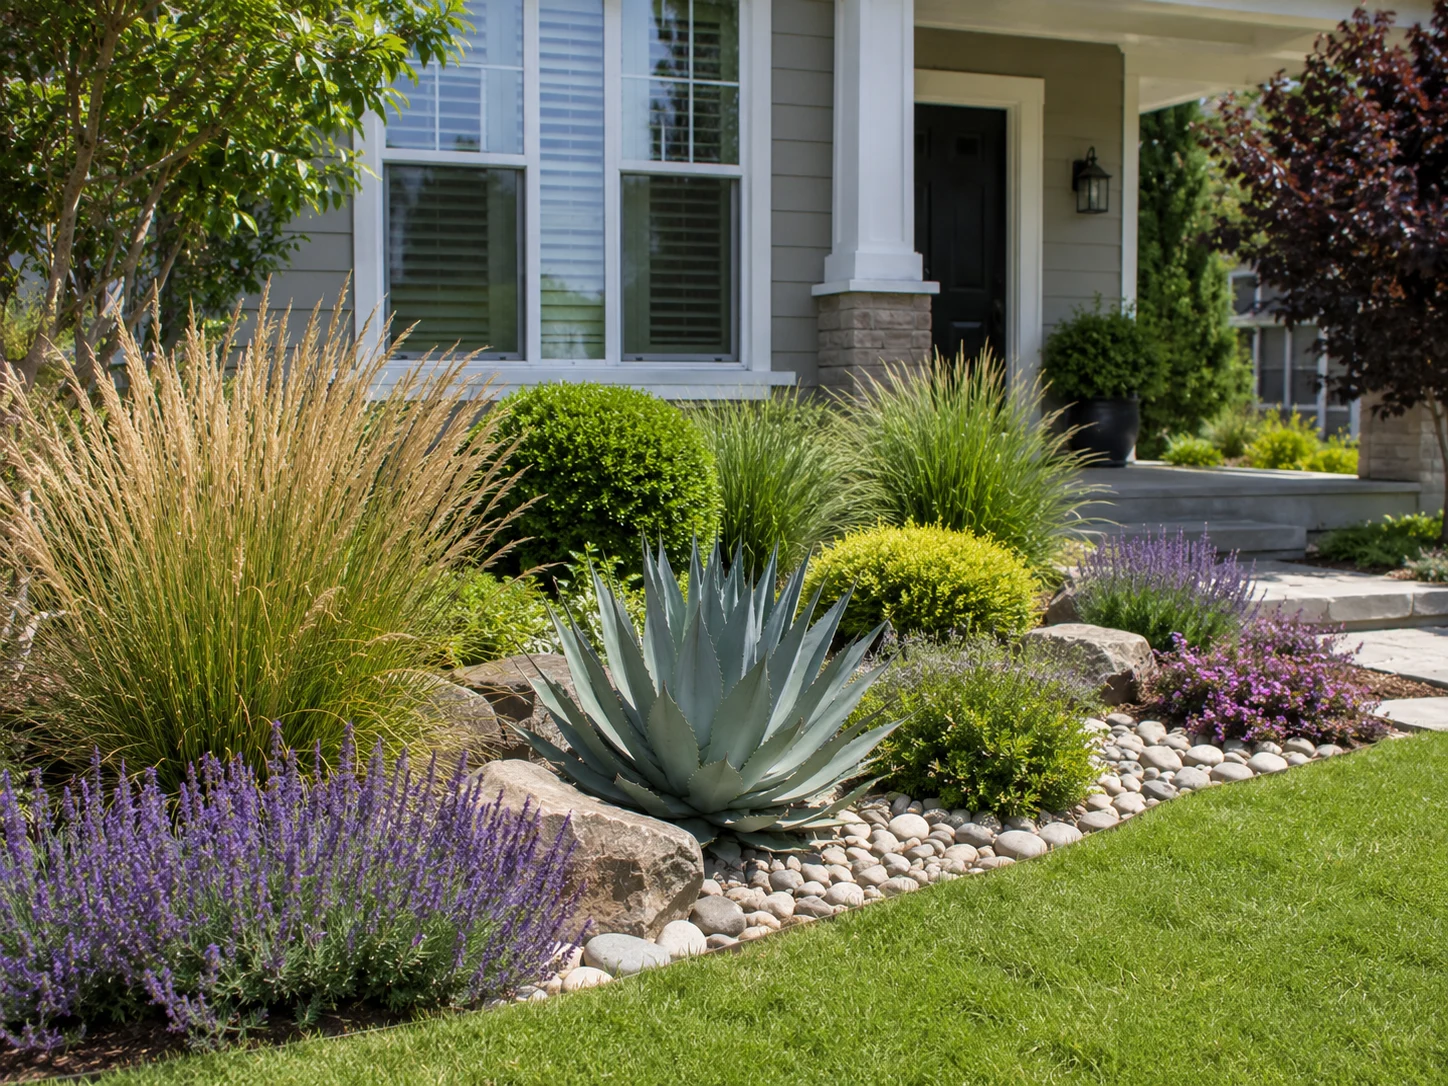

Most gardens that are meant to attract bees don’t actually work. Not because the gardener didn’t try — but because the design decisions that would make the garden genuinely functional for pollinators are different from the ones that make a garden look good in photographs. A beautiful scattered border with one of everything, mown to the edges and mulched solid with weed suppressant, can look curated and intentional while providing almost nothing to the bees that fly over it daily.
A bee garden that actually works looks different. It has mass plantings rather than specimens, bloom at every point from February to November rather than a June peak and a long quiet stretch either side, bare soil for nesting rather than bark chip wall to wall, water within range rather than half a mile away, and a design structure that connects each planted area to the next so foraging bees move through the whole space rather than visiting one section and leaving.
These 15 design ideas cover the specific decisions that make the difference — not which plants to buy, but how to arrange, sequence, and structure the whole garden so that it functions as a working habitat rather than a decorative surface. Each one can be implemented independently, or combined with others to build a garden that is genuinely one of the best foraging and nesting environments in your neighbourhood.
1: Design in Drifts, Not Specimens
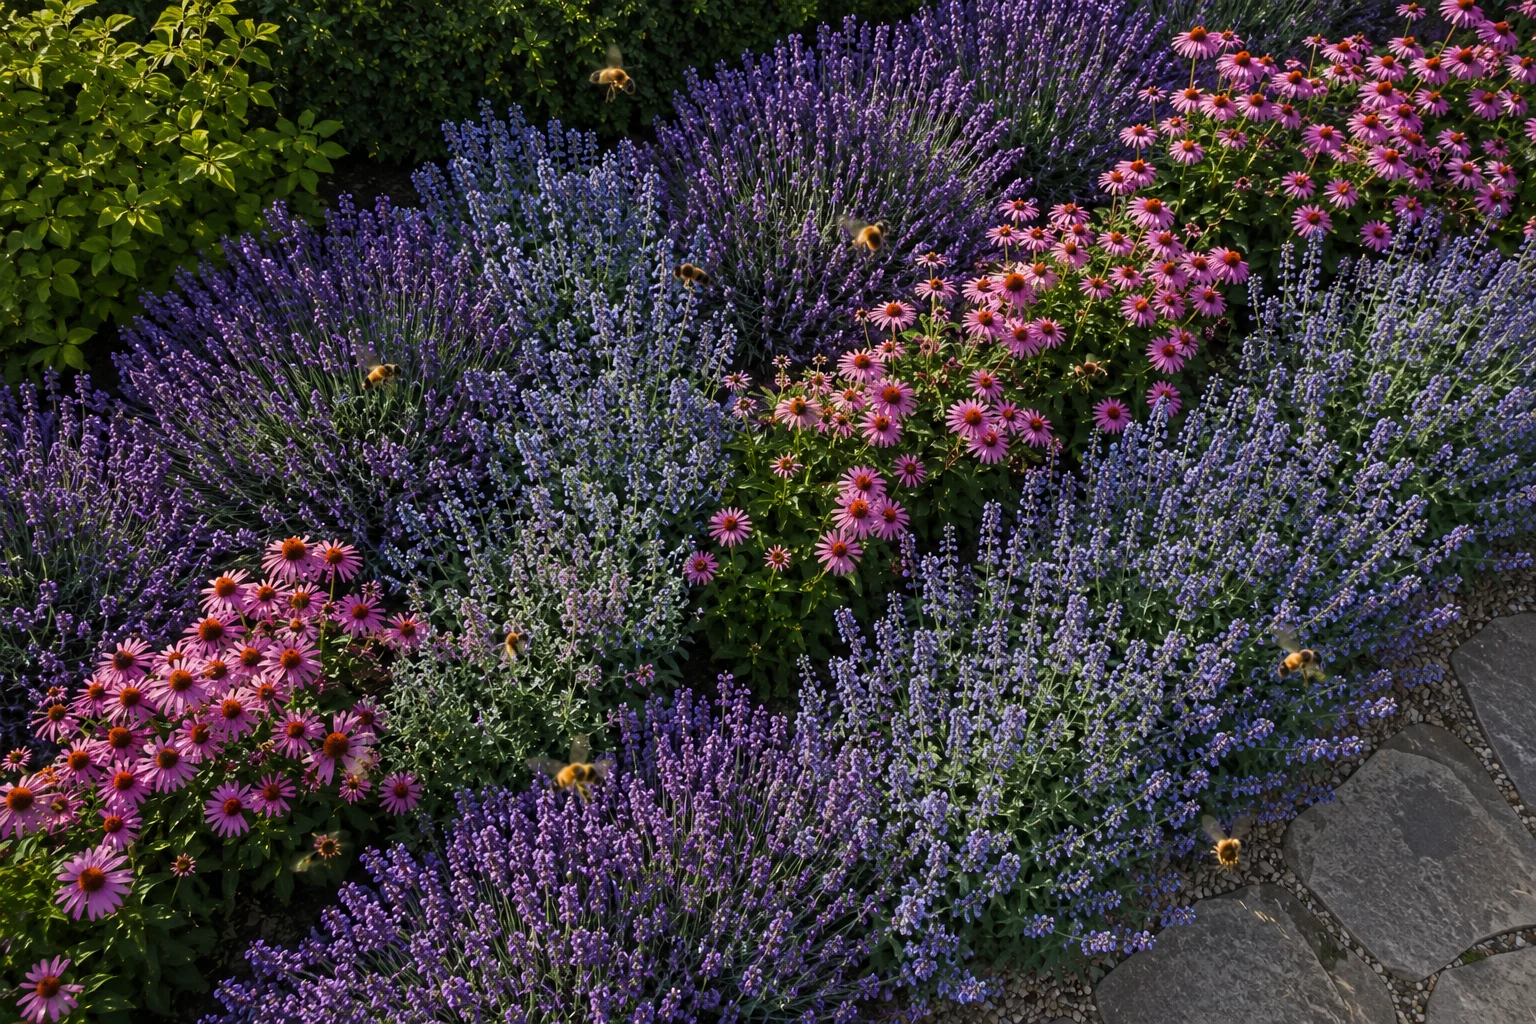
The single most impactful structural decision in any bee garden is moving from scattered single specimens to massed drift planting — elongated teardrop-shaped groups of the same species planted in overlapping diagonal bands across the border.
A single lavender plant produces a scent signal too weak to detect from more than a few metres away. Twenty lavender plants in a drift produce a concentrated scent plume detectable by foraging bees from distances that would be impossible for a single specimen. Bees also calculate the caloric return of a foraging trip — a patch large enough to support multiple foragers simultaneously justifies the energy cost of a waggle dance communication back to the hive. Single specimens rarely clear this threshold.
The drift shape — wider in the middle, tapering at each end — maximises the edge-to-area ratio, giving foragers more simultaneous entry points than a circular clump of the same area. Orient each drift at a 30–45 degree angle to the border’s long axis, and let the tapered ends of adjacent drifts overlap slightly so bees move naturally from one patch to the next.
The complete method for designing, spacing, and implementing drift planting across a border — including a full species list and a weekend planting plan — is covered in The Drift Method: How to Design a Garden That Guides Bees From Bed to Bed.
2: Engineer Bloom From February to November
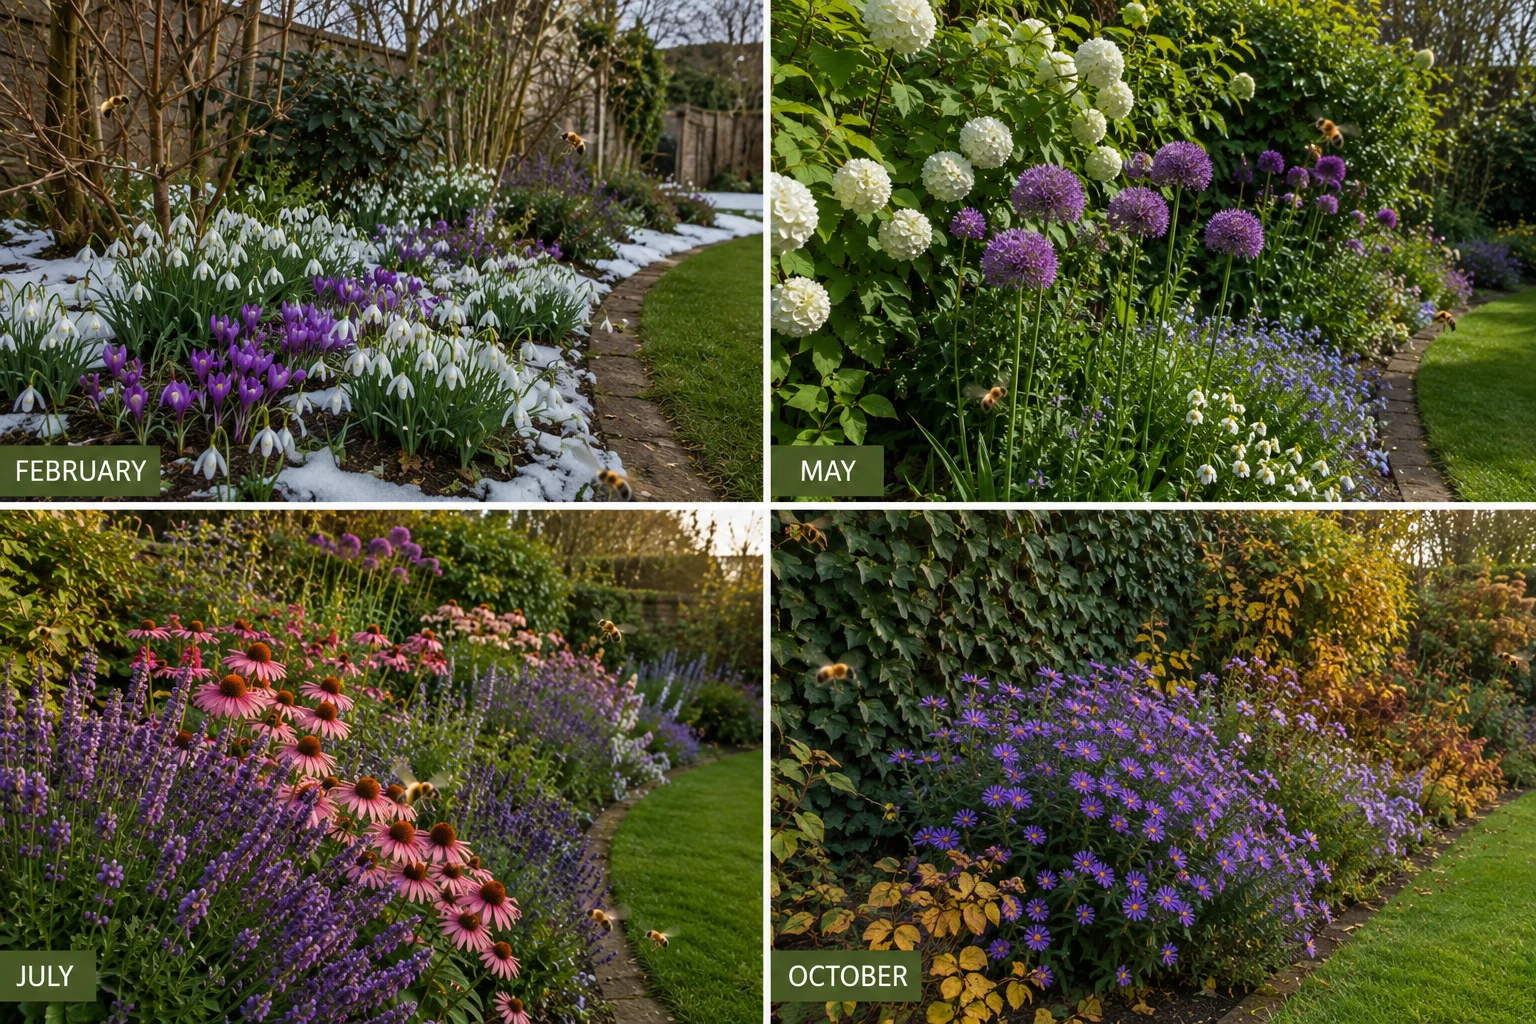
Most bee gardens are designed for June and July and then run out of ideas. This is a critical failure — not just aesthetically, but ecologically. Queen bumblebees emerge from winter dormancy in February desperately needing nectar. Honeybee colonies begin spring brood rearing in late January and need pollen on mild days well before anything conventional is in flower. And in September and October, bees are completing their final foraging before winter on resources that most gardens have stopped providing.
The solution is a planned bloom sequence that covers every month of the active season:
January–March: Snowdrops, winter aconite, crocus, and early pulmonaria for the critical early window when almost nothing else is available.
April–May: Alliums, single narcissus species, viburnum, spicebush, and fruit tree blossom providing the first substantial flows.
June–July: The main season — lavender, catmint, borage, echinacea, phacelia, salvia, and agastache. Most gardens handle this period adequately.
August–September: Agastache continuing, sedum, goldenrod, aster, and native thistles filling the late-season gap that most gardens leave empty.
October–November: Ivy flowering (one of the last significant nectar sources of the year), late-flowering asters, and autumn-blooming sedums.
Before finalising any planting plan, map your current garden against this sequence and identify the months with gaps. Those gaps — not the June peak — are where the most valuable planting decisions happen. The Four-Season Pollinator Garden guide gives you the complete framework for building a sequence that never leaves bees with nothing.
3: Add a Living Fence Along the Boundary
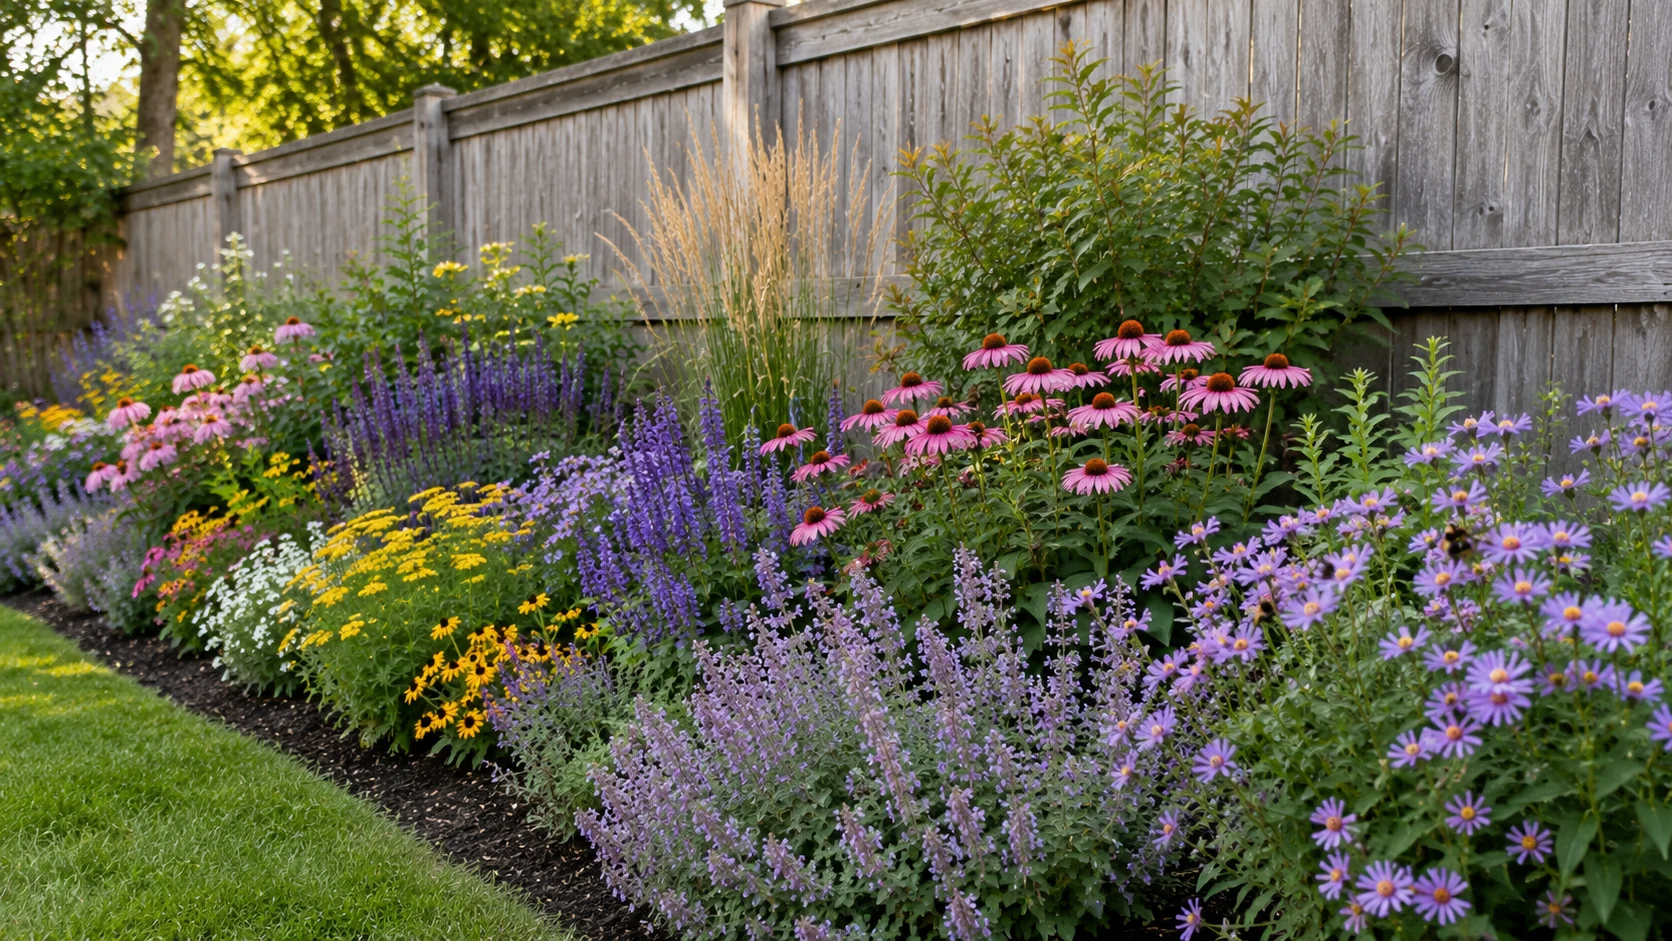
The boundary of your garden is its largest undeveloped surface area — and most of it is currently a wooden fence, a concrete wall, or a clipped monoculture hedge that provides nothing to pollinators. Replacing even one section of boundary with a mixed flowering living fence transforms it into a continuous forage corridor that blooms from early spring to late autumn.
A three-layer living fence — a structural rear layer of elderberry, native viburnum, or hazel, a mid-layer of flowering shrubs including buttonbush, rugosa rose, and native spicebush, and a climbing front layer of native honeysuckle or climbing prairie rose — provides nectar and pollen continuously across the entire growing season, creates a windbreak that improves hive efficiency for any apiary positioned nearby, and acts as a fly-up barrier that guides departing bees to altitude before they cross the property line.
Buttonbush (Cephalanthus occidentalis) in particular earns its place in every living fence intended for bee support — it blooms in July and August, precisely during the summer nectar dearth when most other shrubs have finished and the most acute forage pressure on colonies occurs. The full plant palette, spacing calculations, and three-season establishment plan are in The Living Fence: How to Build a Bee-Friendly Boundary That Doubles as Forage.
4: Leave a Bare Soil Patch in the Sunniest Spot
This is the most overlooked design element in almost every pollinator garden — and the one with the greatest potential ecological impact per square foot.
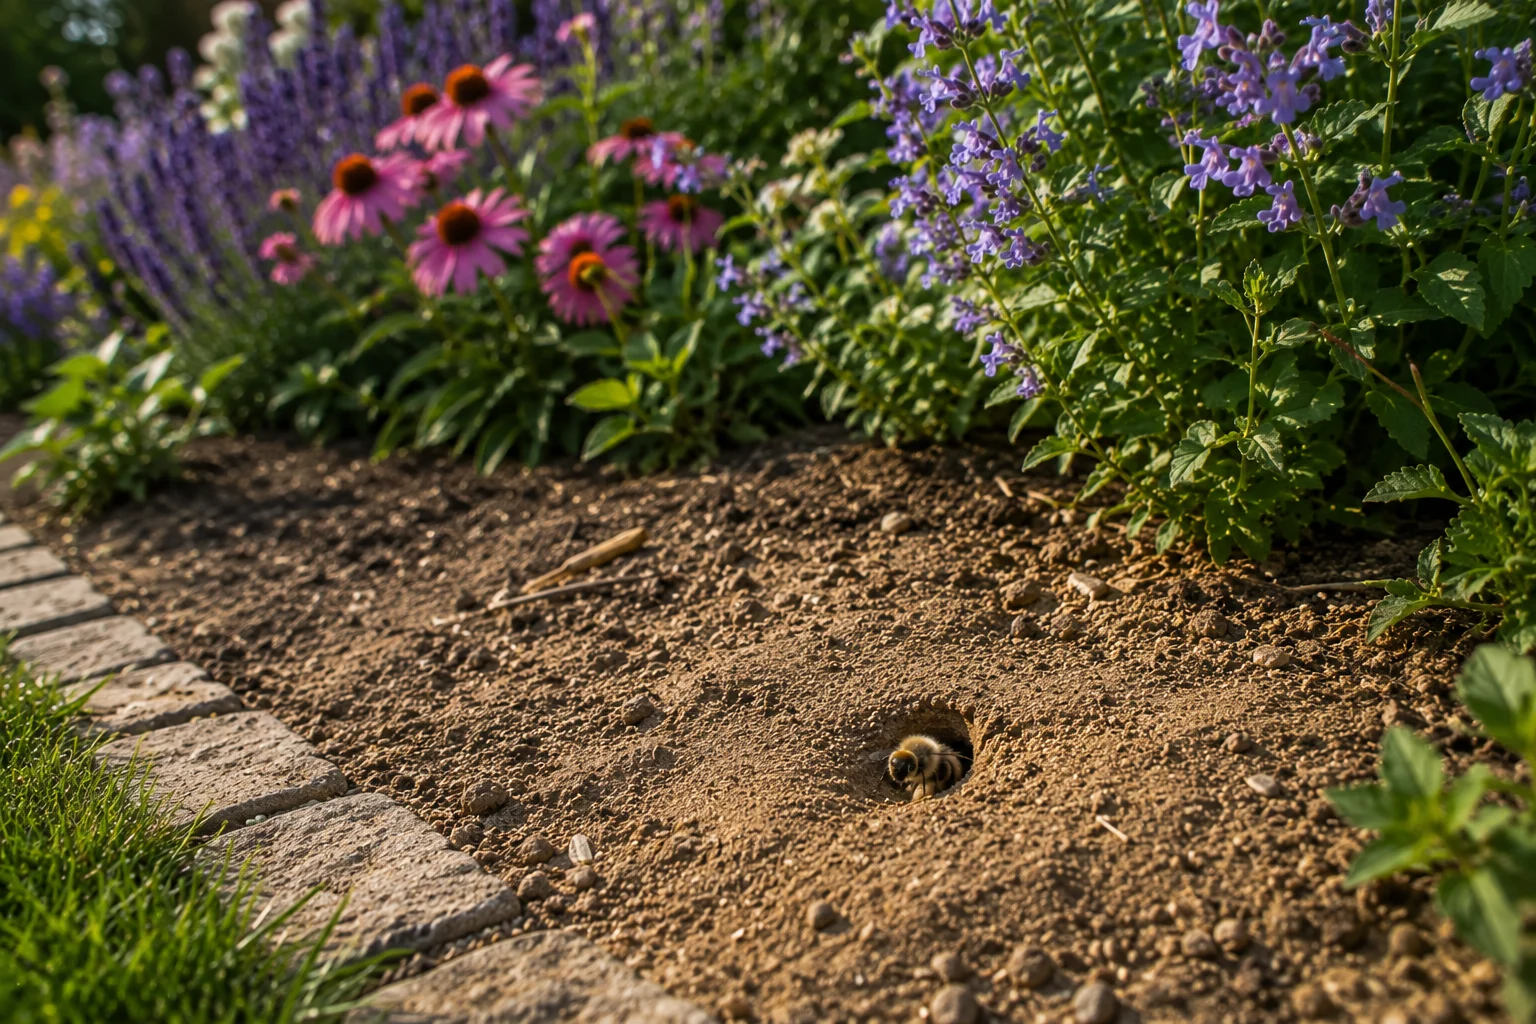
Approximately 70% of North America’s 4,000+ native bee species nest in the ground. They require bare or sparsely vegetated patches of loose, well-drained soil in south-facing, sunny positions. A garden that is mulched solid with bark chip from wall to wall, or turfed to every edge, provides no nesting habitat for these species regardless of how well it is planted for nectar.
Designate one area — ideally a 60cm × 60cm patch at the sunniest end of a border — as a deliberate bare soil zone. Remove any plants, loosen the soil to 15–20cm depth, and leave it completely unplanted and unmulched. This patch can be positioned at the foot of a raised bed, at the base of a south-facing wall, or along the edge of a path. It will not look abandoned — particularly if it is edged cleanly and the surrounding planting is generous. And it will be found and colonised by mining bees, sweat bees, and ground-nesting bumblebees within one to two seasons of establishment.
The Xerces Society for Invertebrate Conservation maintains extensive guidance on ground-nesting bee habitat requirements if you want to go deeper on the biology behind this recommendation.
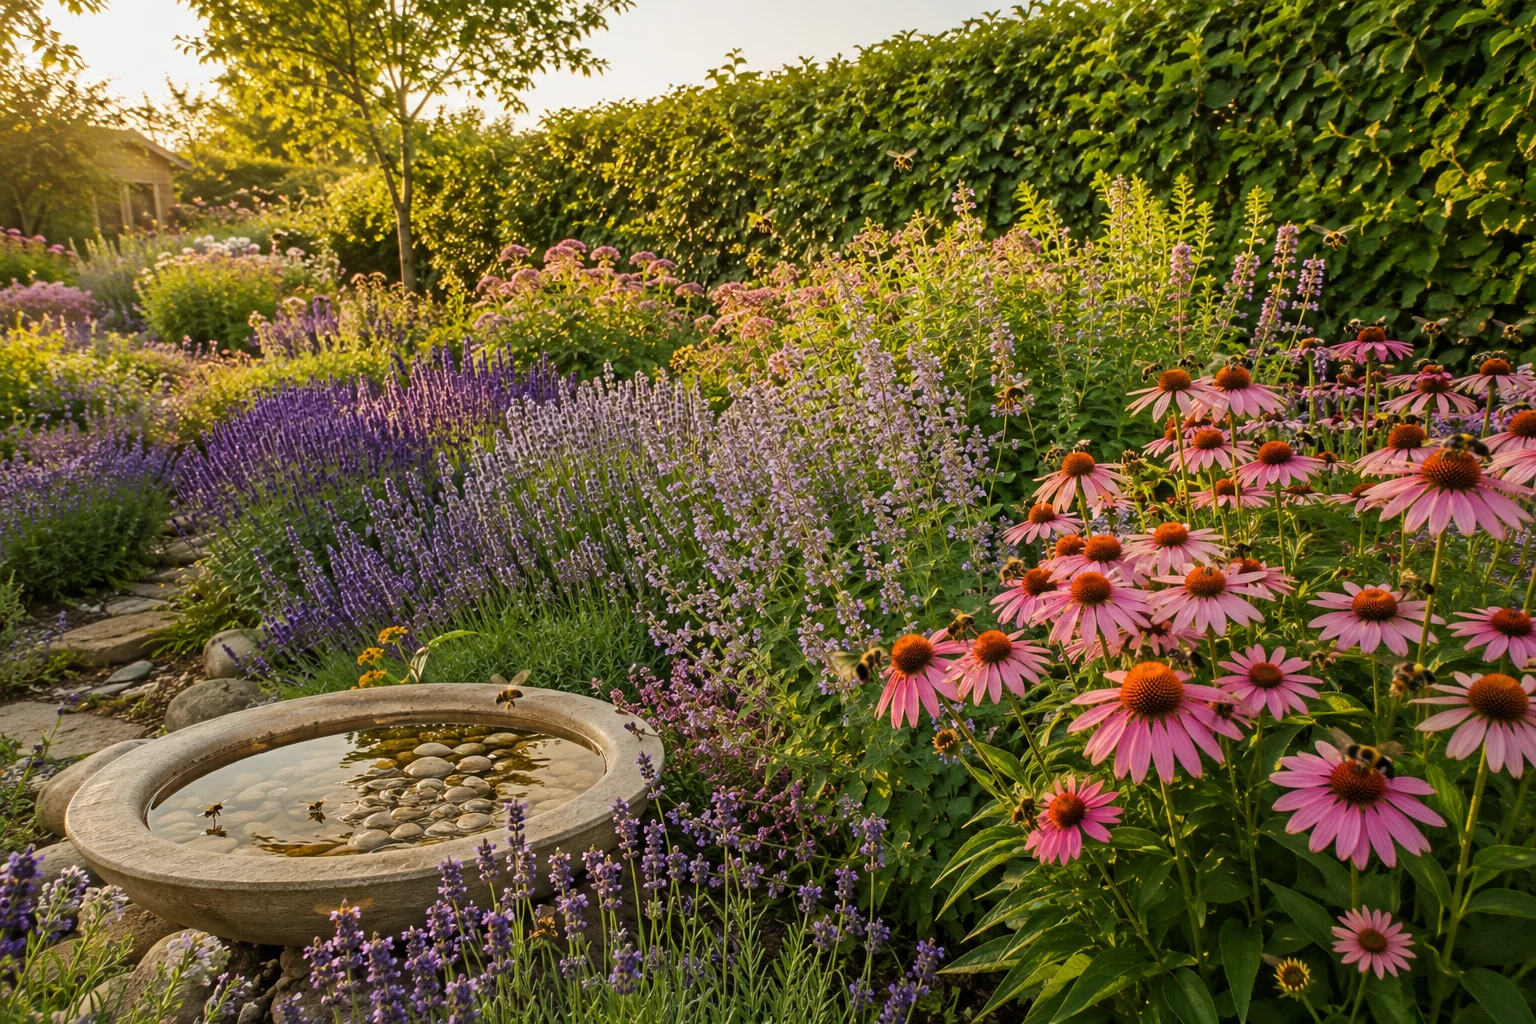
5: Install a Proper Bee Water Station
Water is a critical year-round resource for honeybee colonies and is needed by most native bees, particularly during summer heat when evaporative cooling becomes a colony management priority. A garden without a reliable water source within easy range of any hive or wild bee nesting site forces bees to travel further for a zero-calorie resource — an energy cost that reduces the foraging workforce available for nectar and pollen collection.
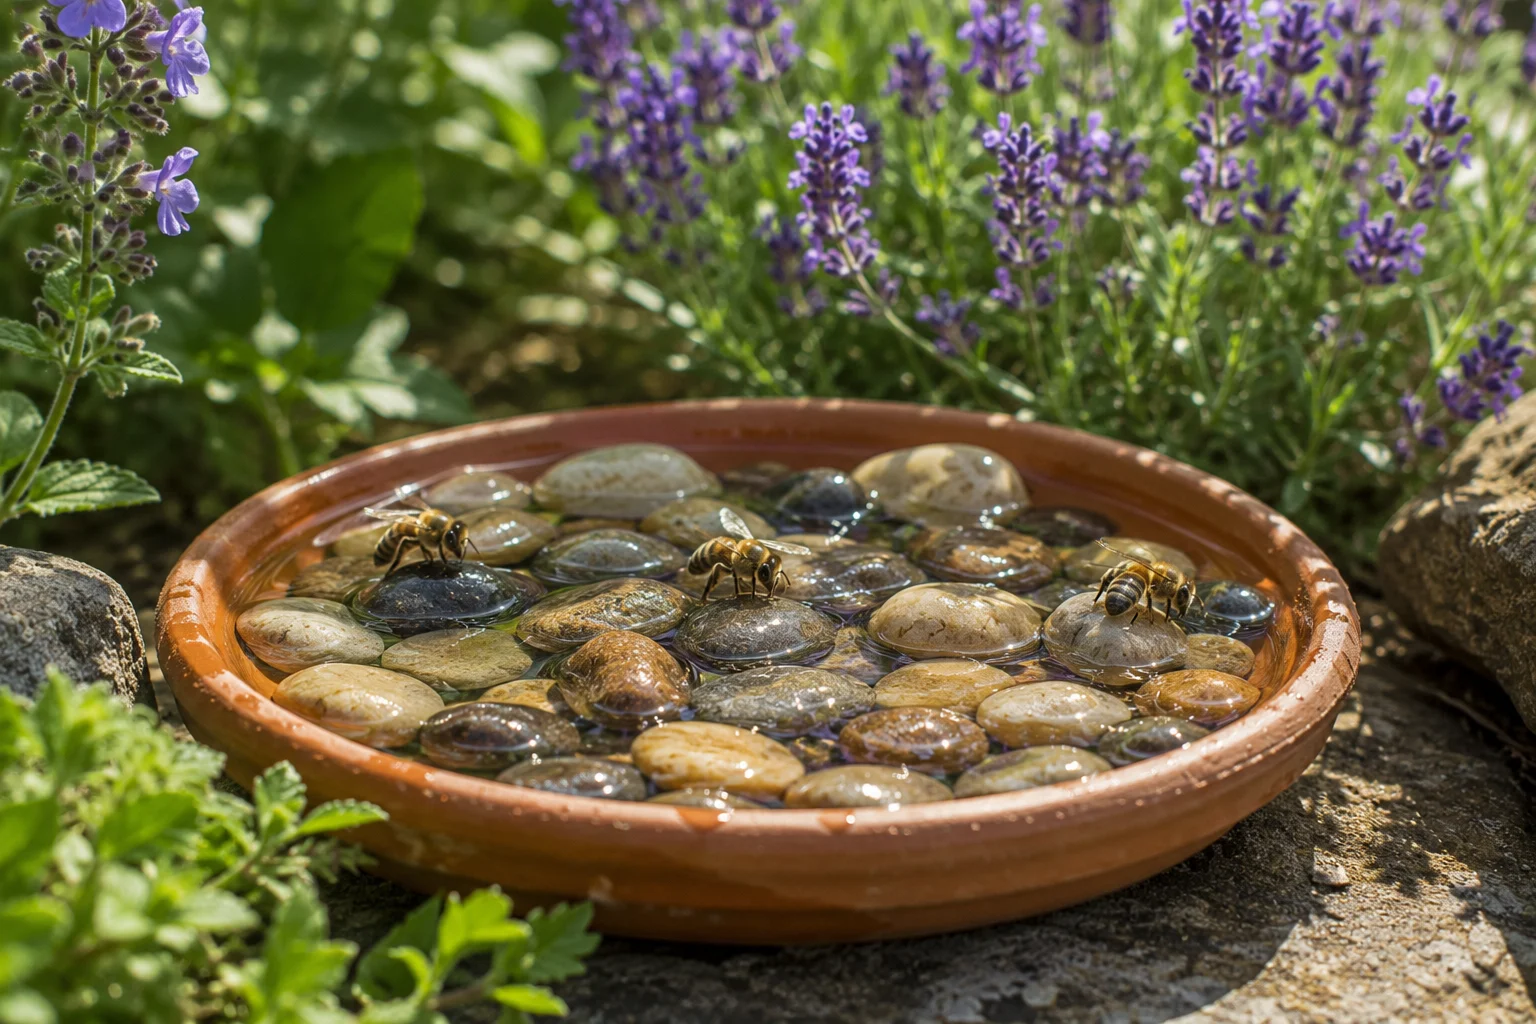
The design of the water station matters as much as its presence. Bees cannot swim — they drown in open water without a dry surface to land on. A shallow terracotta saucer with river pebbles, wine corks, or wooden skewers provides the landing surface they need. Position it in partial shade to reduce evaporation and keep the water cool, within 30 feet of the hive entrance if possible, and establish it early in the season — bees become loyal to water sources they discover and are difficult to redirect once established.
A small amount of sea salt or a drop of lemon balm or lemongrass extract in the water increases its attractiveness to bees, whose foraging behavior is partly guided by mineral content in available water sources.
The complete water station setup — sizing, placement, materials, and seasonal management — is covered alongside other summer hive cooling strategies in How to Keep a Backyard Beehive Cool in Summer Without Stressing Your Bees.
6: Create a Scent Corridor Across the Full Garden
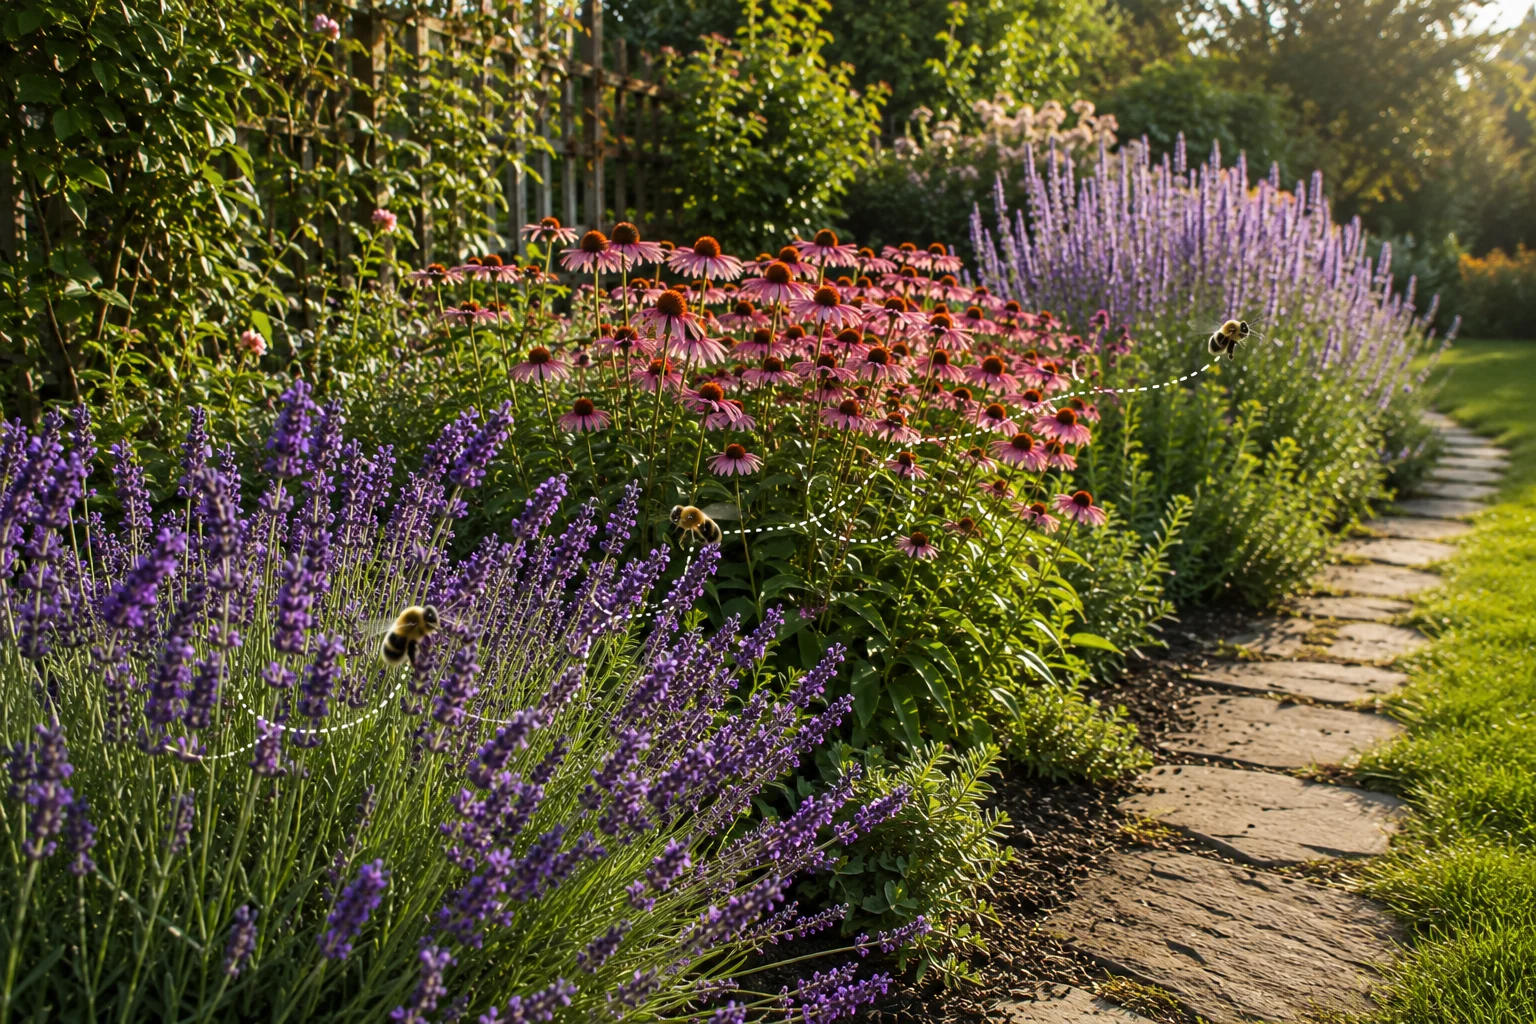
Bees locate food sources primarily through scent before they use vision — volatile organic compounds released by flowering plants travel in detectable plumes that foraging bees follow upwind toward the source. A garden designed with intentional scent sequencing — placing the most strongly scented plants nearest to where foragers enter the space, and arranging subsequent plantings so each group is detectable from the end of the previous one — creates a connected scent corridor that guides bees through the entire garden rather than concentrating activity in one section.
The entry anchor should be a strongly scented mass planting — lavender, catmint, or agastache — positioned near the garden’s most likely forager entry point (typically the side nearest open land, neighbouring gardens, or the apiary). Each subsequent planting should be positioned so its scent plume is detectable from the outer edge of the previous group. The exit anchor at the far end should be a late-season species — sedum, agastache, or late asters — that keeps bees in the garden into October.
The science of bee olfactory navigation and how to design around it — including how scent plume size relates to planting mass — is covered in The Scent Map of Your Garden: How Bees Find Flowers Before They Ever Land.
7: Design Around the July–August Gap
The midsummer nectar dearth — the period in July and August when most spring and early summer plants have finished blooming and late summer species haven’t started — is the most acute food pressure point in the annual cycle for both managed colonies and wild bees. A garden design that does not specifically address this gap is a garden that abandons its bees at the most critical moment.
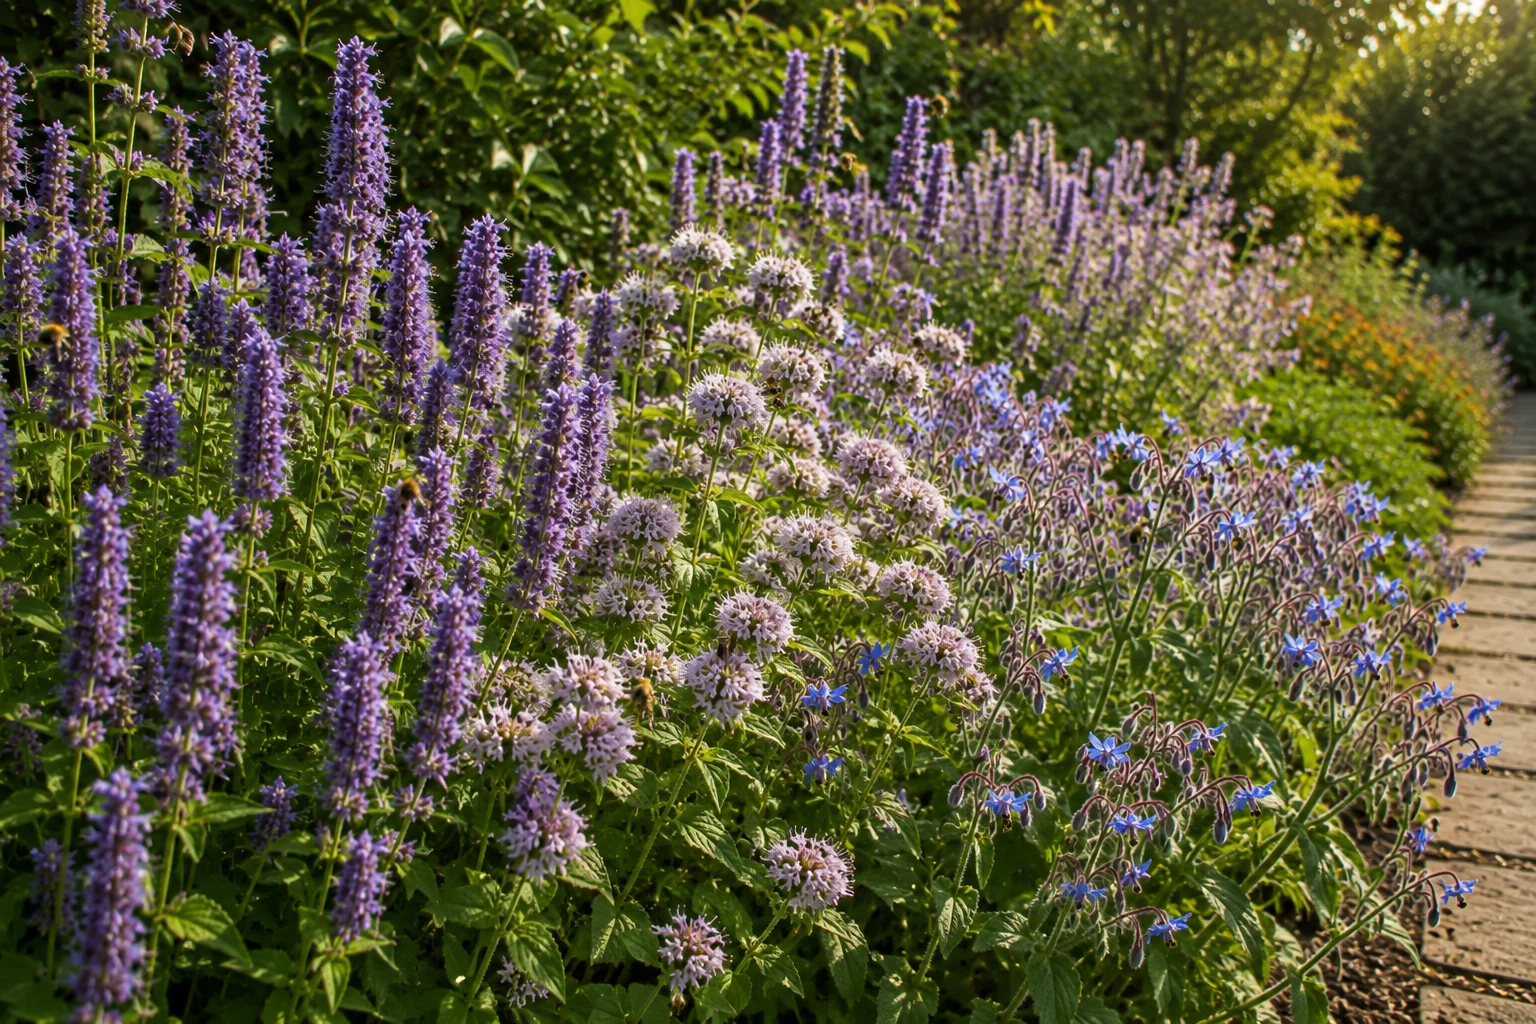
The plants that close the July–August gap most effectively are a specific group: agastache (‘Blue Fortune’ or ‘Black Adder’), buttonbush, mountain mint (Pycnanthemum species), phacelia (sown in late May for a July flowering), self-heal (Prunella vulgaris) allowed to bloom in the lawn, and borage succession-sown every four weeks from April to maintain continuous flower.
Design these specifically into the border with dedicated drift-sized groups rather than individual specimens — the gap-closing function requires enough plant mass to generate a meaningful nectar flow, not just a few flowers that a single bee visits before moving on.
8: Integrate a Multi-Layered Hedge Along One Side
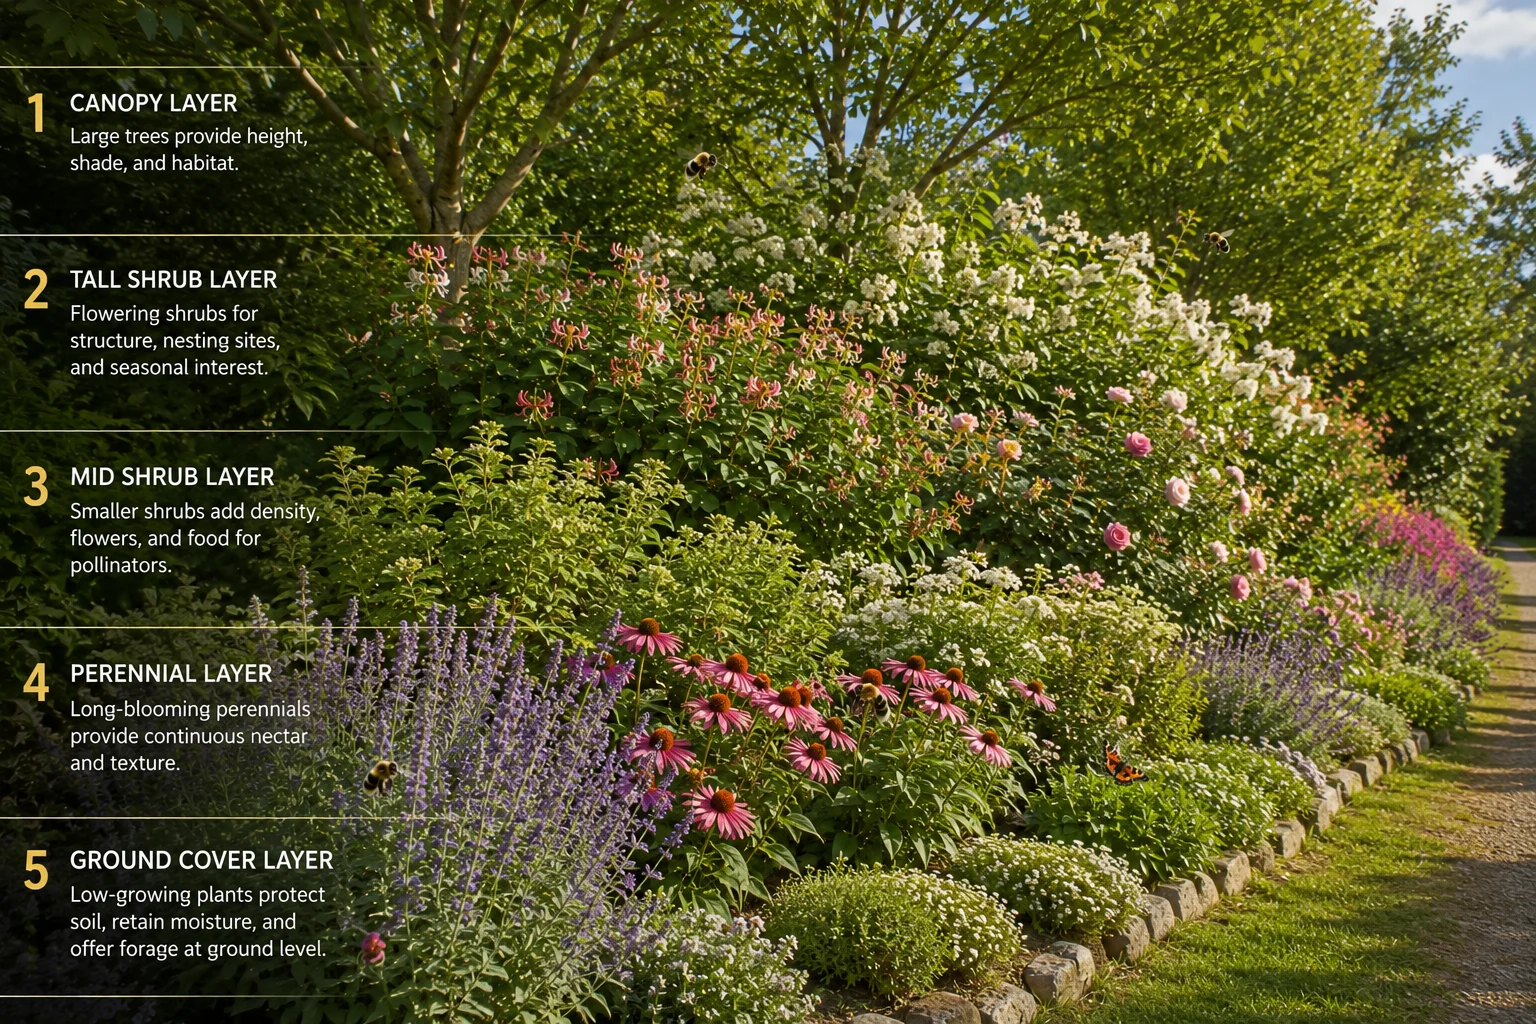
A single-species clipped hedge — all privet, all beech, all hornbeam — provides one bloom period at most and one habitat type. A multi-layered mixed hedge, built in five or six vertical layers from canopy to ground cover, provides a bloom sequence from February to November and nesting, shelter, and food for the full range of pollinator species rather than a narrow subset.
The layering principle: a canopy layer of small flowering trees (hawthorn, crab apple, wild cherry), a tall shrub layer (elder, field maple, native viburnum), a medium shrub layer (dog rose, blackthorn, guelder rose), a low shrub and perennial layer (bramble edges, comfrey, native vetches), a ground cover layer (primrose, wild violet, ground ivy), and an optional climbing layer (wild clematis, native honeysuckle) woven through the structure.
This kind of hedge blooms continuously from the earliest hawthorn flower in April to the latest ivy in October, and its structural complexity — varying stem sizes, hollow pithy stems at different heights, leaf litter accumulation at the base — creates nesting and overwintering habitat for a range of bee species that a clipped monoculture cannot support. The full design guide with species lists and spacing is in Multi-Layered Boundary Hedgerows: The Garden Design Trick That Feeds Bees All Season.
9: Grow Bee Plants in Every Container
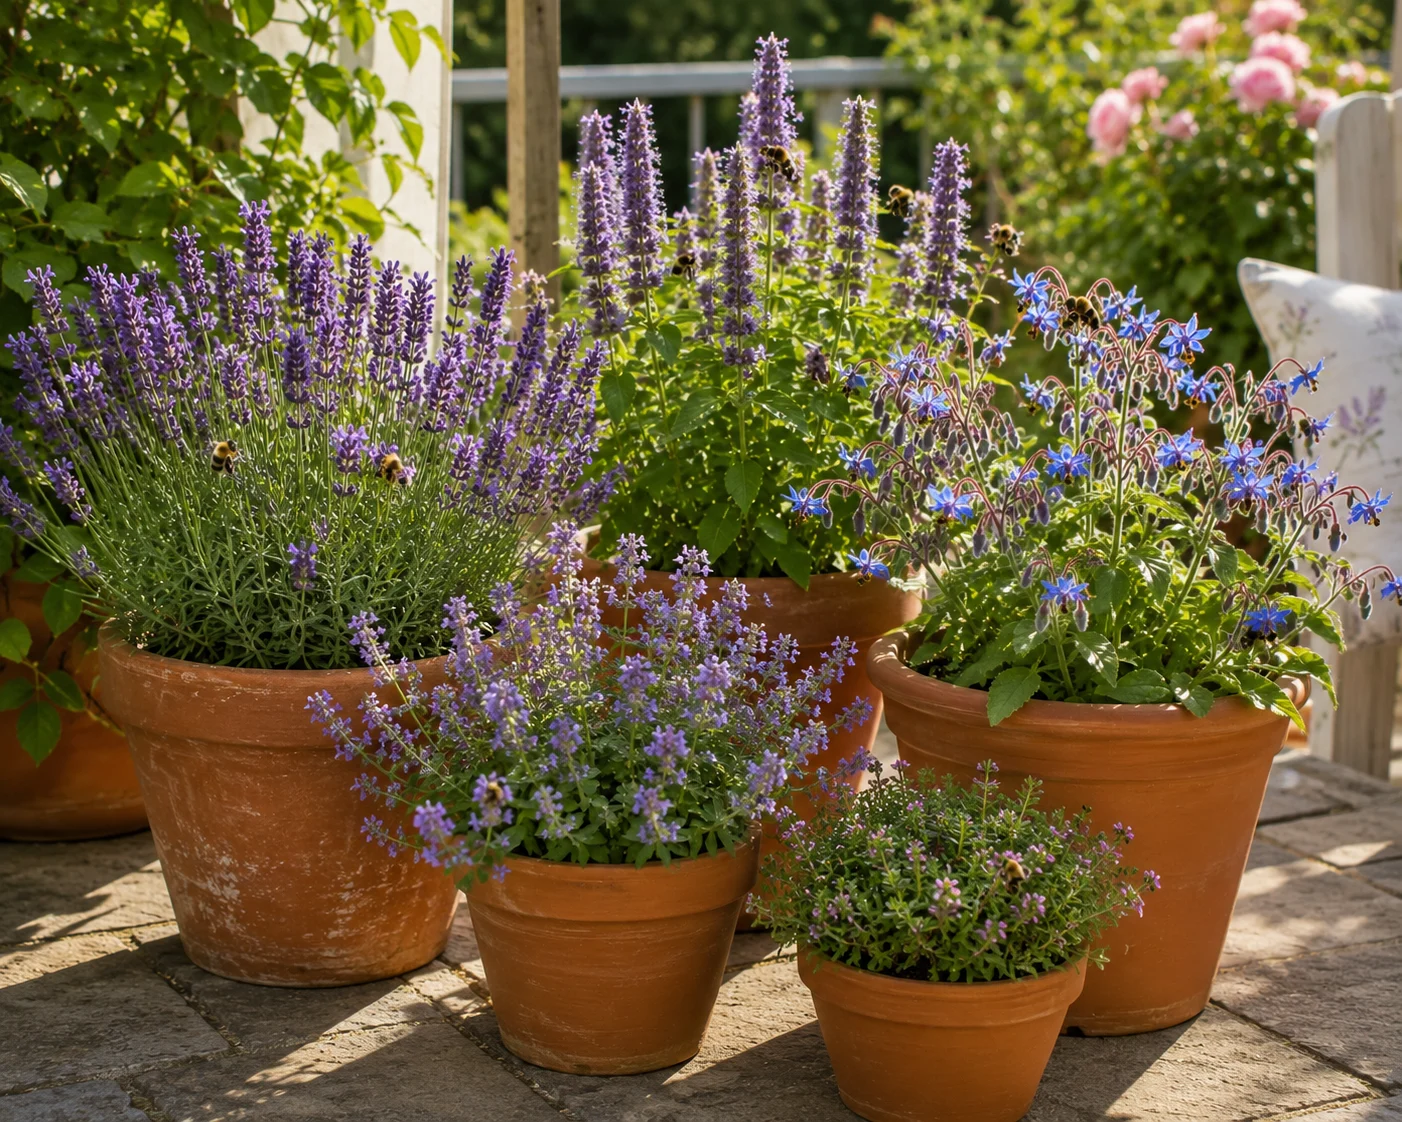
Containers on patios, balconies, doorsteps, and window sills are not secondary to the main garden — they are an extension of the foraging landscape that can bridge gaps in the main border planting, provide critical early season forage before the border has come into growth, and deliver food plants to bees in urban environments where ground-level planting is limited.
The most productive container bee plants are those with high nectar density per flower and long bloom periods: lavender, catmint, borage (direct-sown in April), phacelia (direct-sown in March), and agastache. Any container 30cm or larger supports meaningful bee foraging. Group containers in threes and fives rather than scattering single pots — the same mass planting principle that applies to borders applies to container displays.
For balconies and patios where containers are the primary growing environment, the complete approach — choosing the right containers, the right compost mix, the right plants for limited sun, and the right watering schedule for summer heat — is in The Container Pollinator Garden: How to Feed Bees From a Balcony or Patio.
10: Design Paths That Don’t Destroy Habitat
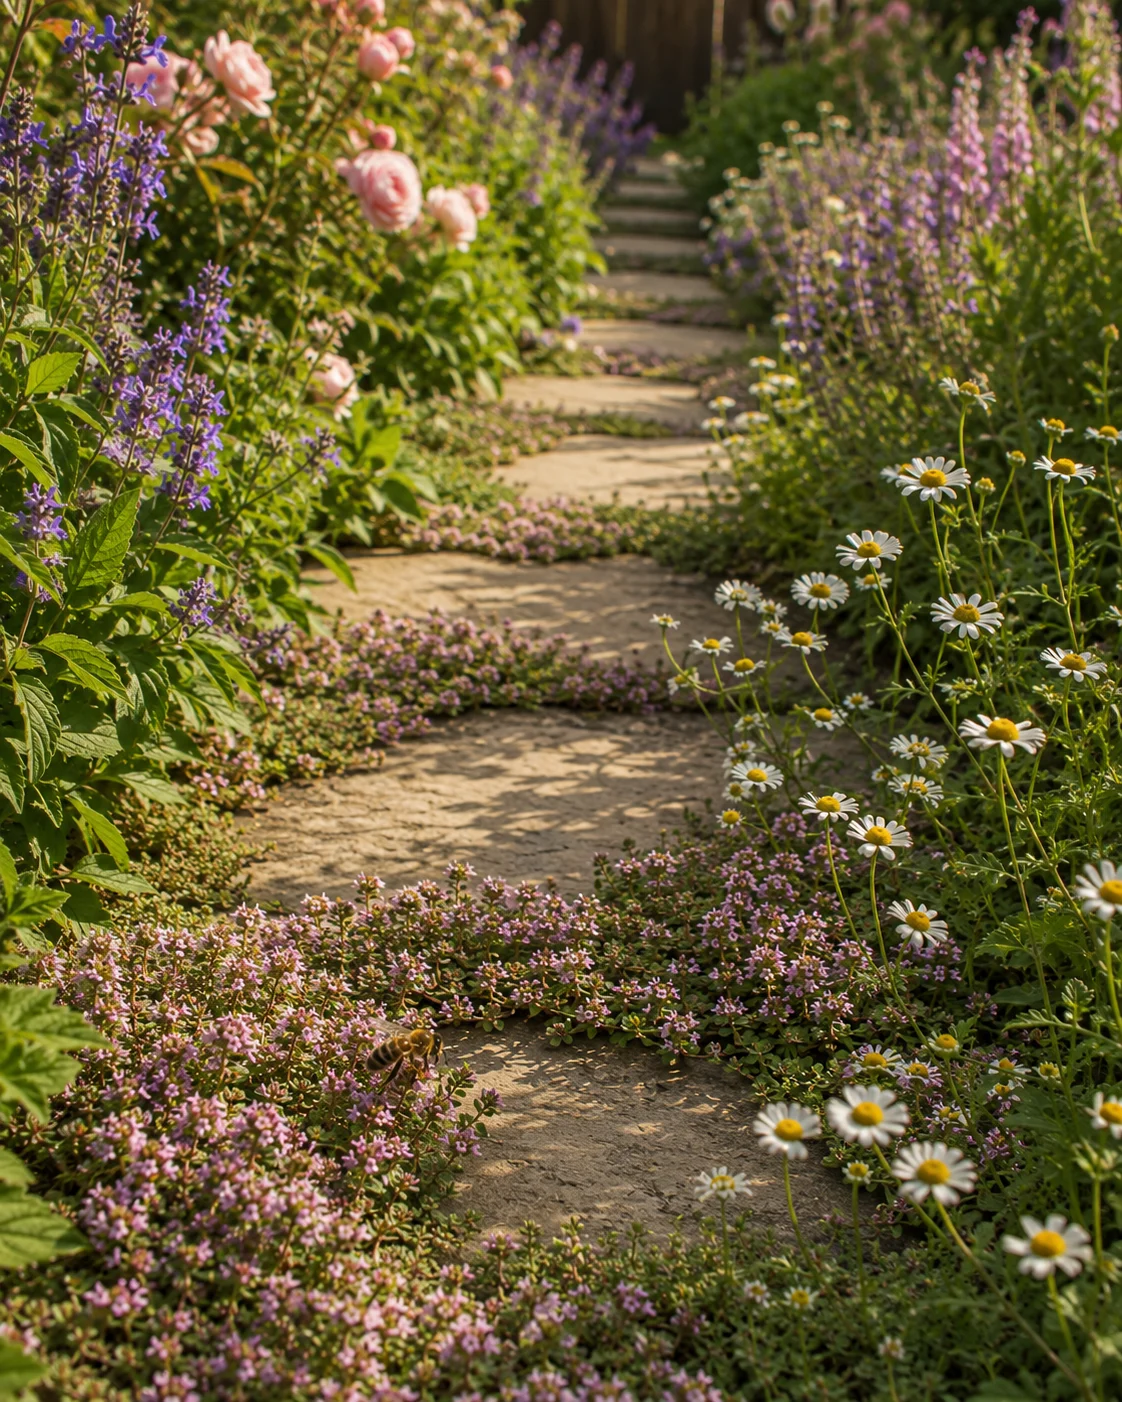
Garden paths are necessary — but they are routinely designed in ways that maximise hard impermeable surface at the expense of nesting habitat, flowering ground cover, and soil permeability. A path that is 1.2 metres wide when 60cm would be adequate, edged with weed-suppressing membrane under gravel, with no planting in the immediate margins, eliminates more potential habitat than it needs to.
Narrow paths to the minimum functional width. Use permeable materials — loose gravel, stepping stones with gaps, timber rounds with planting between — rather than solid impermeable surfaces. Plant the path margins with low pollinator-friendly ground covers that tolerate some foot traffic: creeping thyme, chamomile, self-heal, and native violets all grow happily at path edges and bloom from May to September. Allow small weeds in path gravel if they are flowering — groundsel, chickweed, and hairy bittercress are all bee forage plants that require zero management.
The specific design principles for garden paths that function ecologically without looking unmaintained — including material choices, width guidance, and margin planting lists — are in Designing Garden Paths That Look Good Without Destroying Pollinator Habitat.
11: Plant Spring Bulbs Through the Lawn
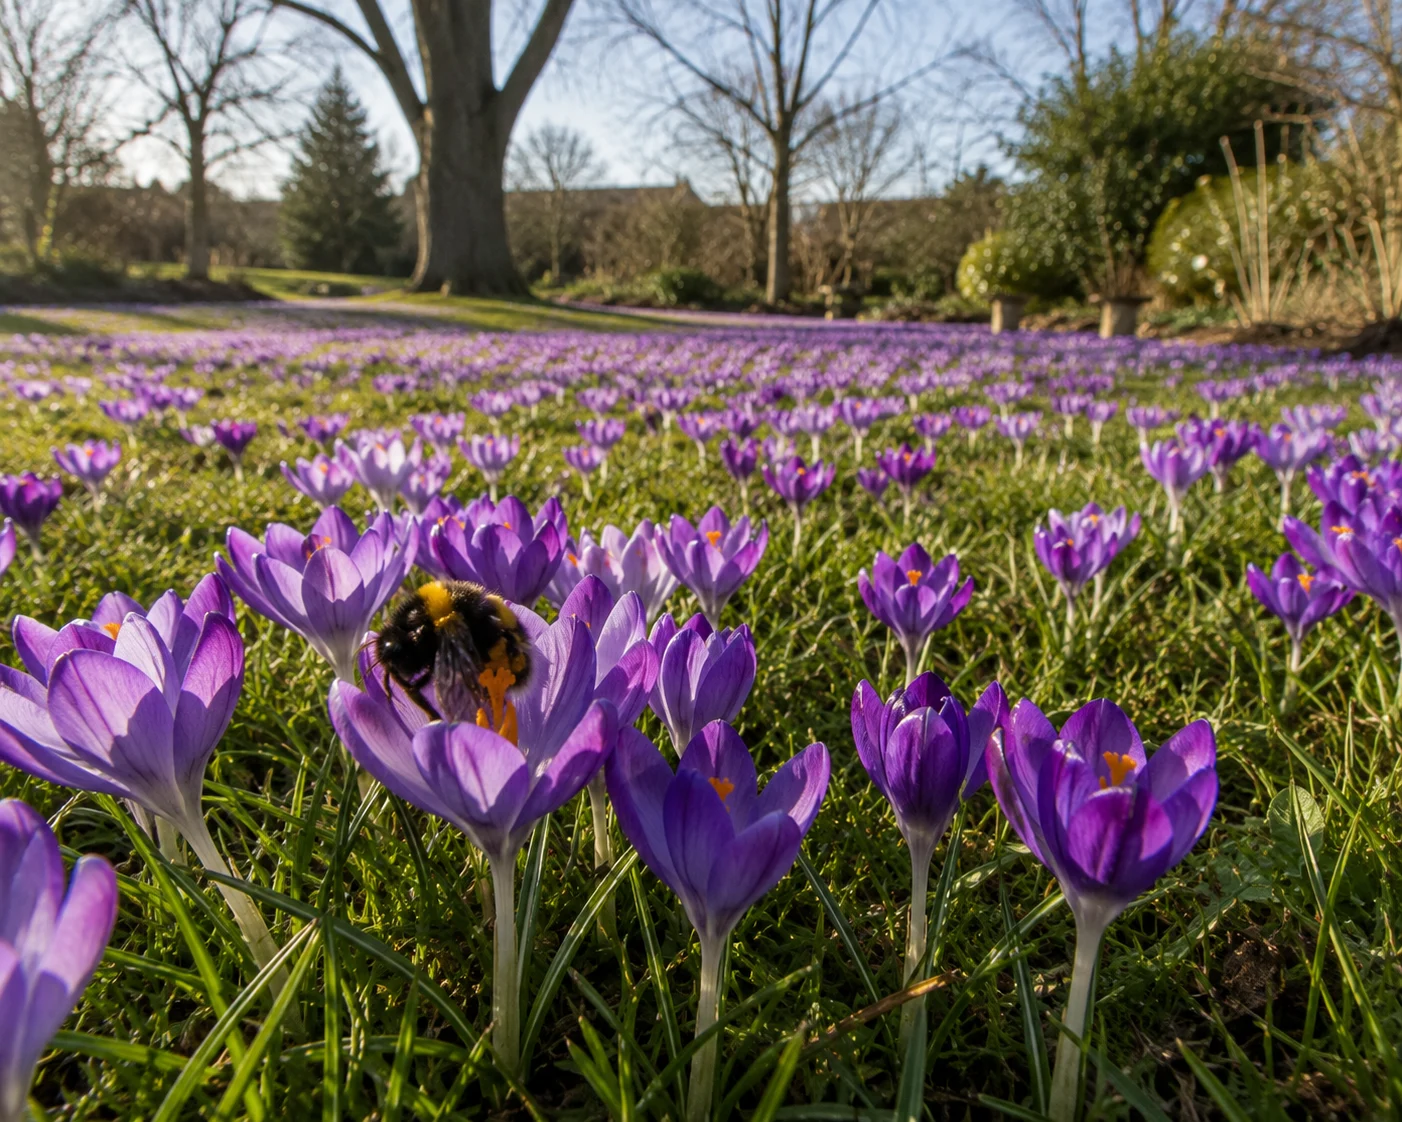
A lawn planted with spring bulbs — crocus through the main area, snowdrops under trees, alliums in the border margins — delivers one of the most ecologically valuable early-season bee food sources in any garden, requires no bed preparation, adds zero maintenance after the first planting session, and naturalises over time to become more abundant each year.
Crocus (Crocus tommasinianus, the Tommasini crocus) is the most important — it blooms in February and March when queen bumblebees are emerging from dormancy and need immediate energy. A lawn full of Tommies in February can visibly sustain dozens of queen bees on a warm morning when almost nothing else is available in the wider landscape. Plant at 3–4 inches depth, scatter randomly across the lawn for a naturalistic effect, and do not mow the area until the foliage has died back completely — typically late May.
Combine crocus with winter aconite, scilla, and alliums through the border and under deciduous trees for an extended early-season sequence. The complete autumn bulb planting guide — species selection, quantities, depths, and a full weekend planting plan — is in Plant These Spring Bulbs for Bees in Autumn: Early Flowers That Feed Hungry Pollinators.
12: Add a Relaxed Lawn Zone
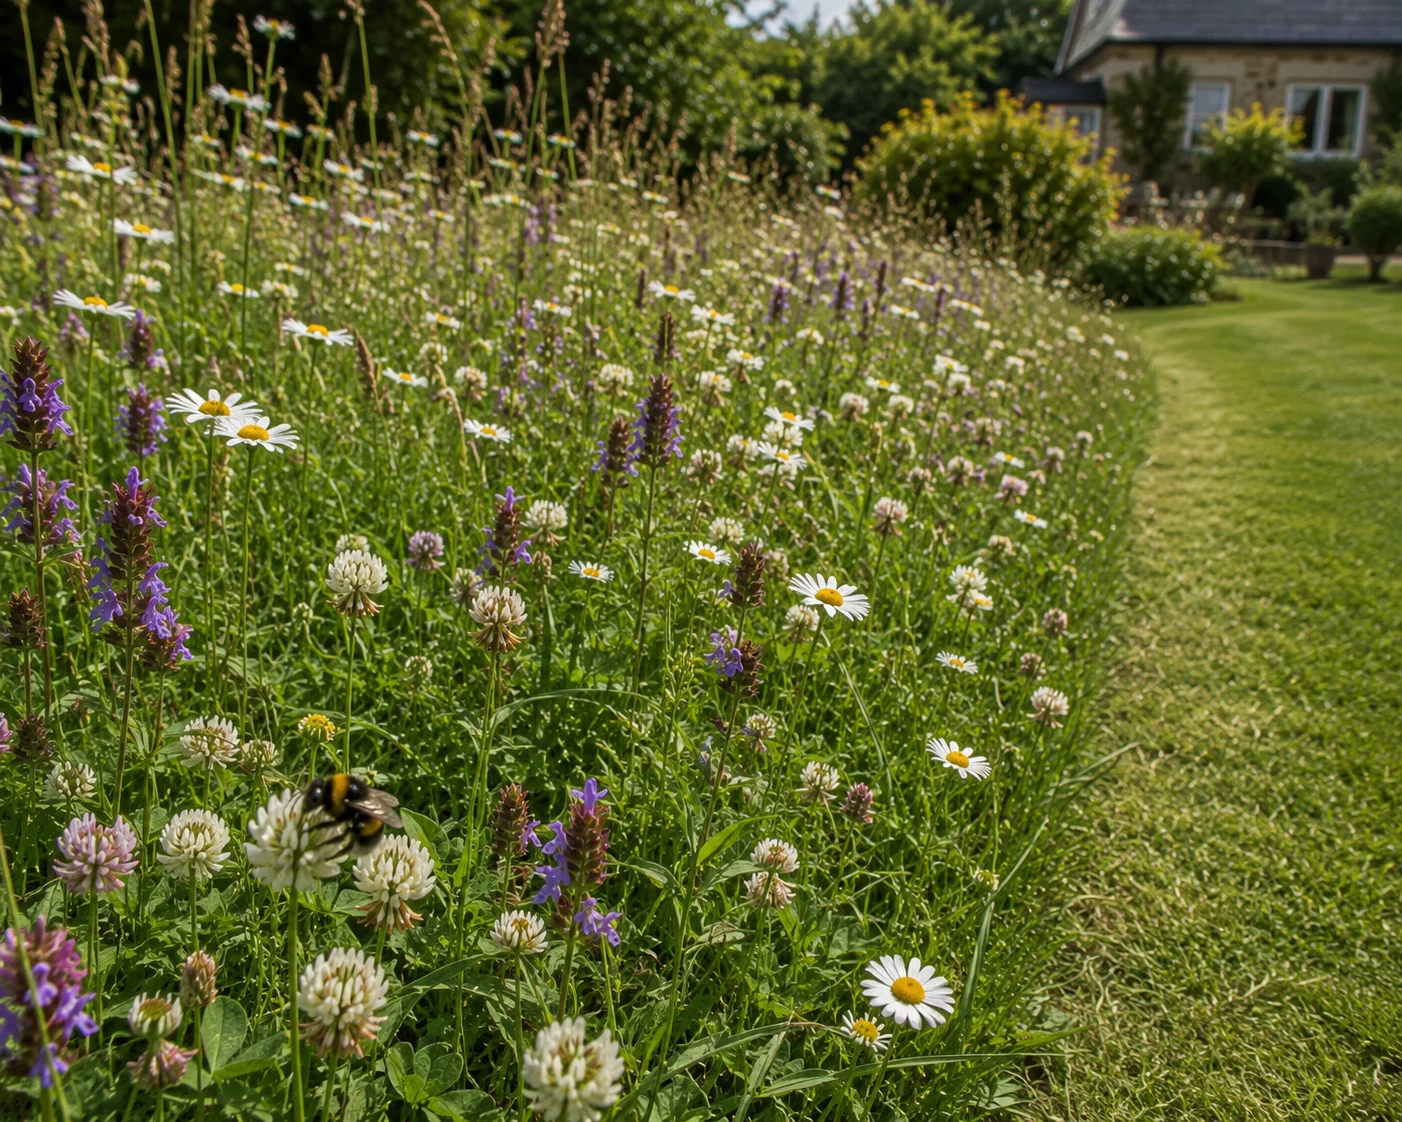
A section of lawn managed differently from the rest — mown less frequently, at a higher setting, and with no herbicide application — develops its own flowering plant community that provides significant bee forage without any planting effort. White clover, self-heal, bird’s-foot trefoil, common daisy, and dandelion all establish naturally in grass given the chance, and all are genuinely productive nectar sources.
The easiest approach: designate one area (ideally the sunniest section of the lawn) for reduced mowing from May to August. Mow it once in late August, then maintain normally through autumn and winter. Edge it cleanly — a sharp mown edge around a longer section signals intentional management rather than neglect. Within two to three seasons, the unmown zone will develop a genuinely diverse flowering community that a conventional lawn management regime would never allow.
The ecology of lawn relaxation — which plants appear, what bees use them, and how to manage the transition without it looking abandoned — is covered in The Perfectly Imperfect Garden: Why a Messy Lawn Is Actually Better for Pollinators.
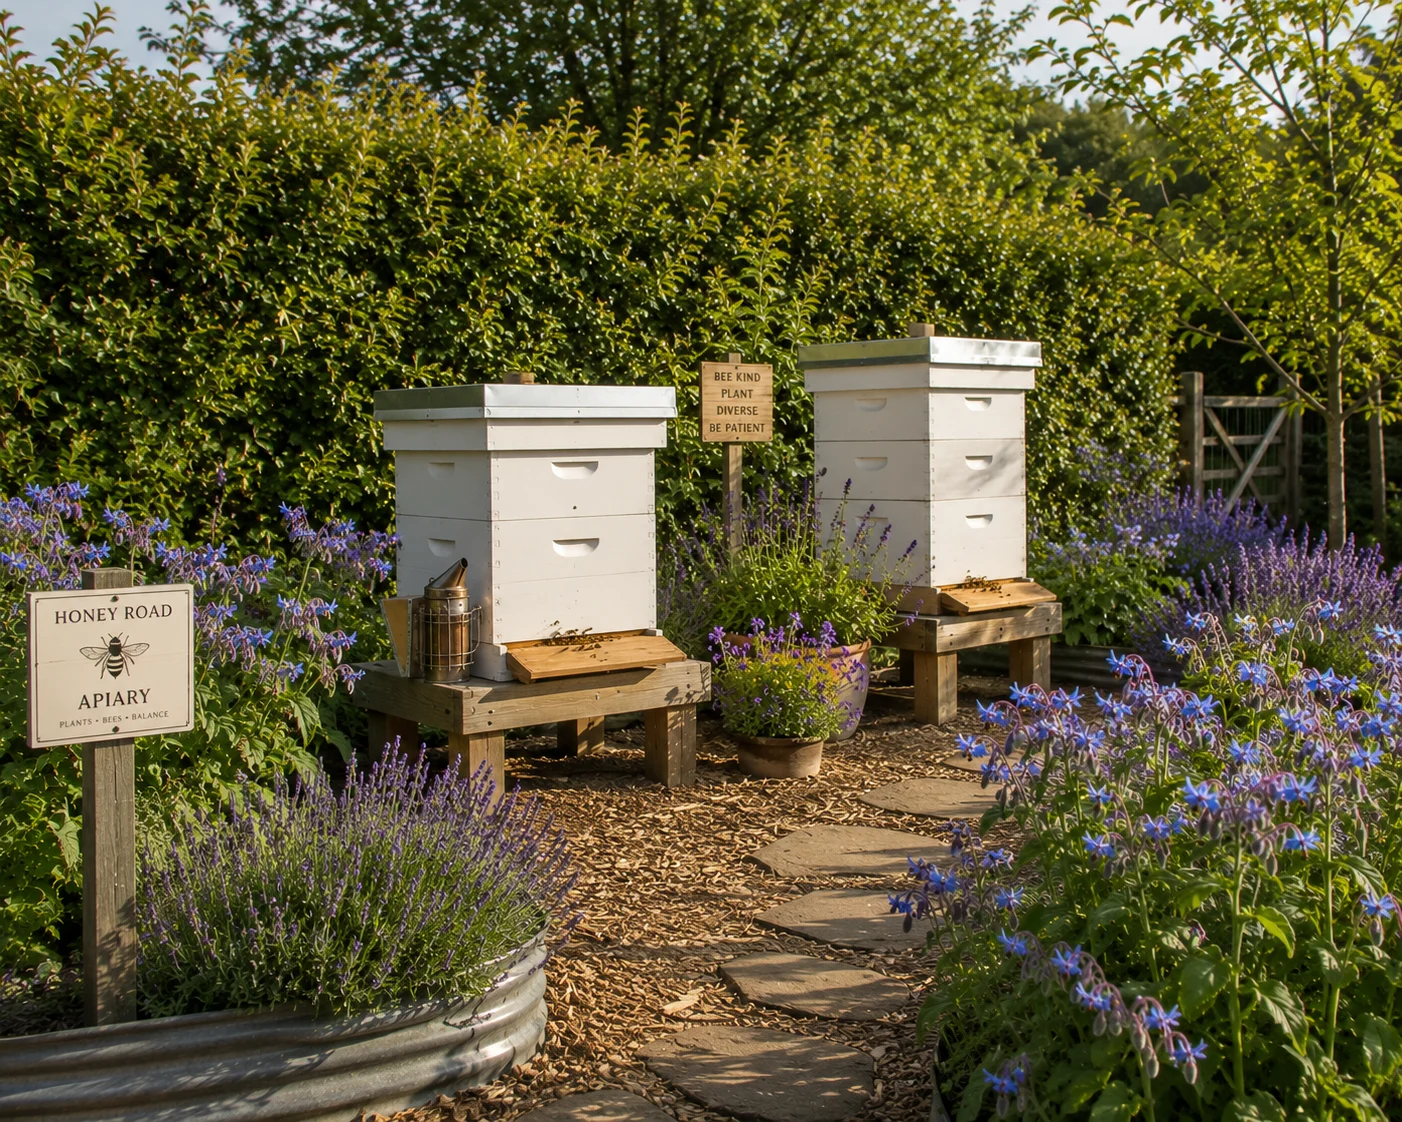
13: Design the Apiary as Part of the Garden
If you keep bees, the position and surroundings of your hives are garden design decisions as much as beekeeping decisions. A hive positioned with no thought for aesthetics, access, or integration with surrounding planting is a hive that creates management friction, reduces colony performance through poor siting, and makes the garden harder to use and enjoy.
The most effective approach is to design the apiary zone as a distinct garden room within the wider garden — defined by the surrounding planting, with clear working paths that remain accessible in all weathers, a windbreak hedge or living fence to the north and west, a fly-up barrier in front of the entrance, and forage planting as close as possible to reduce foraging energy costs.
The apiary plants that deliver most when positioned close to hives — lemon balm, hyssop, borage, and phacelia — provide both nectar and documented colony health benefits through the volatile compounds they release. The specific plant selection and positioning for the immediate apiary zone is in Best Plants to Grow Near a Backyard Beehive, and the full hive placement and apiary layout framework is in The Perfect Garden Apiary: 10 Essentials of Hive Layout & Design.
14: Use Native Plants as the Foundation
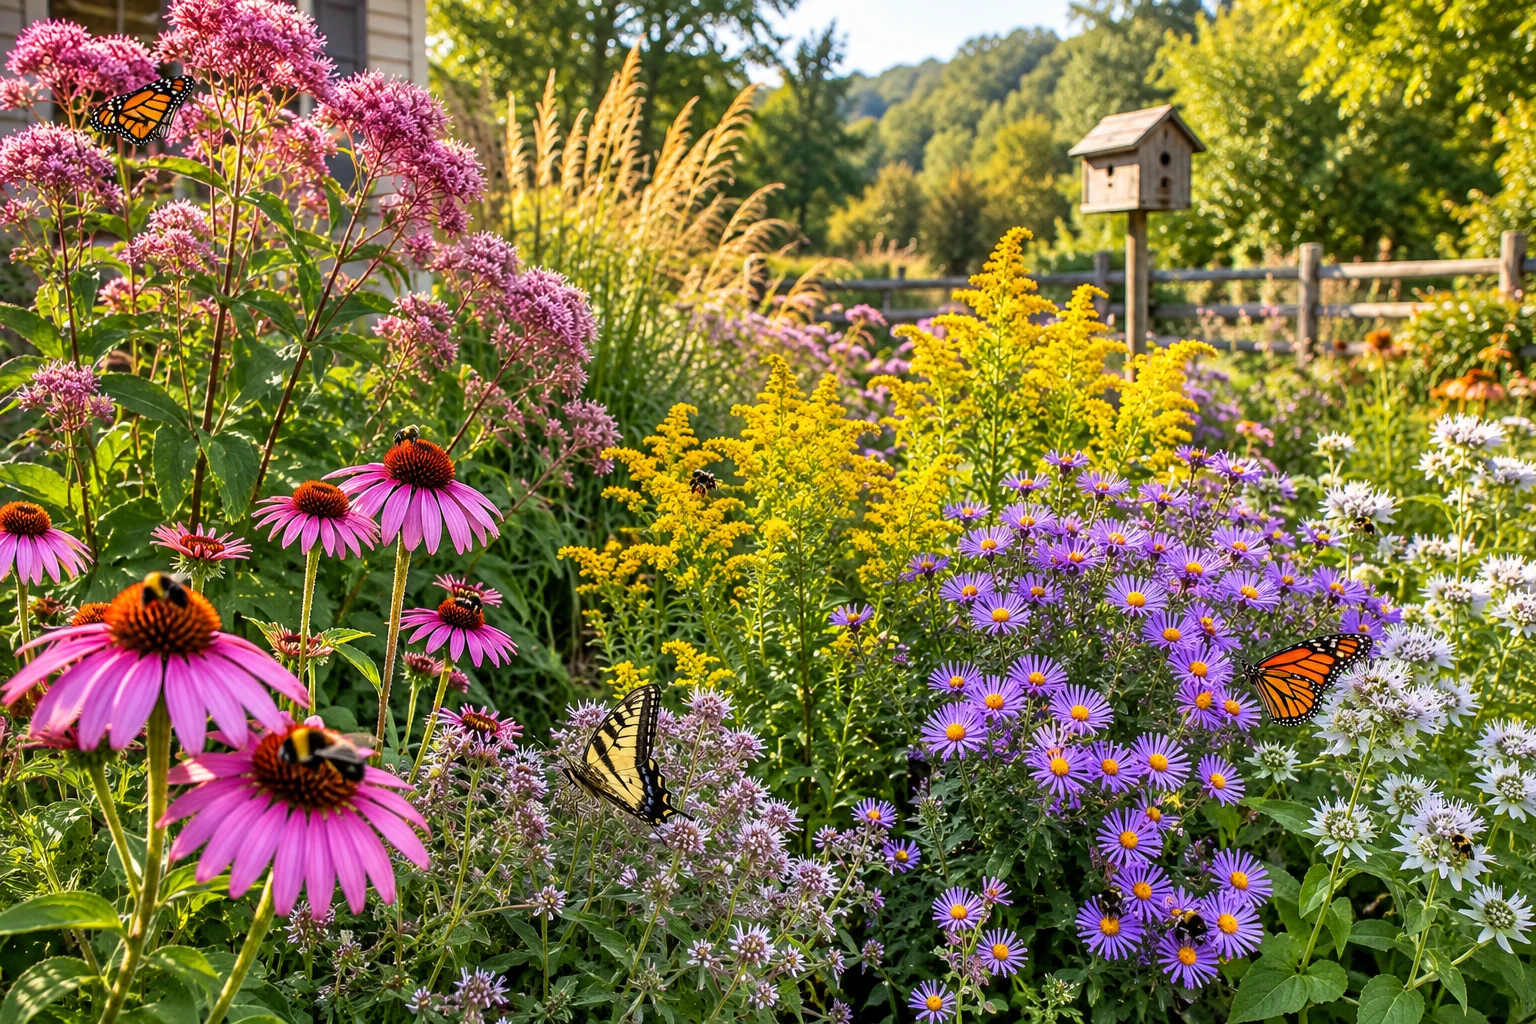
The most ecologically functional bee gardens are built on a foundation of native plants — species that evolved alongside the native bee species of your region over millions of years and provide pollen and nectar in forms that native bees are physiologically optimised to use.
Many native bees are specialist foragers that can only provision their larvae with pollen from specific plant genera. A garden built entirely on non-native ornamentals may support generalist foragers like honeybees but exclude the specialist native species that the broader ecosystem depends on. Adding a core of regionally appropriate native plants — even if they represent only 40–50% of the total planting — dramatically increases the diversity of bee species the garden can support.
For the eastern and central US, the highest-impact native plants by bee value per plant include native mountain mint (Pycnanthemum species), native goldenrod (Solidago species), native asters (Symphyotrichum species), coneflower (Echinacea purpurea), Joe-Pye weed (Eutrochium species), and native viburnums. For a beginner-friendly native planting framework built around five species that cover the full season, Overwhelmed by Your Garden? Start With These 5 Plants—Then Add Everything Else gives you the complete starting point.
The Xerces Society’s regional plant lists provide free, state-by-state native plant recommendations for every part of the US — invaluable before finalising any planting plan.
15: Leave the Garden Standing Through Winter
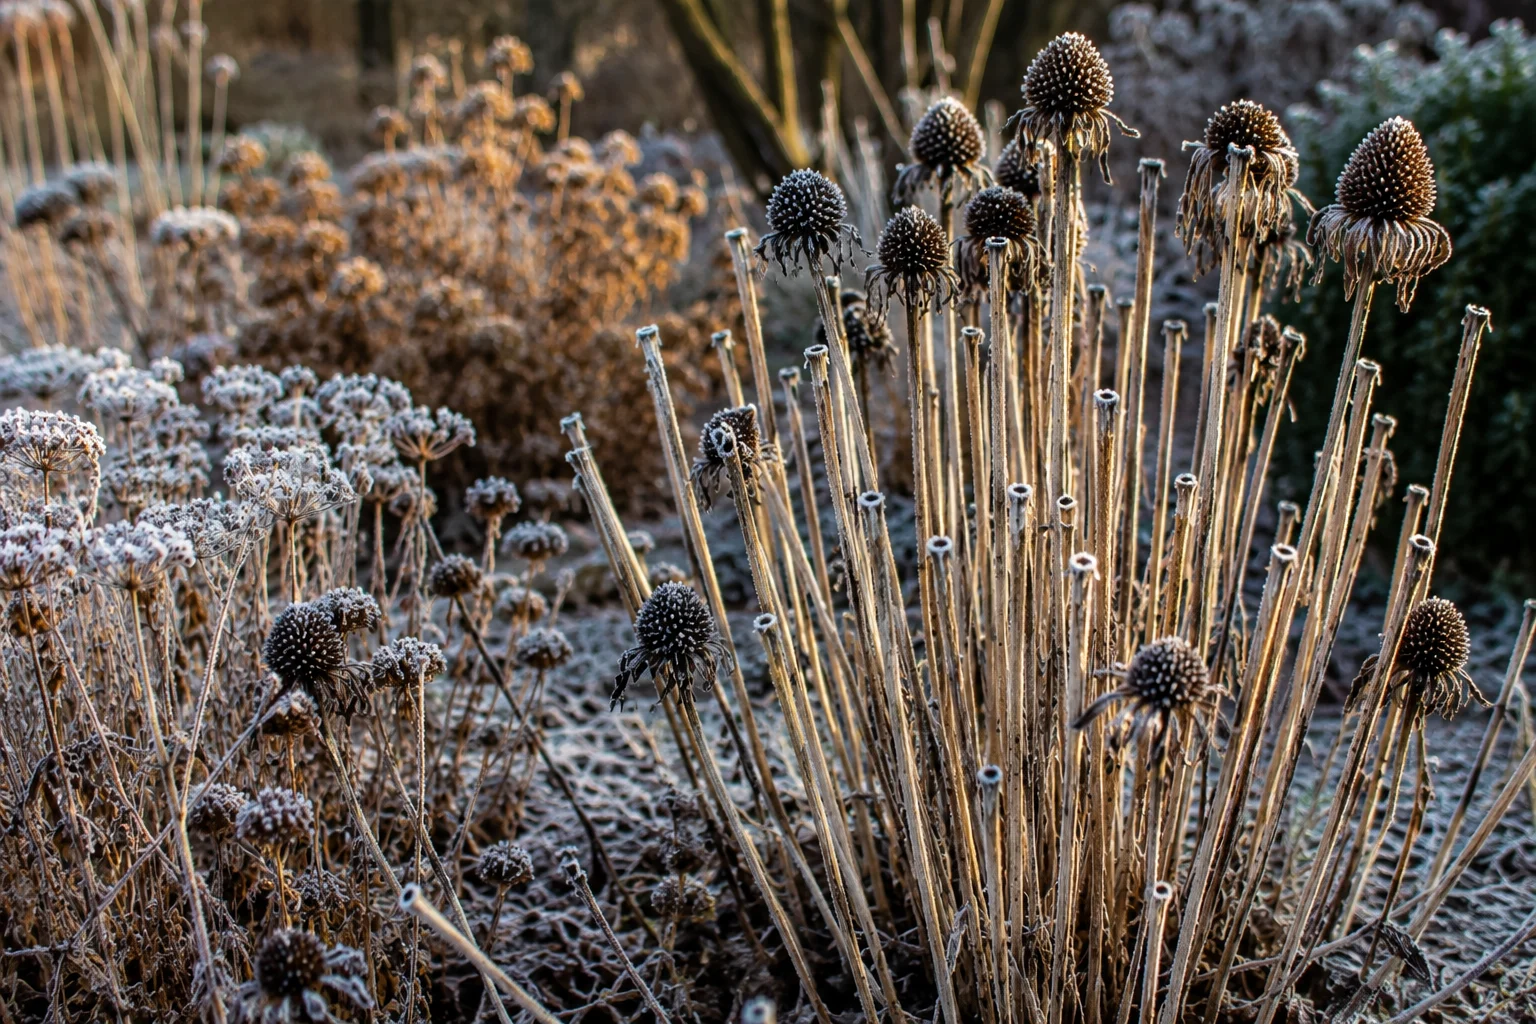
The final design decision in a bee garden calendar is what you do in autumn — and the most impactful single choice is to leave most of the garden standing rather than cutting it down.
Hollow and pithy stems left standing through winter provide nesting and overwintering habitat for cavity-nesting native bee species. Seed heads left intact through November and December feed birds and provide visual structure. Leaf litter allowed to accumulate under shrubs creates the insulated ground-level layer that many overwintering insects depend on. And the stems, leaves, and structural plant material left standing in January are available for the queen bumblebees that will emerge in February — providing both physical shelter and, as the first flowers open on snowdrops and winter aconite below, the first food of the new season.
Cut back in late March rather than October. The ecological cost of an aggressive autumn clear-up is paid forward through the following spring in the form of fewer emerging queen bumblebees and a slower build-up of native bee populations through the early season.
The selective approach to autumn garden management — what to cut, what to leave, and how to keep the garden looking intentional rather than abandoned through winter — is in Should You Cut Back Your Pollinator Garden in Fall? What to Leave, Cut, and Save for Bees and Pollinator Garden Winter Prep: What to Cut, What to Leave, and What to Save.
Putting It All Together
These 15 design principles work individually, but their combined effect is significantly greater than the sum of their parts. A garden with drift planting AND a scent corridor AND a bare soil patch AND a spring bulb lawn AND a living fence boundary is not just five improvements — it is a connected system that functions as a working habitat across the full year.
The sequence matters: start with the structural decisions (drift layout, boundary treatment, lawn management zone) before the planting decisions (species selection, bloom sequence), and address the infrastructure (water station, bare soil patch, path design) alongside the planting rather than as an afterthought.
A bee garden designed this way — structured, sequenced, and intentional — will have noticeably more bee activity within one season of implementation and will improve every year thereafter as the plants mature, the nesting habitat establishes, and the garden’s reputation as a reliable food source spreads through the local bee population. 🐝