
Most new beekeepers spend weeks researching hive equipment and almost no time planning the space around it — and that’s usually where the real problems start. A hive with no windbreak struggles in storms. A workstation with no dedicated spot for the smoker means fumbling for tools mid-inspection. An entrance facing a neighbor’s patio turns a minor nuisance into a real conflict.
The good news is that a well-thought-out setup doesn’t need to be elaborate. It needs to solve a handful of recurring problems: placement, workflow, protection, and space. Below are 17 setup ideas organized into those categories, whether you’re planning your first hive or reworking an apiary that’s never quite felt organized.
Foundation & Placement
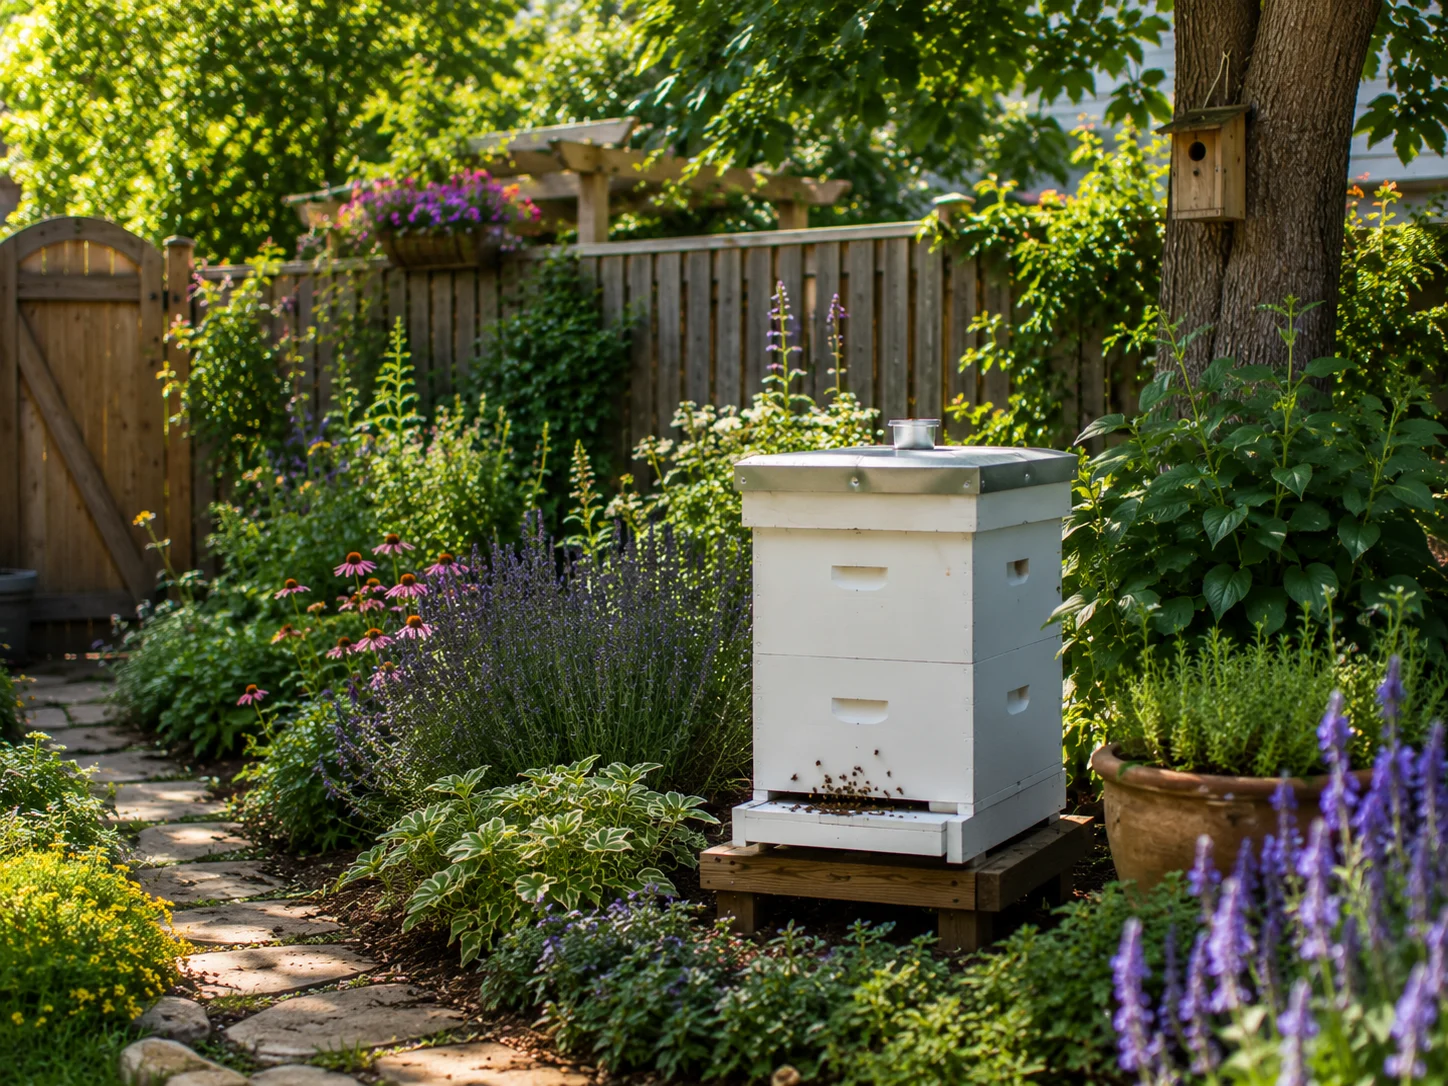
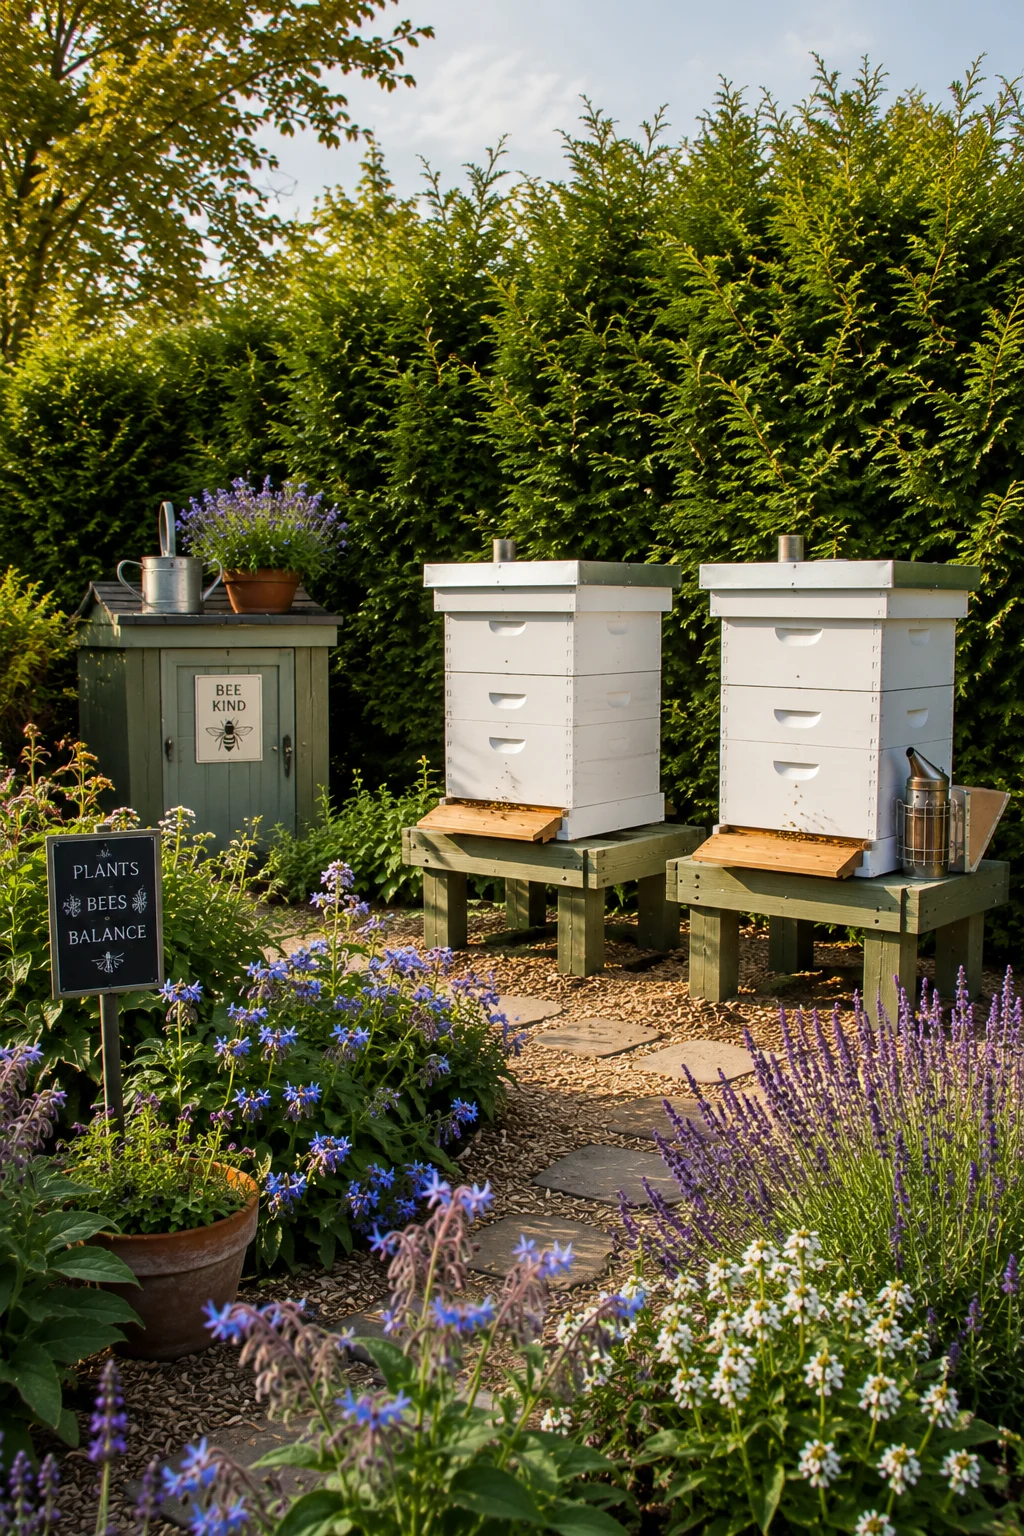
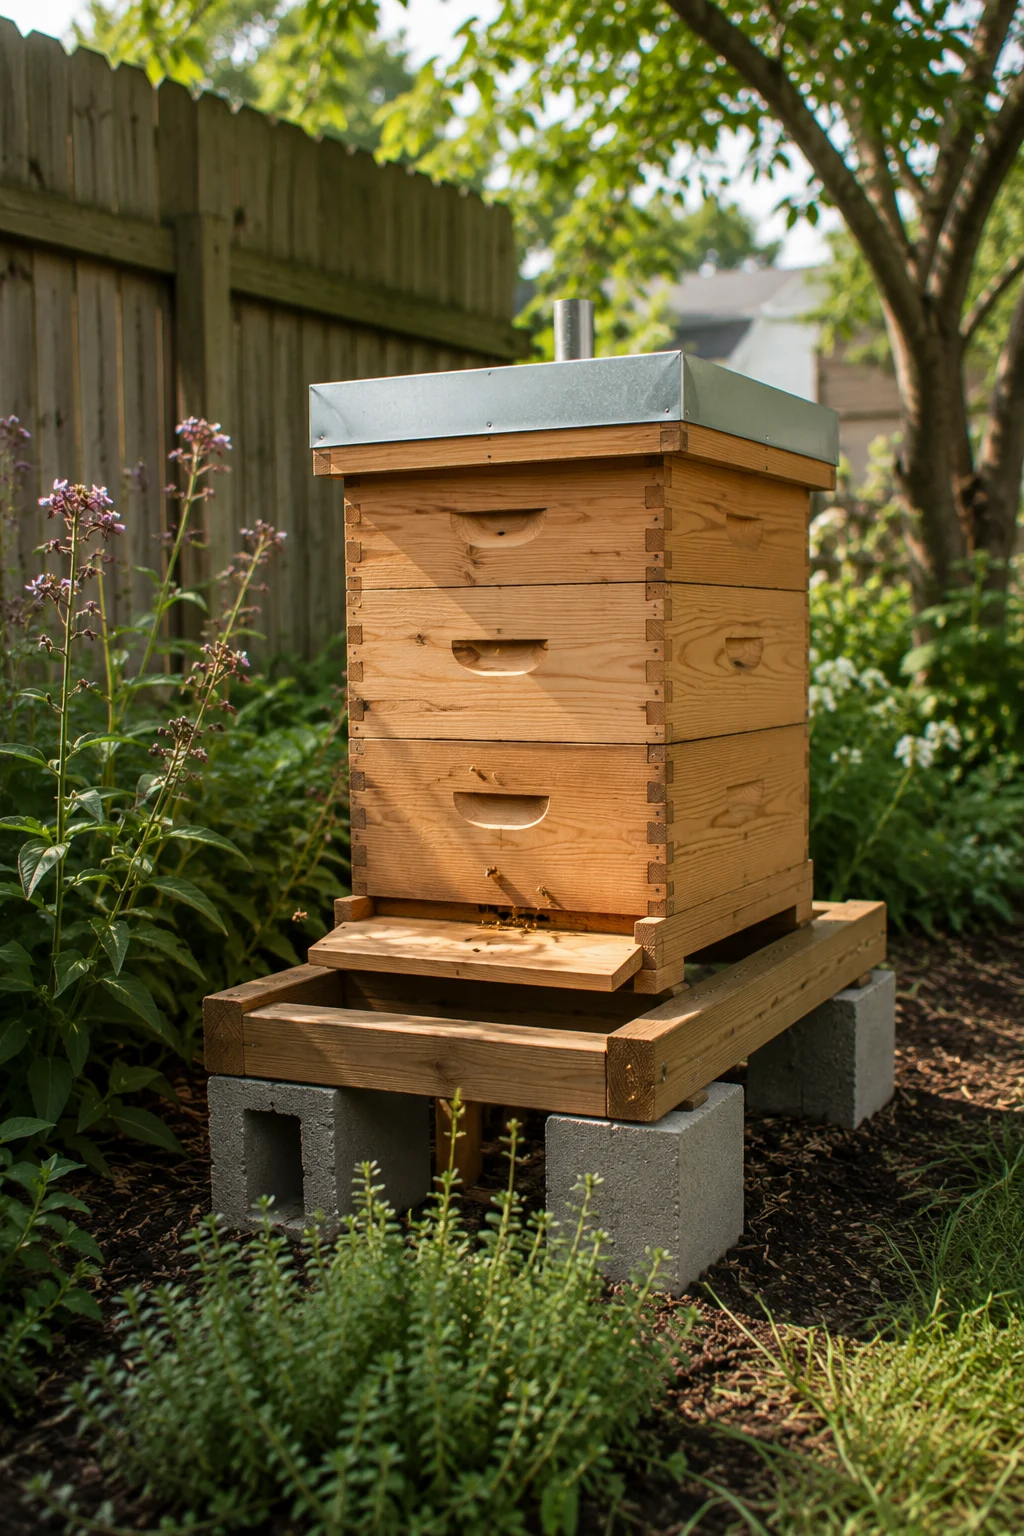
1. Elevate Hives on a Stand
Raising hives 12–18 inches off the ground improves airflow, keeps entrances clear of grass and moisture, and makes mite boards and bottom inspections far easier on your back. Cinder blocks work, but a simple built stand looks more intentional and lasts longer.
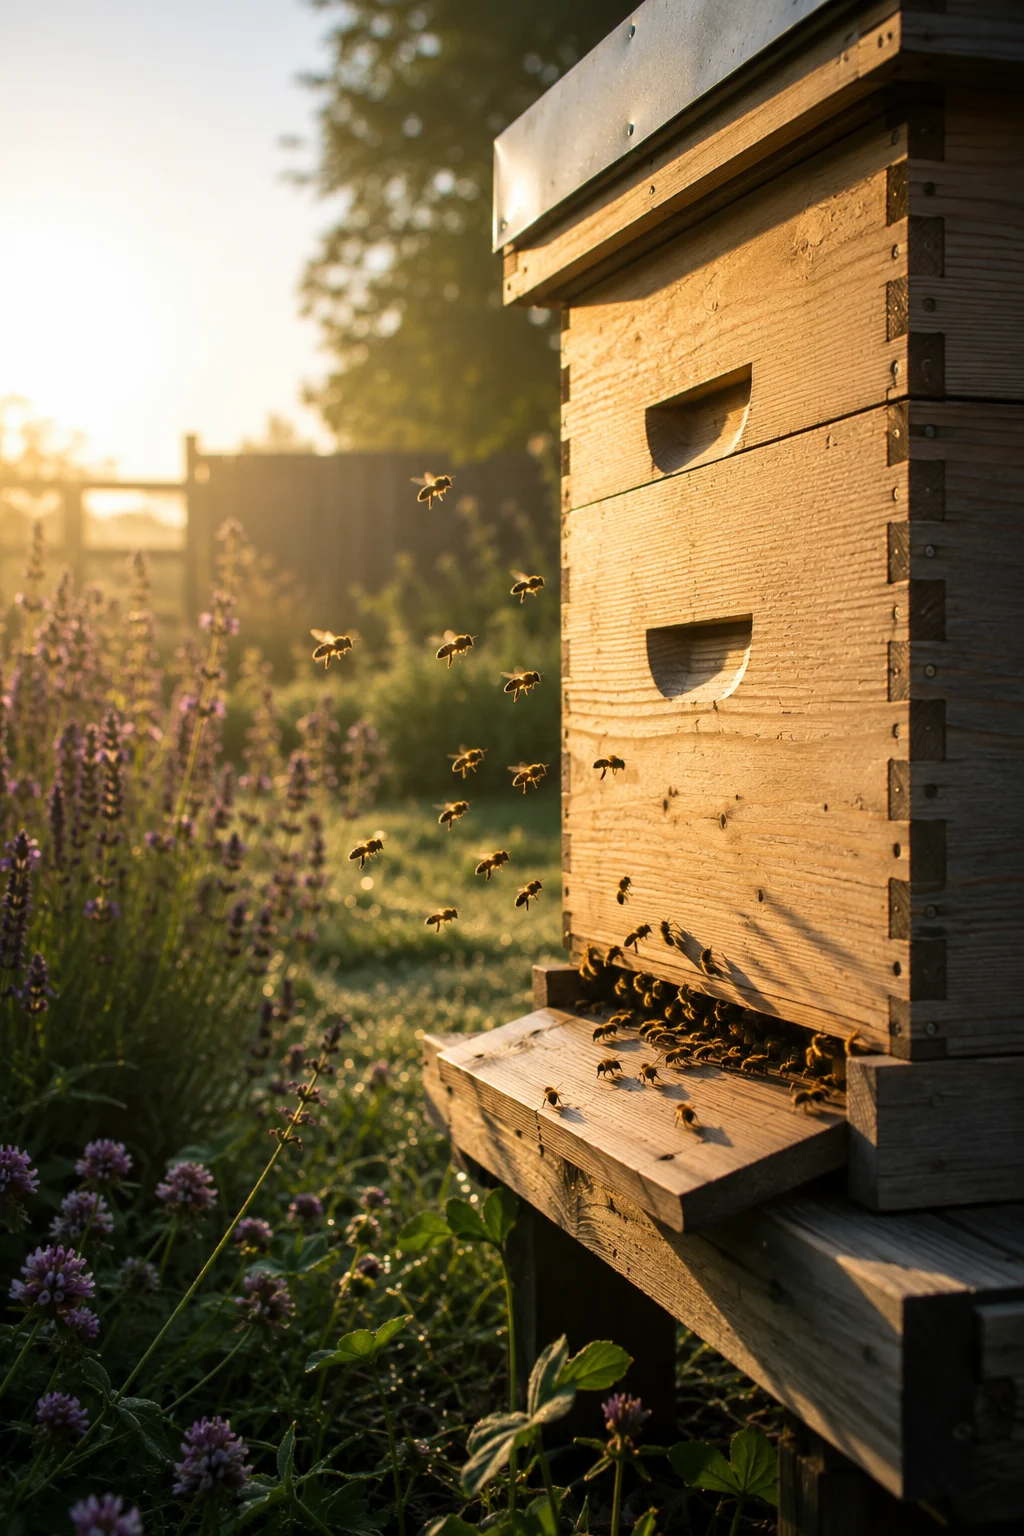
2. Orient Entrances Toward Morning Sun
Facing hive entrances southeast gets bees flying earlier in the day, which extends foraging time and can reduce the temptation to cluster near the entrance in cooler mornings.
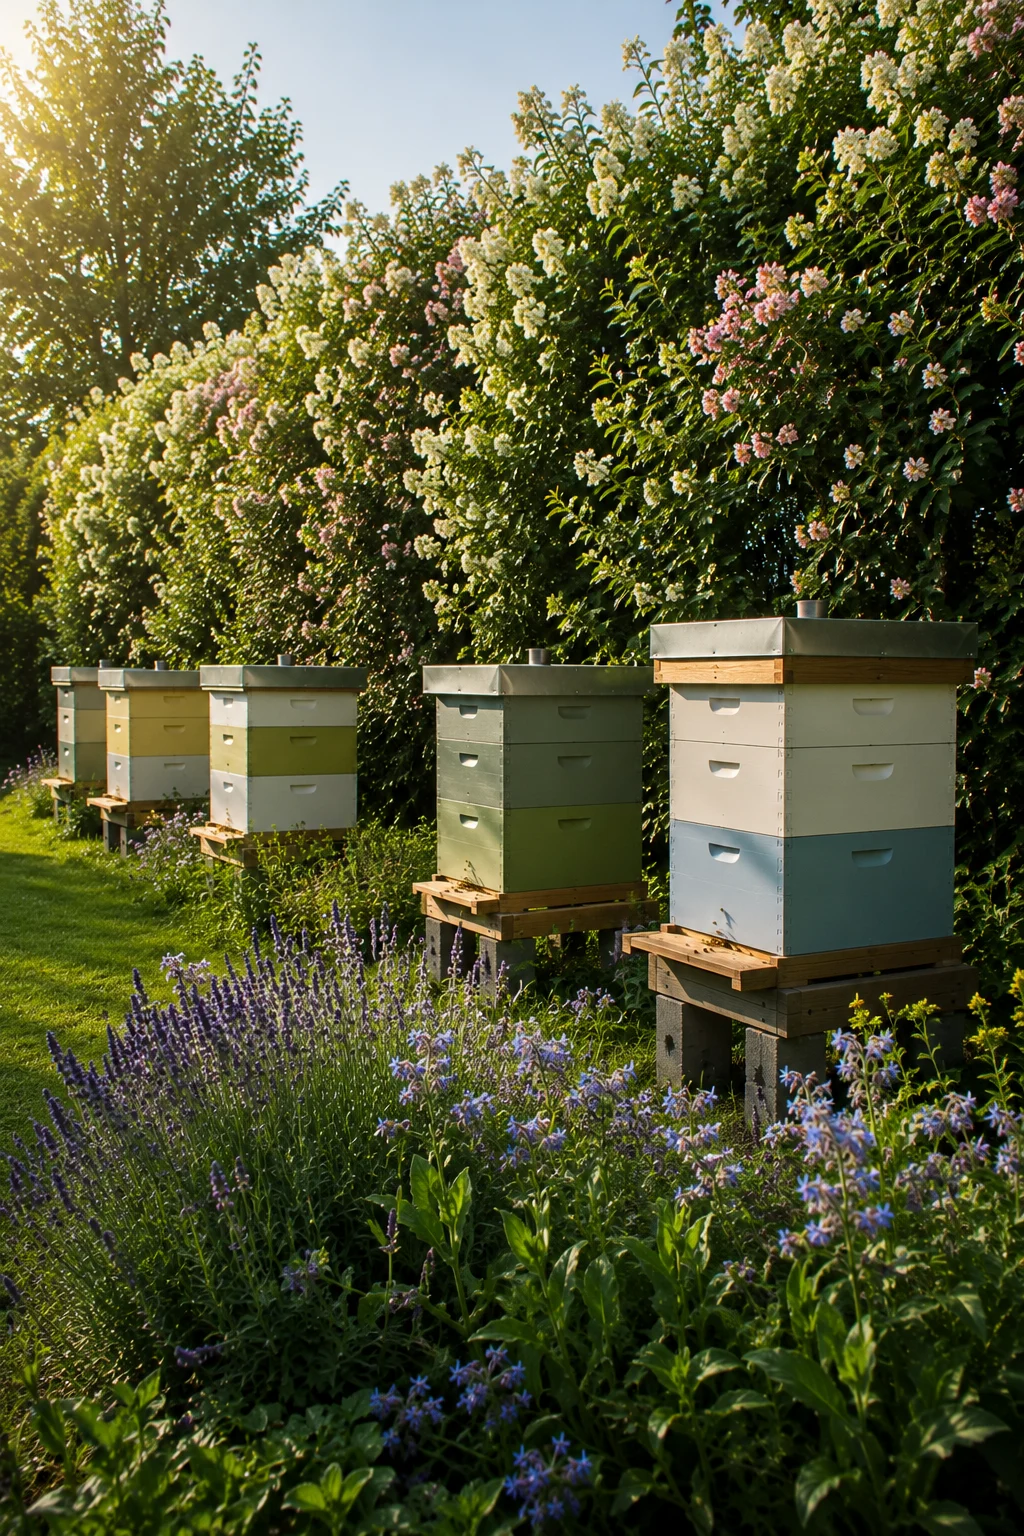
3. Add a Windbreak Behind the Hives
A hedge, fence panel, or planted screen positioned on the prevailing wind side reduces heat loss in winter and stress during storms. If you’re planning this alongside forage plants, our living fence guide covers how to combine windbreak function with bloom.
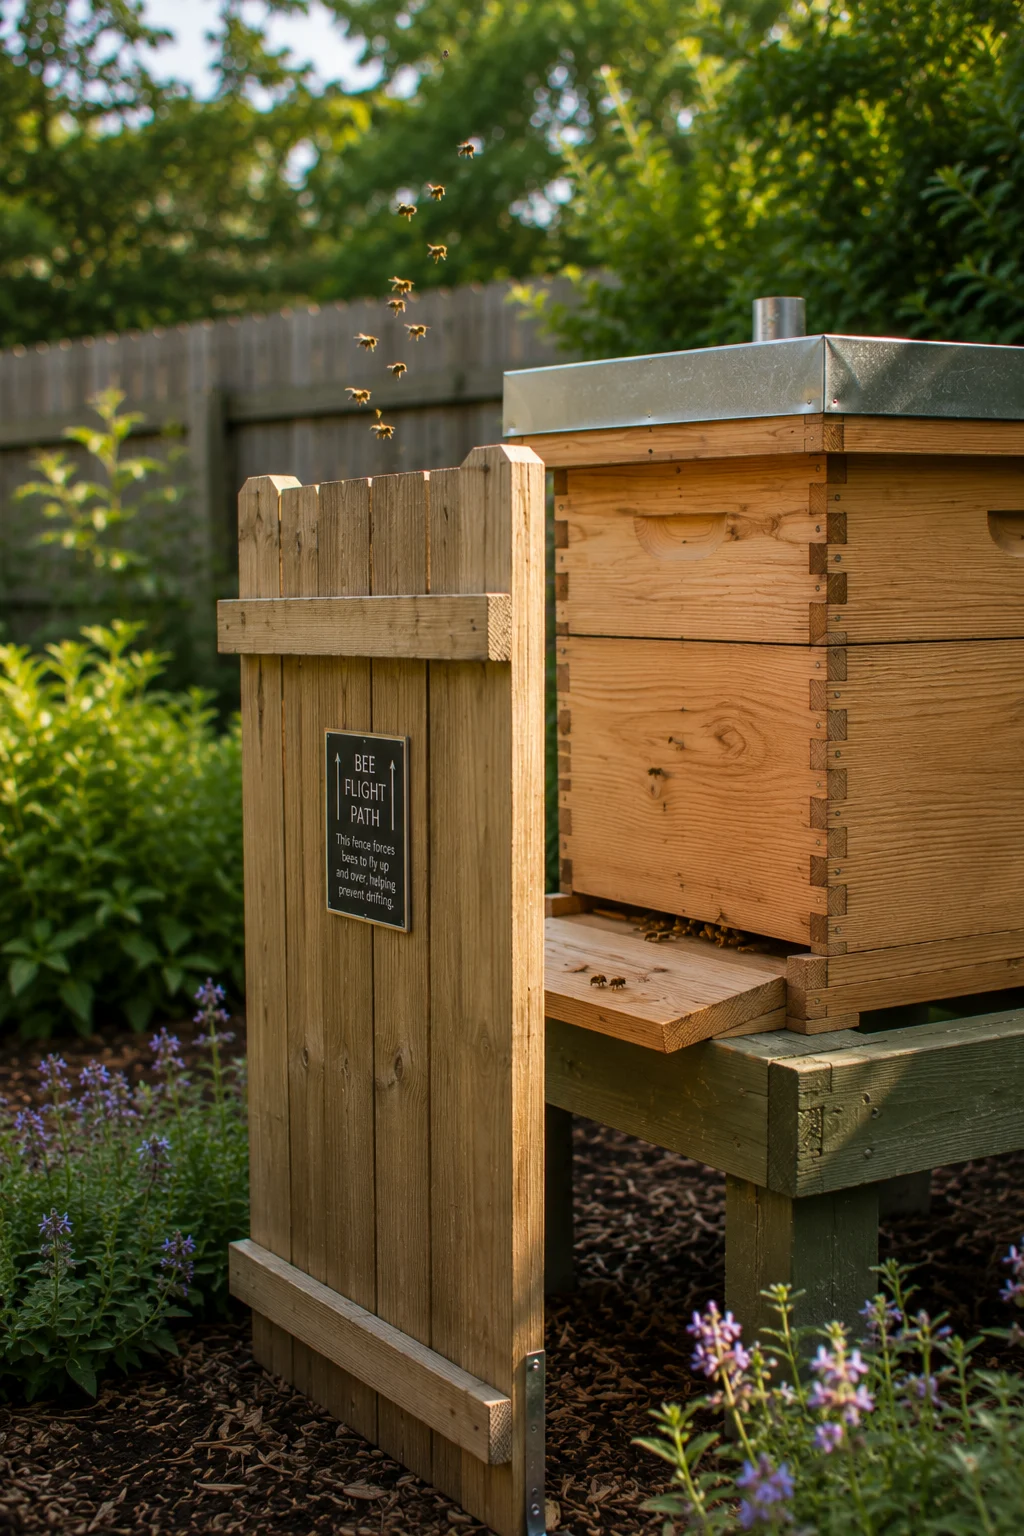
4. Install a Fly-Up Barrier
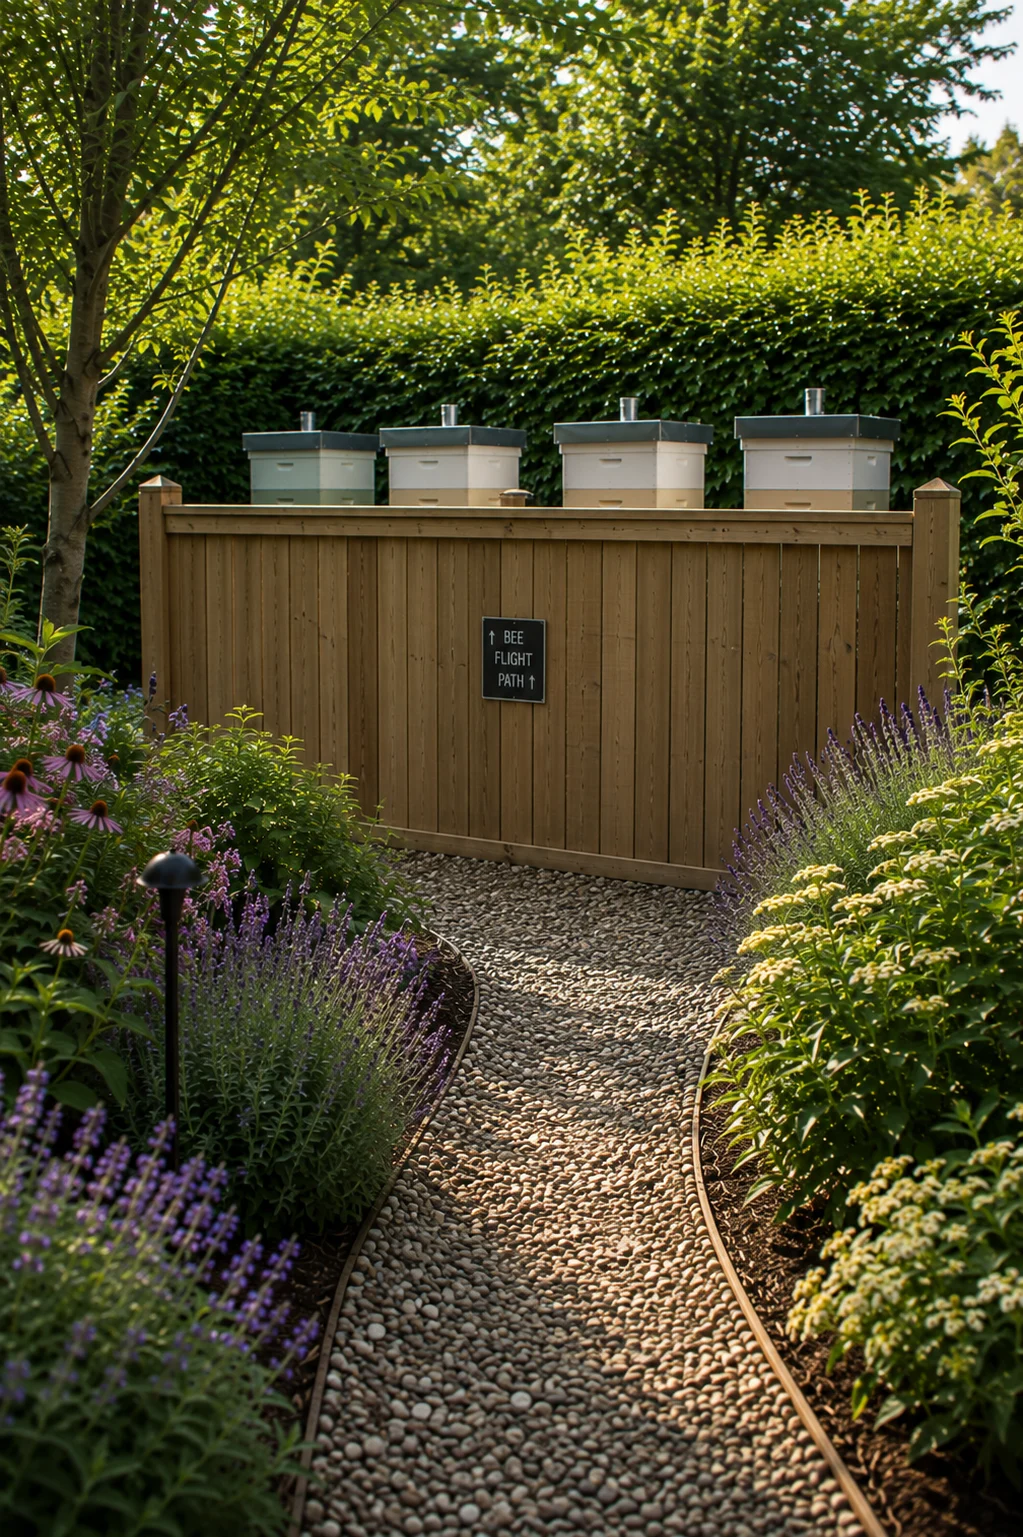
A tall hedge or fence panel positioned a few feet in front of hive entrances forces bees to fly up and over human head height before leveling off — a simple fix that meaningfully reduces flight-path conflicts in small yards, as detailed in our backyard hive placement guide.
5. Group Hives in Small, Spaced Clusters
Rather than lining hives in a single row, group them in twos or threes with a few feet of walking space between clusters. This makes it easier to work one hive without disturbing its neighbor and gives you clearer sightlines during inspections.
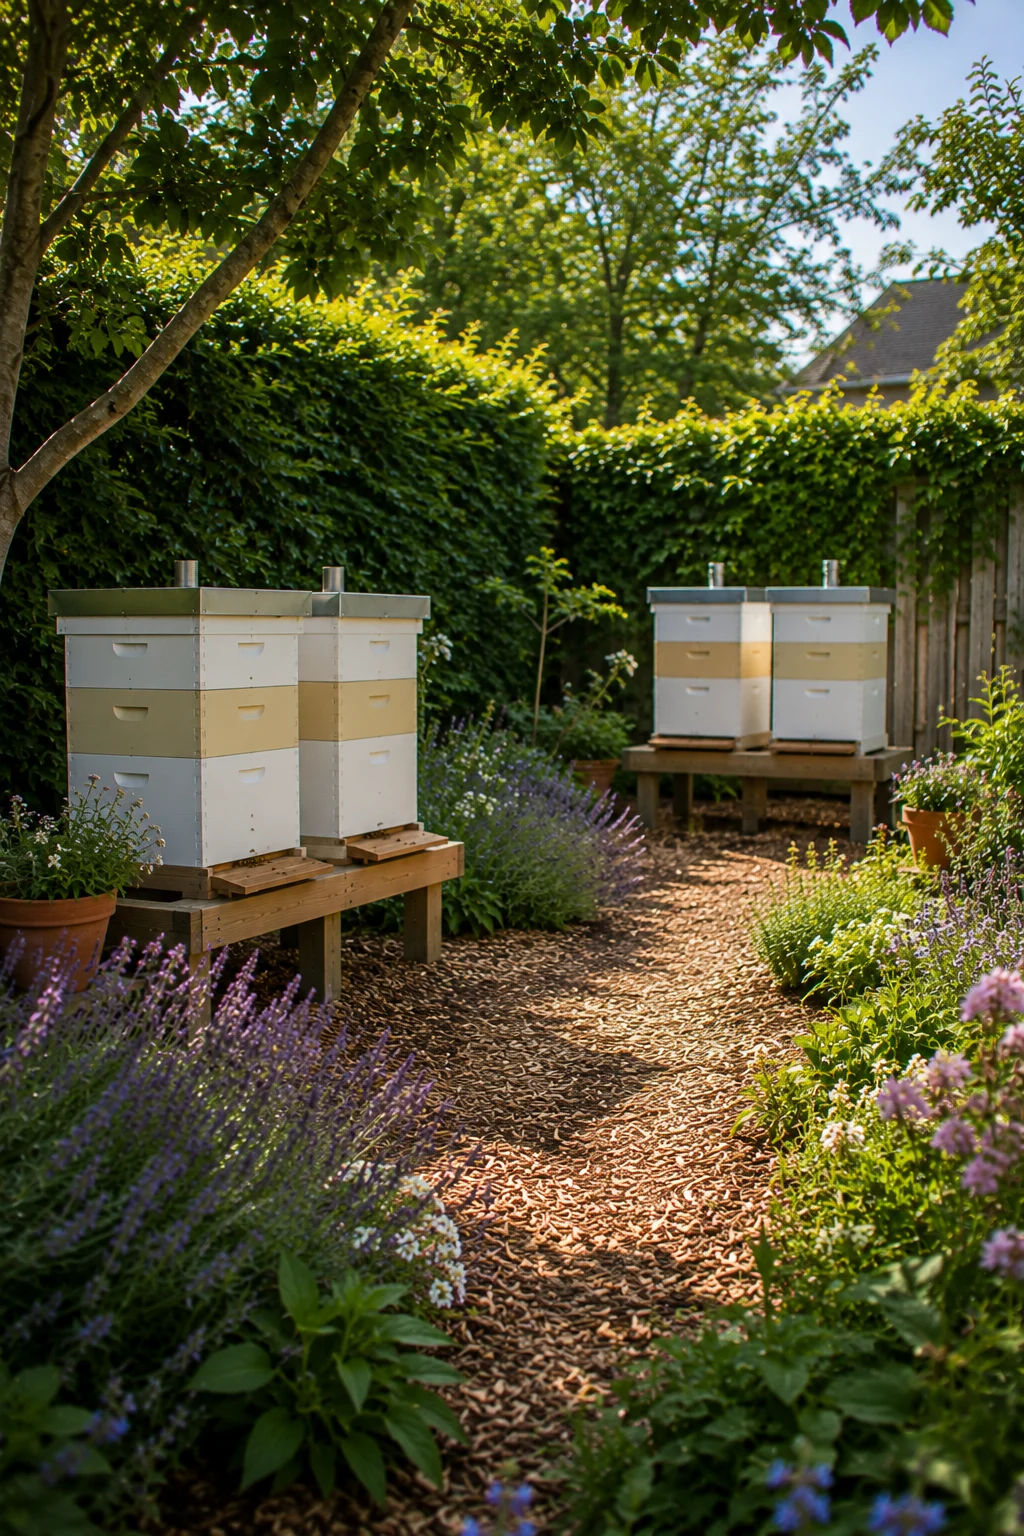
6. Mow or Pave a Dedicated Access Path
A defined path to the hives — mowed grass, gravel, or stepping stones — keeps you from repeatedly walking through tall, damp vegetation while carrying equipment, and reduces how often you’re brushing against the hive stands themselves.
Workflow & Equipment
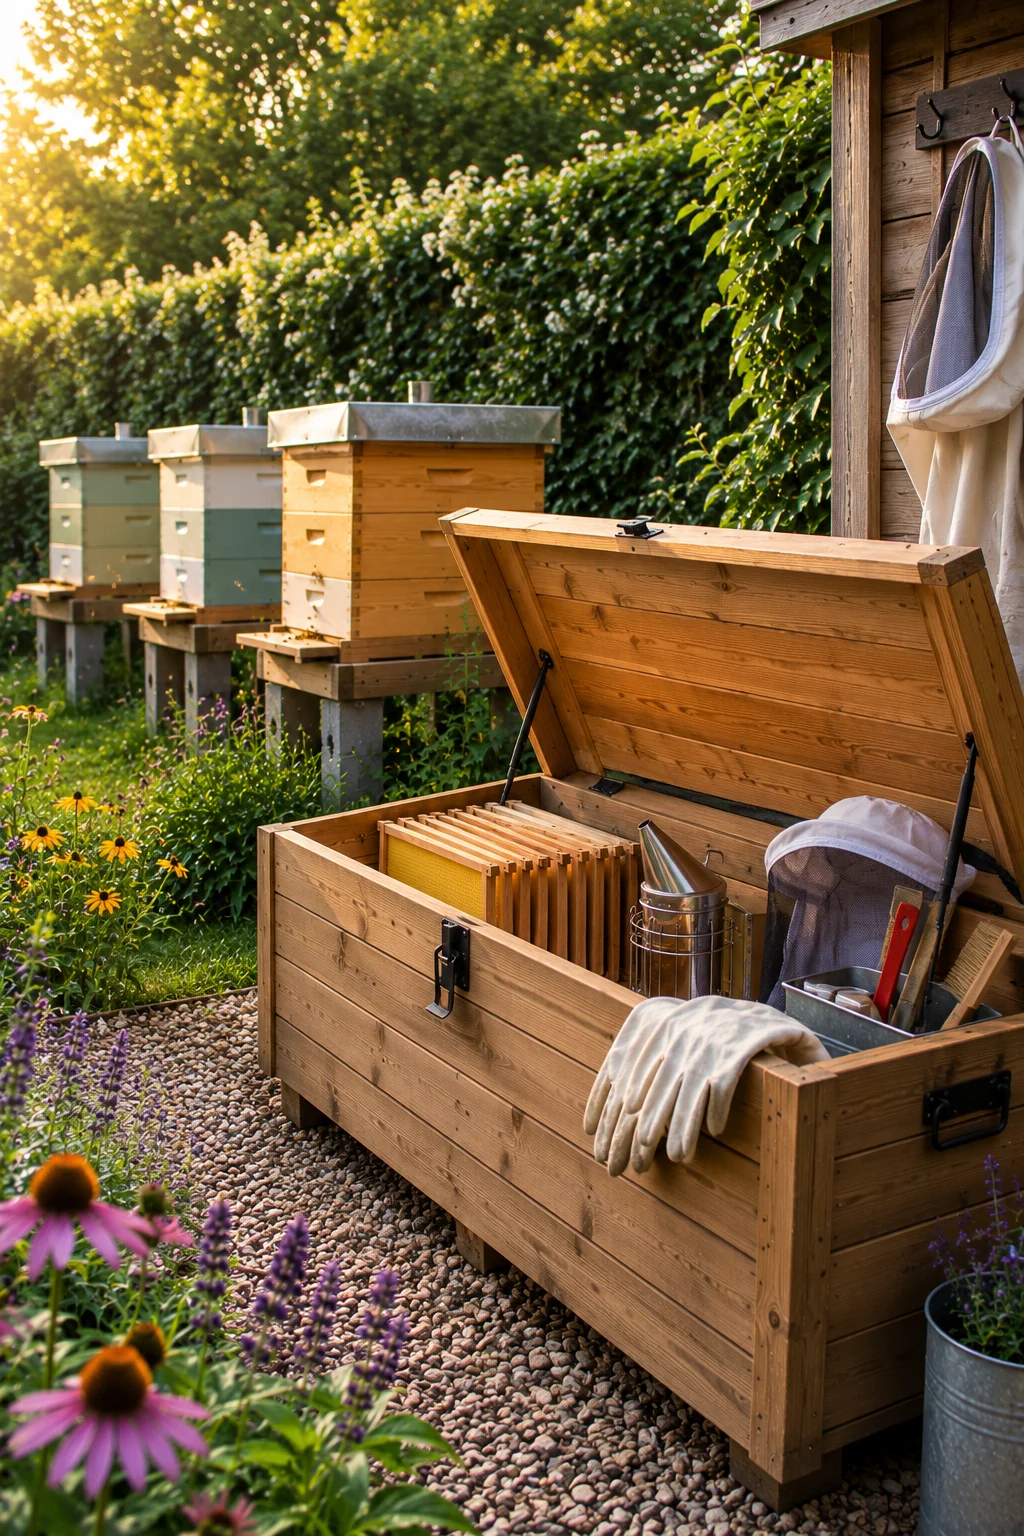
7. Build a Simple Equipment Storage Box
A weatherproof box near the apiary — even a repurposed trunk — for spare frames, gloves, and hive tools saves repeated trips back to the garage mid-inspection.
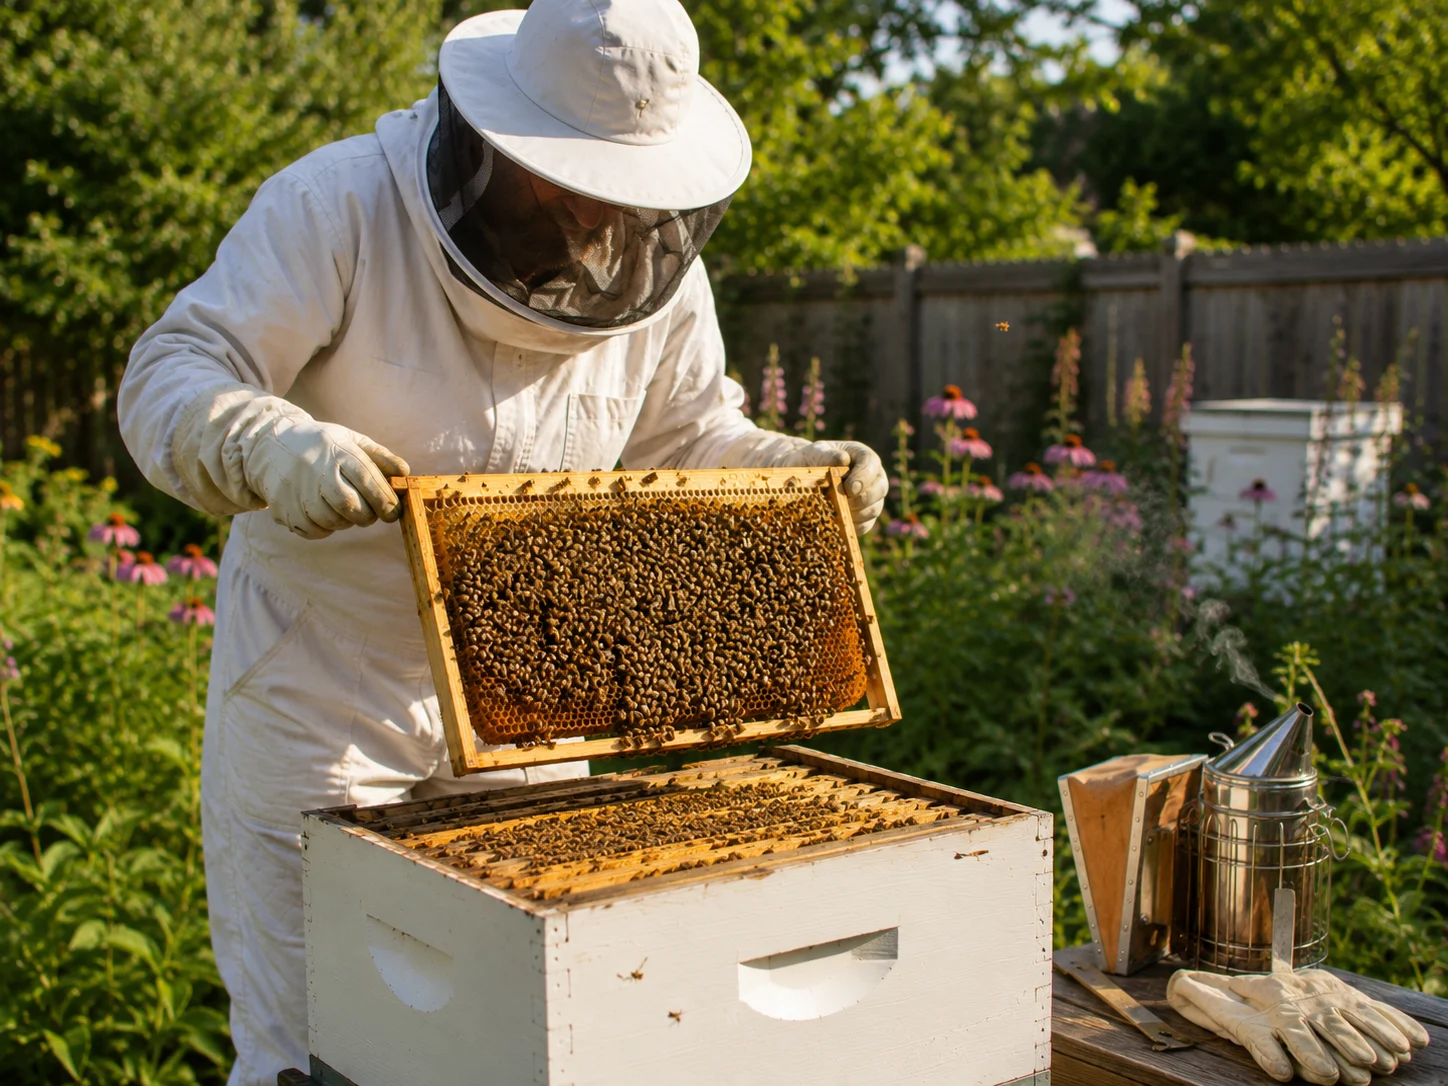
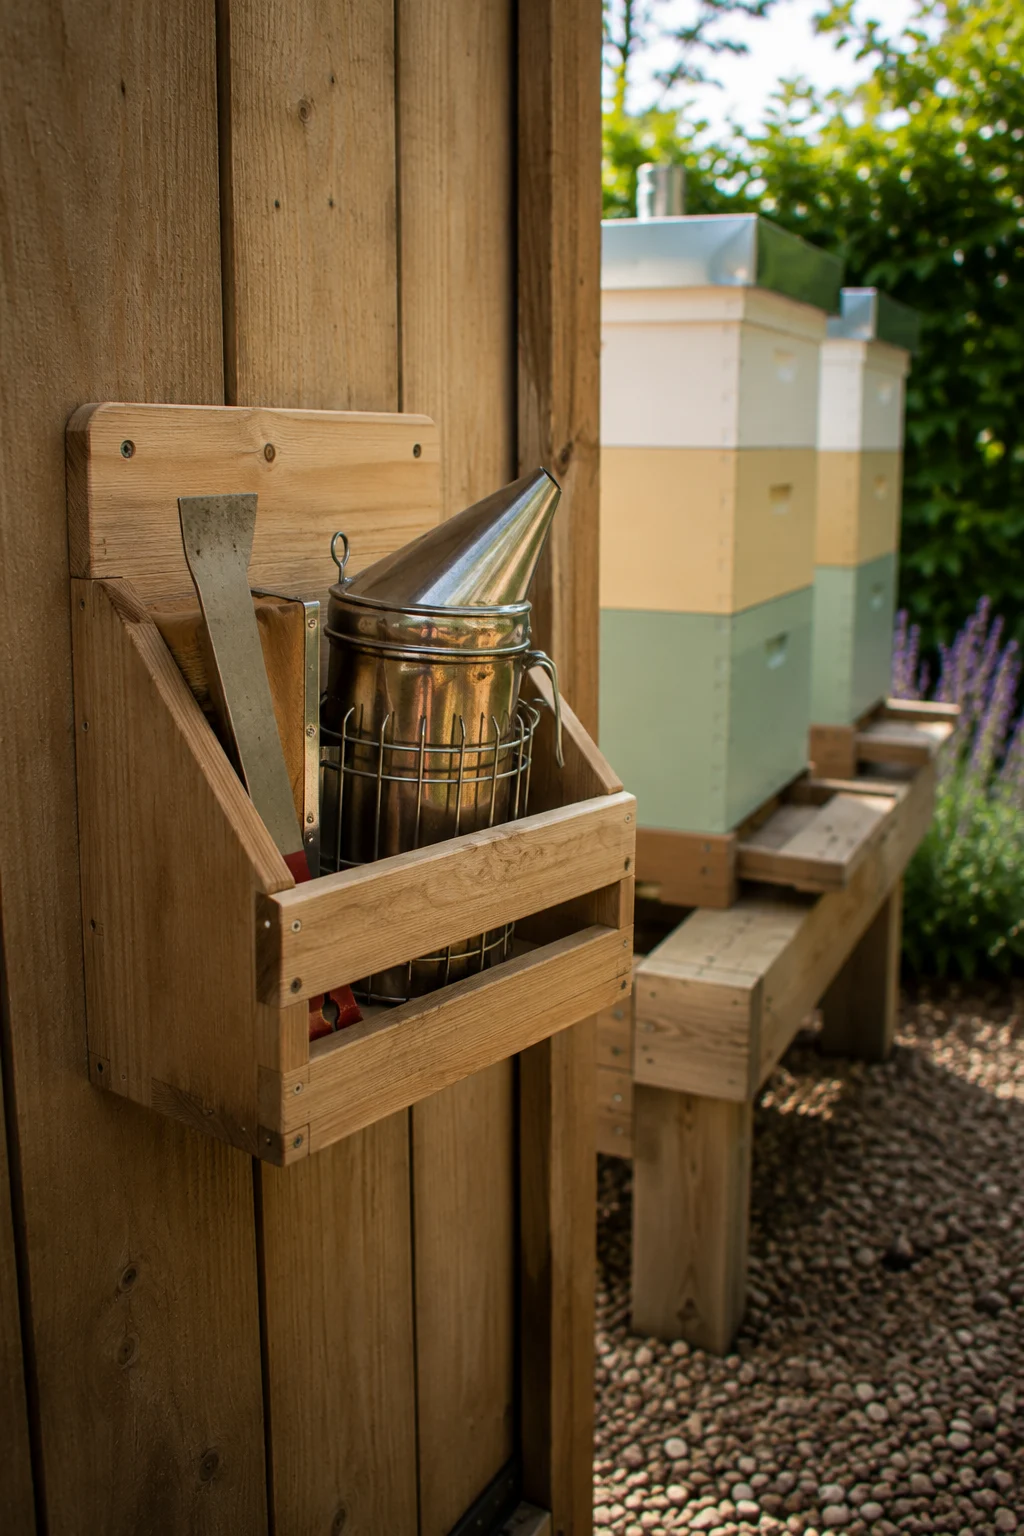
8. Add a Smoker and Hive-Tool Caddy
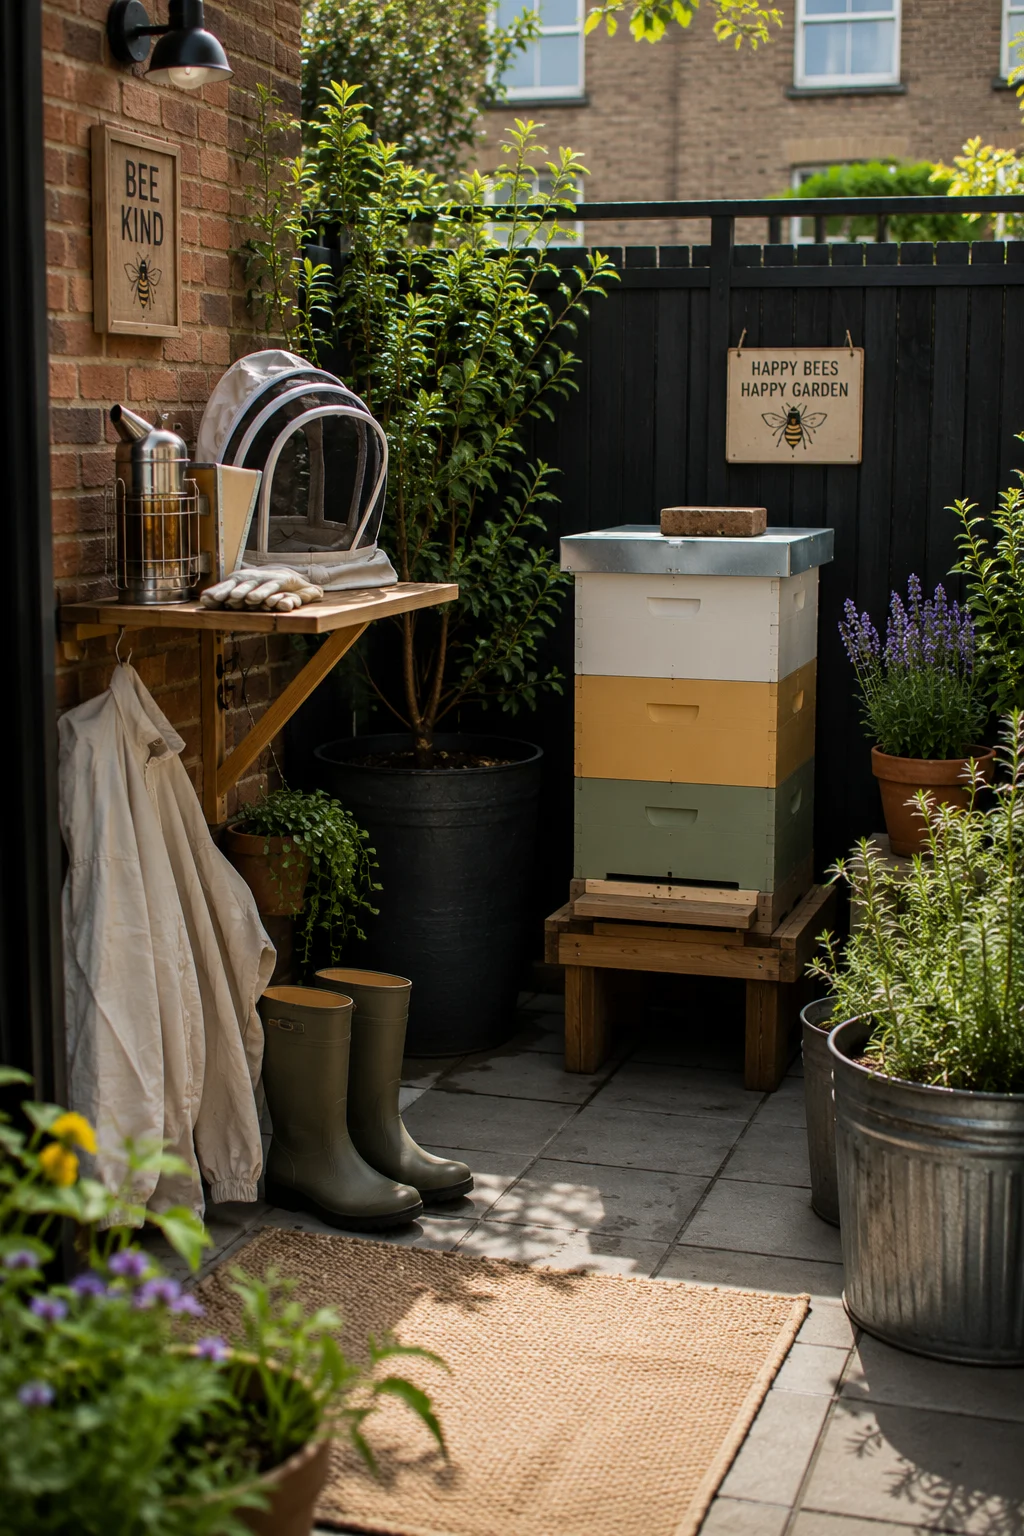
A small hook, bracket, or dedicated shelf near the hive stand keeps your smoker upright and your hive tool within reach instead of balanced on a hive lid.
9. Set Up a Suiting-Up Station
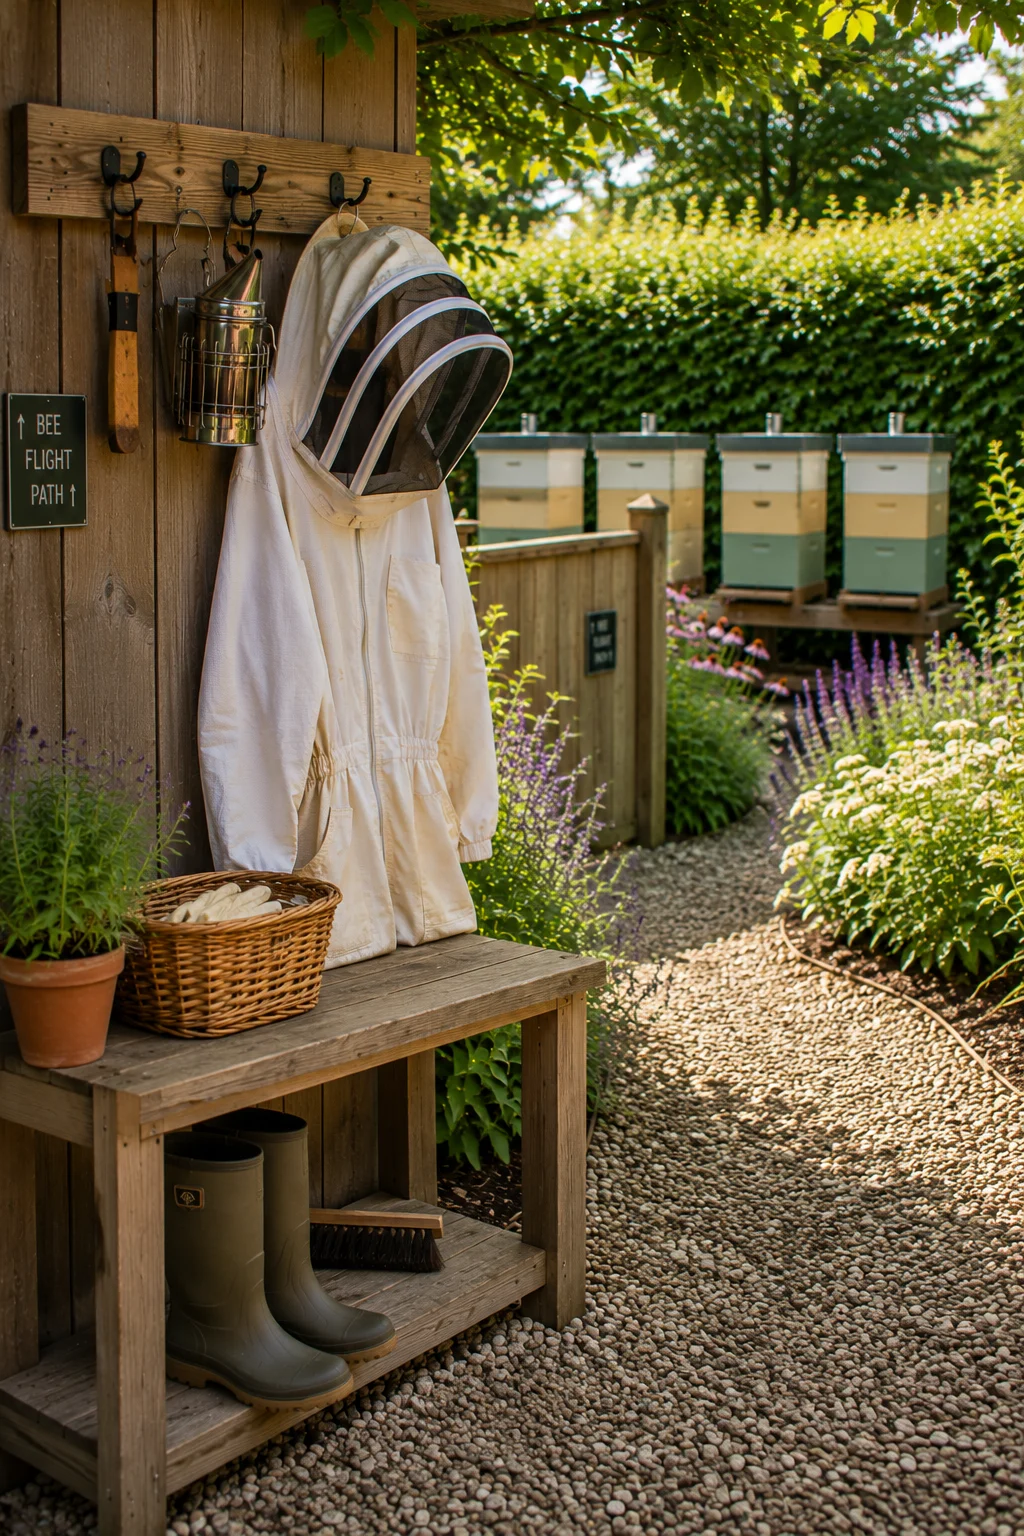
A hook for your suit, a bench for boots, and a small mirror near the entry point to the apiary turns gearing up into a fast, repeatable routine rather than a scramble.
10. Keep a Dedicated Water Station Nearby
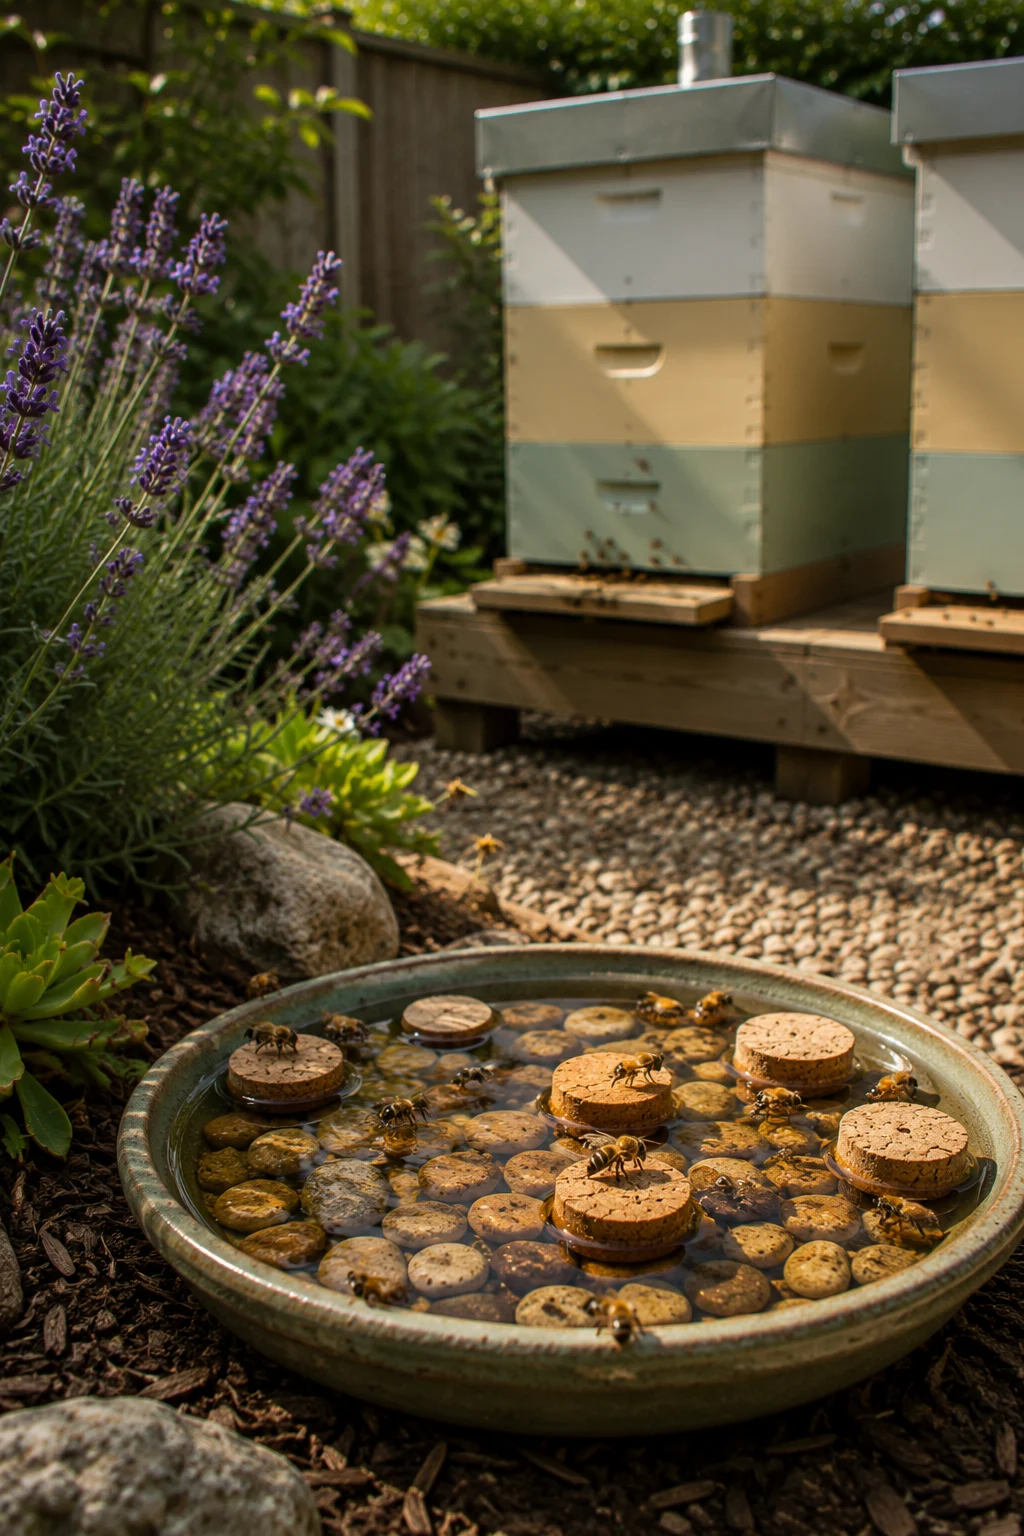
A shallow water source with landing material — pebbles, floating cork, or marginal plants — reduces the chance bees turn to a neighbor’s pool or birdbath instead.
11. Store Extra Supers Off-Site or in a Dry Shed
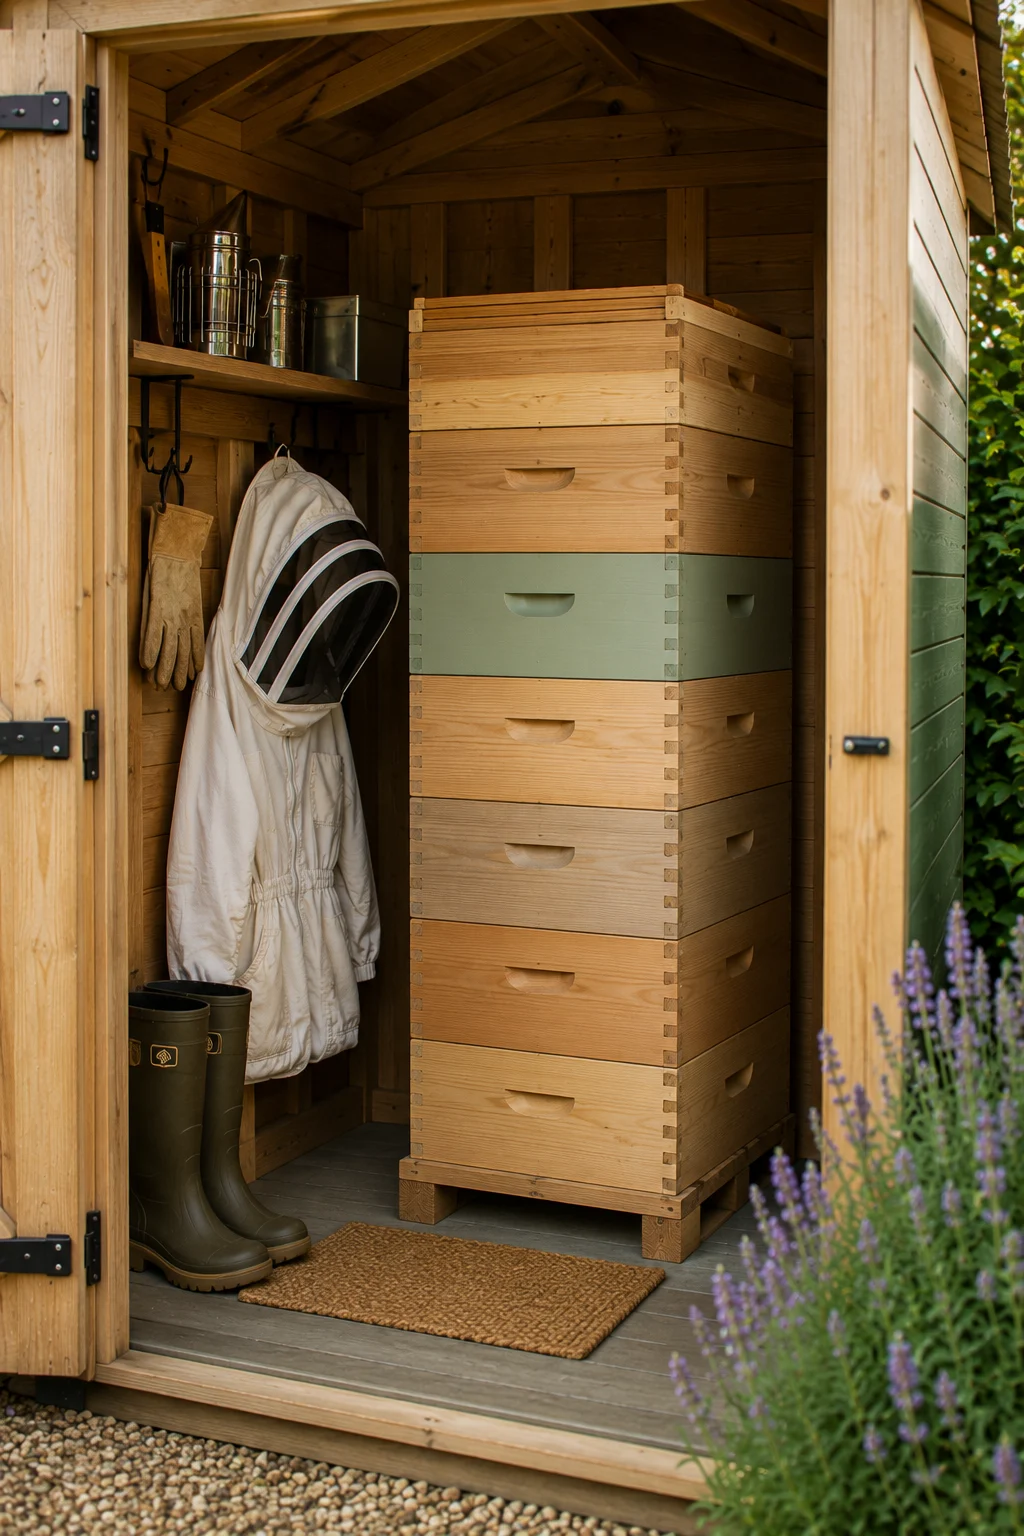
Keeping unused equipment dry and pest-free (away from wax moths and mice) means it’s ready to go the moment a colony needs more room, instead of needing repair mid-season.
Protection & Neighbor Management
12. Fence the Apiary Separately From the Rest of the Yard
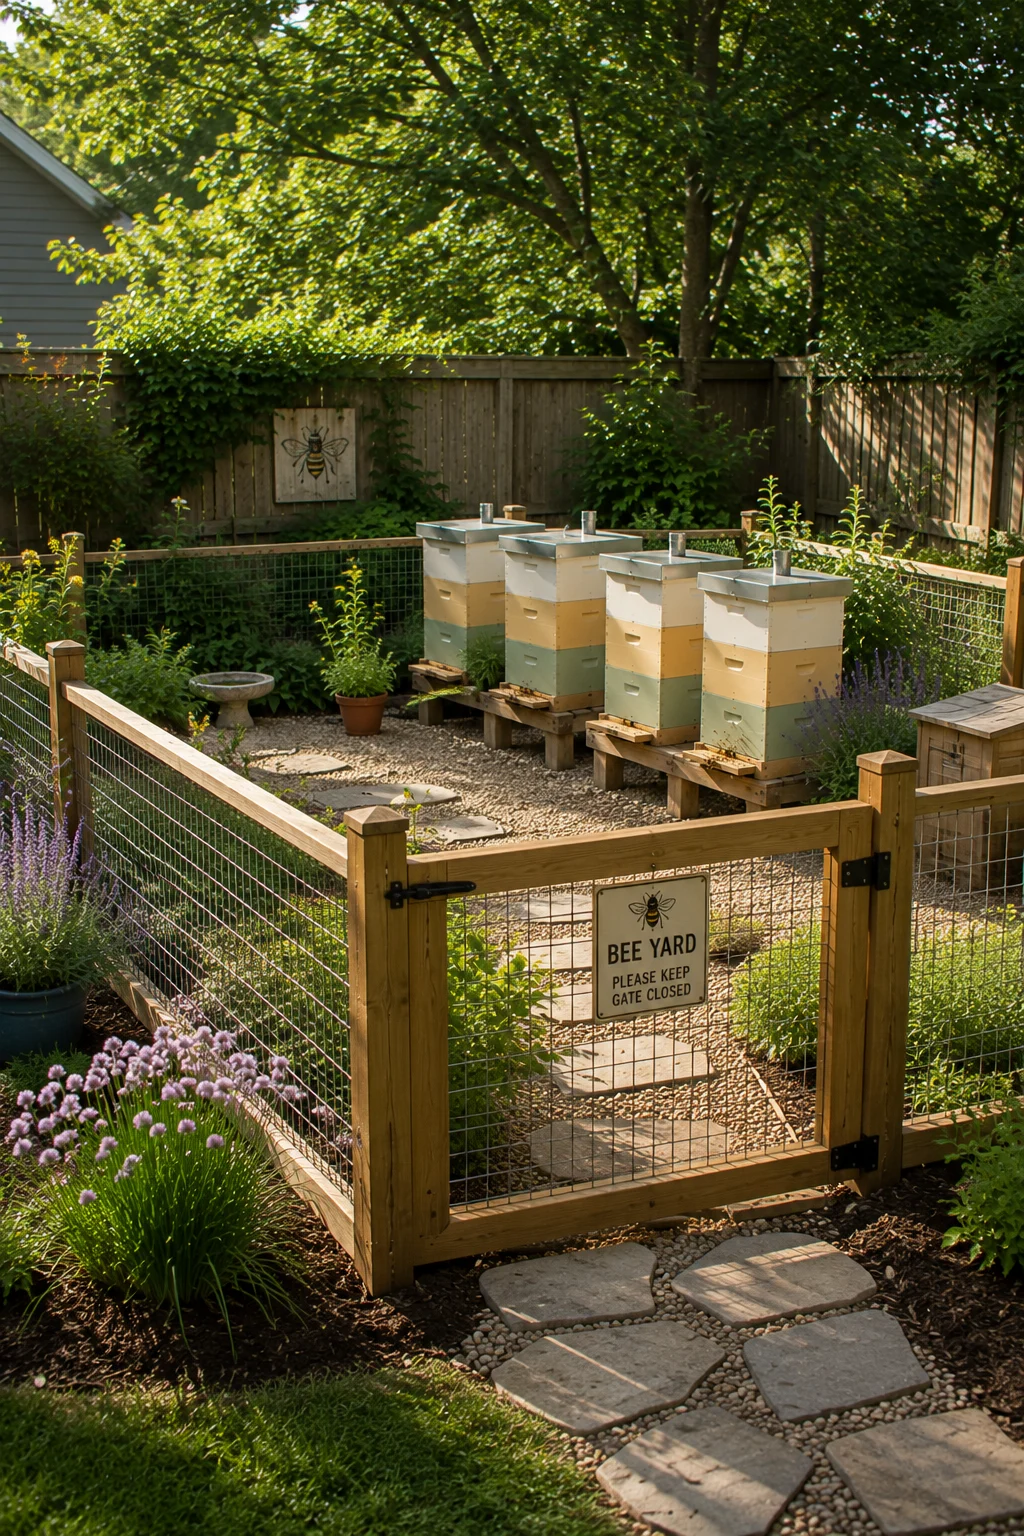
A simple perimeter fence around just the hive area — separate from your main yard fence — adds a layer of control over who walks near the hives and reinforces the flight-path barriers already in place.
13. Install Robbing Screens Before You Need Them
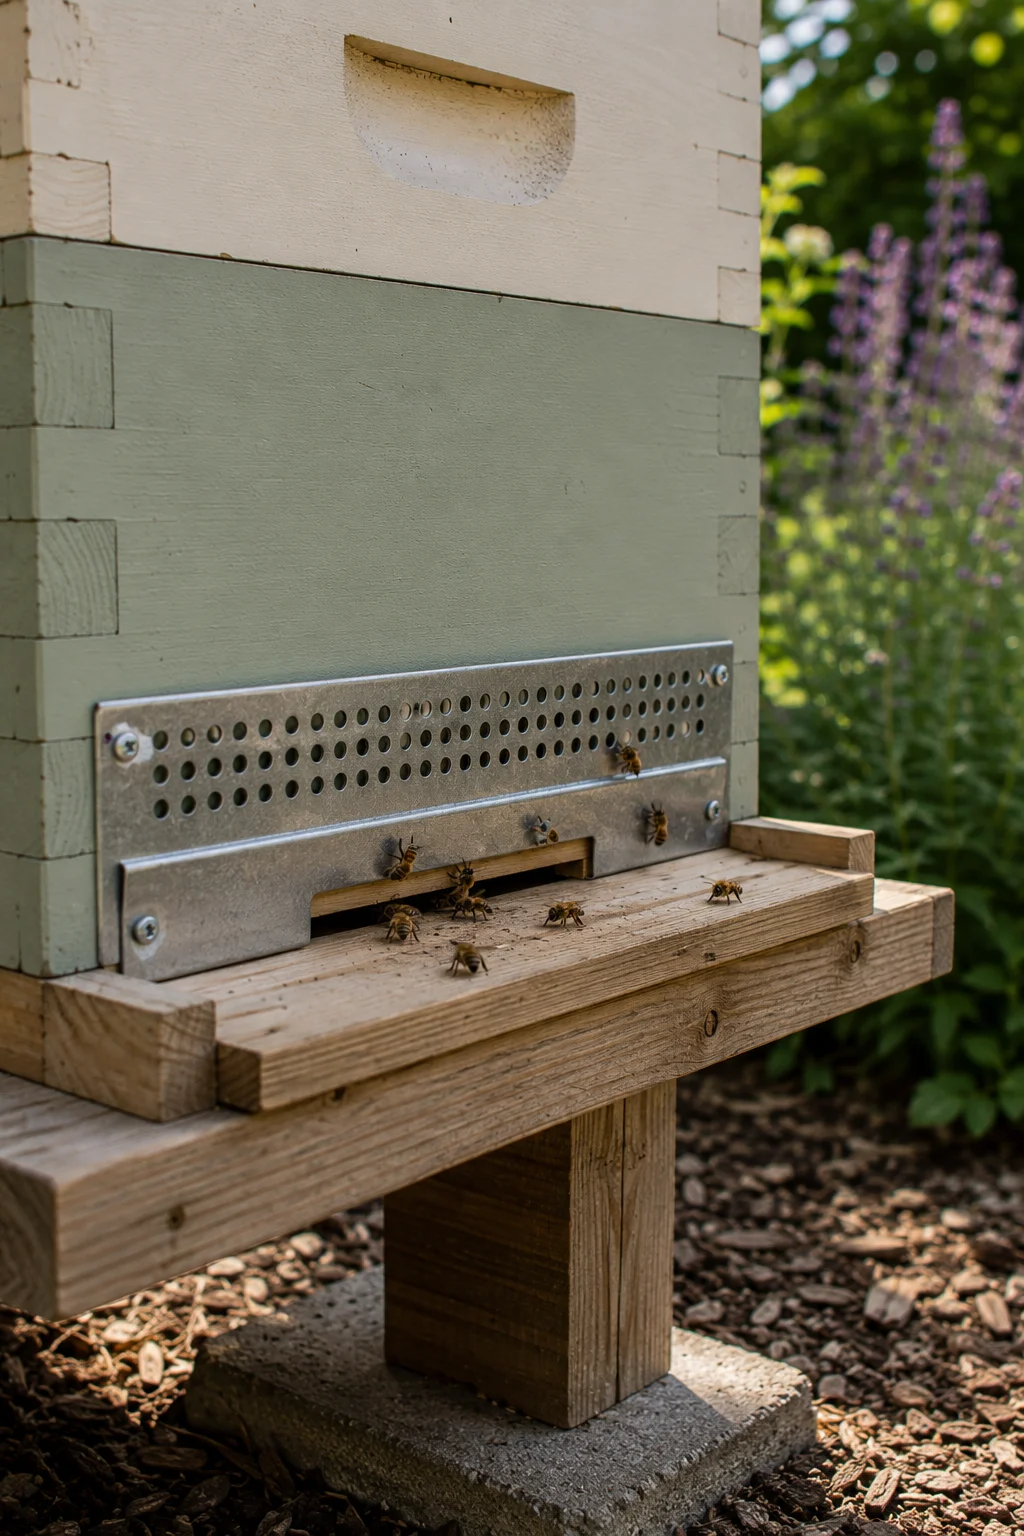
Rather than reacting once robbing starts, build entrance reducers or robbing screens into your setup from the start, especially on weaker colonies during nectar dearths.
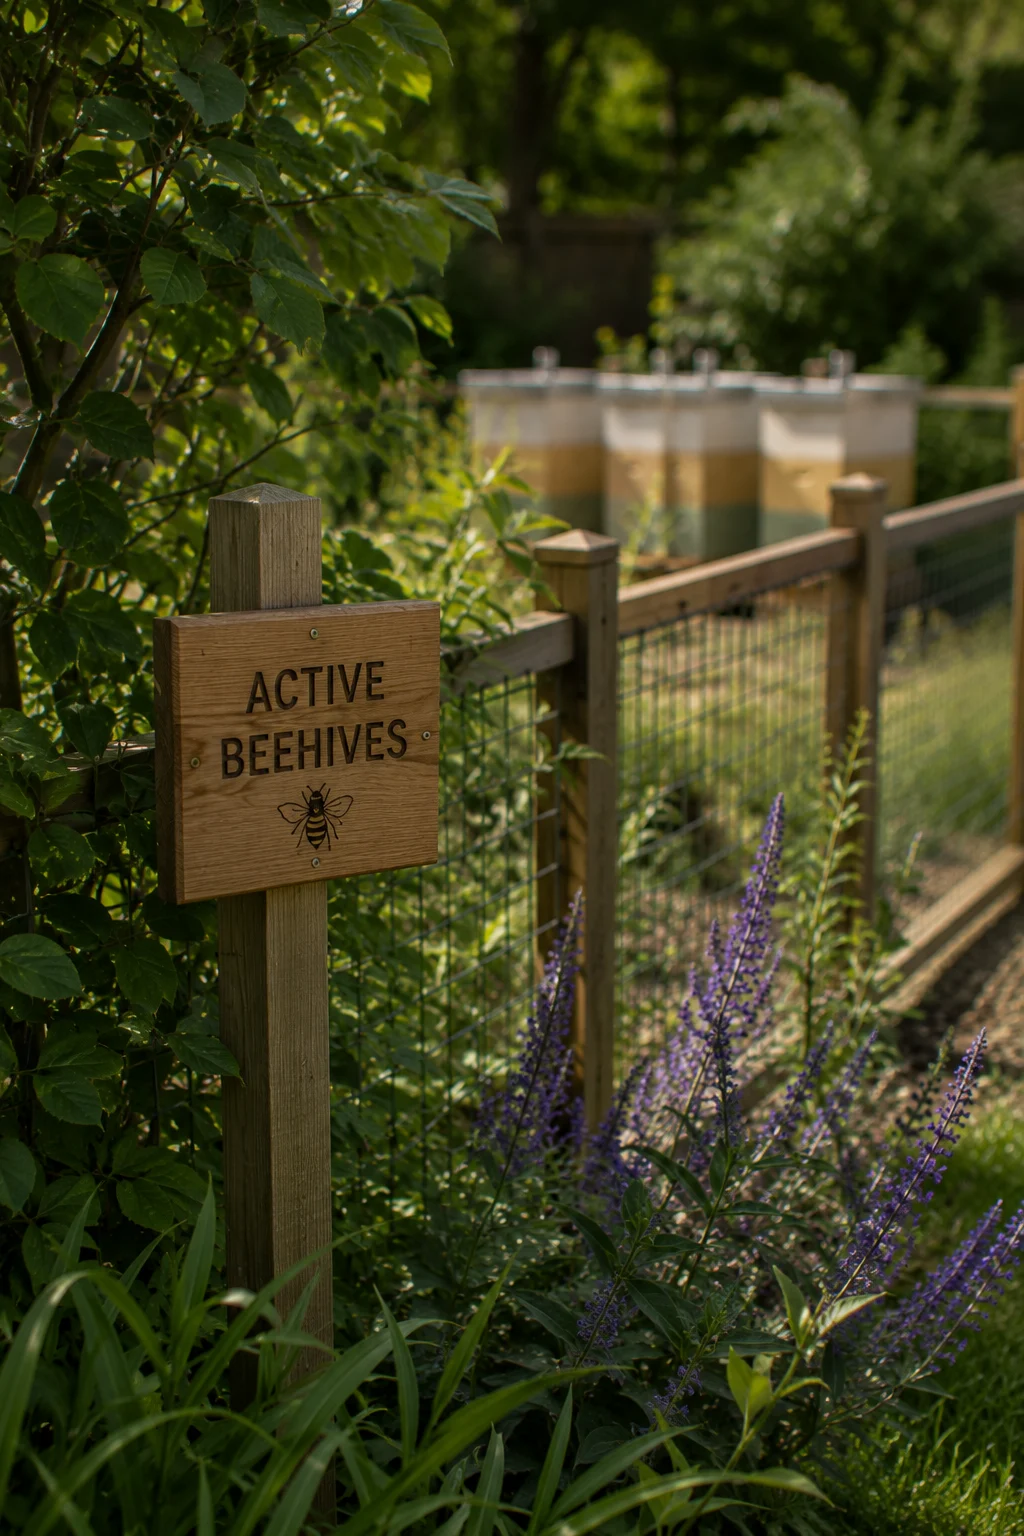
14. Add Signage for Legal and Neighbor Clarity
A small, unobtrusive sign noting “active beehives” near the apiary boundary can prevent accidental encounters from landscapers, delivery workers, or curious guests, and shows good-faith effort if a neighbor ever raises a concern.
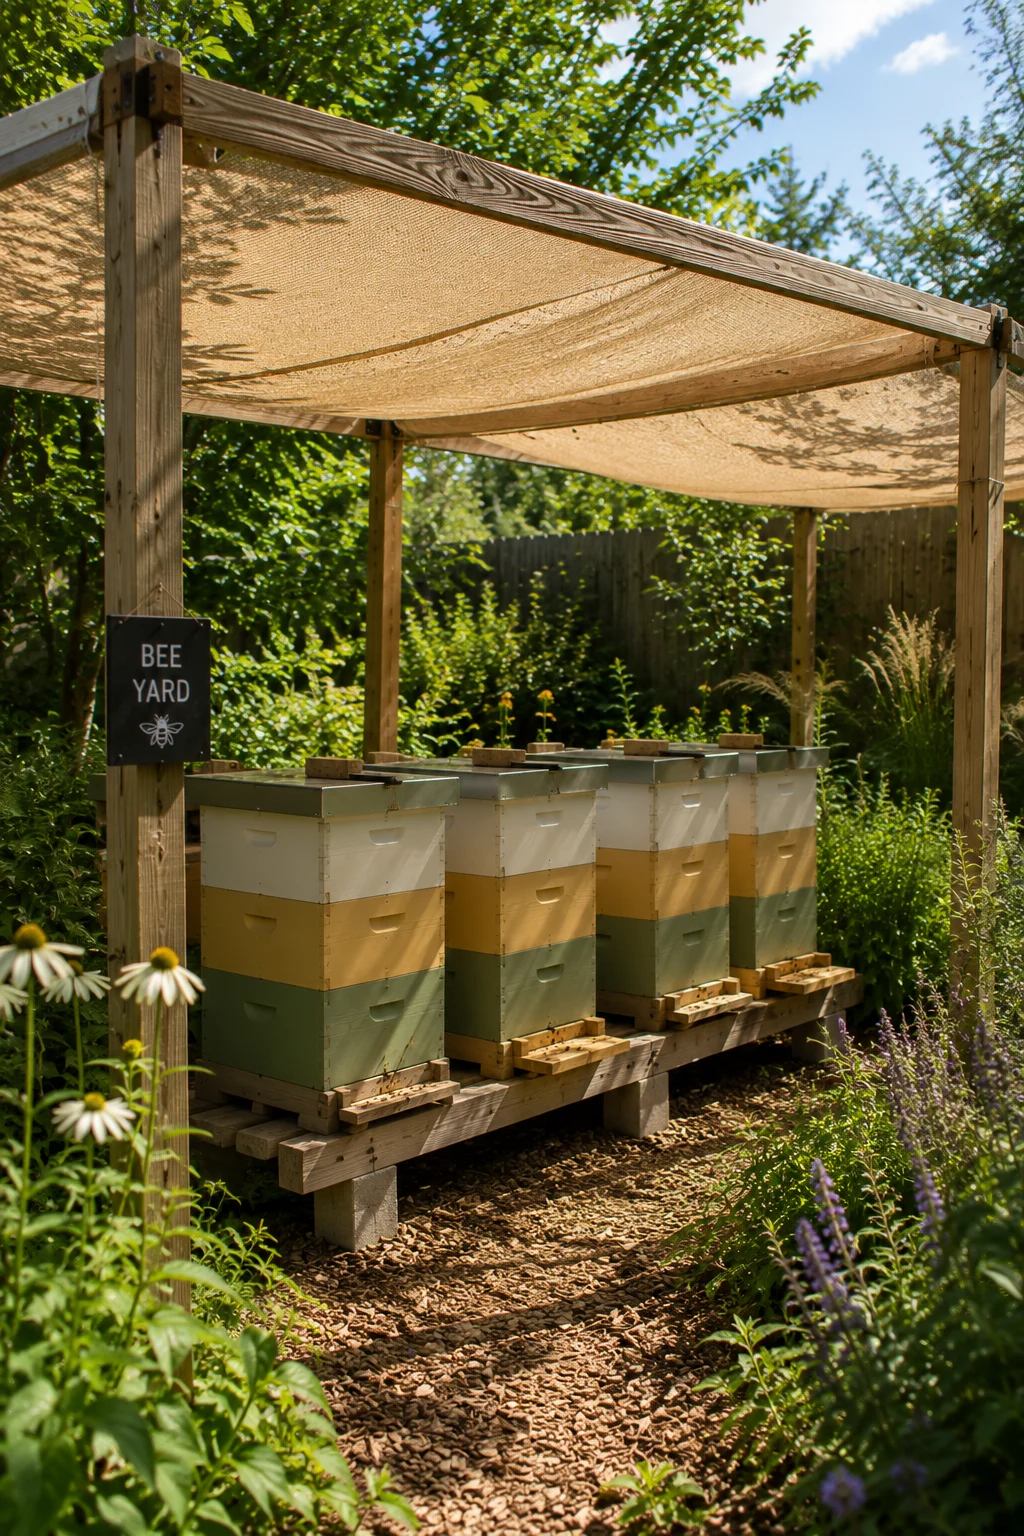
15. Plan a Shade Structure for Heat Waves
A simple shade cloth, pergola, or strategically placed tree canopy over hives — without blocking airflow — reduces the risk of overheating on the hottest days of summer, an increasingly common stressor covered in more depth in our heatwave hive protection guide.
Seasonal & Small-Space Adjustments
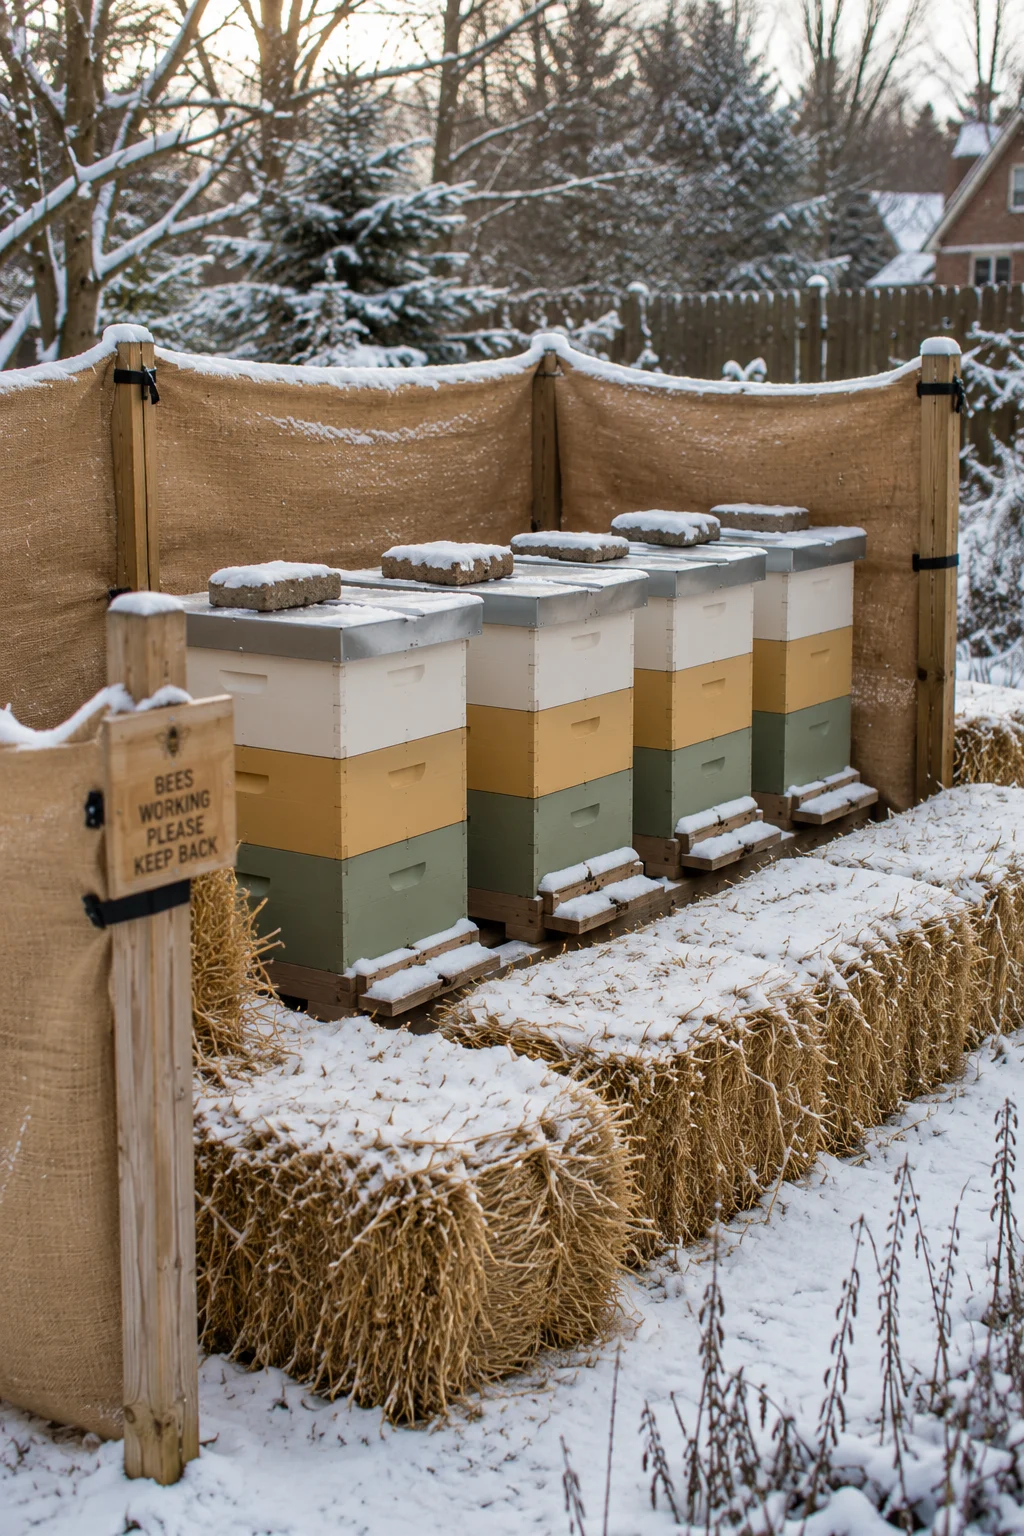
16. Build In a Winter Wind-Block Routine
Beyond a permanent hedge, a removable straw bale or burlap wind-block added each fall and removed each spring adds a low-cost seasonal layer of protection without permanently altering the yard.
17. Adapt the Setup for Rooftops or Tiny Yards
In truly small spaces, a compact, single-hive setup with a portable stand, a fold-down suiting-up shelf, and a container-based forage patch nearby can replicate most of the ideas above at a fraction of the footprint. According to guidance from university-affiliated extension apiculture programs, urban and small-space colonies benefit especially from clear flight-path management and consistent water access, since neighboring properties tend to be much closer than in rural settings (Cornell Cooperative Extension beekeeping resources).
Setup Mistakes Worth Avoiding
A few recurring mistakes undo even a well-planned apiary layout:
- Skipping the fly-up barrier because the yard “feels big enough.” Flight paths matter regardless of yard size — a barrier is cheap insurance against future complaints.
- Storing equipment too far from the hives. If gear lives in a garage across the yard, inspections take longer and small tasks get postponed simply because the walk feels like a chore.
- Placing water sources too close to the hive entrance. Bees will use it, but it can also concentrate moisture and traffic right where you need clear space to work — a few feet of separation is usually better.
- Treating the setup as permanent. Apiary layouts should flex with the seasons: what works in summer shade may need adjusting once winter wind direction changes, and a setup built for one hive rarely scales cleanly to three without revisiting spacing.
Putting the Setup Together
You don’t need all 17 ideas to have a functional apiary — most backyard beekeeping setups improve dramatically with just a handful of changes: a hive stand, a wind or fly-up barrier, a dedicated water source, and somewhere consistent to keep your tools. Add the rest as your setup matures or as specific problems come up, whether that’s a heatwave, a curious neighbor, or simply running out of storage space for extra frames.
Final Thoughts
A good beekeeping setup isn’t about how much equipment you own — it’s about how well the space around your hives supports the actual work of keeping bees. Get placement, workflow, and protection right first, then adapt for your climate and your yard size. A thoughtfully arranged apiary, even a small one, will save you time on every single inspection for years to come.