
Beginner beekeeping feels straightforward until the bees arrive. The hive looks manageable in pictures, the equipment makes sense in theory, and the idea of producing your own honey is genuinely exciting. Then the first inspection happens, and nothing works quite the way the books described.
Most new beekeepers share a common experience: the information they needed most was not on the product pages, not in the beginner guides, and not in the YouTube tutorials. It was the kind of knowledge that only comes from having already made the mistake — from standing in front of a hive that’s doing something unexpected and not knowing what to do next.
This article collects the 21 pieces of knowledge that most consistently catch first-year beekeepers off guard. Some are practical. Some are about mindset. Some concern equipment choices that seem minor at purchase but matter enormously six months later. All of them are the sort of thing experienced beekeepers wish someone had told them at the start.
Before You Get Bees
1. Check local regulations before you do anything else
Many new beekeepers spend months researching hive types, ordering equipment, and reading books before discovering that keeping bees in their location requires registration, a permit, or explicit property owner consent. In some municipalities, beekeeping is restricted by zoning rules or homeowner association agreements that are not always clearly publicized.
Registration requirements vary significantly by country, region, and even city. In some places, registration is mandatory and provides access to government-funded disease inspections. In others, it is voluntary but strongly recommended because it connects new beekeepers with local support networks. Before investing in any equipment, verify what your local regulations require, confirm that your property size and layout are appropriate, and — if you rent — get written permission from your landlord. Discovering a legal problem after bees have already arrived is both stressful and expensive.
2. Join a local beekeeping association before buying anything
The single highest-return action a new beekeeper can take costs nothing. Local beekeeping associations offer mentorship programs, hands-on training days, discounted equipment, and direct access to experienced beekeepers who know the local forage, the local disease pressures, and the local suppliers worth trusting.
New beekeepers who learn from experienced mentors in real hives develop practical skills far faster than those who learn entirely from books and videos. There is no substitute for standing next to someone who can point at a frame and say “that’s normal” or “that needs attention” — those calibrations take years to develop alone and hours to absorb from a competent mentor. Many associations also run nucleus colony sales in spring, which gives beginners access to established local colonies rather than package bees from distant suppliers, read our guide to Small Backyard Beekeeping: What You Need Before You Start.
3. The first year costs significantly more than most guides suggest
Equipment guides often list the cost of a single hive setup and present it as the total investment. In practice, first-year beekeeping consistently costs more than these estimates suggest once all expenses are accounted for: the hive itself, a second brood box, a super, protective clothing, a smoker, a hive tool, a bee brush, a feeder, treatments for Varroa mites, medications if disease occurs, the cost of nucleus colonies or package bees, and replacements for the equipment that breaks, doesn’t fit, or turns out to be the wrong type.
Budgeting generously from the start prevents the frustrating situation of having a hive that needs a second box or a new feeder and not having the funds available at the moment it matters. Most experienced beekeepers recommend budgeting at least one and a half times the figure quoted in beginner guides and treating that figure as realistic rather than pessimistic.
4. Two hives are better than one from the beginning
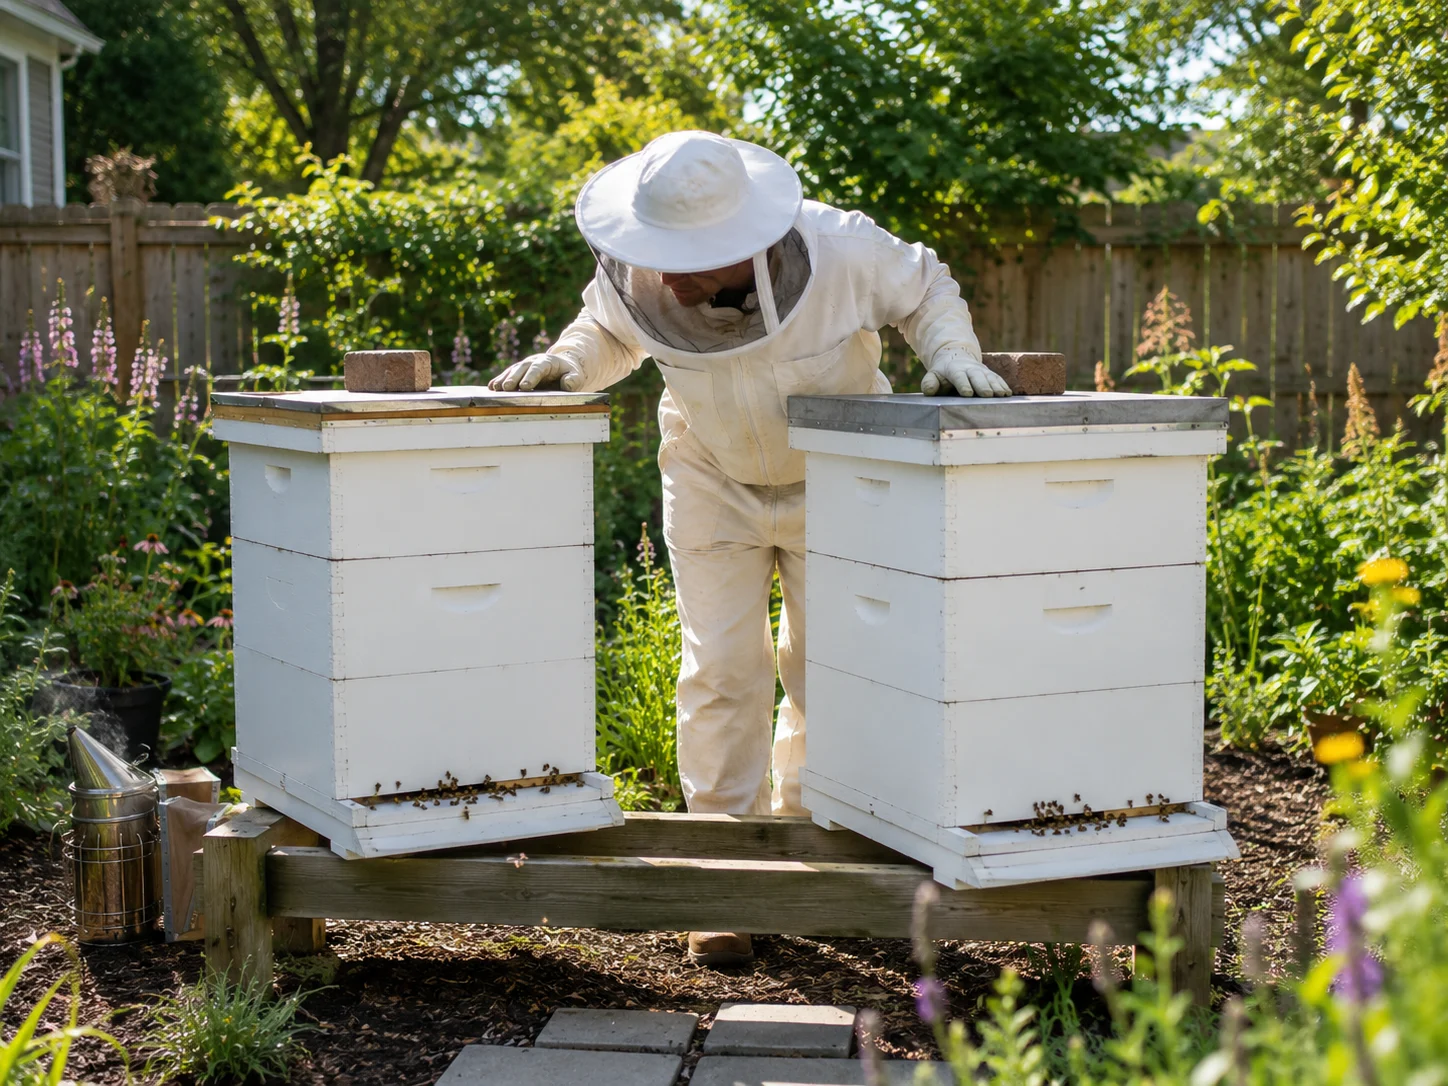
New beekeepers commonly start with a single hive because it seems like a more manageable and less expensive entry point. This is understandable but creates a practical problem: a single hive gives no reference point. When something looks unusual, there is nothing to compare it against. With two hives, a beekeeper can immediately see whether what they are observing is specific to one colony or a broader pattern. They can also transfer resources between colonies — a frame of capped brood from a strong hive can help a struggling one recover — and they are protected against the loss of their only colony, which is not uncommon in the first year.
The second hive does not need to be purchased simultaneously if budget is a constraint, but planning for it from the start — buying equipment that is compatible and sourcing bees that will be available in the same season — avoids the delays and complications of adding it later.
Understanding Bees
5. Bees are not predictable, and that is not a management failure
New beekeepers frequently arrive at the hive with expectations formed by books and tutorials and leave confused because the colony did something different. The bees swarmed despite the hive having space. The queen died without warning. The colony built comb in unexpected places. The mood during the inspection was dramatically different from last week with no obvious cause.
Honeybee colonies are living systems shaped by tens of thousands of individuals, seasonal changes, environmental pressures, and genetic factors that no beekeeper fully controls. Experienced beekeepers do not expect bees to behave according to a fixed script — they observe, interpret, and respond to what the colony is actually doing rather than what they expected it to do. Developing this observational flexibility early, rather than trying to impose order on the colony, is one of the most important mindset shifts a new beekeeper can make.
6. The queen is harder to find than you expect
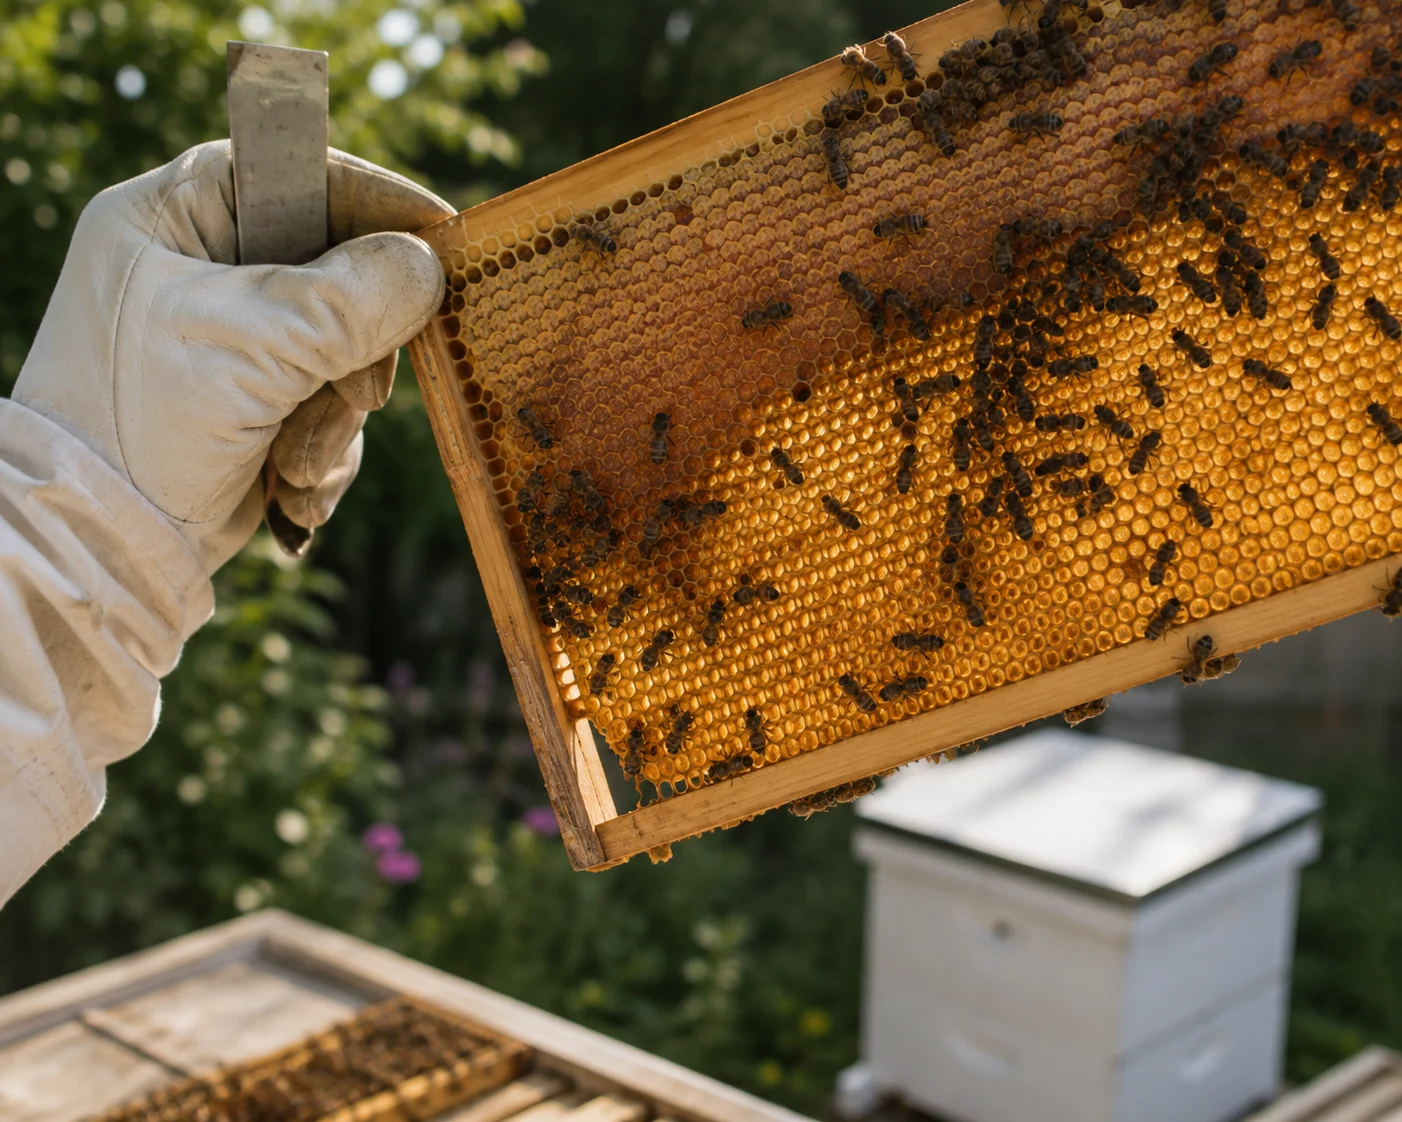
Finding the queen is presented in beginner materials as a routine skill, something to practice until it becomes easy. In practice, many experienced beekeepers with years of inspection experience still lose the queen on a frame for several minutes. She moves constantly, is often surrounded by attendant bees, and can be significantly harder to spot on a busy frame full of capped brood.
New beekeepers who cannot find the queen should not assume she is absent or that something is wrong. A better approach is to look for evidence of her presence — fresh eggs, young larvae, and an orderly pattern of capped brood — rather than focusing entirely on locating her physically. Eggs are the most reliable indicator: they are laid only by a laying queen and remain viable for only three days, so their presence confirms that a queen was active in the hive very recently.
7. Eggs are small and require good conditions to see
Finding eggs sounds straightforward until the first time someone tries it. Eggs are tiny — approximately 1.5 mm long — white, and positioned upright in the base of a cell. Seeing them requires adequate light, the right viewing angle, and practice. Many new beekeepers spend several inspections genuinely unable to see eggs and conclude something is wrong with the hive rather than recognizing that their technique needs adjustment.
The most effective approach is to hold the frame at an angle so that sunlight or bright daylight falls directly into the cells rather than bouncing off the comb surface. Reading glasses or a magnifying loupe can help significantly for beekeepers who find small detail difficult. Inspecting on bright days rather than overcast ones makes a substantial practical difference. Once the eye becomes trained, eggs become reliably visible, but this takes time and the difficulty is normal rather than a sign of a problem.
8. A calm colony can become defensive quickly, and the reasons are not always obvious
New beekeepers are sometimes surprised when a colony that has been calm and easy to manage during previous inspections becomes defensive without apparent cause. Bees respond to a wide range of environmental factors that beekeepers cannot always anticipate or control: approaching thunderstorms, nearby mowing or vibration, a predator that visited the hive overnight, the time of day, the proportion of older forager bees present, and seasonal factors such as a nectar dearth.
When a colony is defensive, closing up the hive calmly and returning later is always a valid choice. Continuing an inspection through sustained defensive behavior — especially without full protective equipment — is the situation that produces most beginner stings. Experienced beekeepers recognize defensive behavior early and respond by finishing quickly, smoking more, or simply walking away. There is no advantage to pushing through when the colony is clearly communicating that conditions are not right.
Equipment and Setup
9. Buy protective equipment that fits and use it every time
The two most common protective equipment mistakes new beekeepers make are buying a suit that does not fit well and then not wearing it consistently because of overconfidence. Both lead to the same outcome: unnecessary stings that make inspections aversive and reduce the likelihood of developing a calm, regular inspection practice.
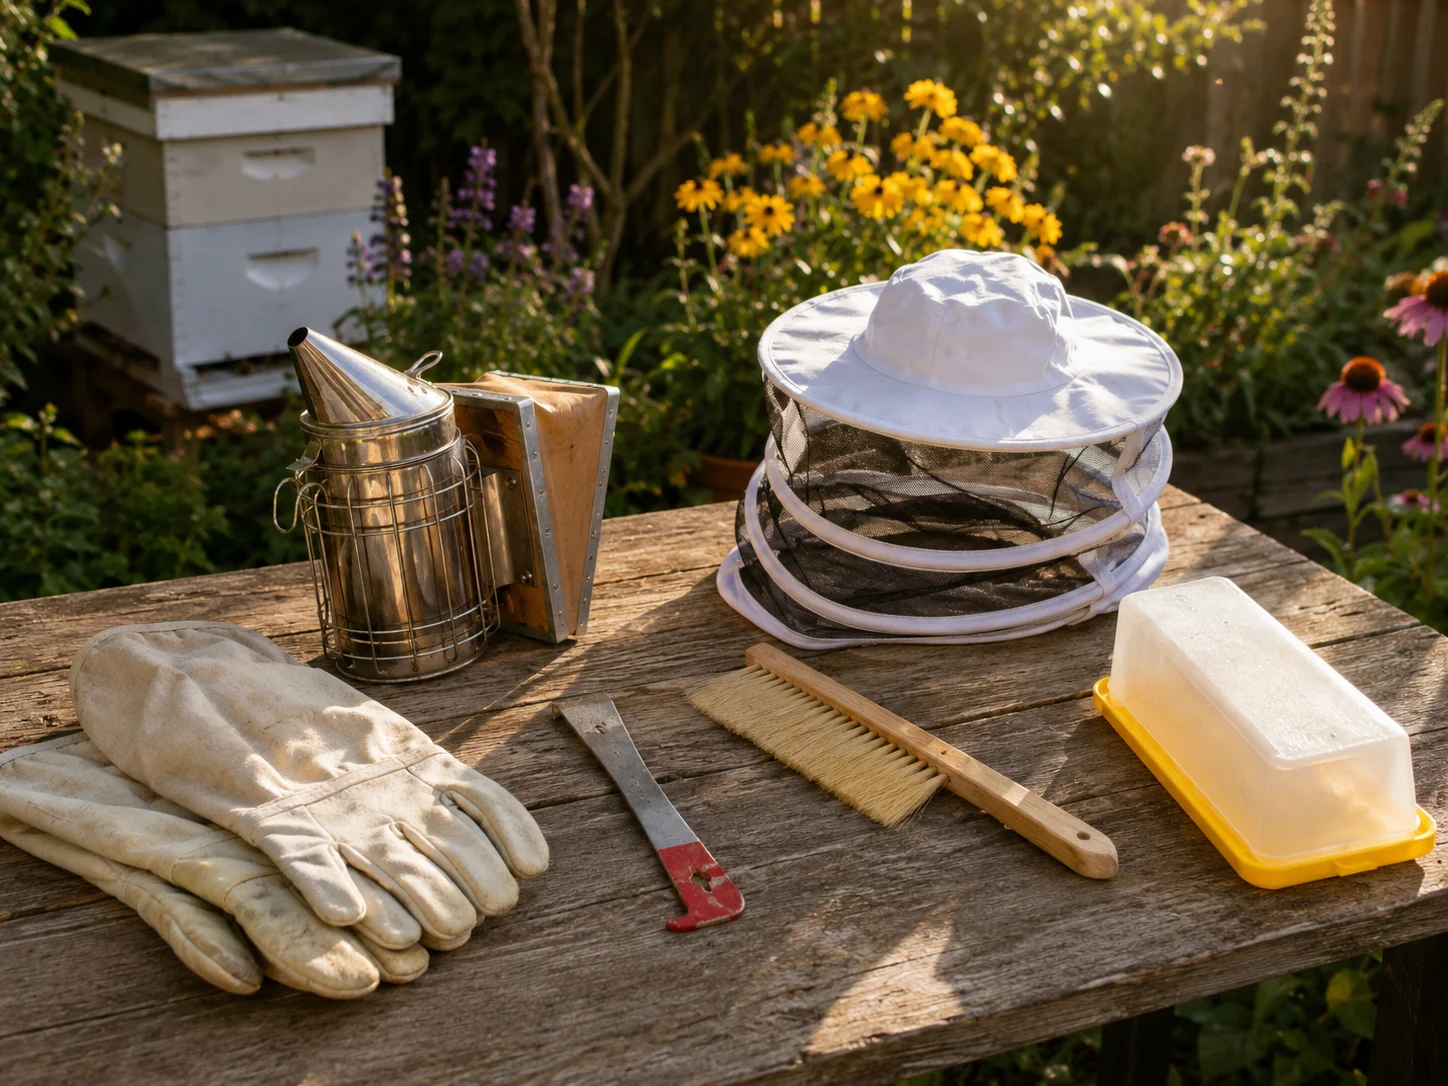
Protective clothing should cover all openings — particularly at the wrists, ankles, and where the veil meets the suit — without gaps that bees can find. The veil should be far enough from the face that a bee landing on the outside of the mesh cannot reach skin. Gloves should be worn until inspection confidence is high and the colony has demonstrated that it is consistently gentle; many experienced beekeepers choose to use thin nitrile gloves rather than the thick leather gauntlets sold in beginner kits, which offer better dexterity while still providing protection.
10. Smoker technique takes time to learn and matters more than most people think
The smoker is the beekeeper’s primary tool for managing colony behavior during inspections, and using it well requires practice that beginner materials tend to underestimate. A smoker that goes out mid-inspection, produces hot smoke rather than cool smoke, or is used incorrectly creates more problems than it solves.
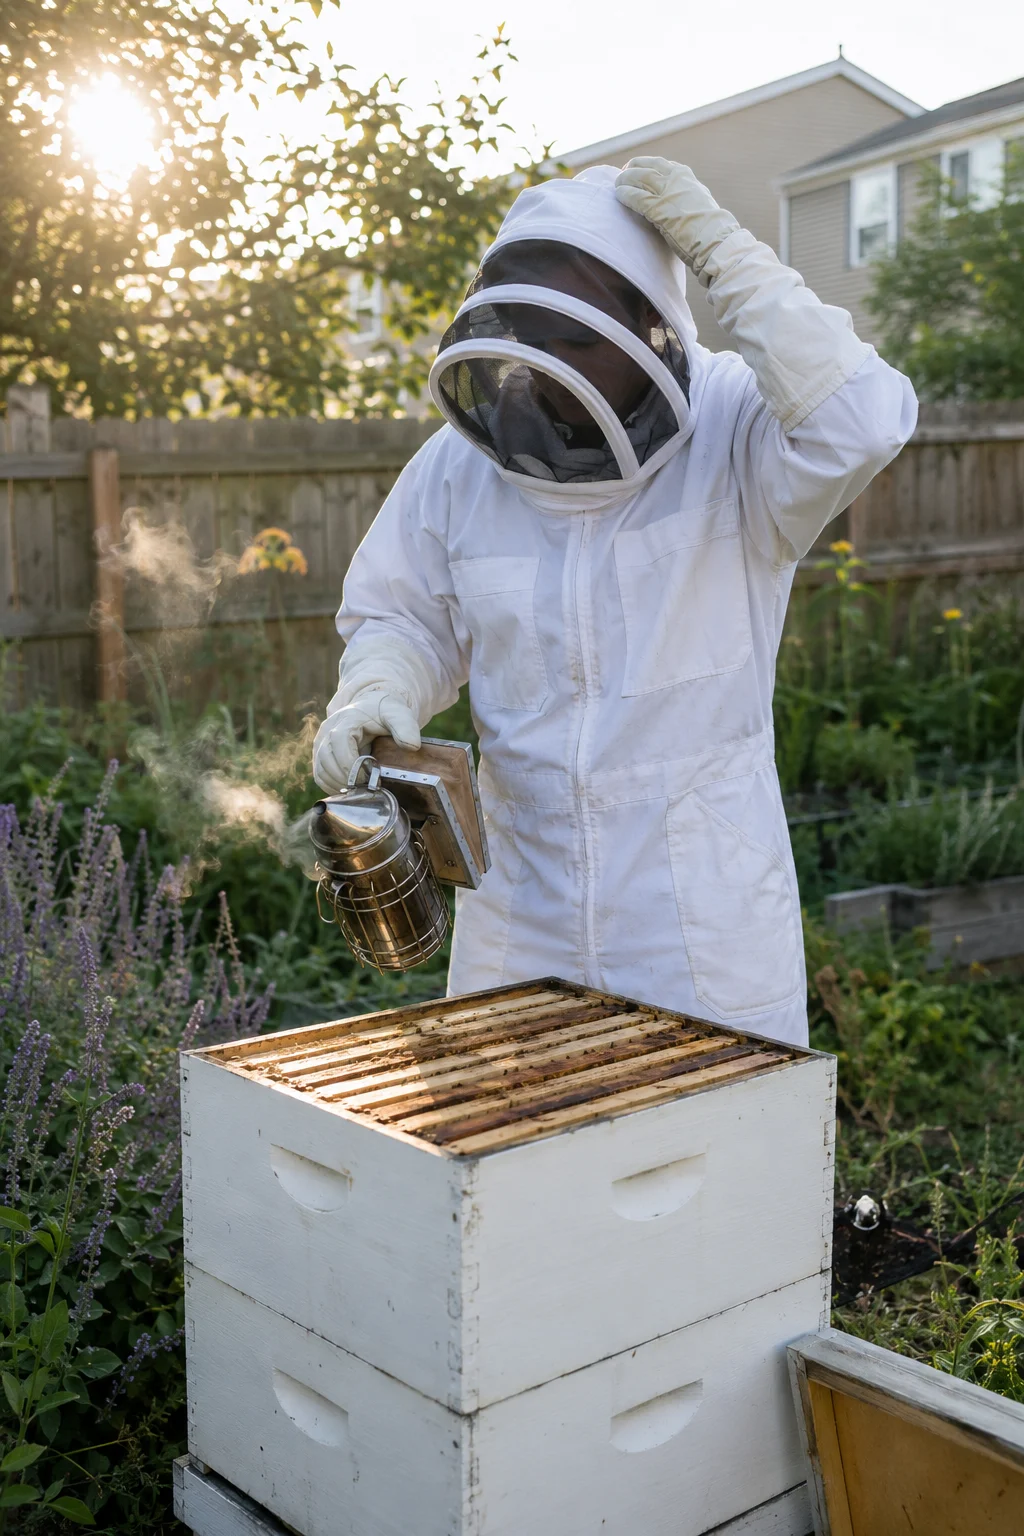
Cool, white smoke is what works. The smoker should be well-fueled before opening the hive, and the smoke should be applied at the entrance before the hive is opened and lightly across the top bars once the roof is removed, before going further. The aim is to trigger a feeding response in the bees — smoke makes bees gorge on honey in anticipation of a possible fire, which makes them calmer and less likely to sting — not to overwhelm or suffocate them. Puffing smoke directly at bees, particularly in large quantities, tends to aggravate rather than calm. Learning to light a smoker reliably, keep it going for a full inspection, and use it with restraint are practical skills that improve significantly with repetition.
11. Hive tool quality matters, and the cheap ones fail at the worst moments
The hive tool is used constantly throughout every inspection to lever apart frames that are stuck together with propolis. Cheap or poorly-designed hive tools flex under pressure, slip, and are uncomfortable to use when leverage is required. This seems like a minor inconvenience until it results in a dropped frame, a crushed bee that triggers defensive behavior, or a fumbled movement during a delicate part of the inspection.
Investing in a well-made hive tool at the outset — and keeping a spare — is a small expense with a consistently positive return. The classic J-hook style and the flat-bar style each have advocates among experienced beekeepers; trying both and deciding which suits the individual’s hand and working style is worthwhile.
12. Choose a hive type and commit to it
New beekeepers are frequently drawn into extended debates about hive types — Langstroth versus Warré versus top-bar versus other designs — and sometimes invest in one type before switching to another based on new information. This is expensive, time-consuming, and usually unnecessary.
Every common hive design has produced successful beekeepers and healthy bees. The more important variables are whether the chosen design is widely used in the local beekeeping community (which determines access to mentorship, compatible equipment, and second-hand parts), and whether it suits the physical requirements of the beekeeper (a full Langstroth honey super weighs considerably more than many new beekeepers expect when they lift it for the first time). Choosing the most common hive type in the local area and sticking with it avoids most of the compatibility problems that arise from mixing equipment across designs.
Hive Management
13. Varroa mite management is not optional and cannot be left until later
Varroa destructor is a parasitic mite that affects nearly all managed honeybee colonies globally (with very few exceptions in isolated island populations) and is the primary cause of colony death in untreated hives. It is not a problem that can be monitored and addressed “if it becomes a problem” — by the time a mite infestation produces visible symptoms in the colony, it is often already severe.
New beekeepers need to learn to monitor mite levels from the first season using alcohol wash or sugar roll counts, understand the thresholds at which treatment becomes necessary, and be familiar with the treatment options available in their area. Treatment protocols are time-sensitive, particularly in late summer when reducing mite populations before winter bees are raised is critical to colony survival. Beekeeping associations and local mentors are the best source of guidance on specific treatment products and timing, as regulations and product availability vary significantly by location.
14. Feeding bees is sometimes necessary and is not a sign of failure
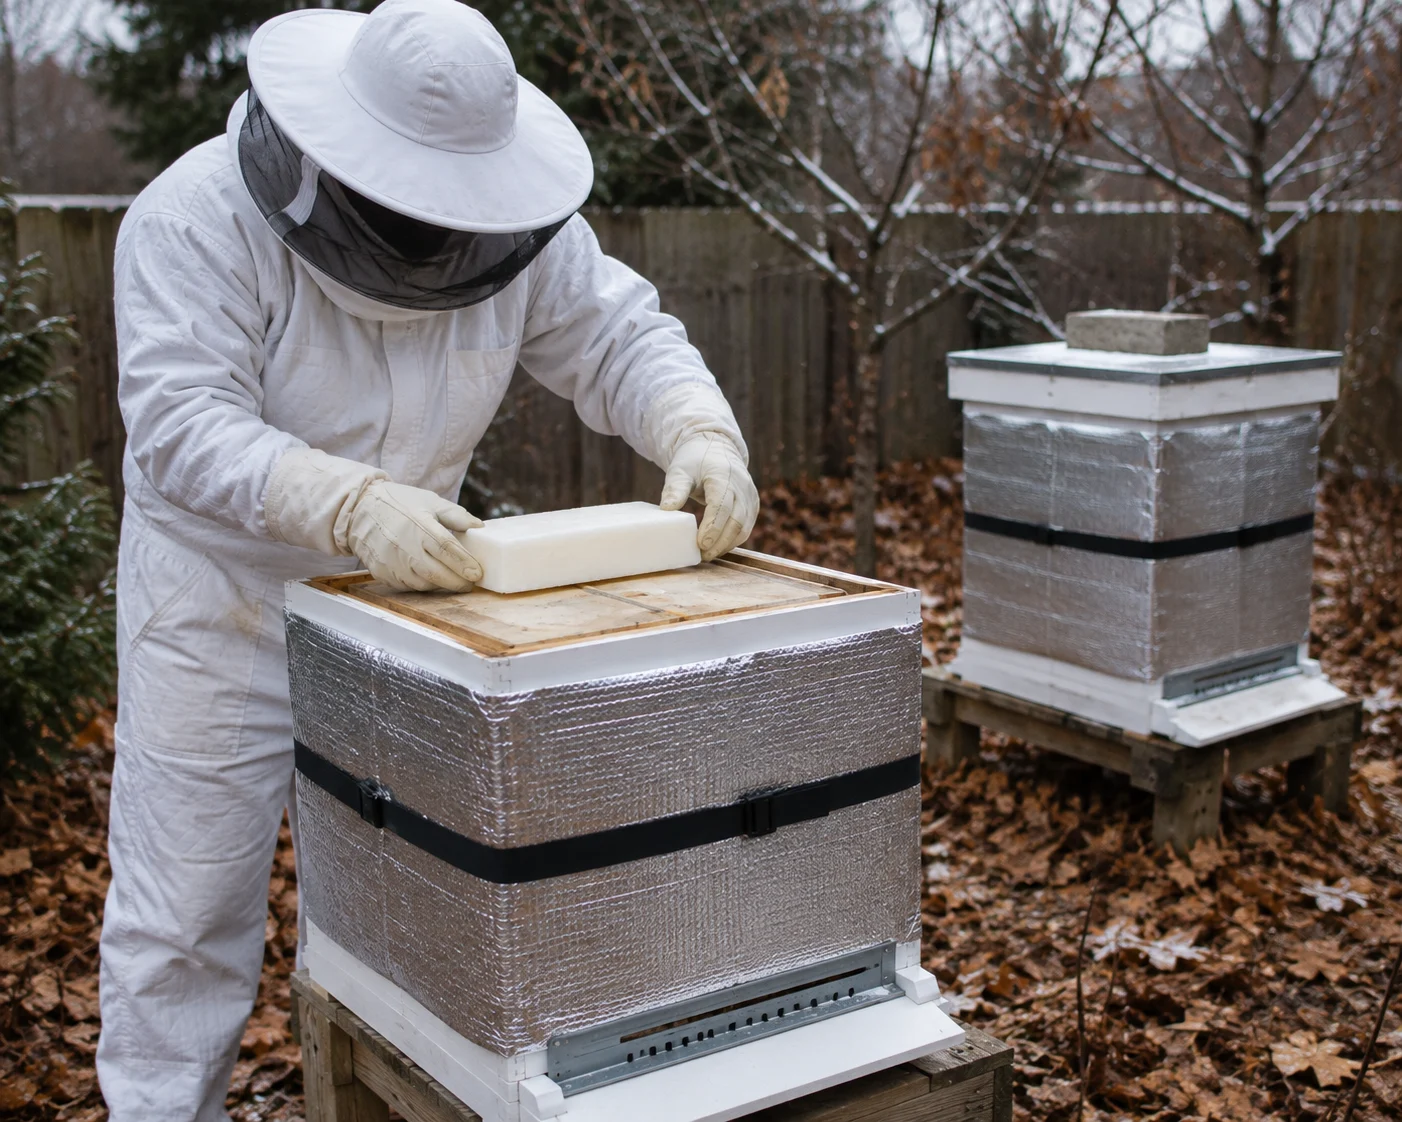
New beekeepers sometimes feel that feeding bees is unnatural or represents a failure of management. In practice, supplementary feeding is a standard and widely-used tool that serves specific purposes at specific times: helping a newly hived nucleus colony build up before natural forage is sufficient, supporting a colony through periods of nectar dearth, ensuring adequate stores go into winter, and stimulating brood rearing in spring ahead of the main nectar flow.
Understanding when to feed — and equally when not to feed, since unnecessary feeding during an active nectar flow creates problems — requires monitoring the colony’s stores during inspections and being aware of what is and is not available in the local forage calendar. A colony with two full frames of honey per box going into a dearth needs attention. A colony being fed syrup during a good flow when it is building up stores normally is being interfered with unnecessarily.
15. Swarming is the colony’s reproductive instinct, not a management failure
Swarm prevention is one of the most frequently discussed topics in beekeeping, and new beekeepers sometimes understand from this discussion that swarming is something good beekeepers prevent entirely. In reality, swarming is a deeply embedded reproductive behavior that a healthy, thriving colony will attempt under the right conditions regardless of management. The goal is to manage swarm impulse, not to eliminate it.
Understanding the signs that swarm preparations are underway — queen cells being constructed, a large and well-fed colony in spring, the brood nest feeling congested — gives the beekeeper time to respond with standard swarm management techniques such as artificial swarming, splitting the colony, or adding space. A colony that swarms despite reasonable management is not evidence of beekeeper failure; it is evidence that bees do what bees do. The response to a swarm matters more than preventing every one.
16. Winter preparation begins in late summer, not autumn
The timing of winter preparation consistently catches new beekeepers off guard because the work that determines whether a colony survives winter happens considerably earlier than the season feels urgent. The bees that will carry the colony through winter — sometimes called winter bees, with a physiologically different life cycle from summer bees — are raised in late summer. Their health and population depend on mite levels being low during the period they are raised, which means mite treatment must be completed before this critical brood-raising window.
By the time autumn feels like an appropriate moment to start thinking about winter, the window for effective mite treatment has often already closed. New beekeepers should work backward from their local winter date and plan mite treatment, winter stores assessment, and colony consolidation accordingly, typically beginning this planning in midsummer.
17. Inspections should have a clear purpose and end when that purpose is met
New beekeepers sometimes conduct inspections that go on for an unnecessarily long time — looking through every frame multiple times, searching at length for the queen when her presence is already confirmed by eggs, or simply continuing because closing the hive feels like an interruption. Long inspections stress the colony, chill the brood if the weather is cool, and increase the likelihood of bee and beekeeper error.
Before opening a hive, it is worth deciding what specifically needs to be assessed: stores levels, signs of queen activity, presence of disease symptoms, swarm preparations, the need for an additional box. Once those specific things have been checked and recorded, the hive should be closed. A focused ten-minute inspection that answers the relevant questions is more valuable than a forty-minute inspection conducted without clear objectives.
The Reality of First-Year Beekeeping
18. Colony loss in the first year is common and does not mean beekeeping was done wrong
Most experienced beekeepers can recall losing one or more colonies in their first year. Colony loss is distressing and feels like personal failure, but it is part of the learning process that almost every beekeeper goes through. Colonies fail for many reasons — queenlessness, disease, mite infestation, starvation, weather — and not all of them are preventable by a beekeeper who is still learning to recognize what they are looking at.
The most important response to colony loss is to understand what happened if possible, record the observations, discuss the situation with a mentor or association, and prepare to try again with improved knowledge. Giving up after a first-year loss means stopping at the exact point where the most important practical lessons have just been learned.
Preventing robbing and reducing late-season stress can improve colony survival. See Robbing Bees in Late Summer: Signs, Causes, and How to Stop It Fast
19. Record-keeping transforms the second year
Beekeeping inspections generate information that is genuinely difficult to hold in memory across multiple colonies and multiple weeks. The queen seen last week — was the brood pattern good? How many frames of honey were in the second box? When was the mite count last taken and what was the result?
Systematic record-keeping, even in a simple form — a notebook, a card per hive, a spreadsheet, or a dedicated app — allows a beekeeper to see patterns across time that are invisible in individual inspections. A colony whose brood pattern has been gradually deteriorating over three inspections reads very differently than a colony whose pattern is poor on one visit and fine the next. Records make it possible to identify which colonies are consistently strong and which consistently require intervention. They also make second-year beekeeping substantially less uncertain, because decisions are informed by a full season of documented observation rather than unreliable memory.
20. The honey harvest is rarely the priority in the first year
Many new beekeepers enter with a clear vision of harvesting honey, and while this is completely understandable, treating honey production as the primary goal in year one leads to management decisions that are not in the colony’s best interest. A colony that is well established, well managed, and going into winter in strong condition with adequate stores has given the beekeeper something more valuable than a first harvest: a viable, productive colony that will deliver genuine yields in year two.
Taking honey from a first-year colony that needs its stores to build up and overwinter successfully weakens the colony unnecessarily. Most experienced beekeepers recommend harvesting nothing or very little in year one, treating it as an investment in colony strength rather than a loss of expected production.
21. Beekeeping becomes more intuitive with time, but never entirely predictable
There is a specific frustration that many new beekeepers encounter in the first season: the feeling that despite reading extensively, watching many instructional videos, and doing everything according to guidance, the bees are still doing things that are confusing or unexpected. This frustration is the natural consequence of transitioning from theoretical knowledge to practical knowledge, and it resolves with time and experience rather than with more reading.
The most experienced beekeepers are not the ones who find beekeeping entirely predictable — they are the ones who have become comfortable with its unpredictability, who have developed reliable habits of observation, and who respond to what they actually see rather than what they expected to see. That comfort develops through inspections, through mistakes, through colony loss and recovery, through watching a mentor work and then working independently. It cannot be shortcut, but knowing that the uncertainty is normal and temporary makes it considerably easier to move through.
A Final Note on Patience
Beekeeping rewards the patient observer more than the decisive manager. The beekeeper who opens a hive with curiosity rather than urgency, who watches what the bees are doing before intervening, and who resists the impulse to fix things that are not broken will find that most of what looks like a problem resolves itself, and that the problems requiring real intervention become clearer and easier to identify over time.
The first year is the hardest because it is the year of having no established reference point for what normal looks like. After that first full cycle — a spring buildup, a summer nectar flow, a late-summer mite treatment, a winter, and a spring emergence — the colony’s behavior makes sense in a way it simply cannot without that lived experience. The goal of the first year is not to produce honey. It is to still have bees when the second year begins.