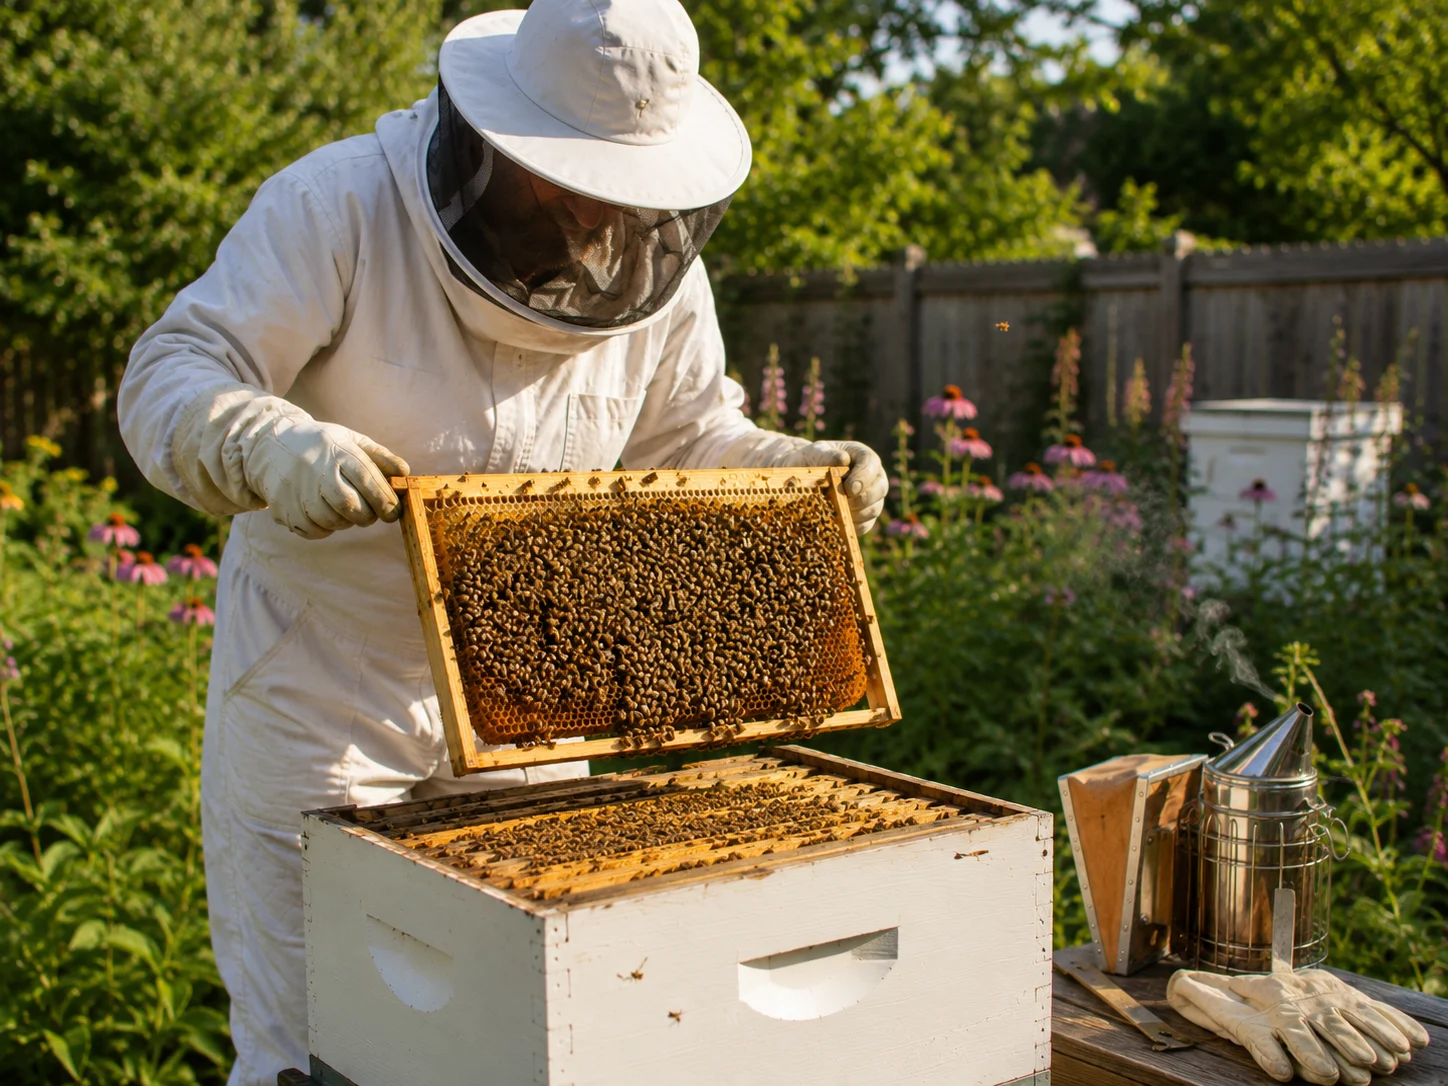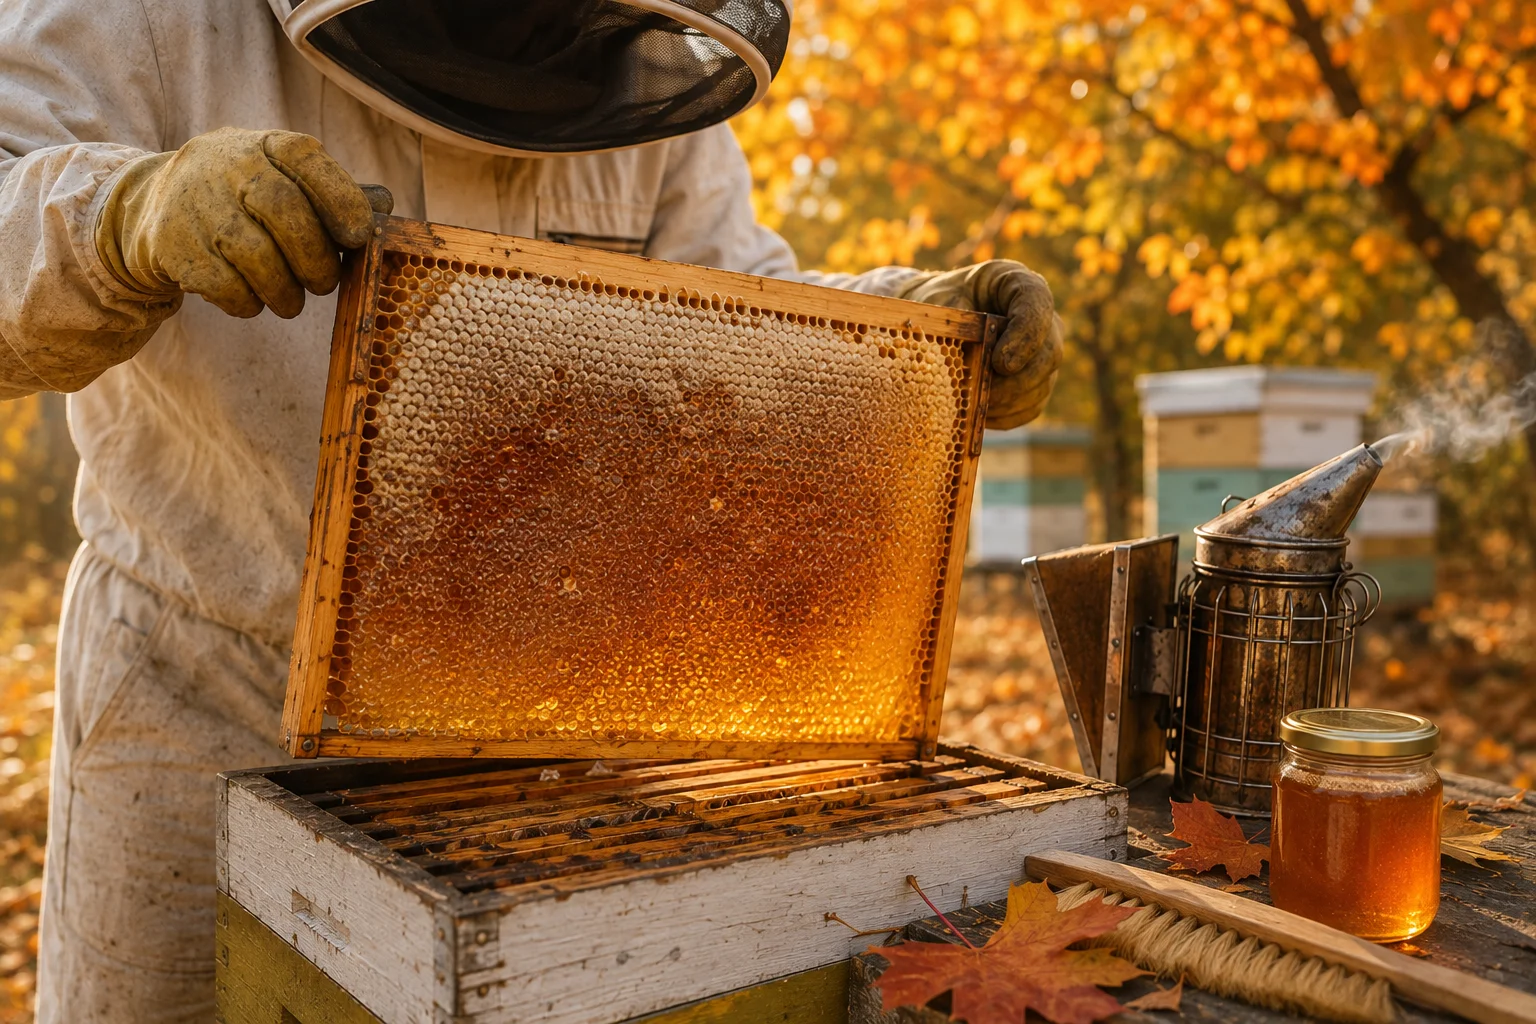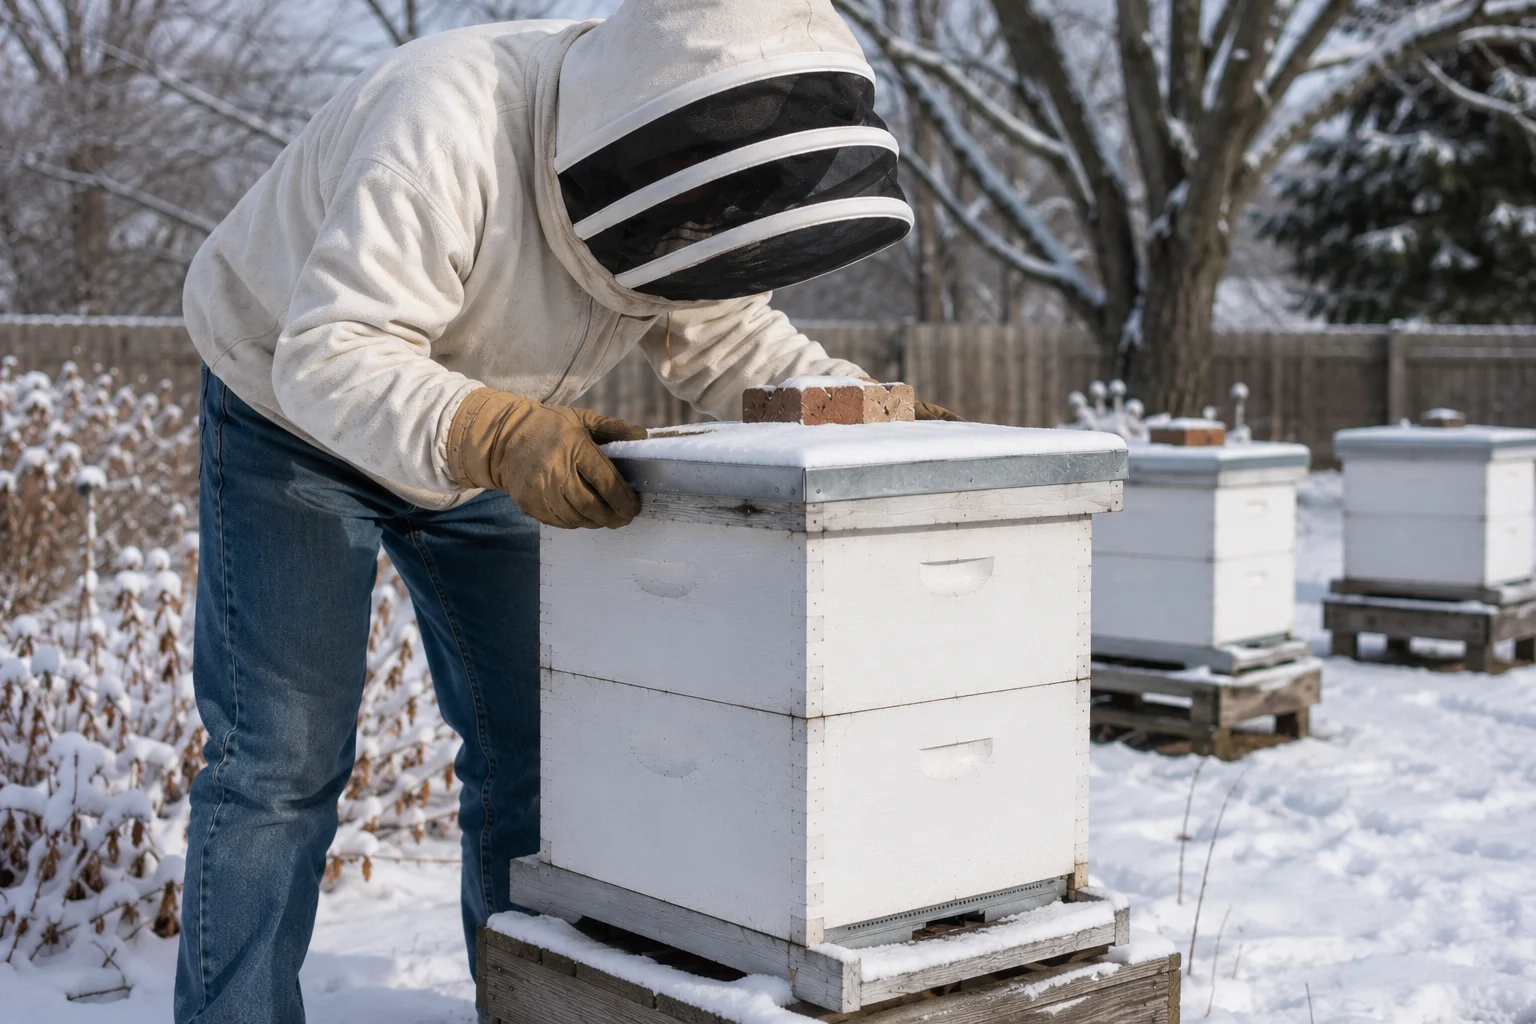

Backyard beekeeping ideas are about more than finding a spot for a hive box. They cover how the apiary fits into the rest of your yard, from screening the bees’ flight path to choosing plants and materials that make the whole setup look intentional rather than like an afterthought. Homeowners are drawn to this approach because a well-integrated apiary reads as a garden feature instead of an eyesore, which also tends to keep neighbors more comfortable with the arrangement.
This is achievable in most backyards because good hive integration relies on placement and simple landscaping choices more than expensive equipment. A hedge, a coat of paint, or a well-placed water source can solve most of the practical problems beekeepers run into, while also making the space look more finished. None of the ideas here require a large property, though a few adjustments matter more in tighter suburban yards than on acreage.
In this guide, you will find 25 ideas grouped by hive placement and screening, landscaping around the apiary, functional features made decorative, seasonal integration, and small-space or neighbor-friendly solutions. Each idea explains why it works and how to recreate it, along with an image prompt so you can picture the setup before committing to it.
Hive Placement & Screening
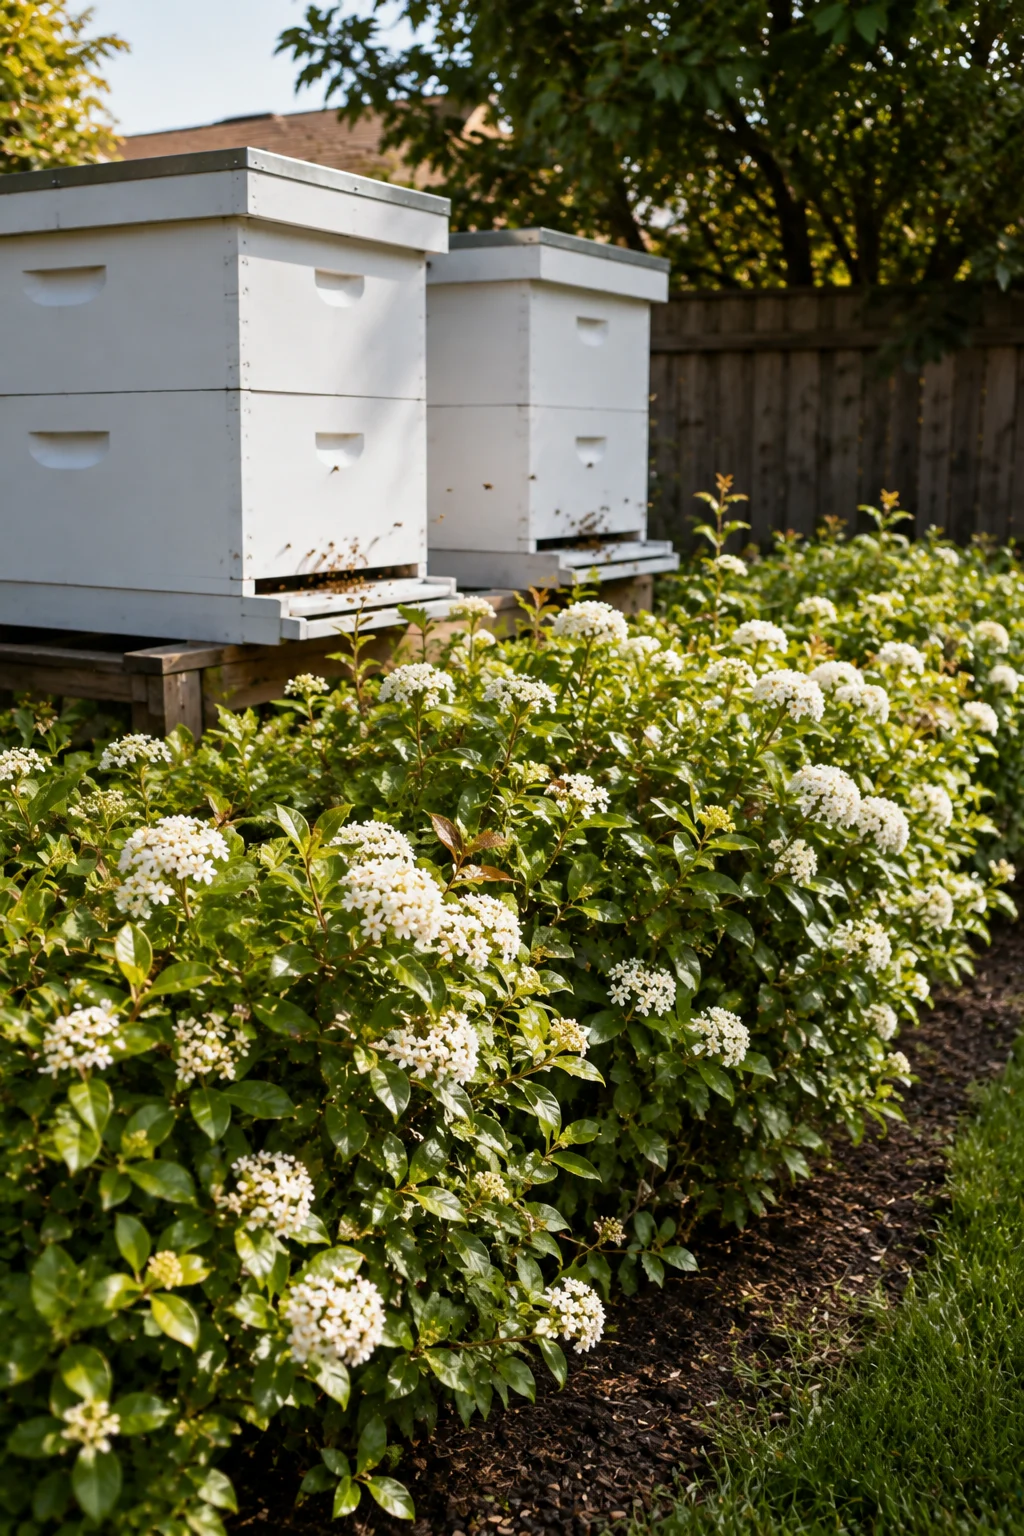
1. Flowering Hedge Flight Path Screen
Planting a dense flowering hedge in front of the hive entrance forces bees to fly upward as they leave, which keeps their flight path above head height for anyone nearby. This works because it solves the most common backyard beekeeping complaint, bees crossing paths with people, while also adding a genuine garden feature instead of a plain barrier. Choose a shrub that grows to at least six feet, like viburnum or a dense privet, and plant it roughly three to six feet in front of the hive opening. The hedge also doubles as a forage source if you choose a flowering variety, giving the bees something to visit on their way out.
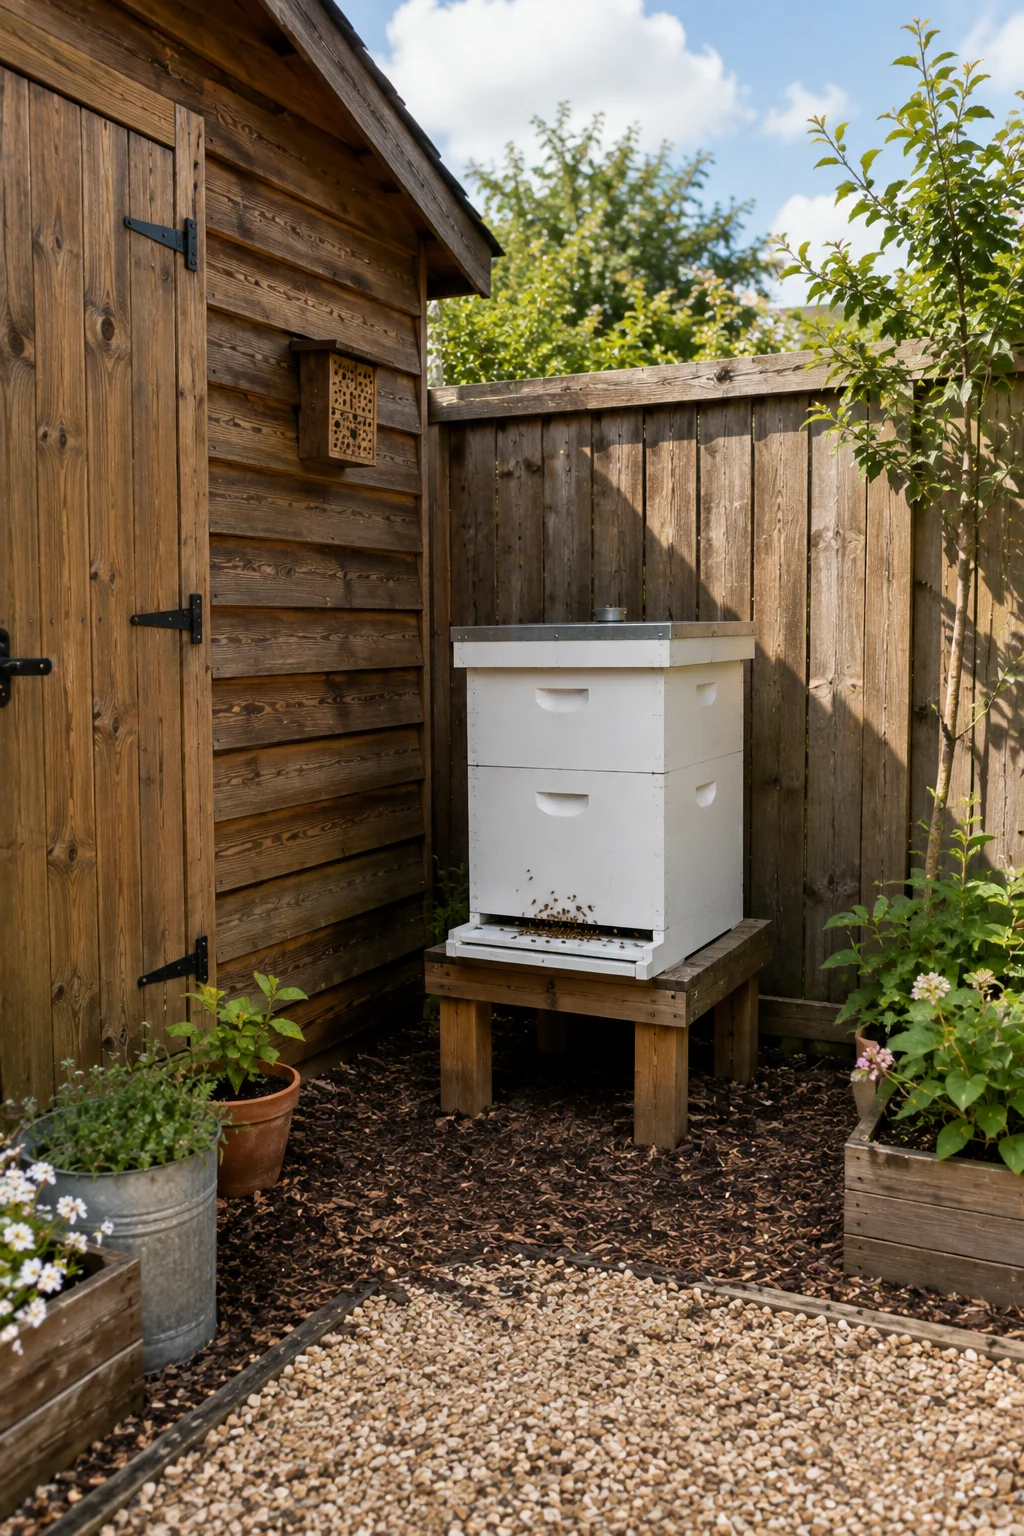
2. Hive Tucked Behind a Garden Structure
Positioning a hive behind an existing structure, like a garden shed or garage wall, uses something you likely already have to redirect the bees’ flight path without adding new landscaping. This works because the structure does the same job as a hedge or fence barrier, forcing bees upward as they clear the corner, while requiring no additional planting or building. Leave at least three to five feet of clear space around the hive for the beekeeper to work comfortably during inspections. This placement also offers some wind protection, which benefits the colony during colder months.
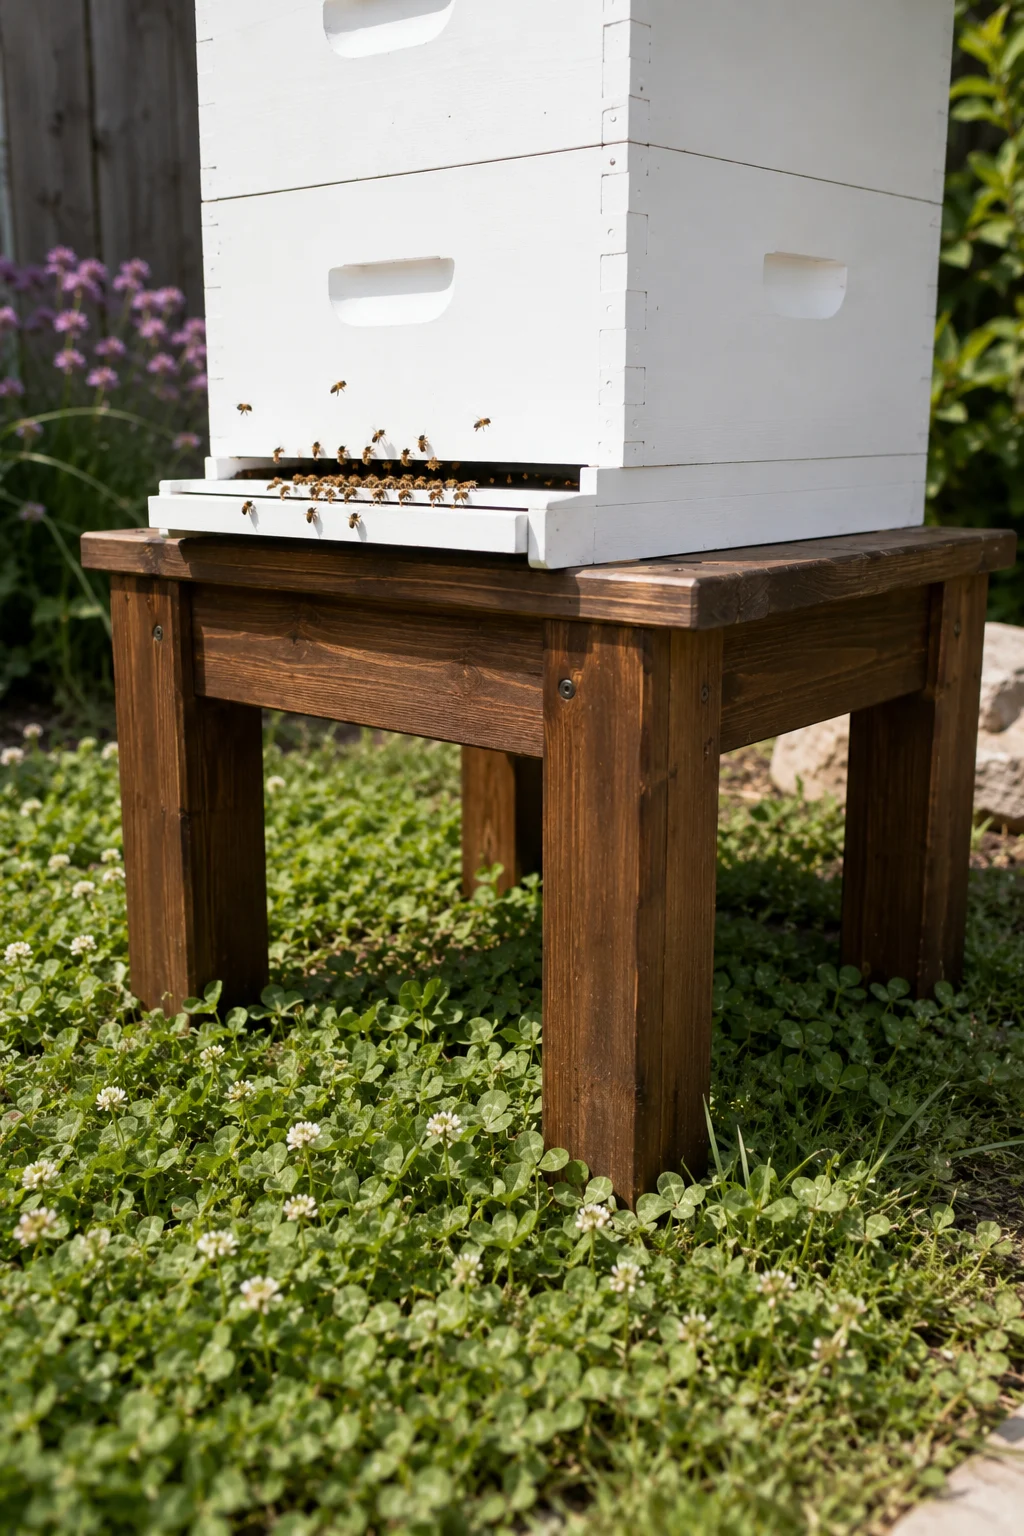
3. Elevated Hive Stand as a Design Feature
Building or buying a well-made wood hive stand raises the hive off the ground, which improves airflow and drainage while also giving the apiary a more finished, deliberate look than hives sitting directly on cinder blocks. This works because a stand at a comfortable working height, typically around eighteen inches, reduces bending and back strain during inspections while doubling as a visual anchor for the space. Choose a stand design with clean lines and a stain or paint that complements nearby structures, rather than leaving raw, mismatched wood. Make sure the stand is rated for the wet weight of a full hive, since a loaded box can weigh well over one hundred pounds.
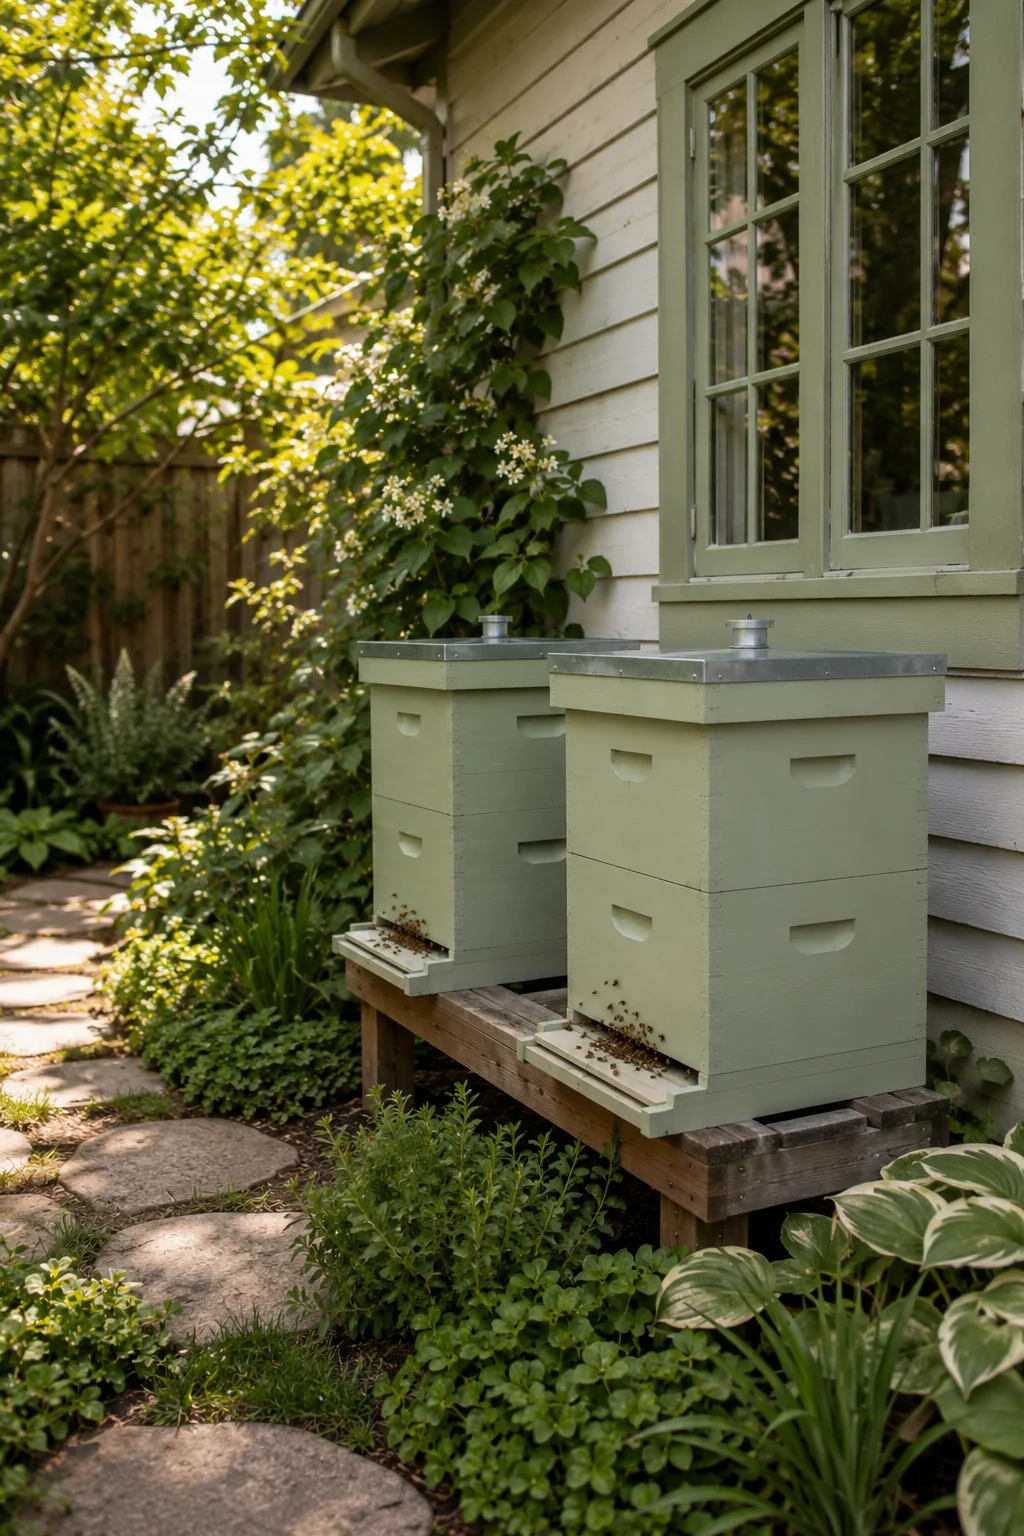
4. Painted Hive Boxes to Match House Trim
Painting hive boxes in a color that matches or complements your house trim or garden palette makes the apiary look like a planned part of the yard rather than an unrelated addition. This works because color coordination is one of the simplest ways to visually tie a functional structure into an existing design scheme. Use exterior latex paint rated for wood, and paint only the outer surfaces, never the inside of the hive or the frames, since bees need untreated wood for proper ventilation and comb building. Repaint every few years as the finish weathers, since sun exposure fades most exterior paints over time.
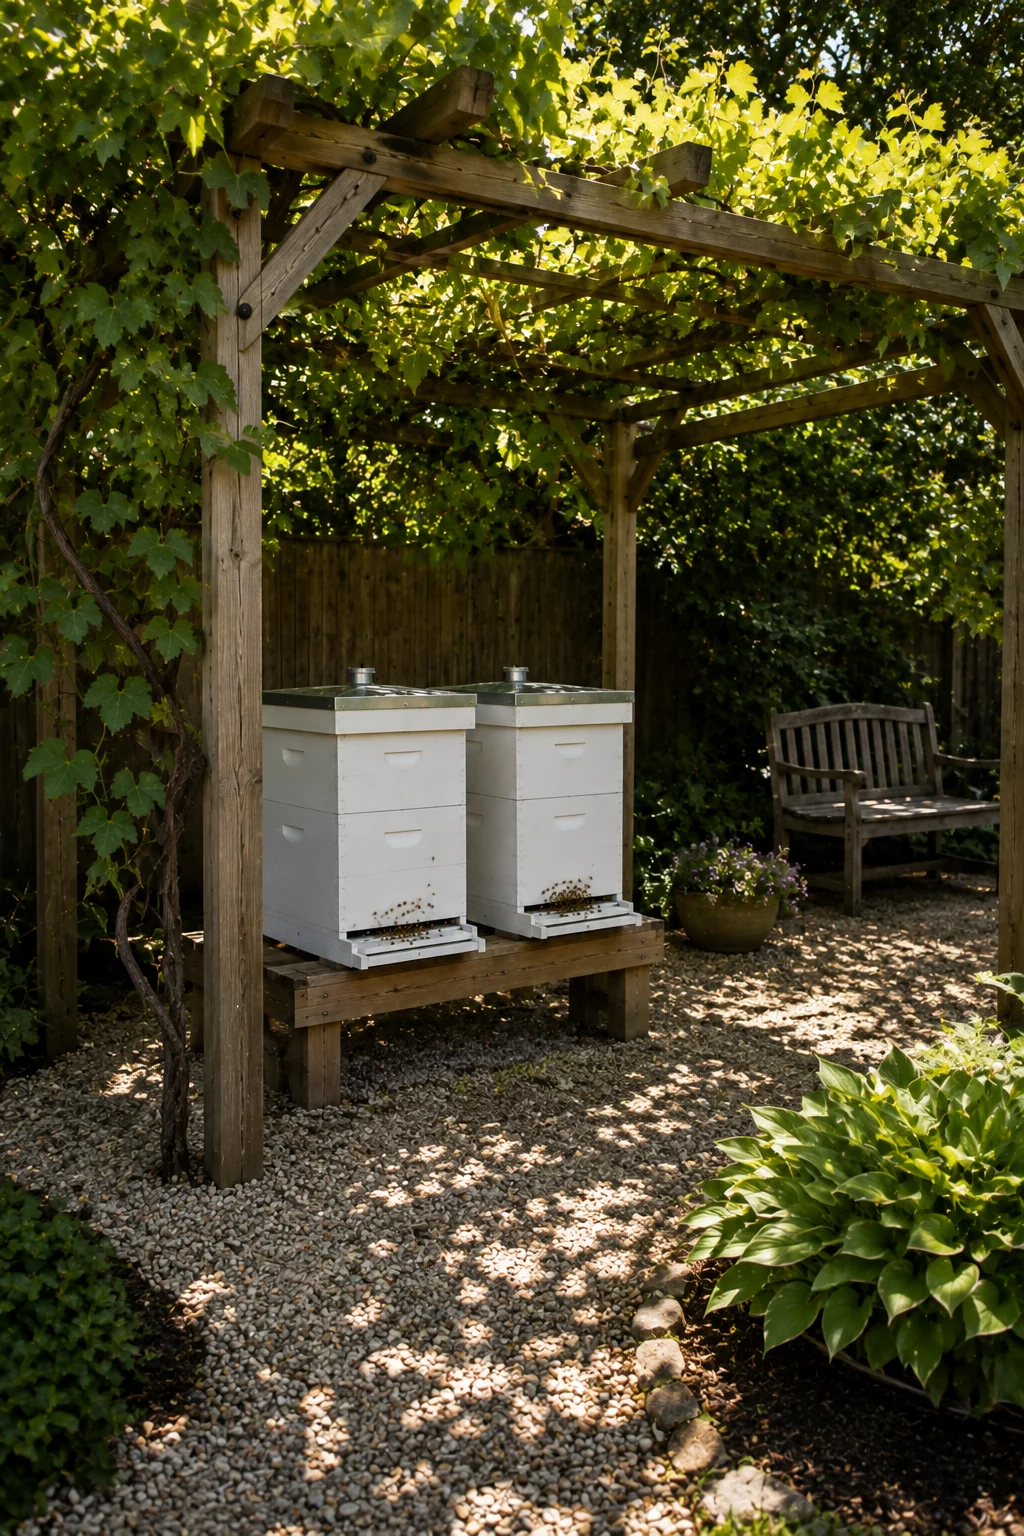
5. Pergola-Shaded Hive Corner
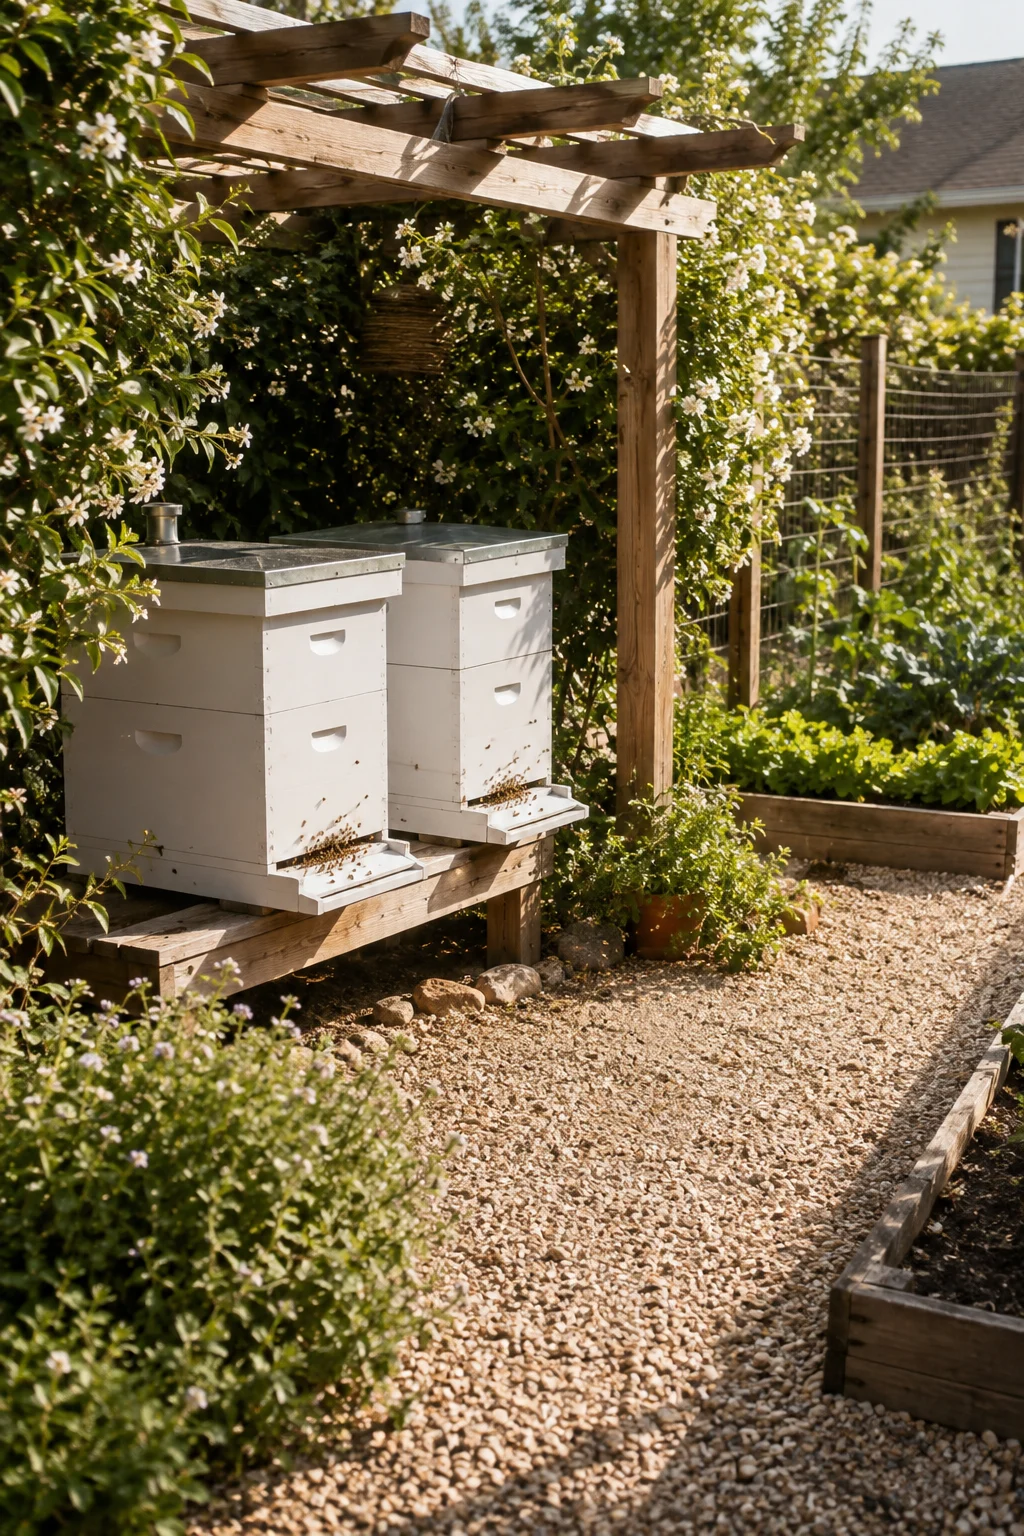
Building or positioning a hive beneath a pergola gives the colony afternoon shade, which helps prevent overheating in hot climates, while creating a defined, attractive corner of the garden. This works because pergolas already read as an intentional garden structure, so hives placed beneath one look purposefully integrated rather than tucked away. Choose a pergola with enough height clearance for comfortable inspection access, and consider training a light vine over the top rather than a dense one that could block too much airflow. This setup works especially well combined with a hive stand and a small seating area nearby for observing the bees.
Landscaping Around the Apiary
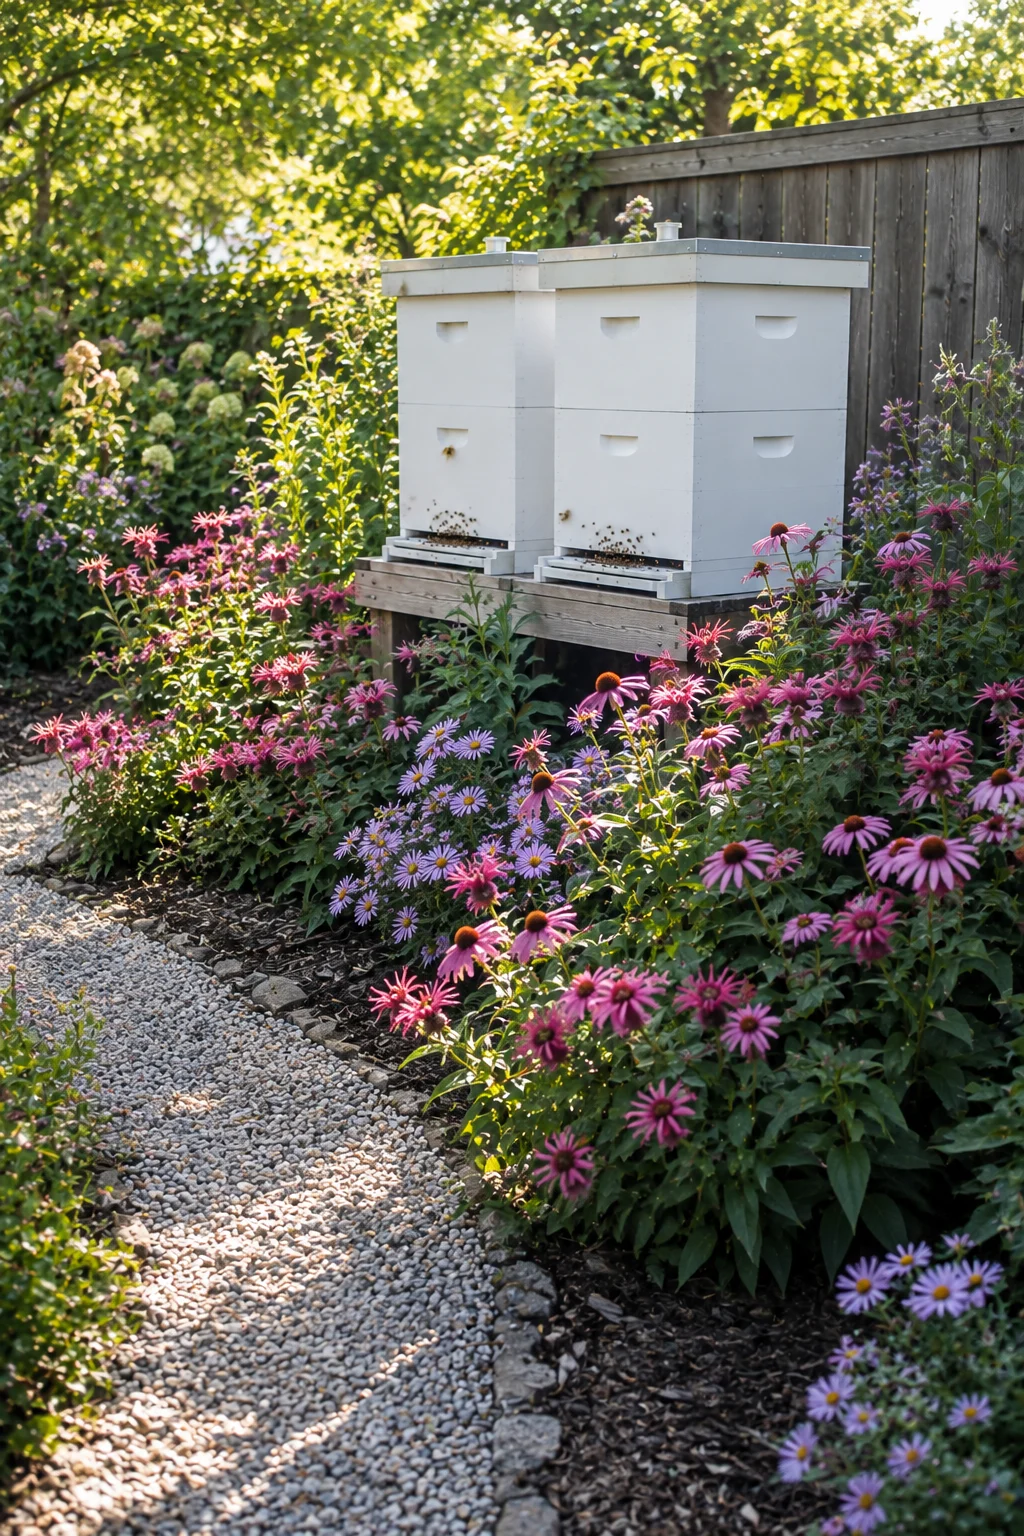
6. Forage Border Ringing the Hives
Planting a ring or border of nectar-rich flowers around the apiary gives the colony a close, convenient food source right outside the hive entrance. This works because bees expend less energy traveling to forage when flowers are close by, which can support stronger colony health, especially during dearth periods between major blooms. Choose a mix of native perennials with staggered bloom times, like coneflower, bee balm, and aster, so something is flowering from spring through fall. Keep the tallest plants a few feet back from the hive entrance so they do not obstruct the bees’ flight path.
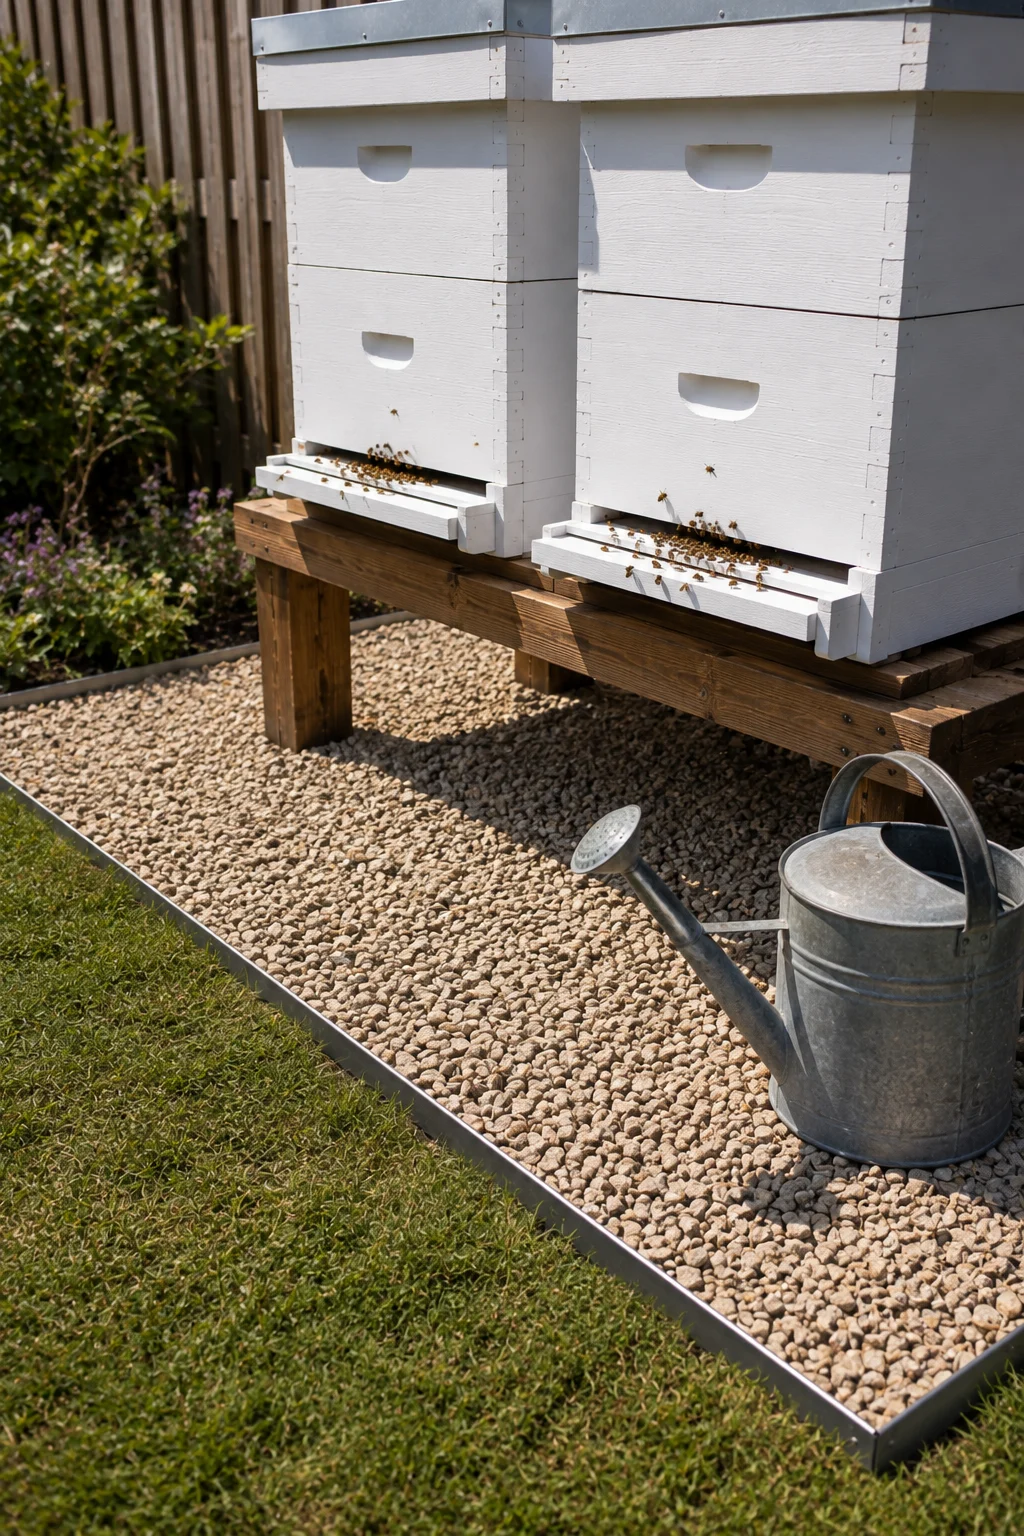
7. Gravel Apron Beneath the Hives
A gravel apron beneath and around the hive stand keeps the ground dry, reduces weed growth, and gives the beekeeper stable footing during inspections, all while looking more finished than bare dirt or patchy grass. This works because standing water and mud near a hive can attract pests and make routine maintenance unpleasant, issues a well-drained gravel base largely prevents. Lay landscape fabric first, then a few inches of pea gravel or crushed stone extending at least three feet beyond the hive stand’s footprint. Edge the gravel area with a simple paver or steel border to keep it visually separate from surrounding lawn or beds.
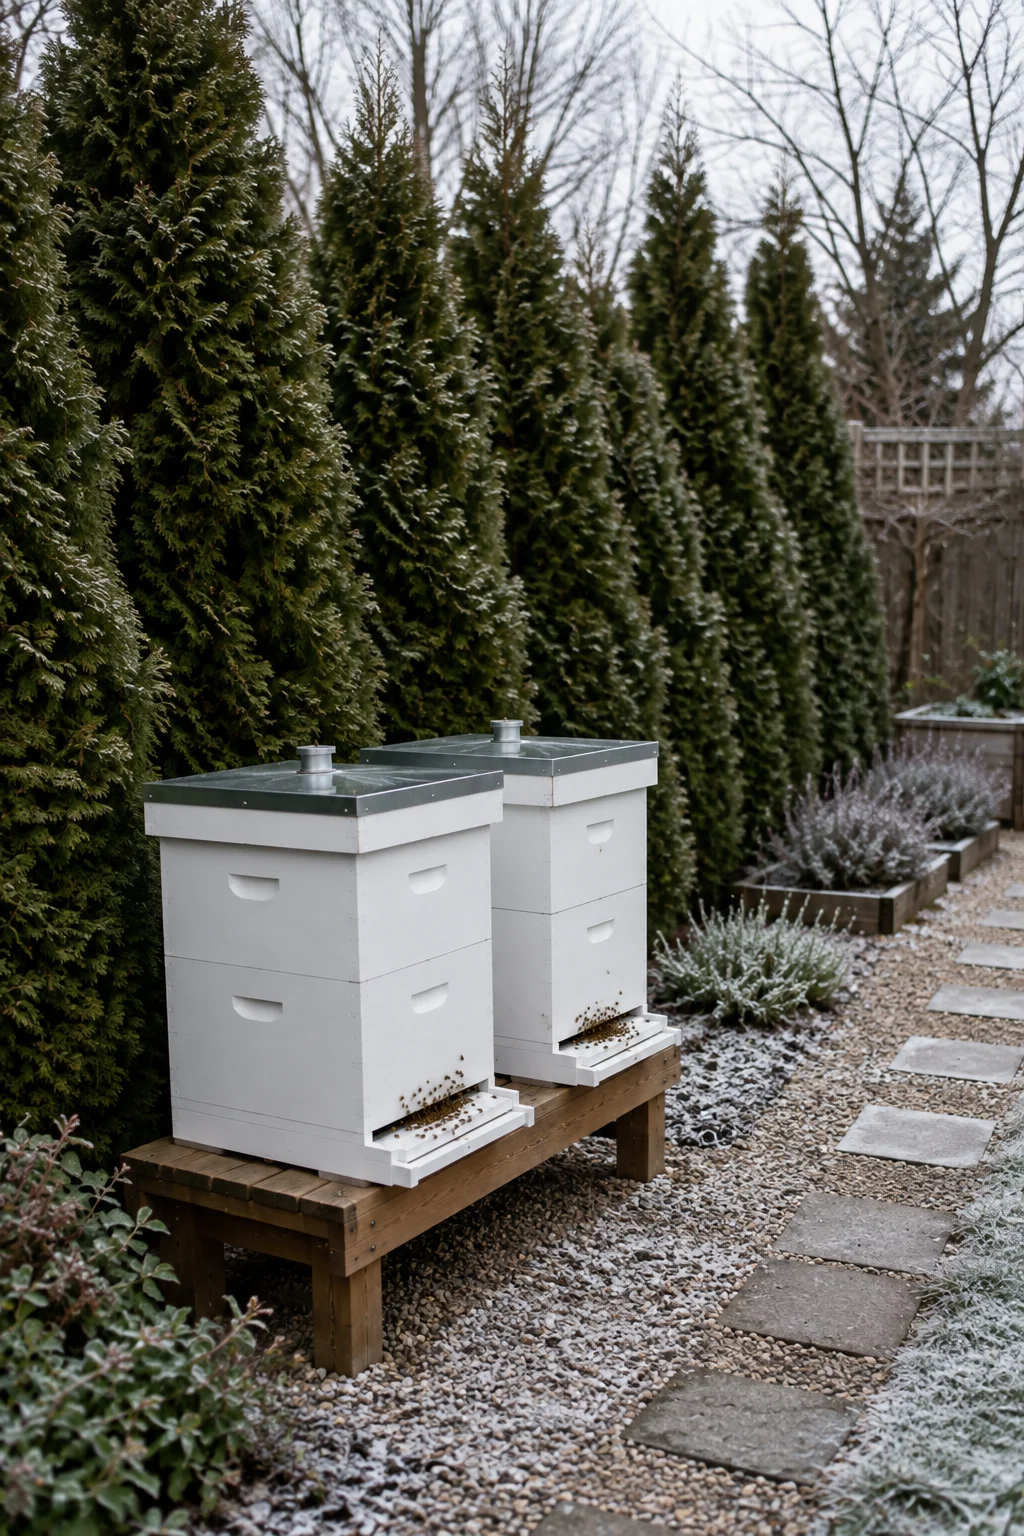
8. Living Windbreak of Native Shrubs
A row of native evergreen or deciduous shrubs planted on the prevailing wind side of the apiary reduces cold stress on the colony during winter while adding permanent structure to the garden. This works because strong, consistent wind exposure makes it harder for bees to regulate hive temperature, particularly in the colder months when the cluster is working to stay warm. Choose shrubs suited to your region’s climate and mature size, planting them close enough together to form a continuous windbreak within a few growing seasons. Position the windbreak on the north or prevailing wind side of the hives rather than blocking the entrance-facing direction.
9. Pollinator Meadow Buffer Zone
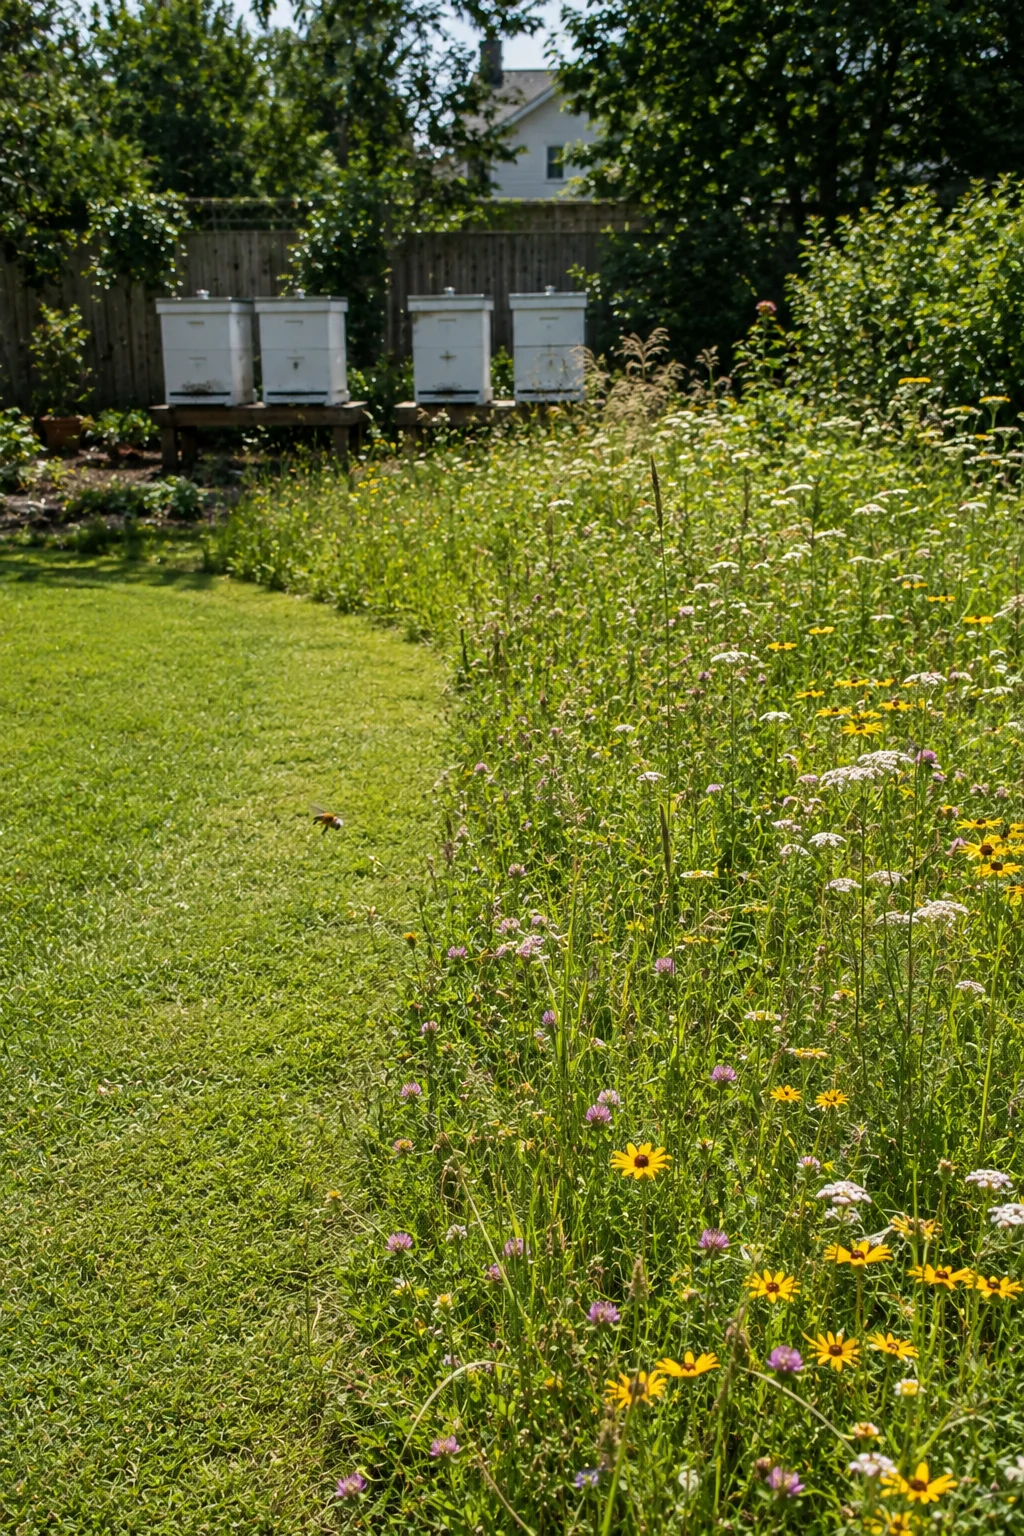
Converting a section of lawn near the apiary into an unmowed meadow of native wildflowers and grasses gives bees a nearby forage zone while reducing the amount of lawn that needs regular mowing near the hives. This works because mowing close to an active hive can disturb the colony and puts the person mowing at greater risk of stings, so replacing that area with meadow removes the conflict entirely. Overseed the chosen area with a regional native wildflower mix, and mow it only once a year in late fall or early spring to prevent woody growth from taking over. This buffer also creates a visual transition between the manicured parts of the yard and the more functional apiary space.
10. Herb Garden Adjacent to the Apiary
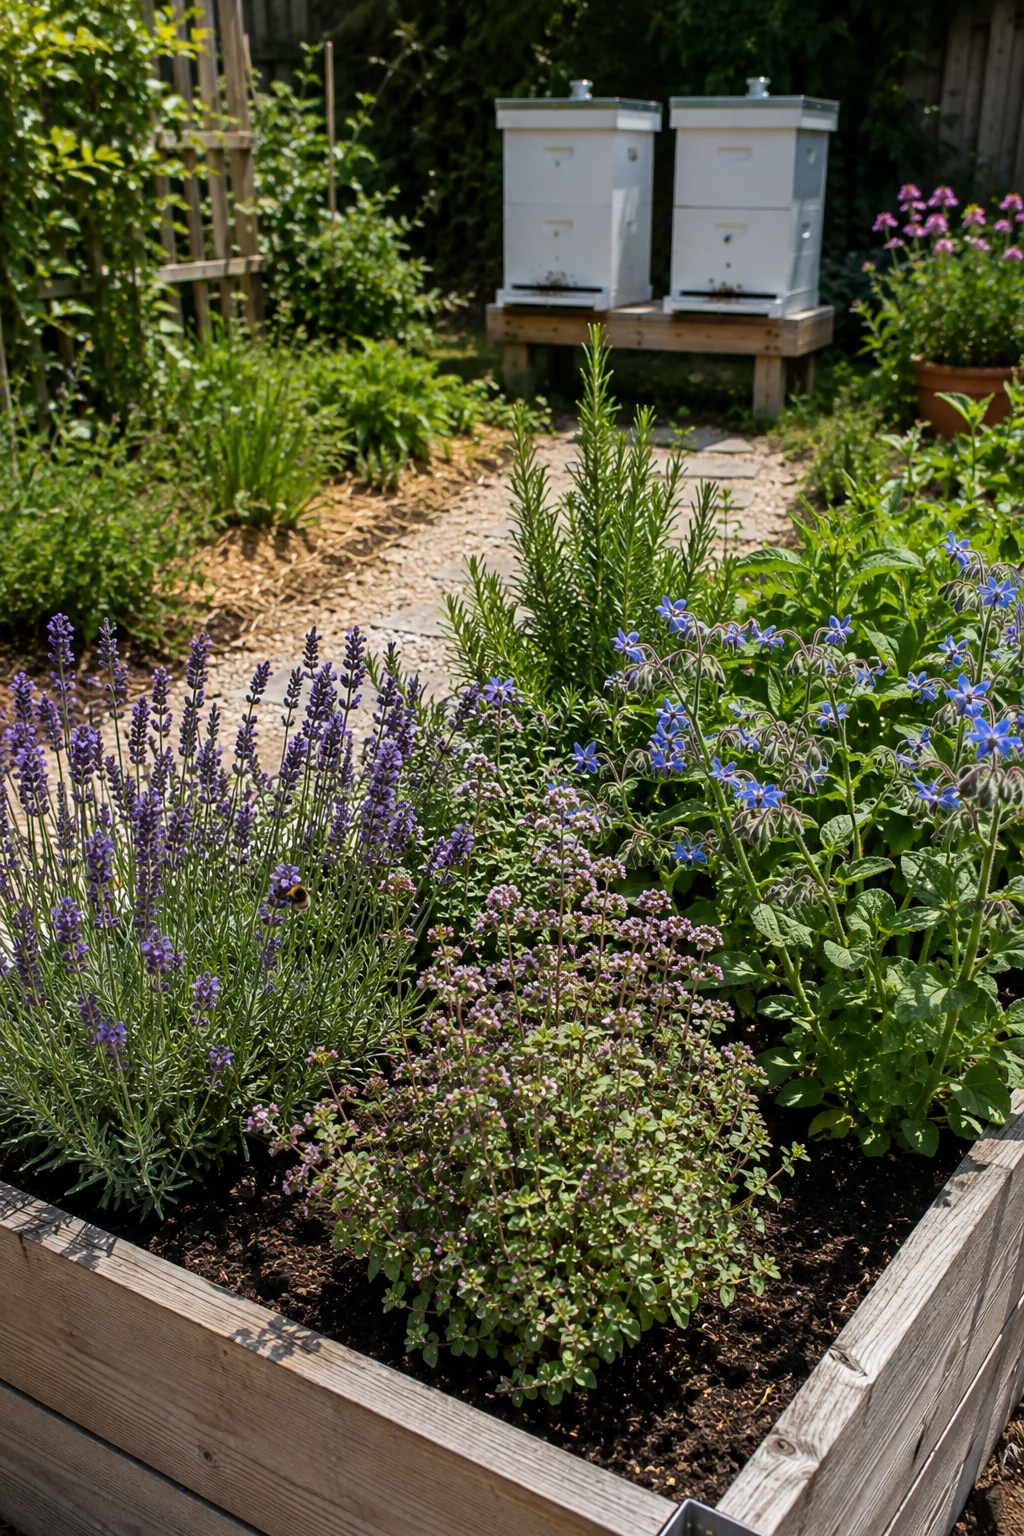
Placing a culinary herb garden near the hives lets flowering herbs like oregano, borage, and lavender serve as both a kitchen resource and a bee forage source, while keeping the space visually tied to everyday garden use. This works because many herbs are highly attractive to bees when allowed to flower, and locating them near the apiary means less travel distance for foraging bees. Choose a raised bed or defined border rather than scattering herbs loosely, so the space reads as an intentional garden feature next to the hives. Leave some herb stems unharvested through their bloom period specifically for the bees, then harvest the rest for cooking as usual.
Functional Beekeeping Features Made Decorative
11. Water Station Styled as a Garden Feature
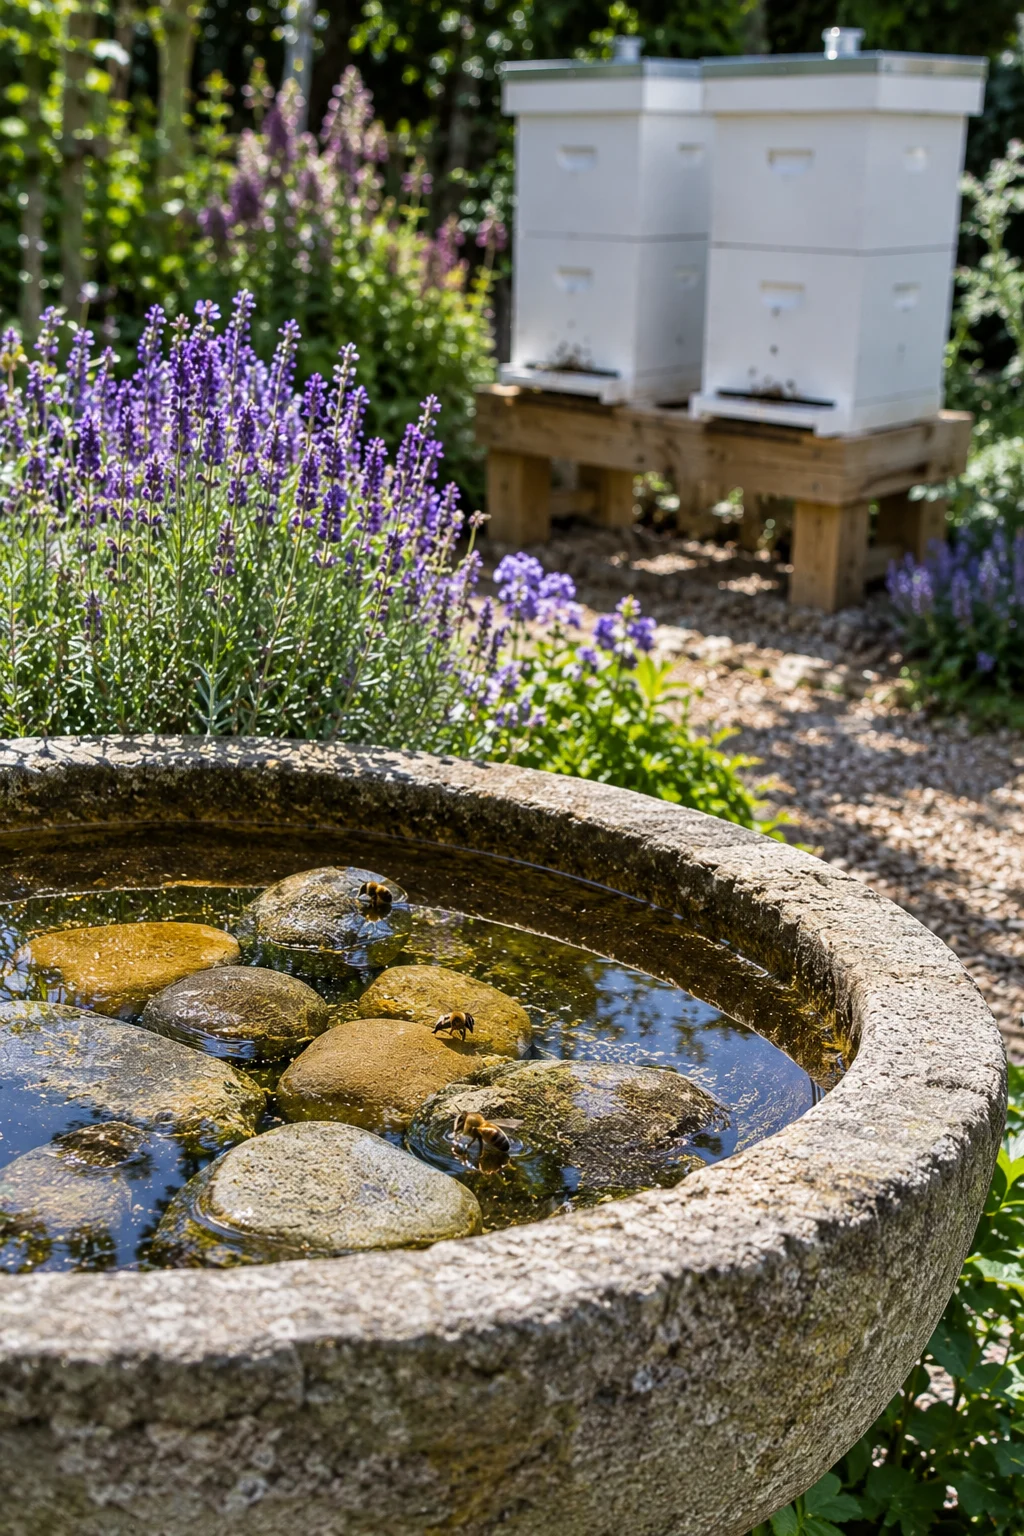
A dedicated water source near the hives, styled as a small garden feature with stones or floating cork, keeps bees from bothering a neighbor’s pool or birdbath while looking like an intentional design element rather than a bucket of water. This works because bees need a consistent water source close to the hive, and providing one on your own property solves a common source of neighbor complaints before it starts. Use a shallow basin filled with water and enough stones or floating material for bees to land on safely, since they cannot swim. Refresh the water every few days and position the station within about twenty feet of the hives so it becomes their preferred source quickly.
12. Tool Shed Doubling as Apiary Storage
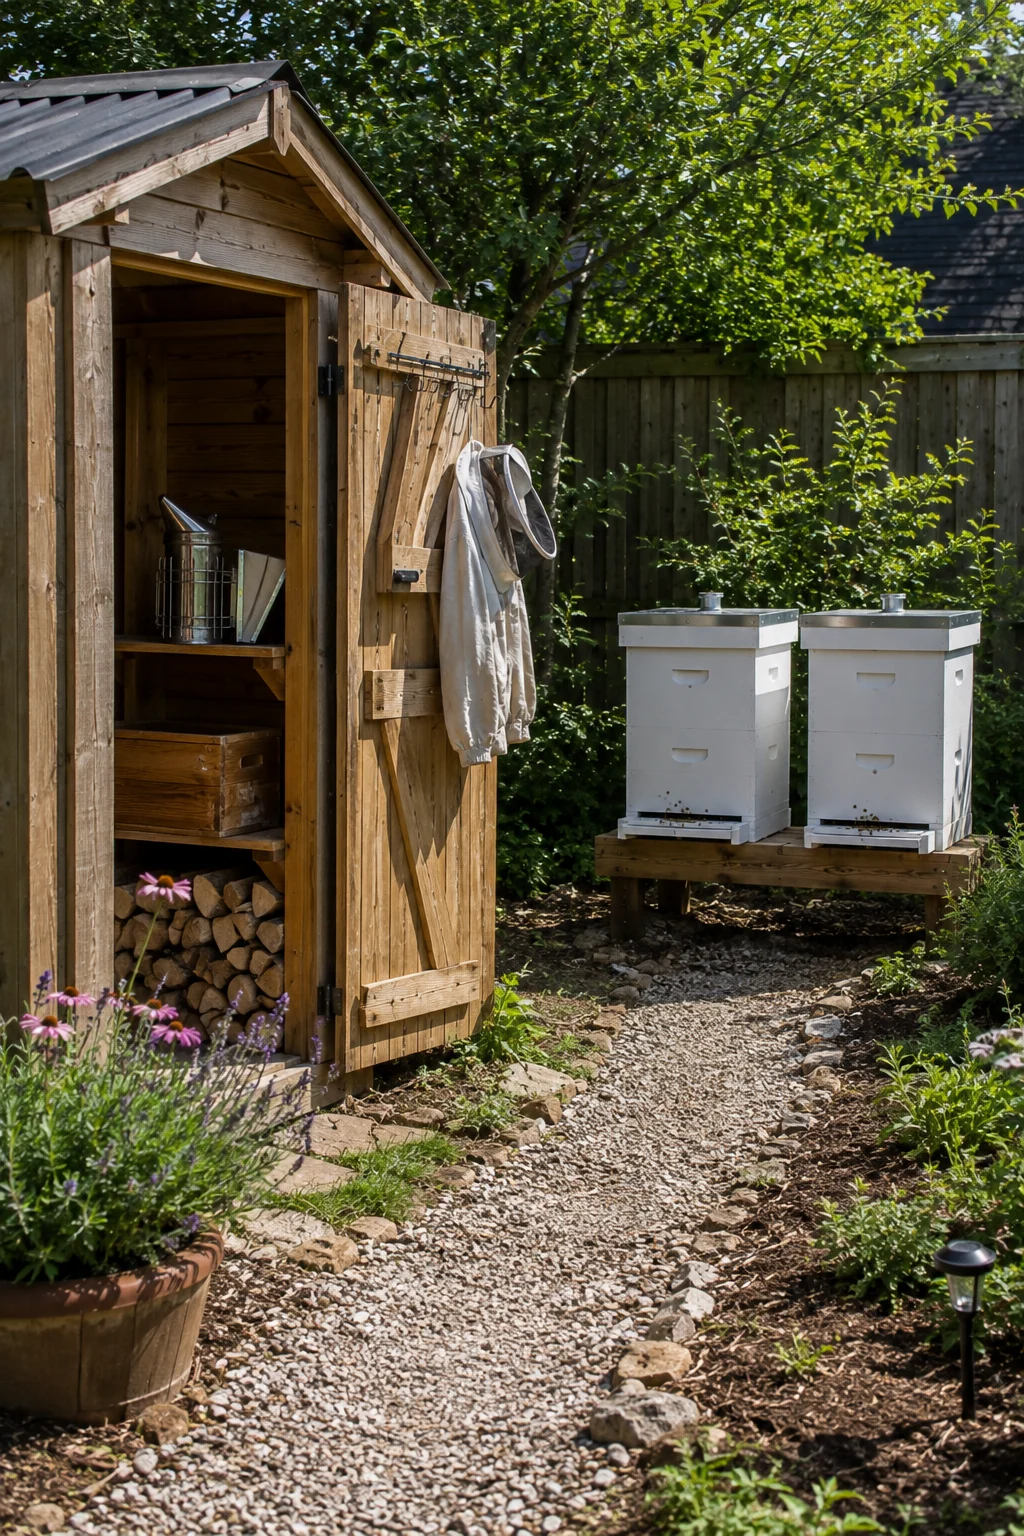
A small dedicated shed near the hives keeps beekeeping equipment, frames, and protective gear organized and dry, while giving the overall apiary space a tidier, more finished appearance than tools left stacked in the open. This works because beekeeping involves enough specialized equipment, smokers, extra supers, hive tools, that having a dedicated storage spot noticeably reduces clutter around the hives themselves. Choose a shed sized appropriately for your equipment needs and position it close enough to the hives for convenience without crowding the flight path. Adding simple shelving inside keeps frequently used items accessible during routine inspections.
13. Decorative Fence Enclosure for the Hives
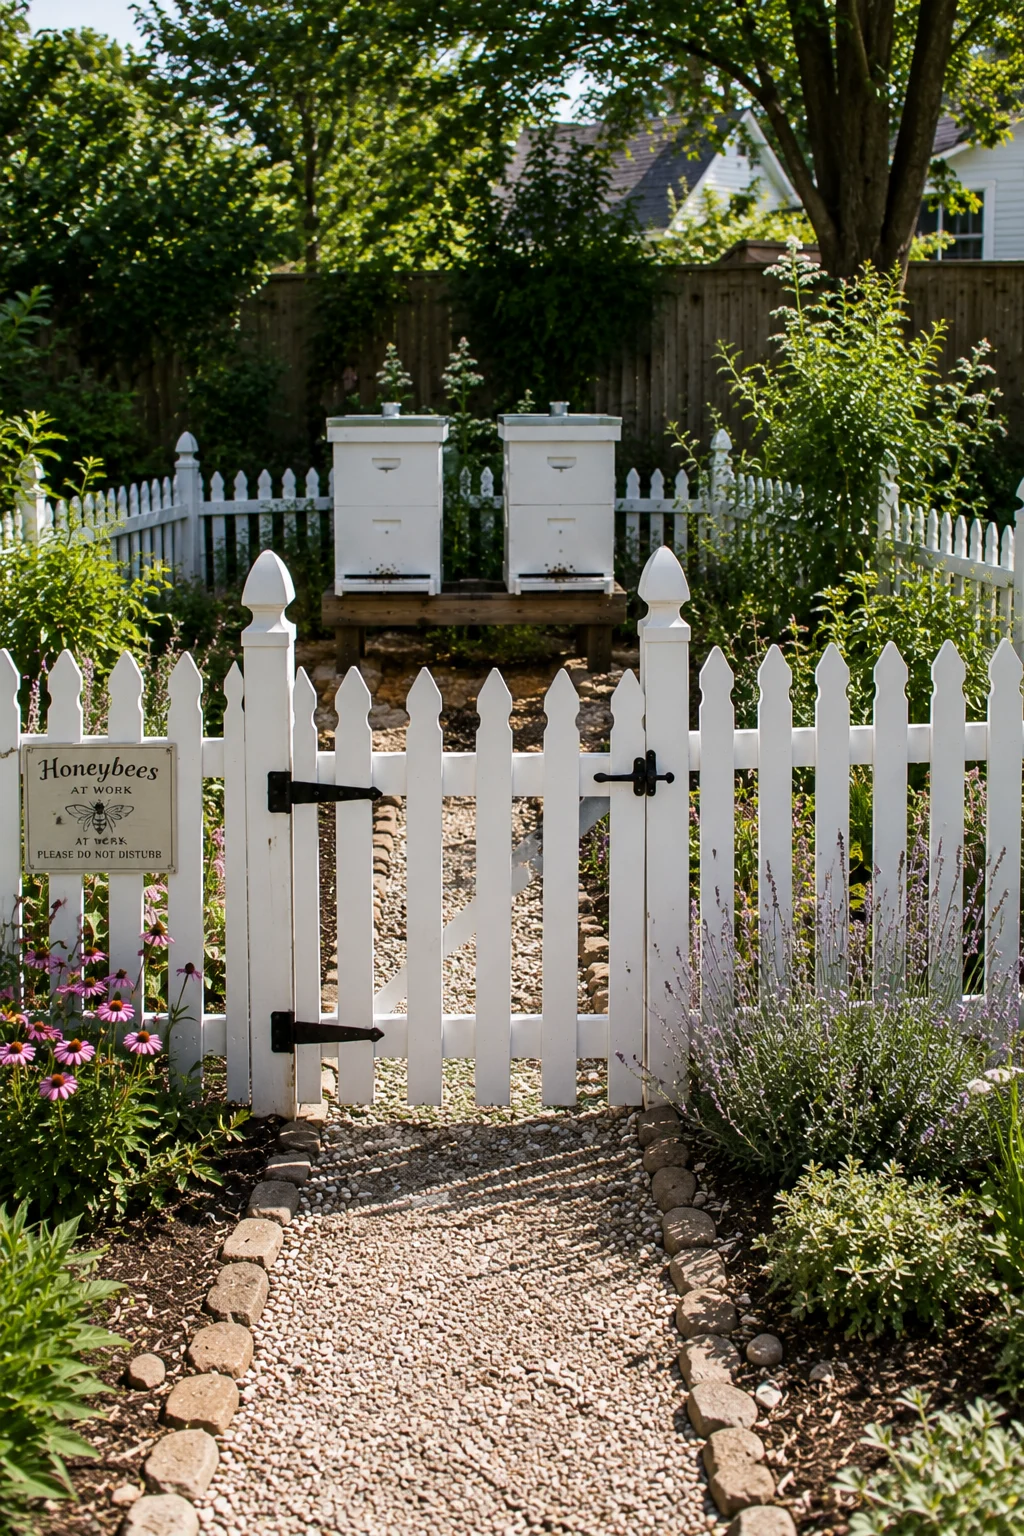
A low decorative fence around the apiary, distinct from a flight barrier, defines the space visually and discourages children or pets from wandering too close, while adding a clear design boundary to the yard. This works because a fenced enclosure signals the area’s purpose without needing a sign, and it gives the beekeeper a defined workspace separate from the rest of the yard. Choose a fence style that complements your home’s existing exterior, whether that is simple picket, wire, or wood lattice, and keep the gate wide enough to move equipment through easily. This is a separate feature from a flyway barrier, which needs to be taller and positioned specifically in front of the hive entrances.
14. Repurposed Cart for Mobile Hive Access
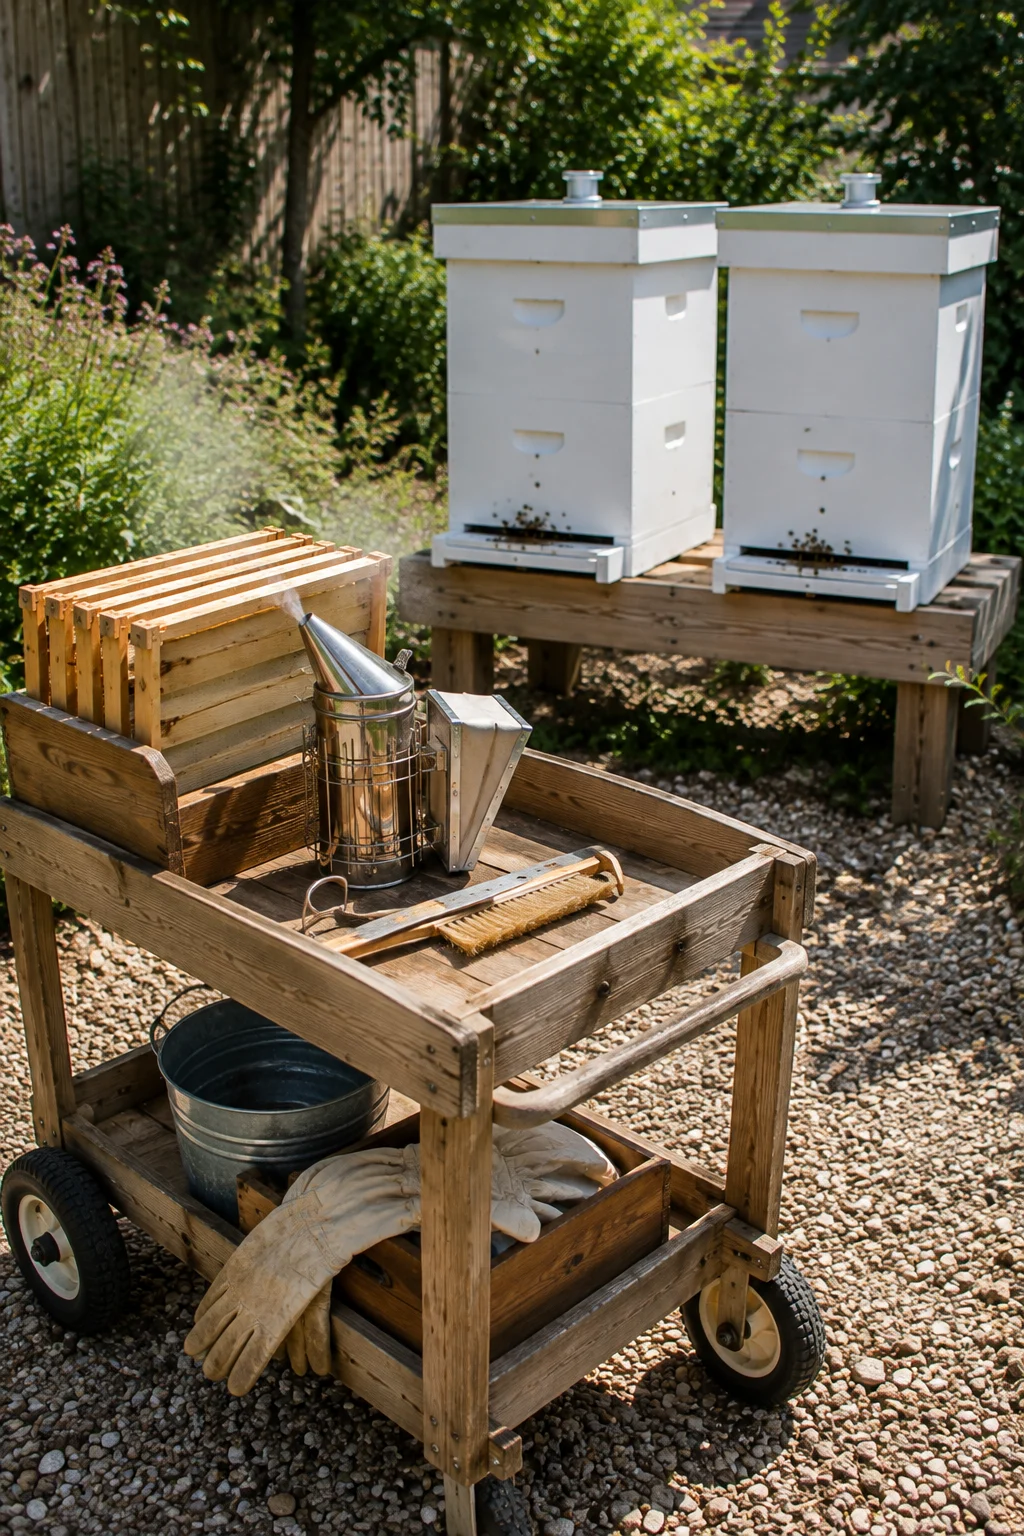
A garden cart or repurposed wagon fitted out to carry hive tools, a smoker, and a spare super makes inspections more efficient while adding a rustic, functional look to the apiary space. This works because carrying equipment back and forth by hand slows down inspections and increases the chance of forgetting something mid-task. Choose a cart with pneumatic tires for stability on grass or gravel, and consider adding a simple wood tray or bin insert to keep tools from sliding around during transport. Park the cart near the hives when not stored, since it doubles as a visual cue that the space is an active, maintained apiary.
15. Rain Roof Over the Hive Row
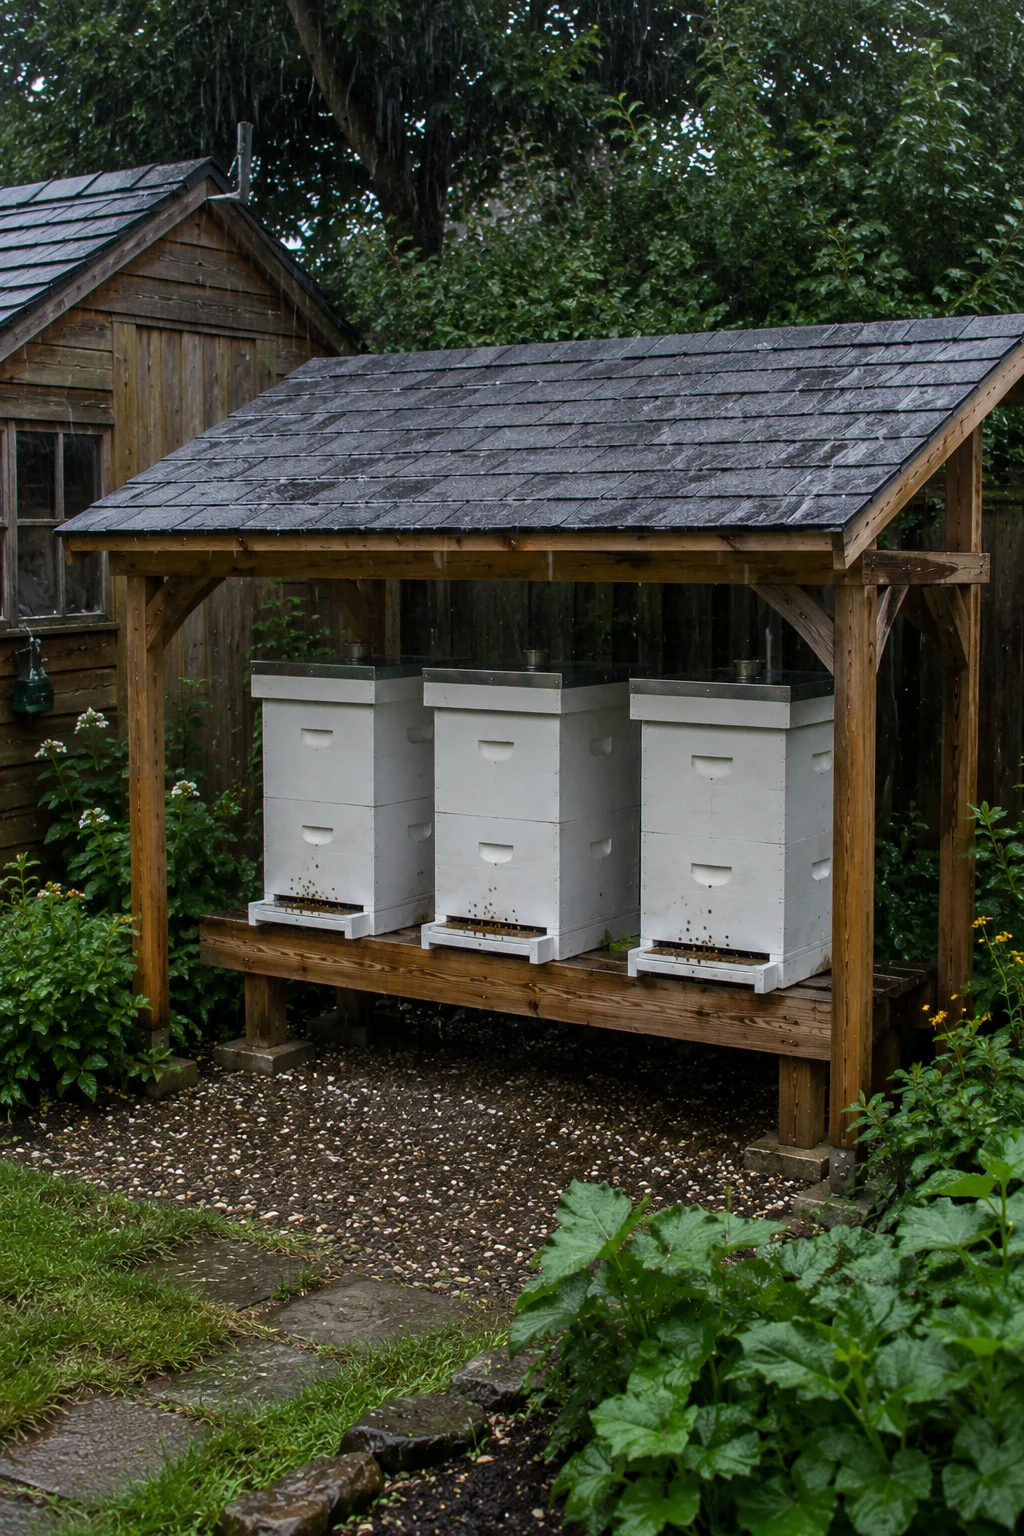
A simple slanted roof structure built over a row of hives protects them from direct rain and reduces snow load in winter, while adding an architectural element that ties the apiary into the rest of the yard’s structures. This works because consistent moisture on hive lids can lead to premature wood rot and makes winter insulation less effective, issues a basic roof largely prevents. Build the roof with enough overhang to keep rain off the hive entrances without blocking airflow, and match the roofing material to your shed or house if visual consistency matters to you. Leave enough headroom beneath the structure for comfortable full-height inspections.
Seasonal & Multi-Purpose Garden Integration
16. Spring Bulb Underplanting Near Hives
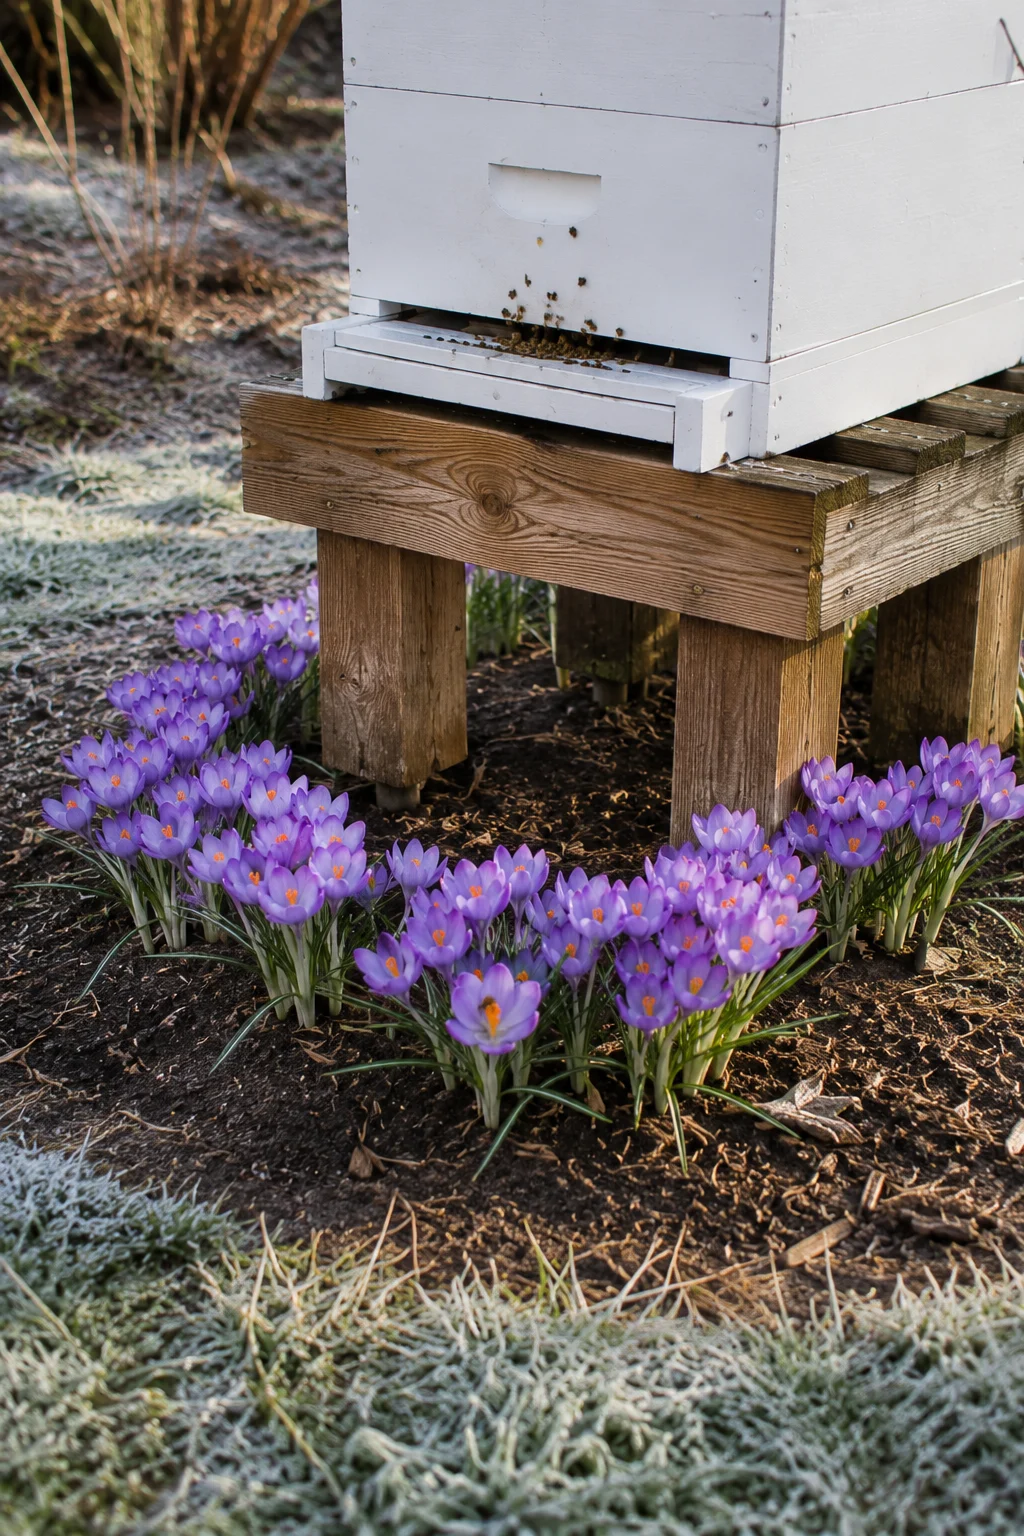
Planting early spring bulbs like crocus and snowdrops around the base of the hive stand gives foraging bees an early food source right at their doorstep during the first warm days of the season. This works because early spring is a critical, often food-scarce period for a colony just beginning to expand its brood, and a close food source reduces the distance bees need to travel. Plant bulbs the previous fall in a ring around the hive stand’s base, choosing varieties known to bloom before most other garden plants wake up. Let the bulb foliage die back naturally after blooming so the bulbs store enough energy for next year.
17. Summer Shade Tree Positioned for Hive Cooling
A deciduous shade tree planted or already growing so its afternoon shadow falls across the hives helps prevent overheating during the hottest part of summer days, while adding a permanent, attractive garden element. This works because hive temperatures that climb too high can force bees to spend energy on cooling the colony rather than foraging or building comb. Position new tree plantings so mature shade falls on the hives specifically in early to mid-afternoon, when temperatures typically peak. Choose a species with a mature canopy height and spread appropriate for your yard size, since a full-grown tree takes years to establish but pays off long term.
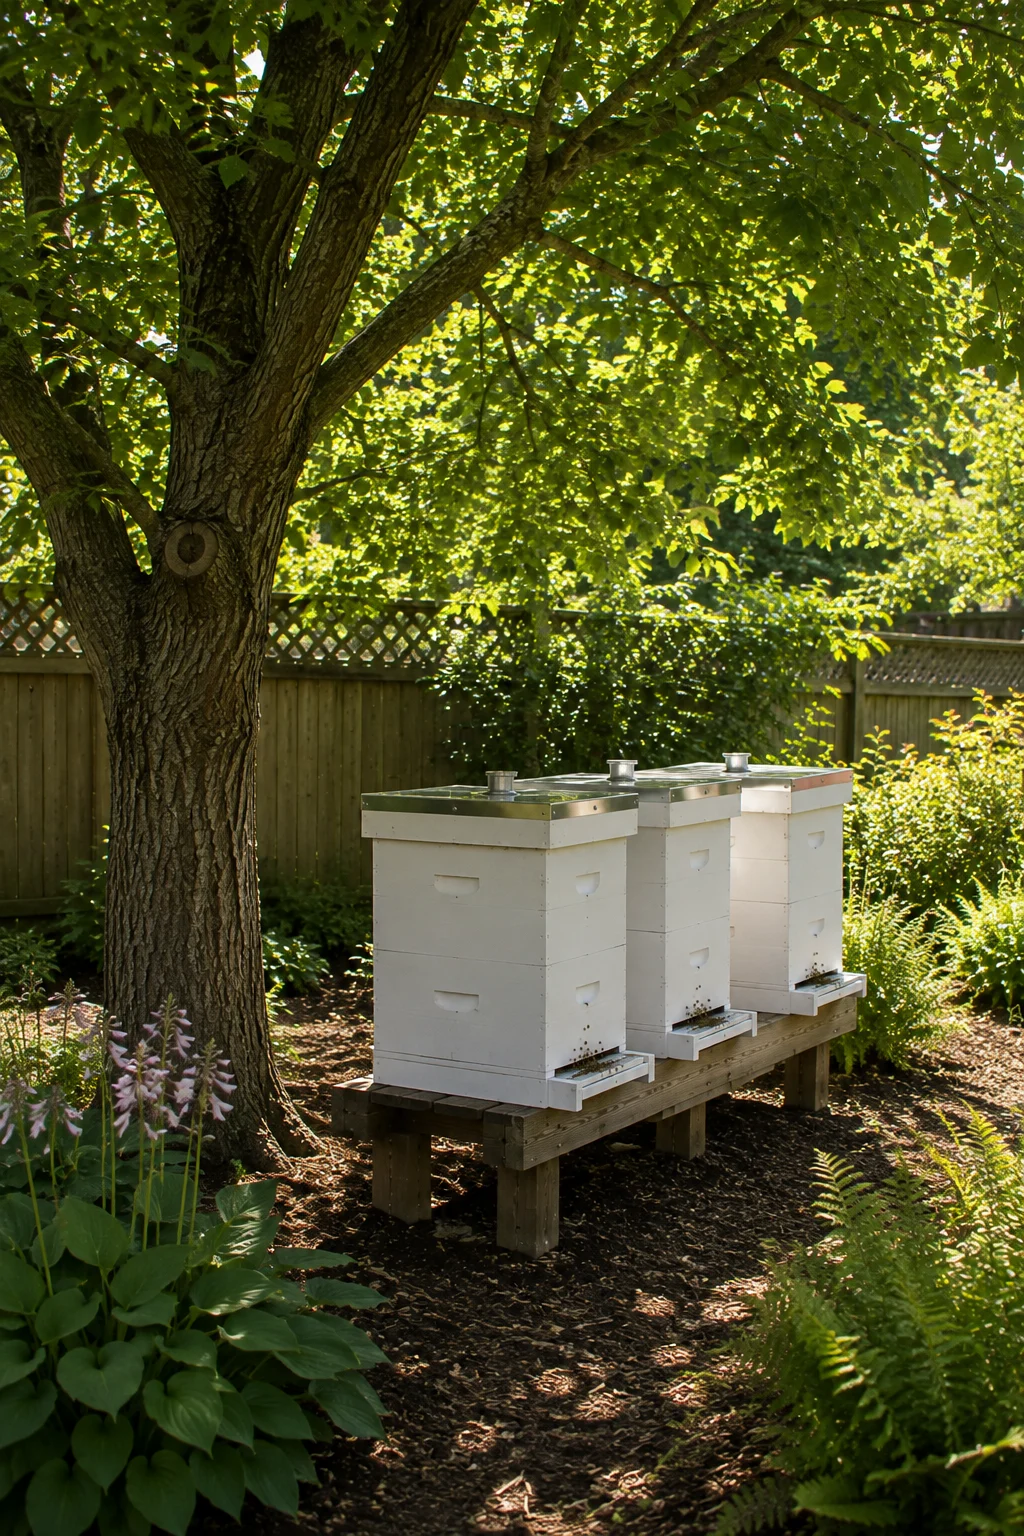
18. Fall Forage Patch for Overwintering Bees
A dedicated patch of late-blooming aster and goldenrod near the apiary gives bees a final substantial nectar source in fall, which helps build the food stores they need to survive winter. This works because a colony’s ability to overwinter successfully depends heavily on how well-provisioned it is going into the cold months, and a strong fall nectar flow makes a measurable difference. Plant both species in a sunny patch with room to spread, positioning it within easy foraging distance of the hives. This patch also extends the apiary’s visual interest into early fall, when most other garden blooms have already faded.
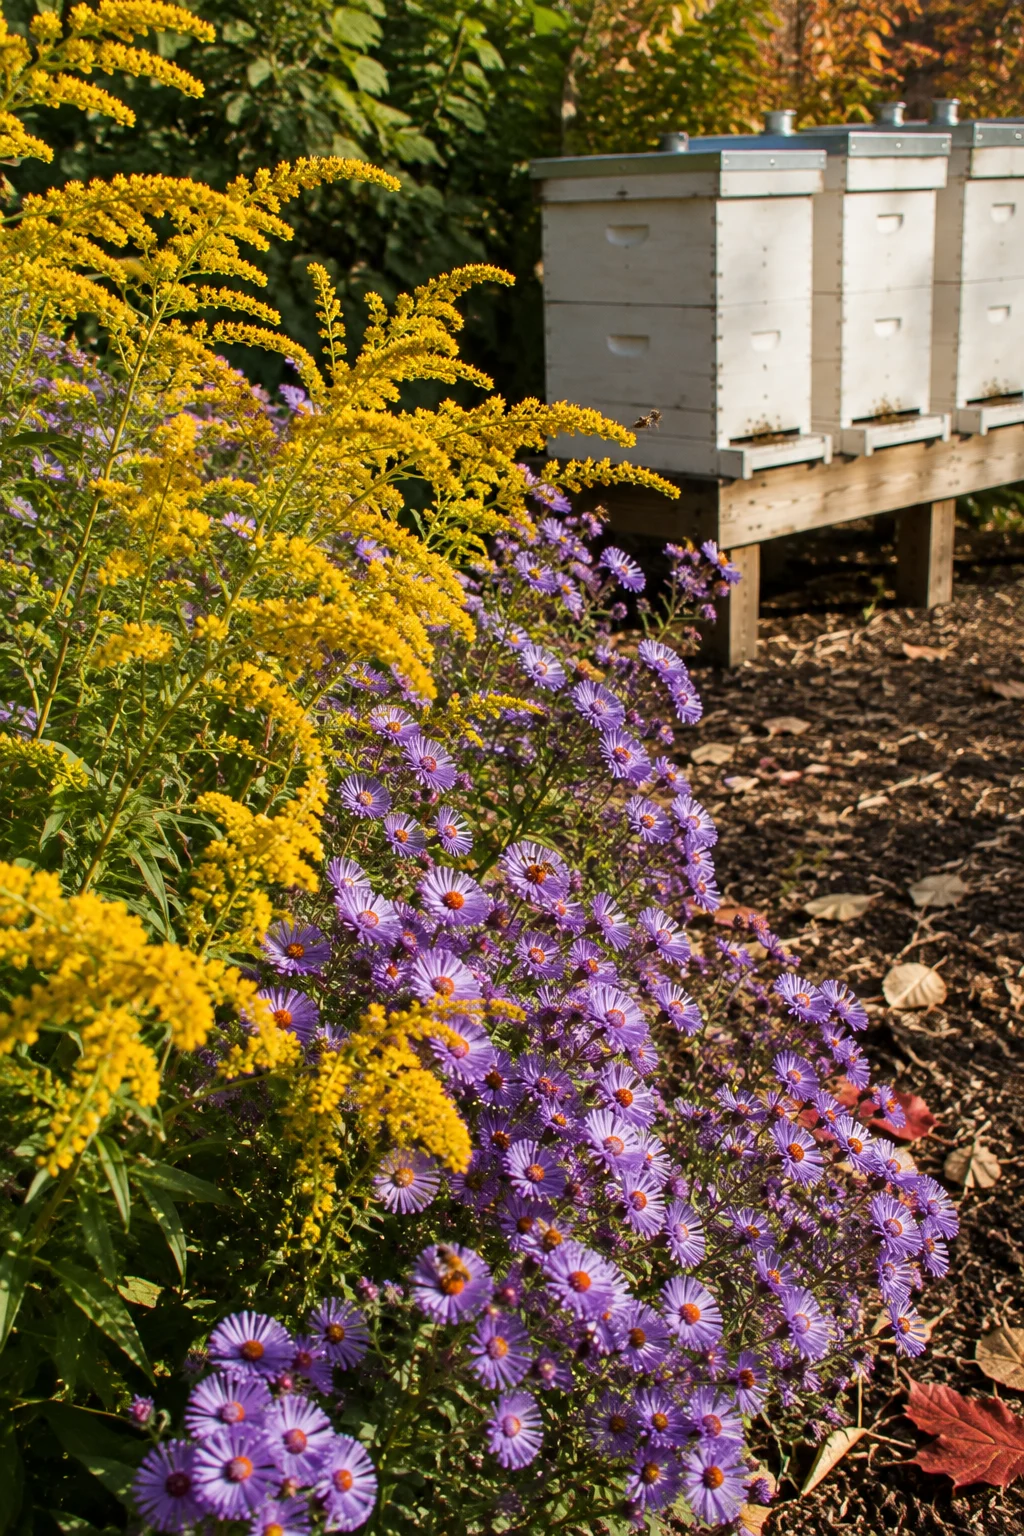
19. Evergreen Windbreak for Winter Protection
Beyond a general windbreak, positioning specific evergreen shrubs or a low wall directly on the coldest wind-facing side of the hives during winter reduces how hard the colony has to work to maintain cluster temperature. This works because wind chill has a significant effect on hive temperature regulation, and even a modest barrier can meaningfully reduce heat loss through the hive walls. Wrap or bank the base of evergreen plantings with mulch for their own winter protection, and avoid placing anything directly against the hive body itself, since airflow around the hive still matters even with a windbreak nearby. Remove any straw bale or temporary wind protection promptly once temperatures warm in spring.
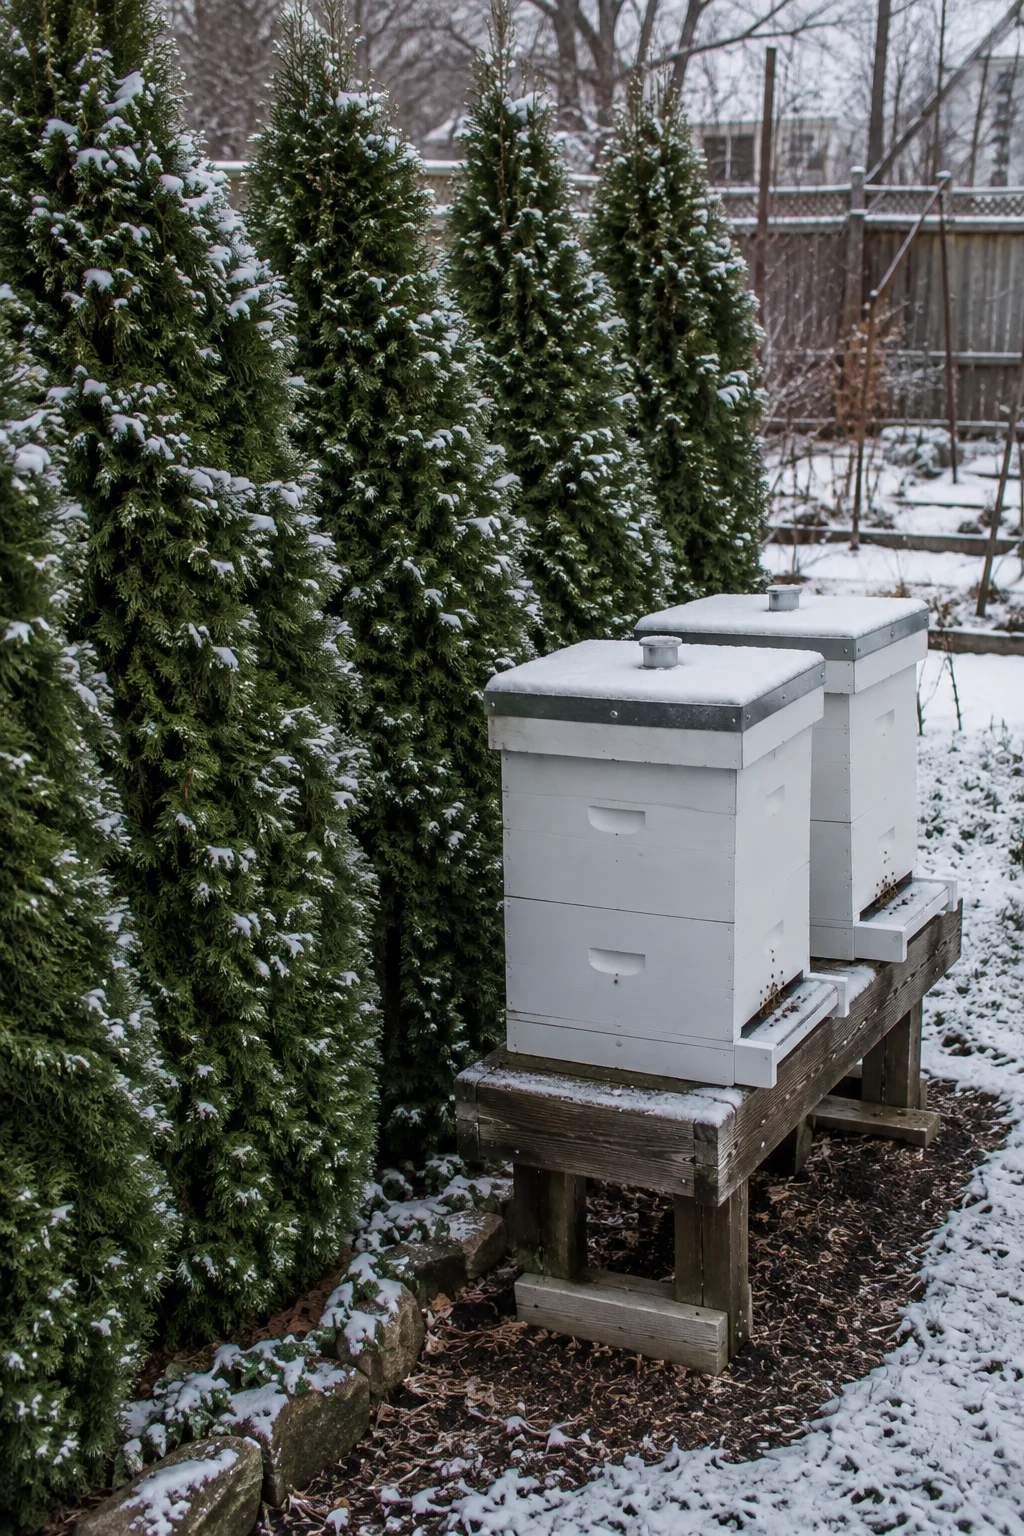
20. Vegetable Garden Positioned Near the Apiary
Placing a vegetable garden bed within foraging distance of the hives benefits both sides, since many vegetable crops rely on pollination to set fruit and the bees gain another nearby food source. This works because crops like squash, cucumbers, and berries depend heavily on bee visits for reliable yields, making proximity to an active hive a practical advantage rather than just a design choice. Position the vegetable beds a comfortable distance from the hive entrance, generally at least ten feet, so garden maintenance does not regularly disturb the bees’ flight path. This layout also creates a natural, functional flow between the productive parts of the yard.
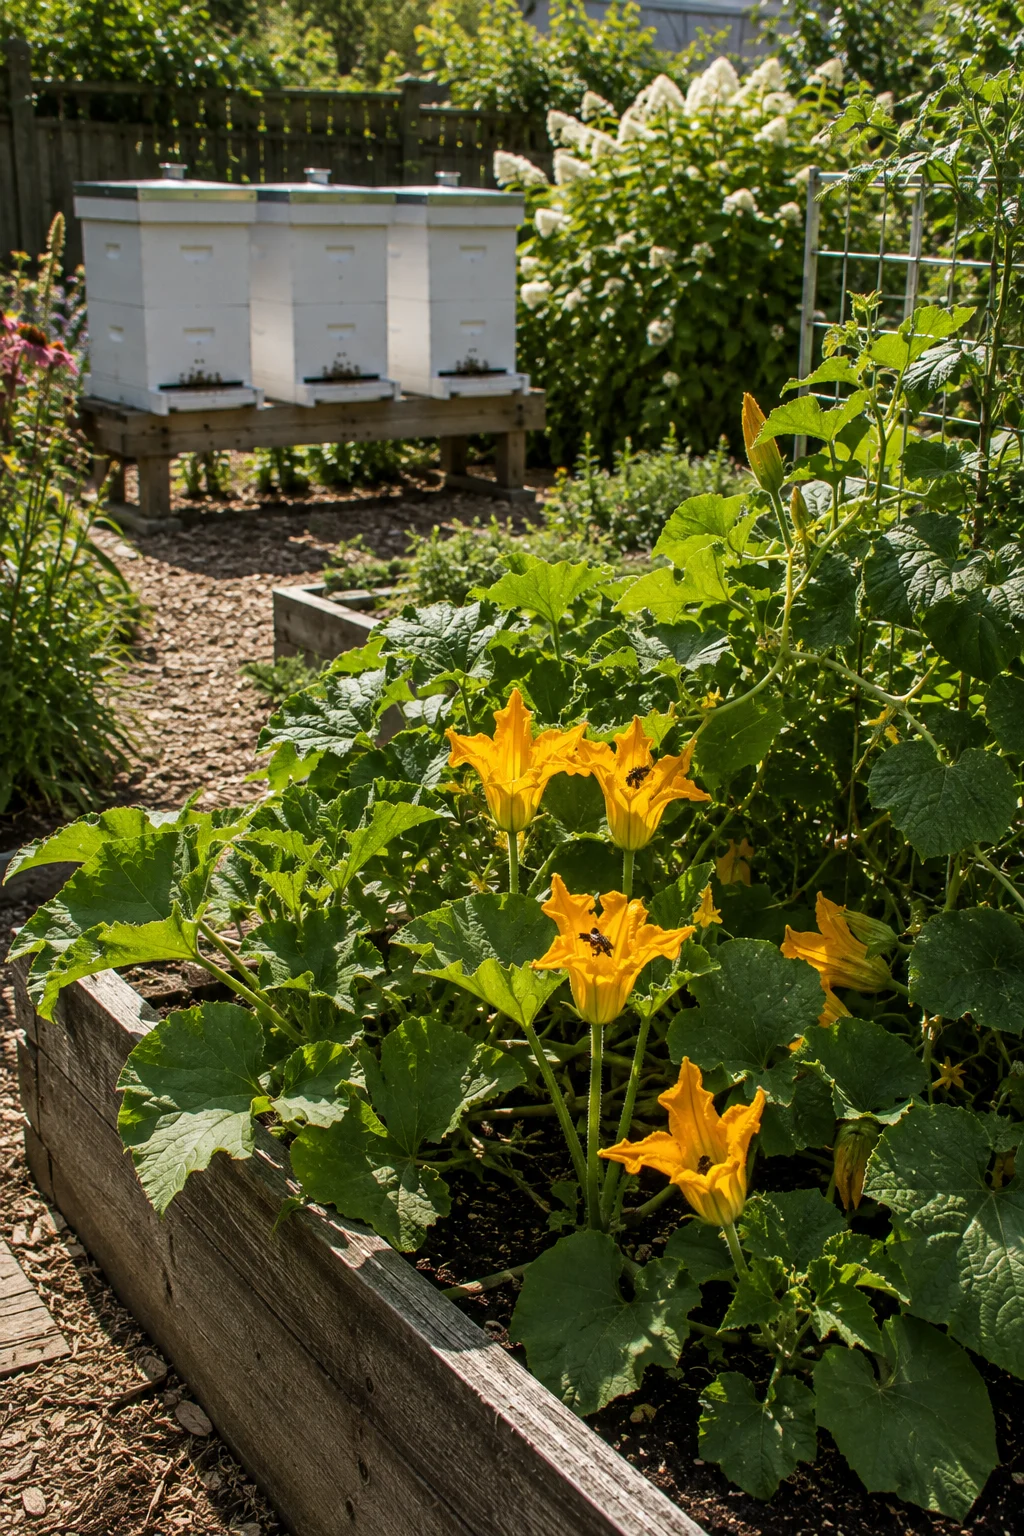
Small-Space & Neighbor-Friendly Ideas
21. Rooftop Hive with Screened Access
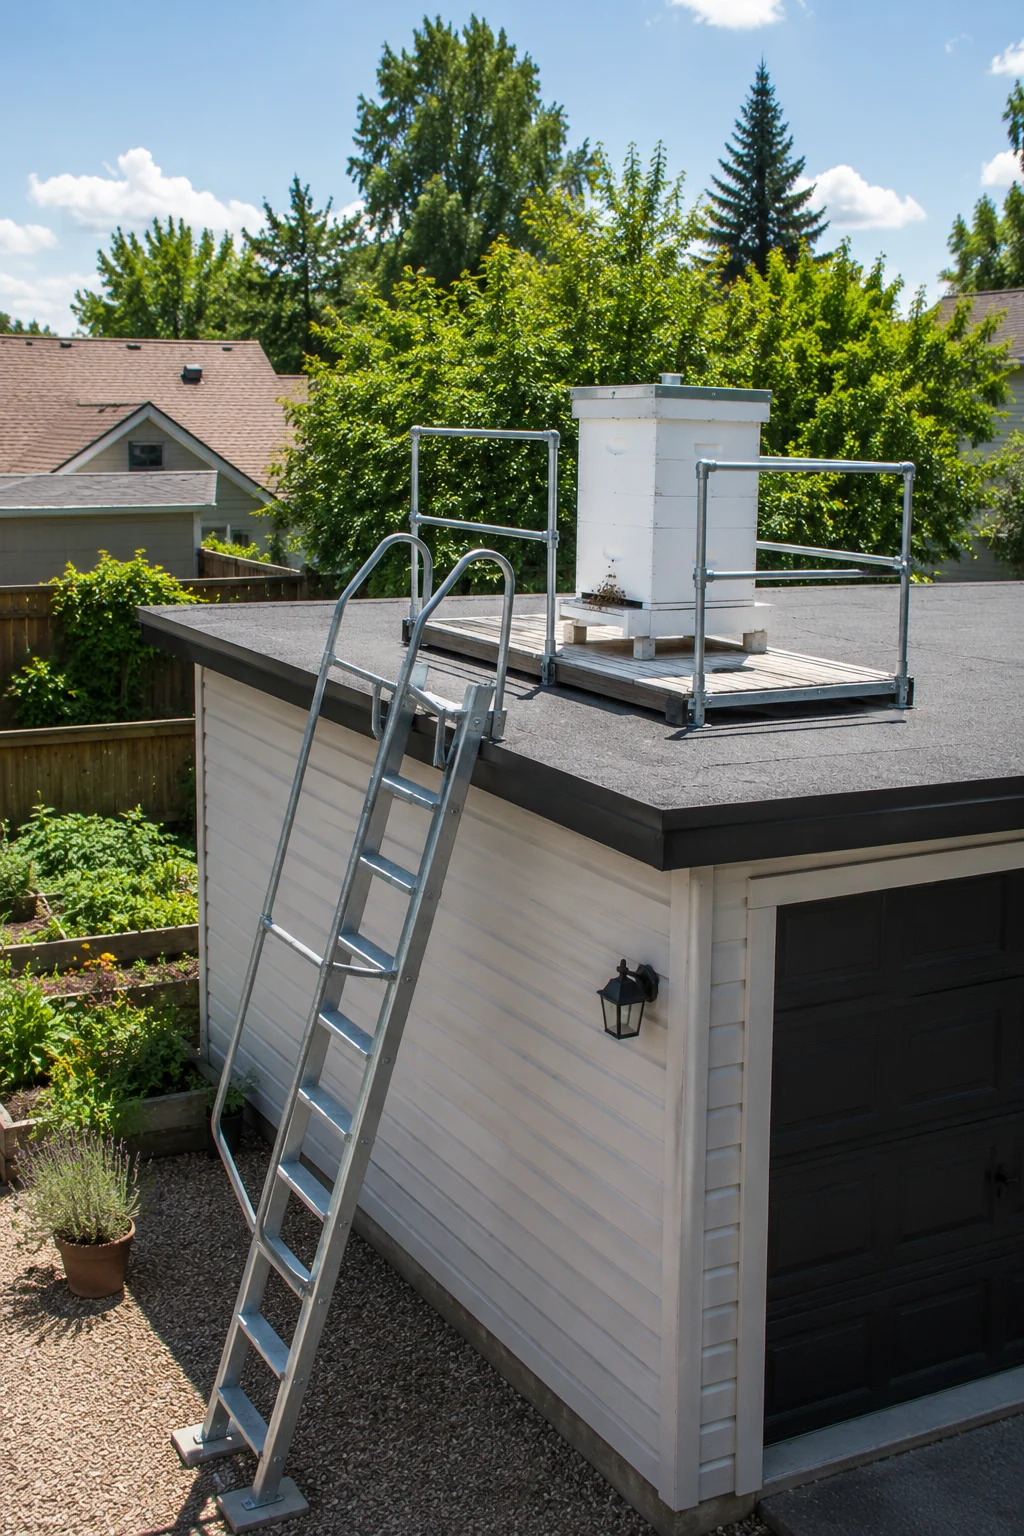
For very small lots, placing a hive on a flat garage or shed roof, accessed by a fixed ladder or stairs, keeps bees well above ground-level foot traffic entirely. This works because elevating the hive removes the flight path conflict altogether in tight yards where a ground-level barrier is not practical. Confirm the roof structure can support the loaded weight of a hive plus a beekeeper during inspections before installing anything, and add a simple screened or railed access point for safety. This setup also tends to reduce direct sightlines from neighboring yards, which can ease concerns about visible hive activity.
22. Single Hive Tucked into a Side Yard
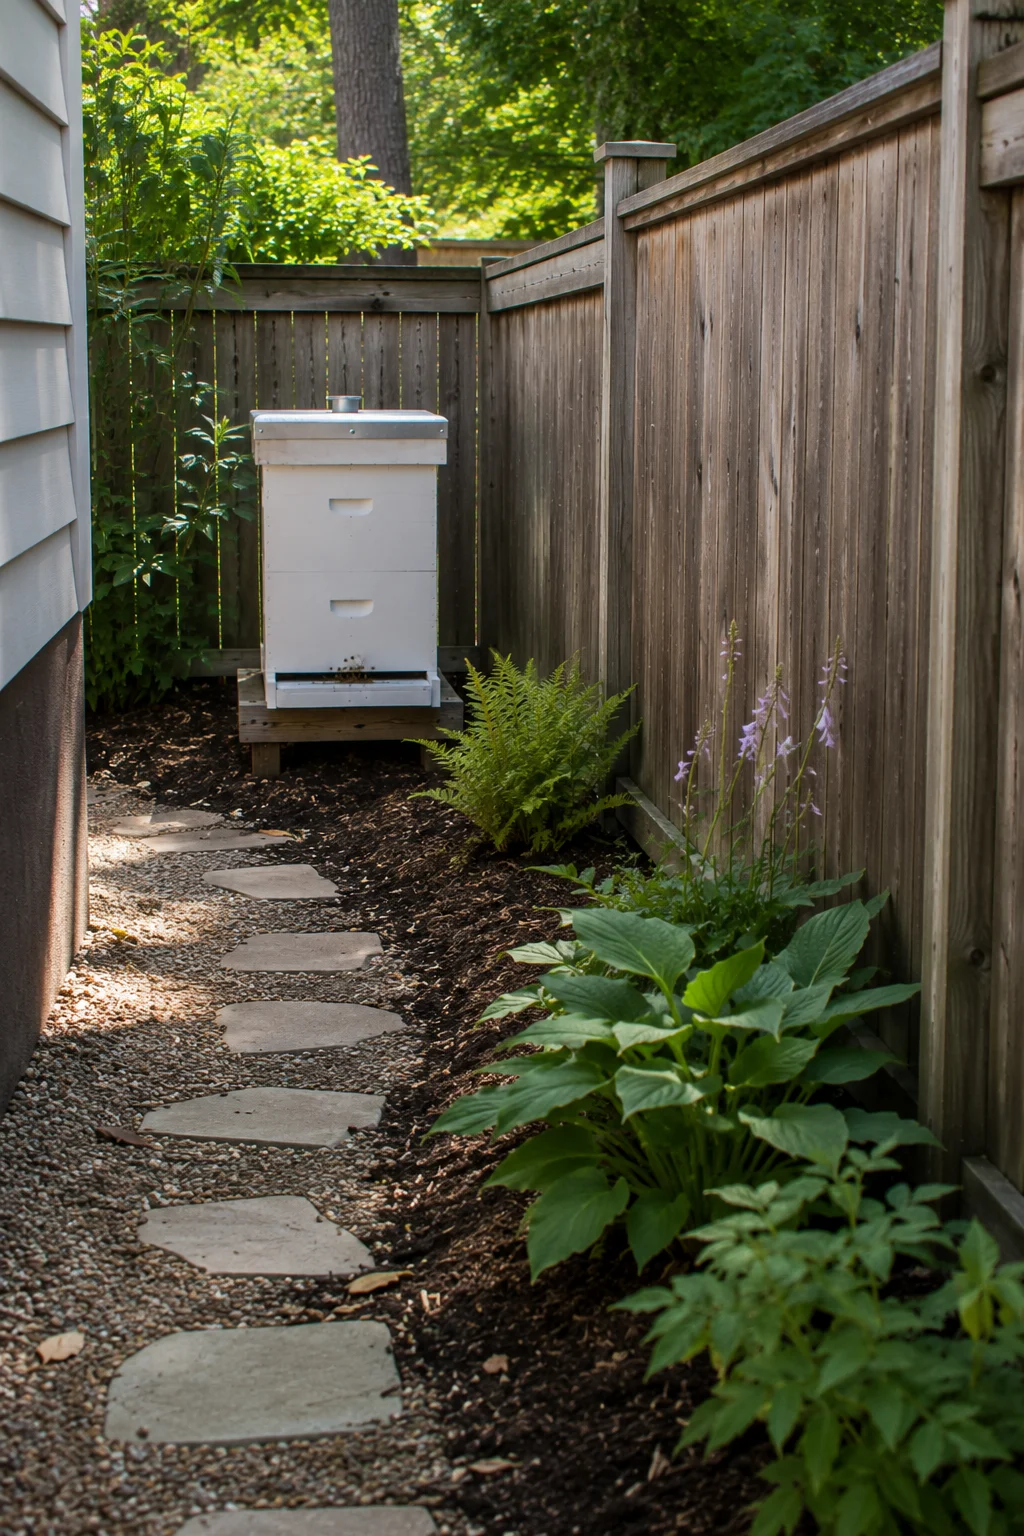
A narrow side yard, often unused space between a house and a fence, can fit a single hive comfortably when positioned with the entrance facing away from walkways. This works because side yards are frequently overlooked for any real use, yet they offer enough width for one hive plus basic working clearance in most standard suburban lots. Face the hive entrance toward the back fence rather than the front walkway, and add a simple stepping stone path for consistent, dry footing during inspections. This placement keeps the apiary largely out of view from the main backyard and street-facing areas.
23. Flyway Barrier Fence for Close Neighbors
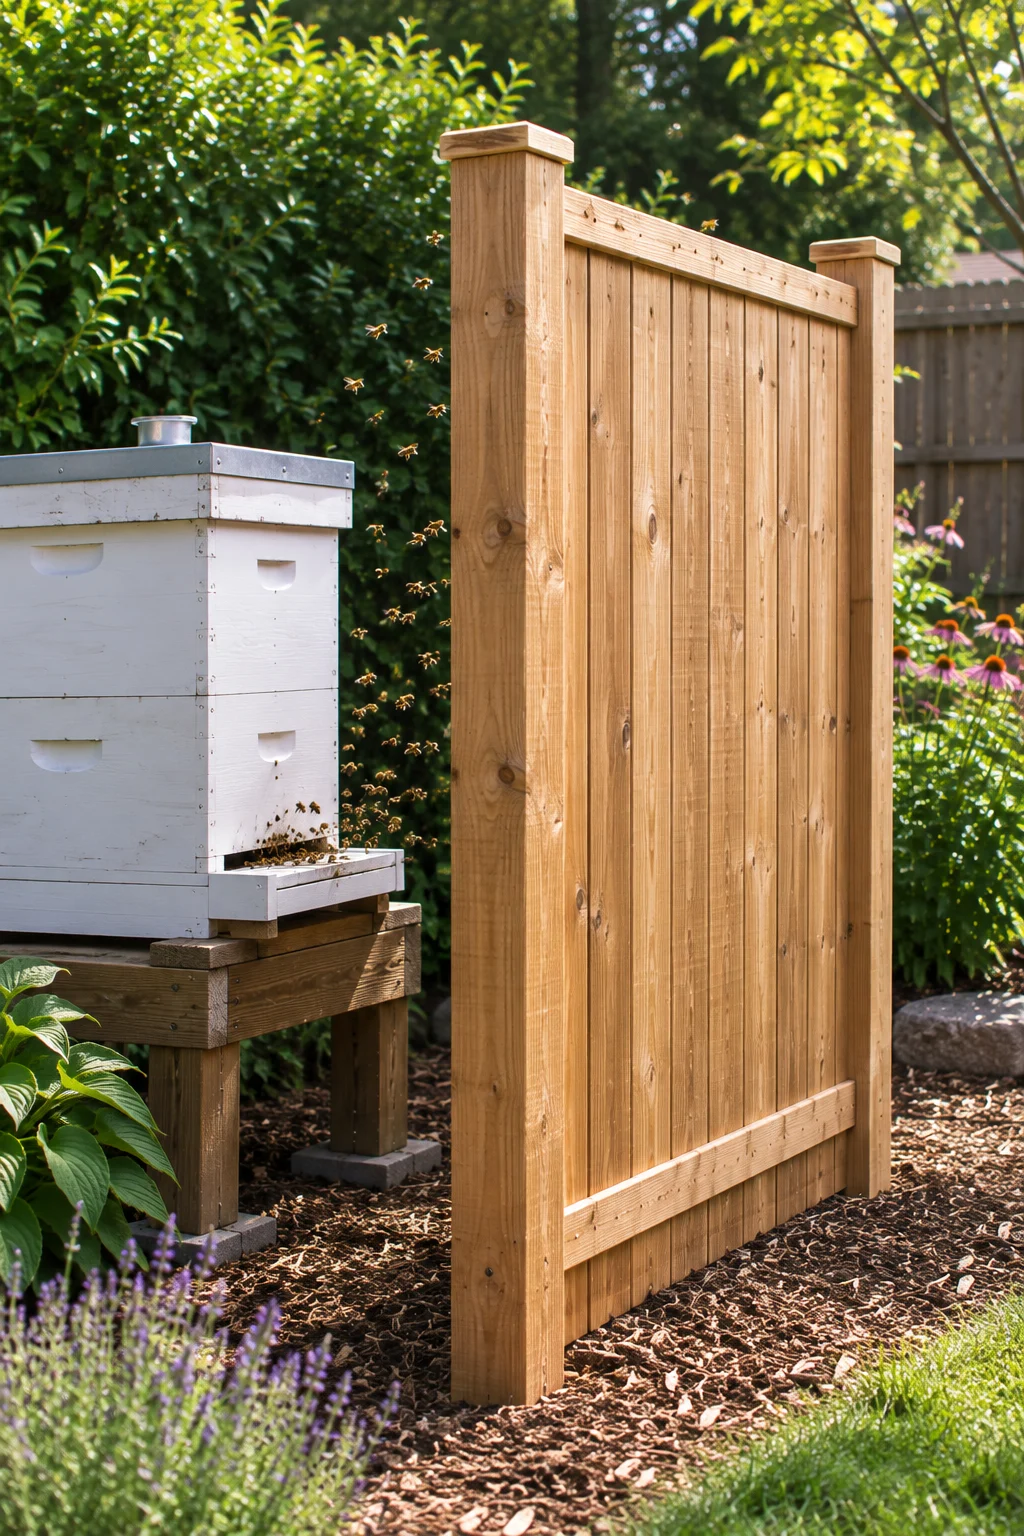
A solid or lattice fence built specifically in front of the hive entrance, distinct from general property fencing, forces bees to climb quickly to a safe flying height as recommended by beekeeping extension programs including Cornell’s pollinator network for close-neighbor situations. This works because it directly addresses the safety concern that leads most municipalities to require setback distances or flyway barriers in the first place. Build the barrier at least six feet tall and position it roughly three to six feet in front of the hive opening, using solid wood, lattice with vines, or a dense hedge depending on your preference. Check local regulations before installing, since many areas have specific height and placement requirements for flyway barriers.
This works because it directly addresses the safety concern that leads many municipalities to require setback distances or flyway barriers. Extension programs such as the Cornell Pollinator Network recommend using flyway barriers to encourage bees to gain altitude quickly in close-neighbor situations.
24. Community-Style Shared Apiary Corner
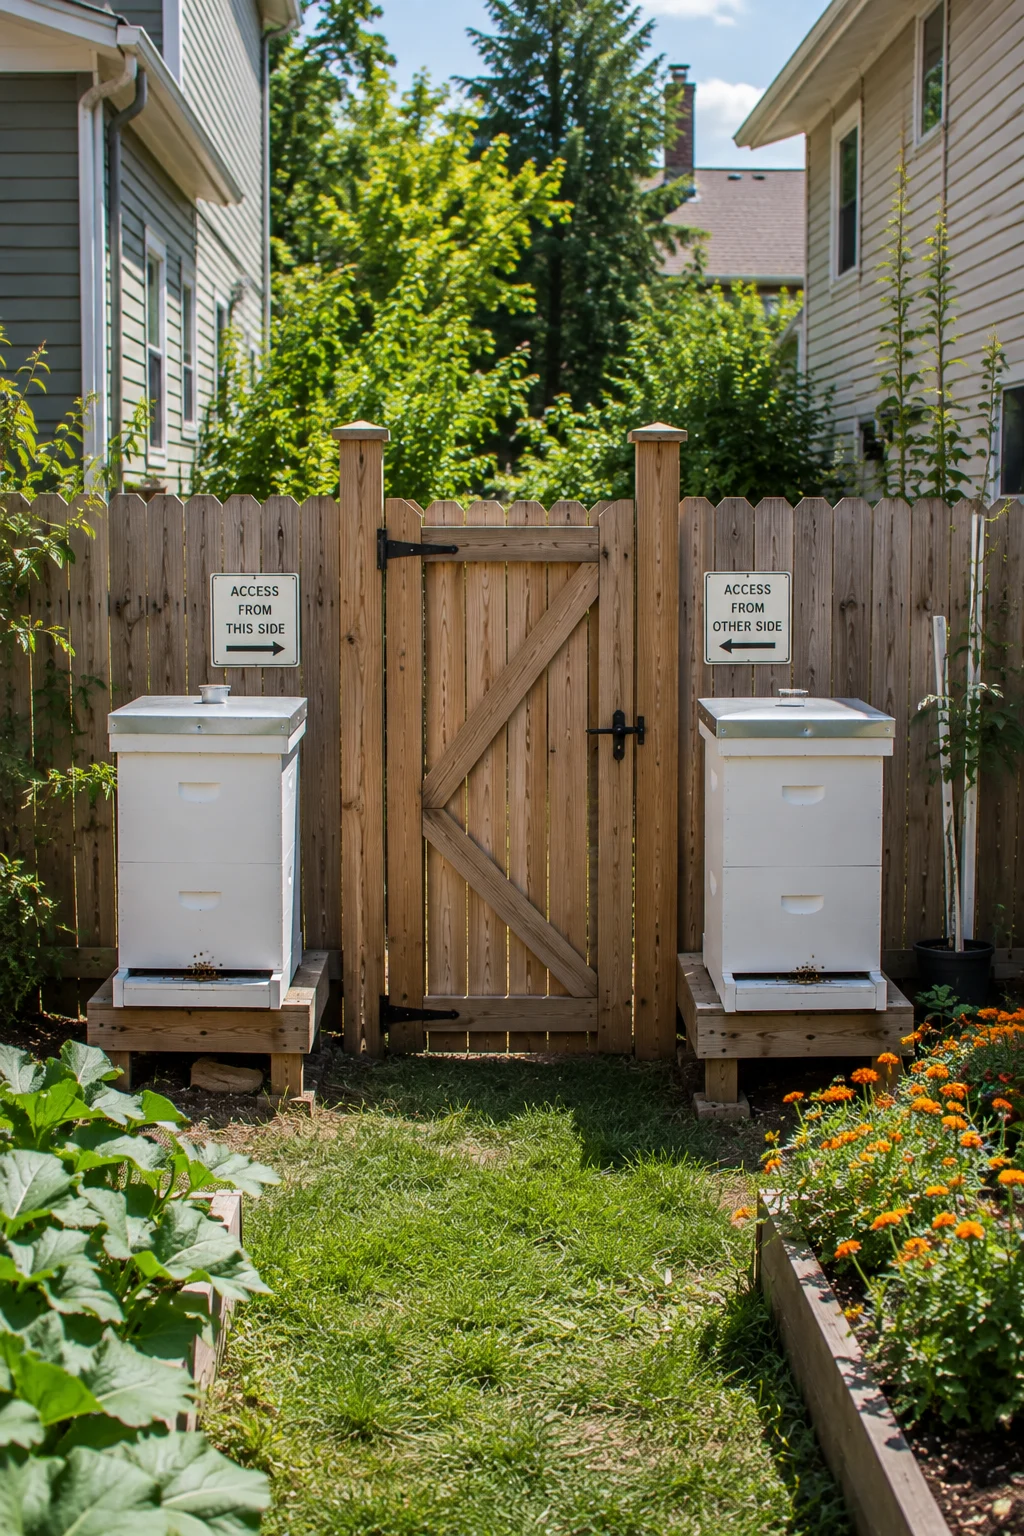
For neighbors who want to share the responsibility and cost of beekeeping, a jointly maintained apiary corner along a shared property line, set up with mutual agreement, spreads out both the work and the benefit of the hives. This works because beekeeping involves recurring time commitments, and splitting inspections, equipment costs, and harvest between households makes it more sustainable long term. Set clear expectations in advance about inspection schedules, cost sharing, and what happens if one household wants to stop participating. Position the shared apiary with input from both properties on placement, screening, and flight path direction before installing anything permanent.
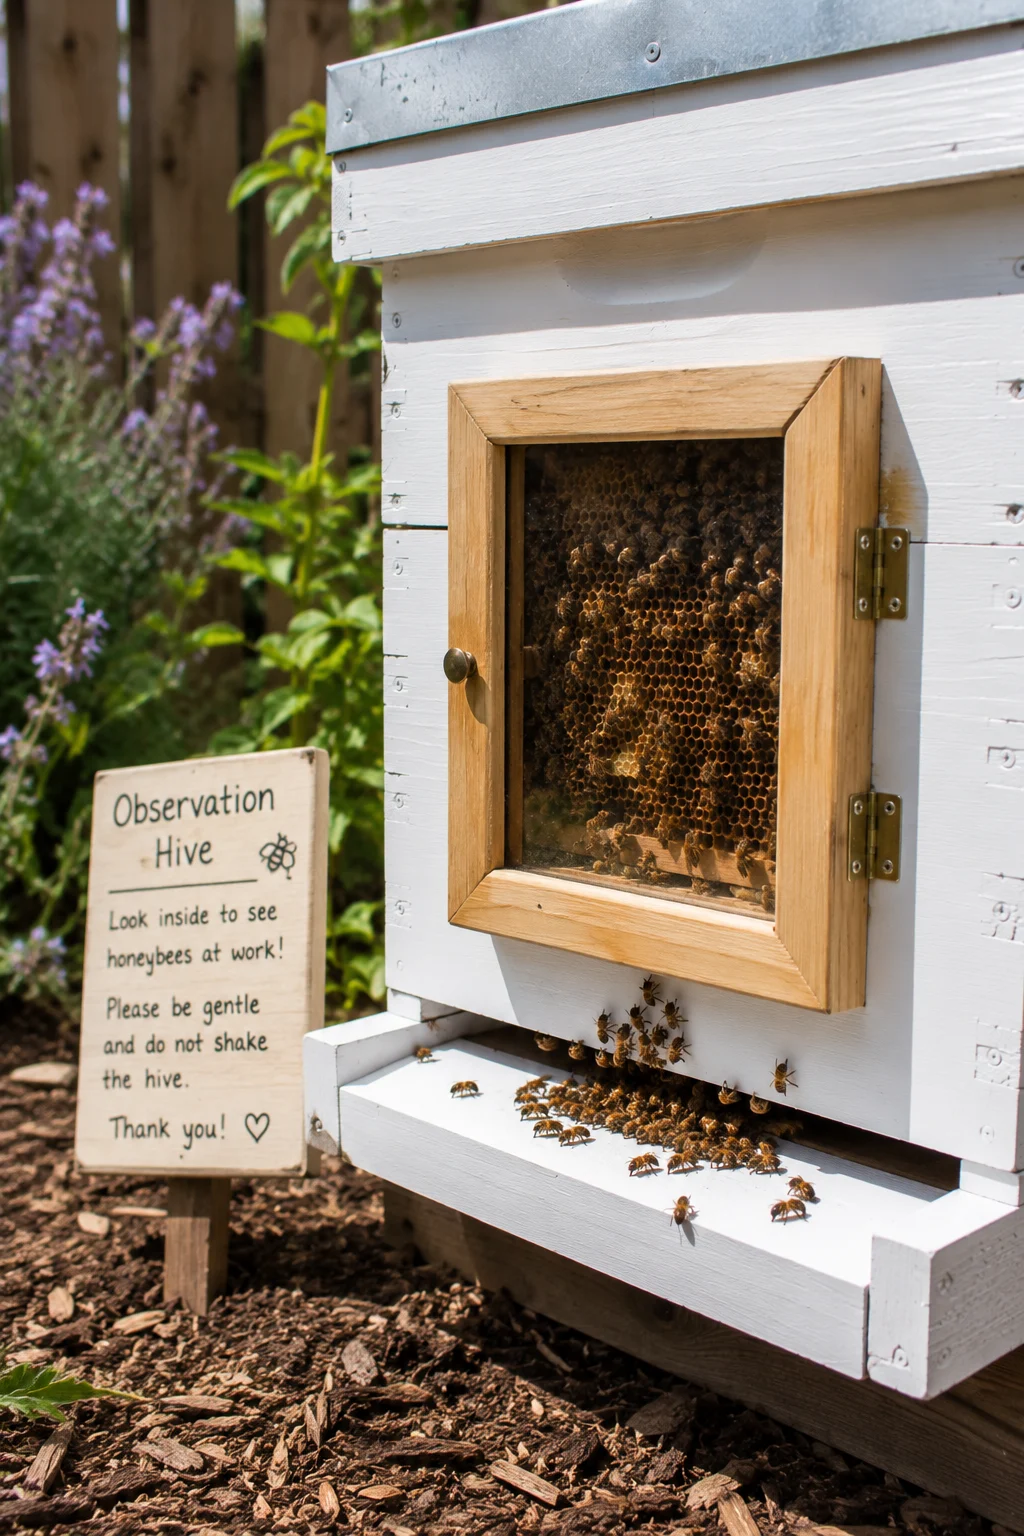
25. Observation Window Hive Box
A hive fitted with a small glass observation window on one side lets you, and curious neighbors, watch bee activity without opening the hive, which can help build comfort and interest around the apiary. This works because much of the concern people have about backyard beekeeping comes from simply not understanding what happens inside a hive, and visible activity often reduces that unease. Choose a hive design with a built-in observation panel, or retrofit an existing box with a weatherproof window insert, and keep a simple cover or shutter over it when not in use to maintain the hive’s normal darkness. This feature works particularly well combined with a small educational sign explaining what visitors are seeing.
How to Choose From This List
With 25 backyard beekeeping ideas covering placement, landscaping, functional features, seasonal timing, and small-space solutions, start with whatever safety and screening needs your specific yard has before moving on to purely decorative choices. A flyway barrier or hedge screen matters more in a tight suburban lot with close neighbors than a rural property with acres of buffer space. For a deeper look at the full range of setup considerations before you commit to a design, see 17 backyard beekeeping setup ideas and backyard beehive placement guidance for more on choosing the right spot before you build anything permanent around it.
Final Thoughts
A backyard apiary does not have to look like an industrial add-on tacked onto an otherwise finished yard. With the right placement, a bit of screening, and plants chosen to support both the bees and the overall garden design, hives can become one of the more interesting features in a yard rather than something tucked out of sight.
Start with the placement and safety basics, a good flight path barrier and a stable stand, before layering in the more decorative ideas like painted boxes or a forage border. Once the fundamentals are solid, the rest of the integration tends to come together naturally as you get more comfortable managing the colony day to day.