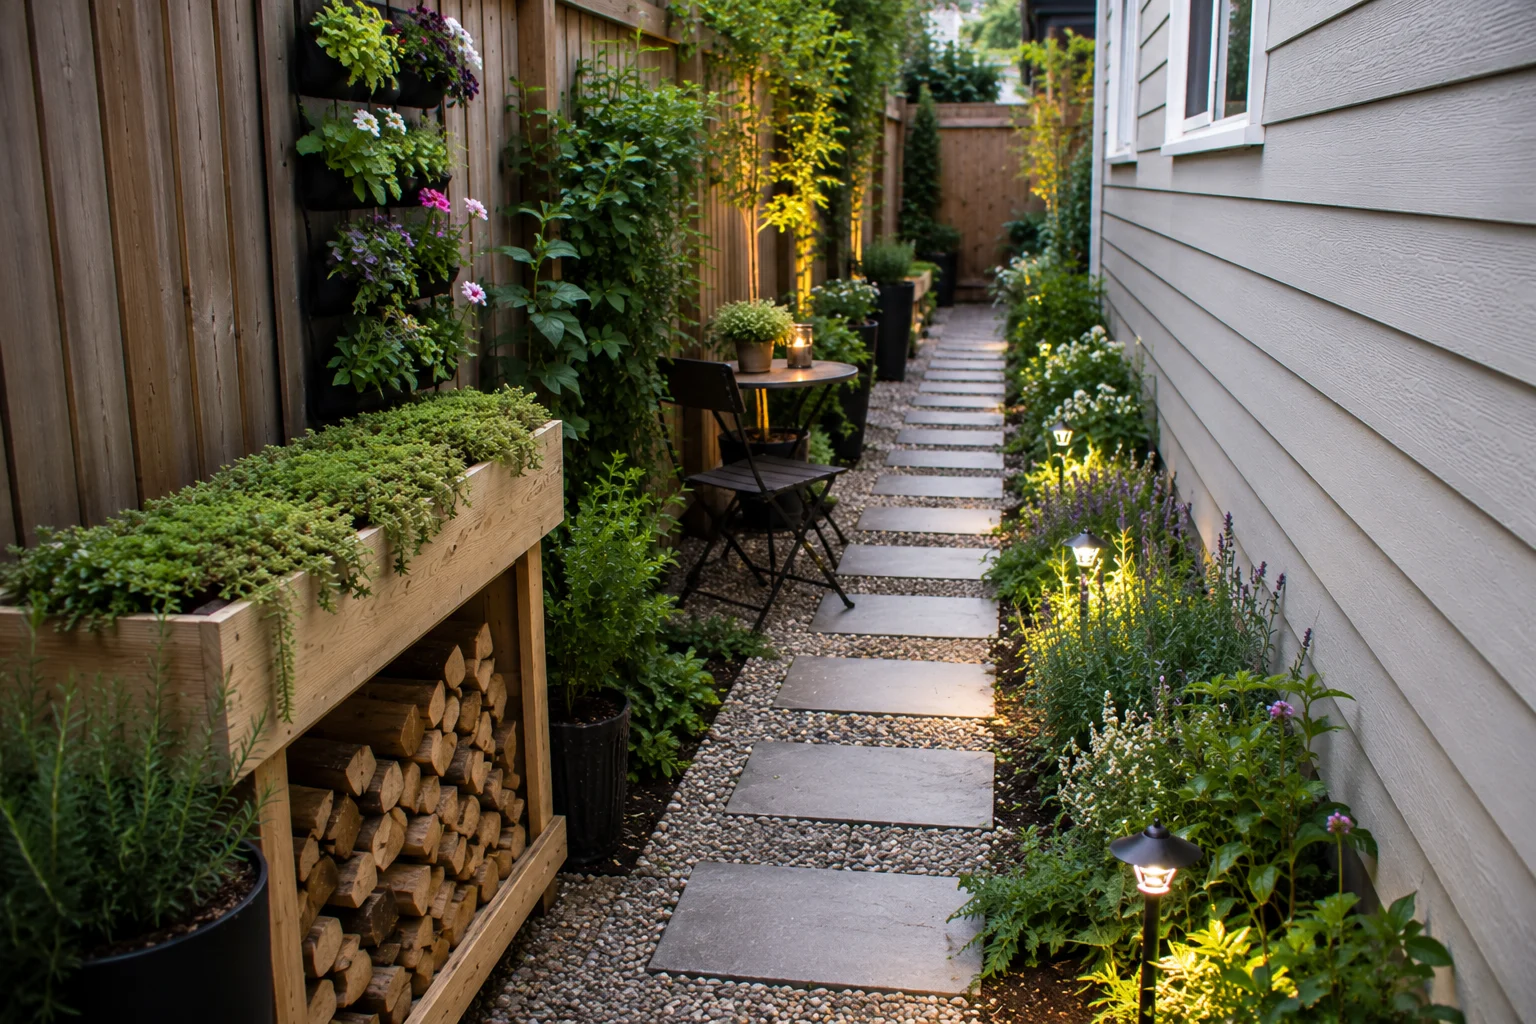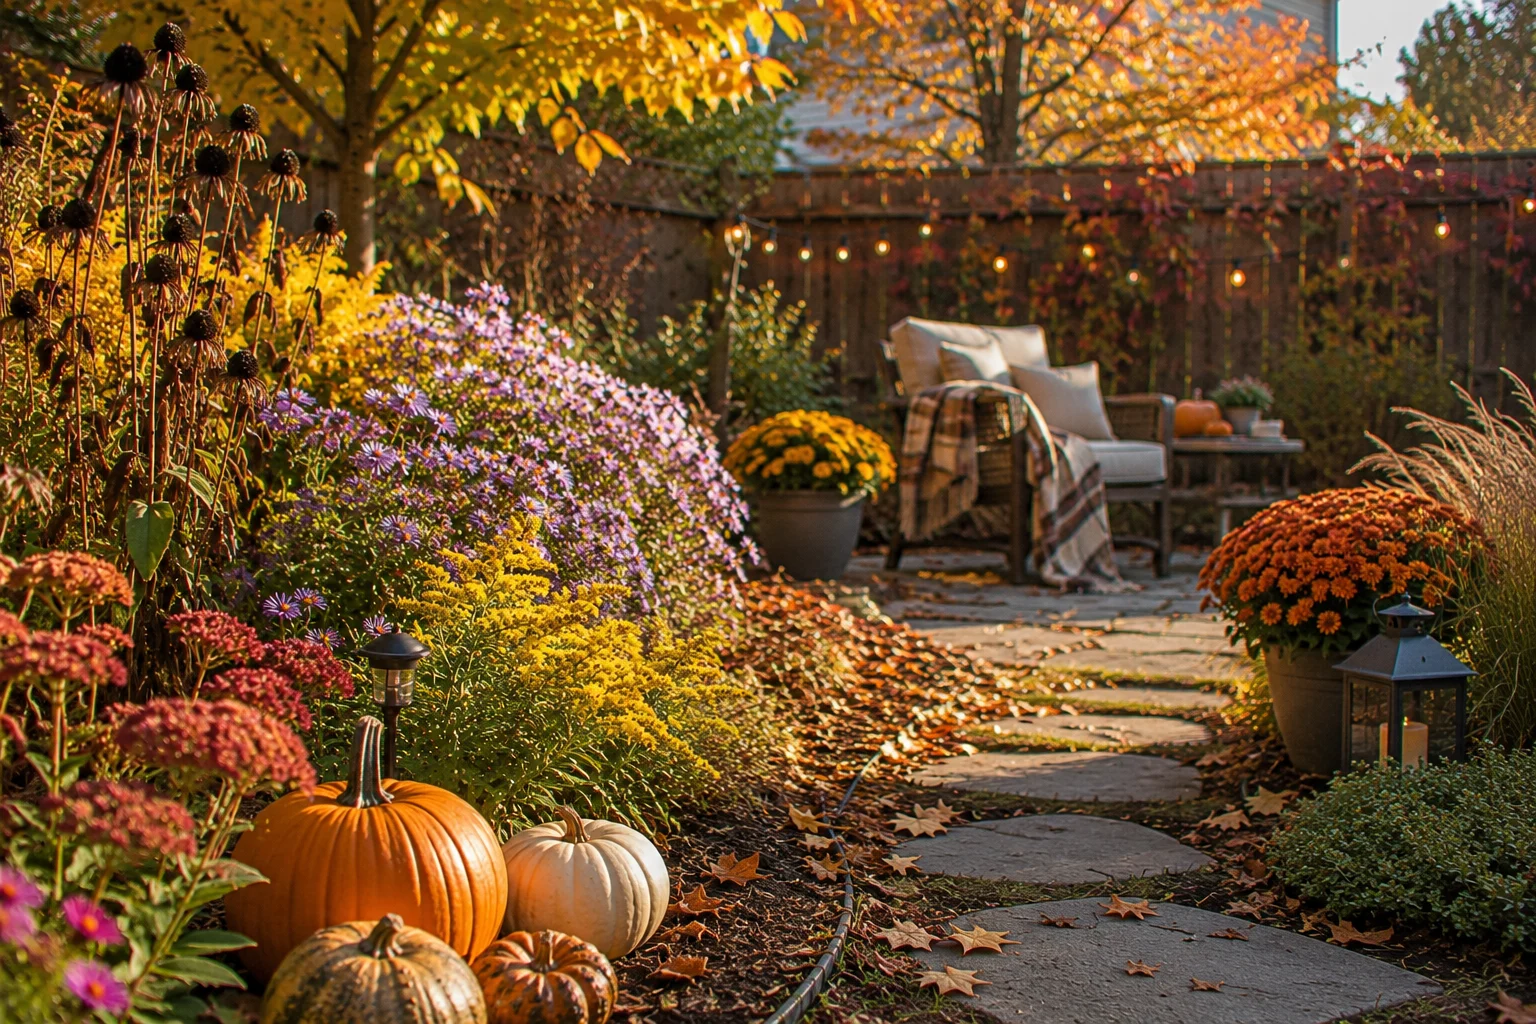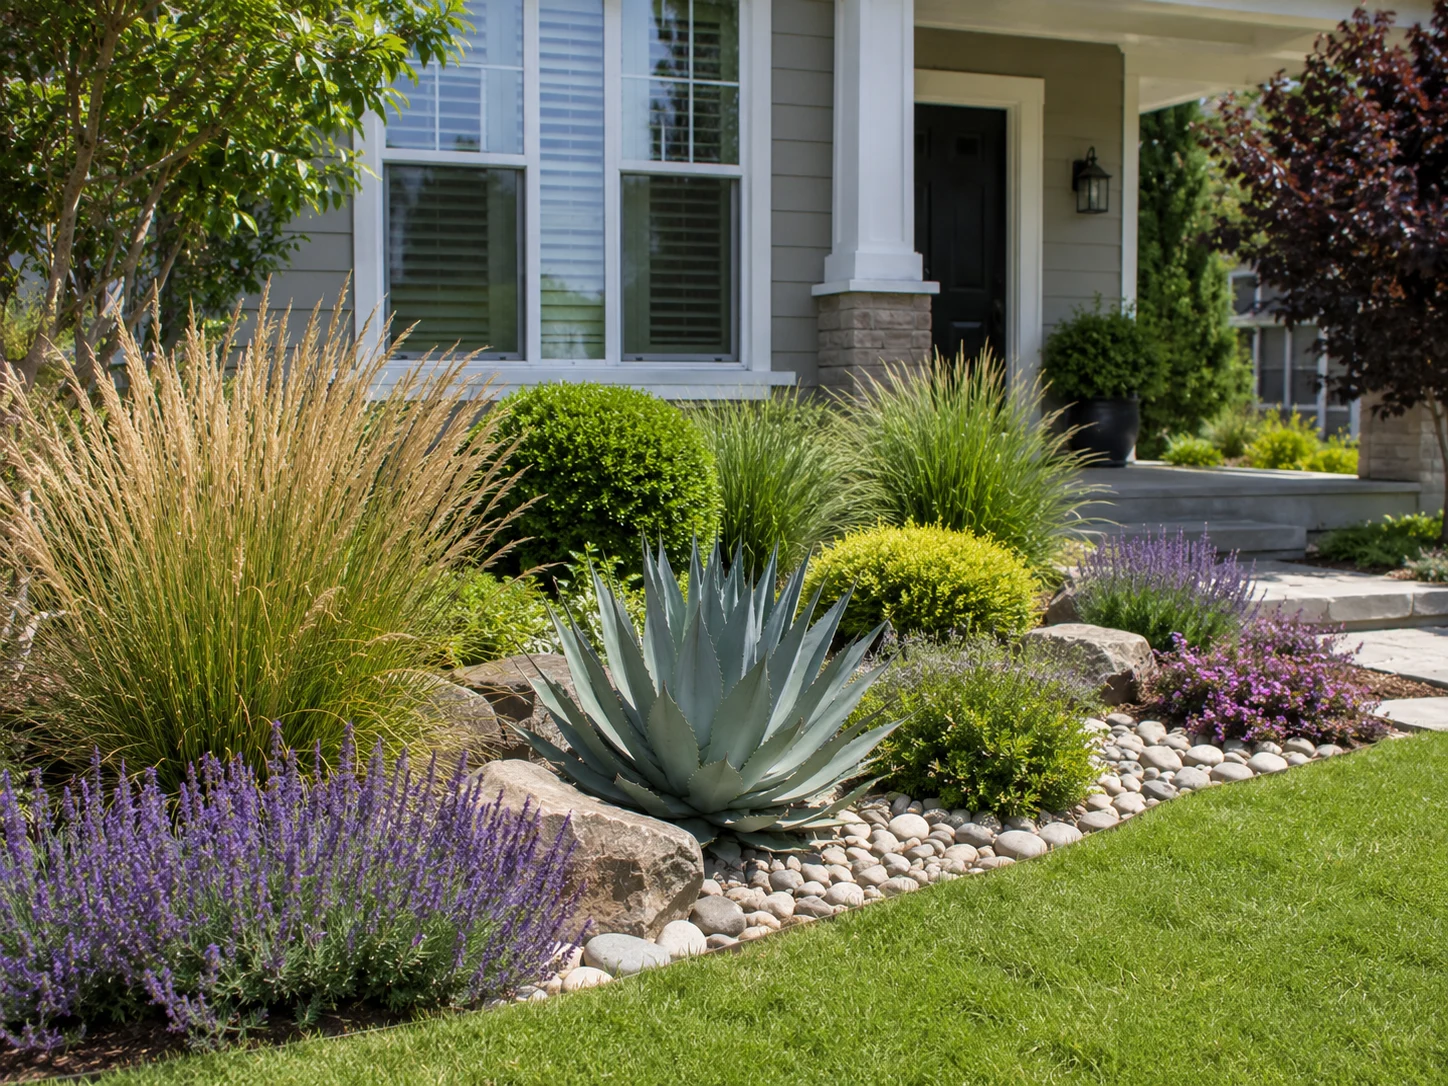

A plain fence is wasted garden space. If the strip in front of yours is bare soil, weak grass, or a single row of the same shrub repeated into the distance, that entire edge of your garden is doing almost nothing — not for you, not for your garden’s structure, and not for the bees and pollinators that fly over it daily looking for something worth visiting.
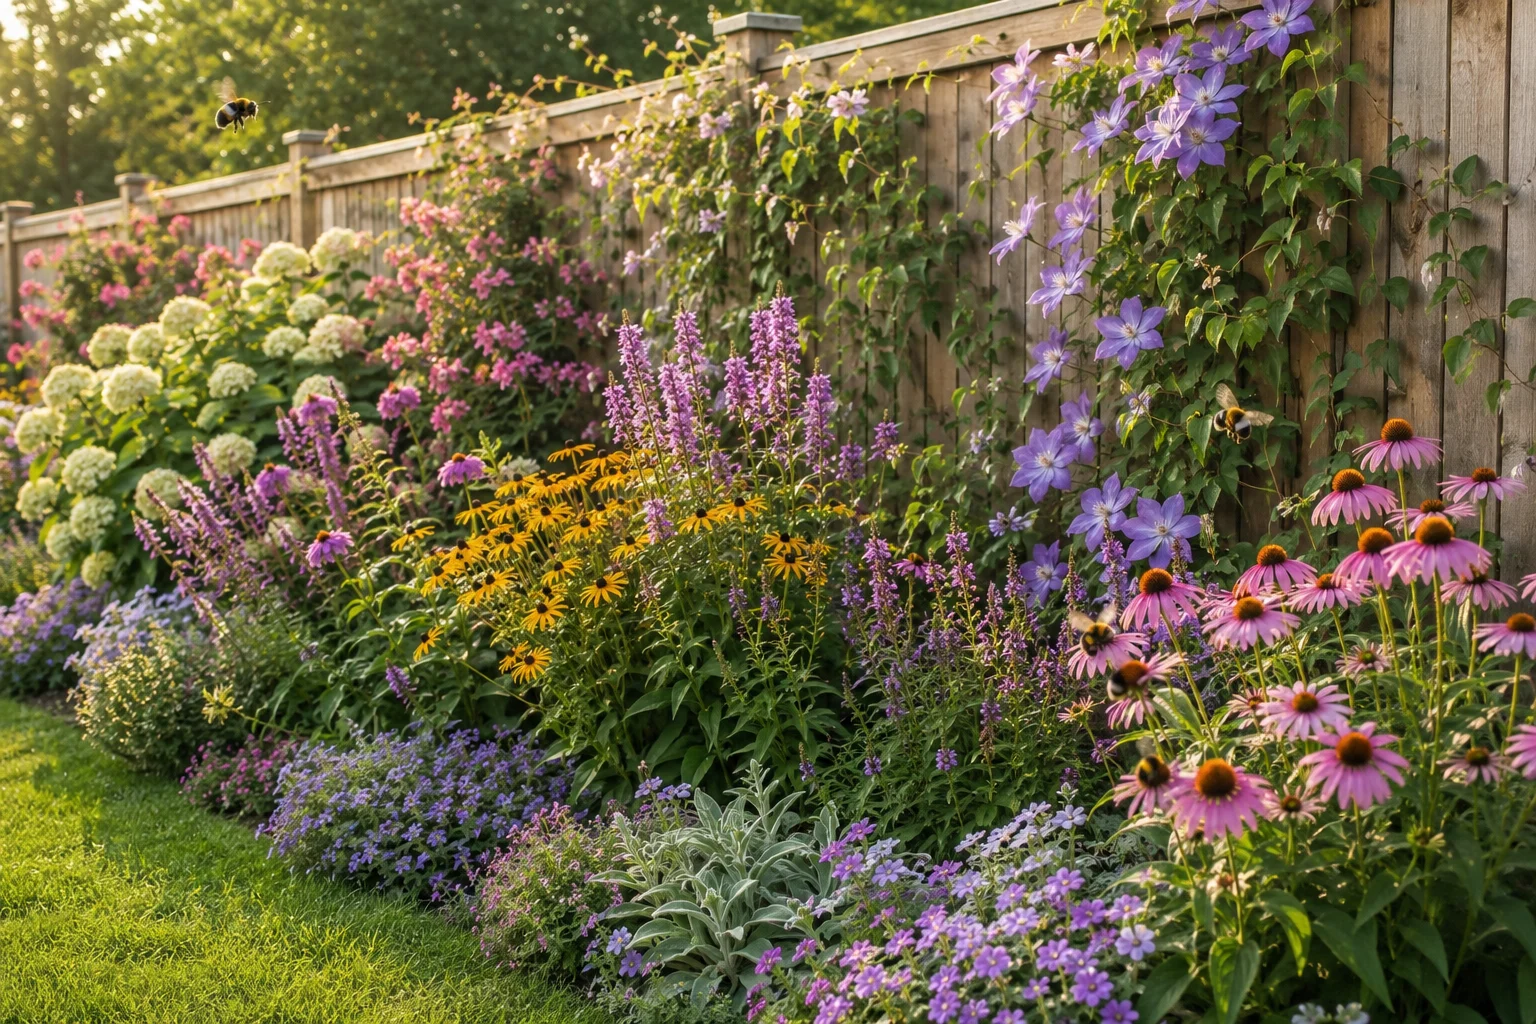
A pollinator border changes that completely. Instead of treating the fence as the end of the garden, you use it as the backbone of a narrow but genuinely powerful planting strip. With the right combination of climbers, shrubs, perennials, bulbs, and ground cover, a boring fence line becomes a long feeding corridor that works from the first crocus in February through to the last aster in October — and provides overwintering shelter through winter for the insects that will return next spring.
This is one of the smartest upgrades for any garden because you are not sacrificing usable space at the centre of the yard. You are turning the edge — which was doing nothing — into something that earns its place every single day of the growing season.
Start With Width: The Most Common Mistake Before a Single Plant Goes In
The biggest mistake is making the border too shallow.
A six-inch strip at the base of a fence is not a pollinator border — it is a plant prison. Roots cannot develop properly, plants crowd each other immediately, mulch falls off the edges, and the whole thing looks pinched and mean against the full height of the fence behind it. You need enough depth for roots to spread, for plants to be spaced correctly, for mulch to stay in place, and for the layered planting formula below to actually work.
Use this as your practical guide: a minimum useful depth is 18 inches, a better depth for a small garden is 2–3 feet, and a genuinely strong pollinator border — one that supports the full five-layer structure — needs 4–5 feet of depth. If your garden is small, even a 2-foot border works well if you choose compact plants and repeat them, rather than trying to include every species that interests you.
The Five-Layer Formula
A good pollinator fence border is not a random flower strip. Random planting looks messy within one season and stops working ecologically because it produces scattered food signals too weak for bees to locate reliably. Use layers — each one doing a different job, each one supporting the others.
Layer 1 — Climbers against the fence itself. Climbers use vertical space instead of stealing ground, and the fence already gives them the support structure they need. Honeysuckle, clematis, climbing roses with open single flowers, and native vines suited to your region are all excellent choices. Be careful with aggressive vines — a plant can feed bees and still become a management nightmare. Choose climbers that match your fence’s structural strength. Lightweight trellis panels handle clematis comfortably. Heavy vines need stronger support.
Layer 2 — Flowering shrubs for structure. Shrubs are what stop a pollinator border from looking like a seasonal mess. Without them, most borders look good for eight weeks and then collapse into chaos. Shrubs add height, privacy, spring bloom, berries for birds, and nesting cover for insects through winter. Viburnum, serviceberry, dogwood, hawthorn, flowering currant, abelia, rosemary in mild climates, and native shrub roses with single open flowers are all effective choices. The key rule: check mature size before you buy. A shrub that eventually spreads to six feet has no business in a two-foot border. That is poor planning, not a maintenance problem.
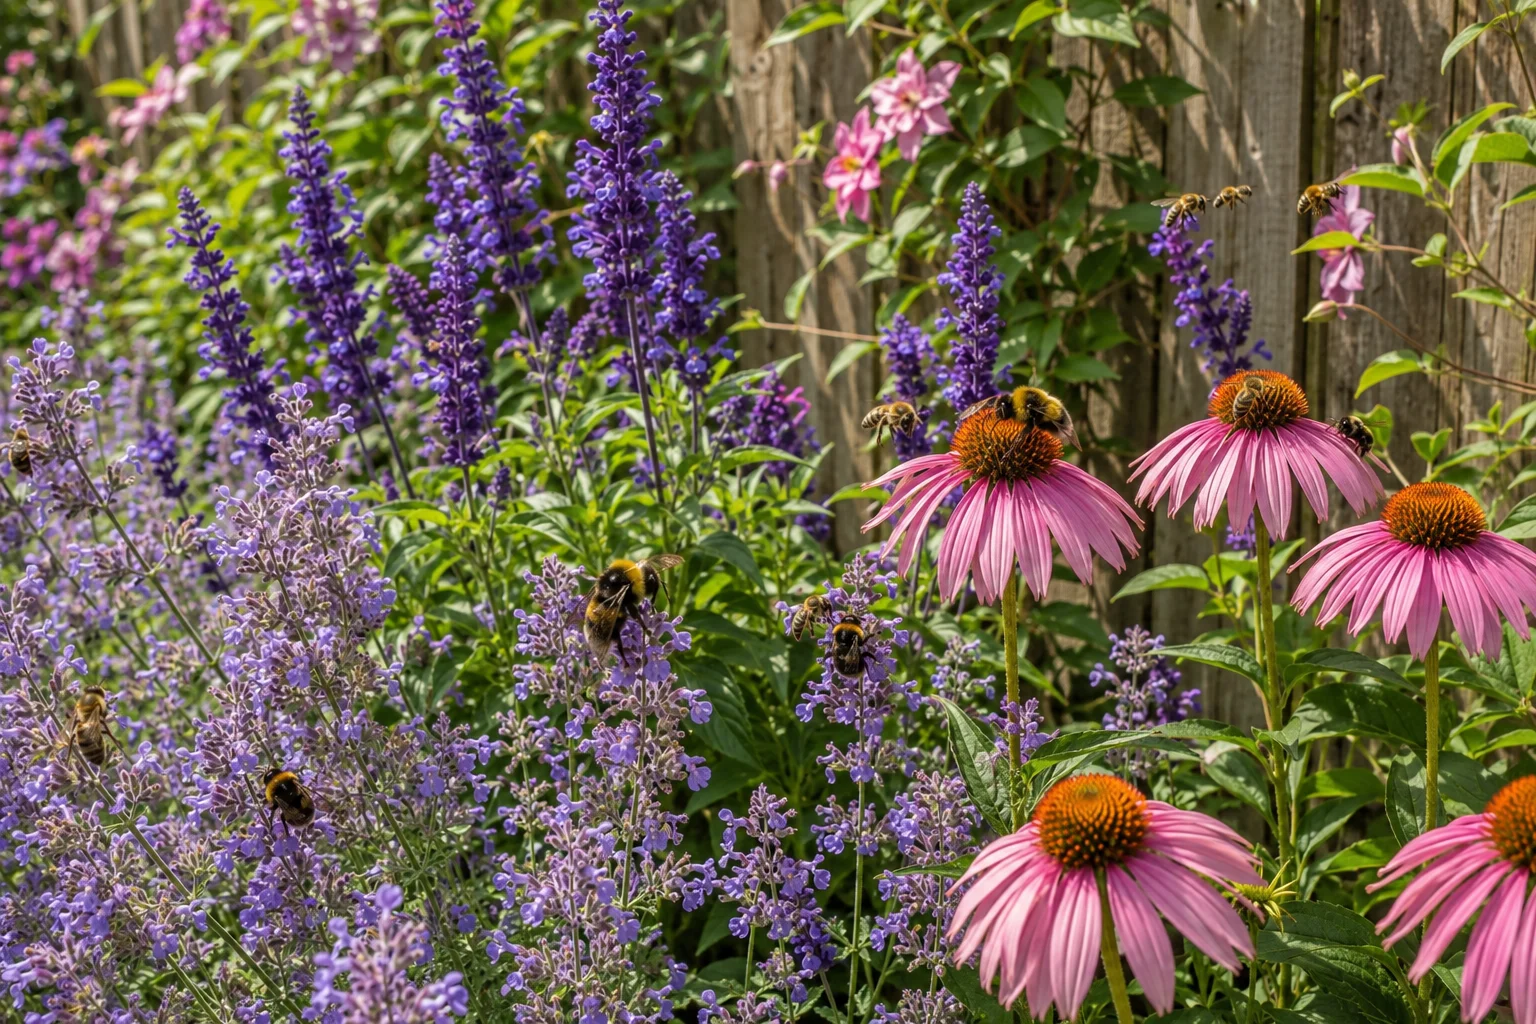
Layer 3 — Perennials as the main feeding engine. Perennials provide the sustained nectar and pollen flow that makes the border genuinely useful to bees across the season. Use them in repeated groups of three, five, or seven rather than buying one of everything — five groups of useful plants perform better for pollinators and look far more intentional than twenty isolated specimens that never achieve the critical mass bees need to register a patch as worth returning to. Catmint, salvia, bee balm, coneflower, rudbeckia, asters, sedum, yarrow, mountain mint, penstemon, hardy geranium, and goldenrod are all strong performers. The Pollinator Partnership’s ecoregional planting guides provide region-specific native plant recommendations — worth checking before finalising your list, since the best performers vary significantly by region.
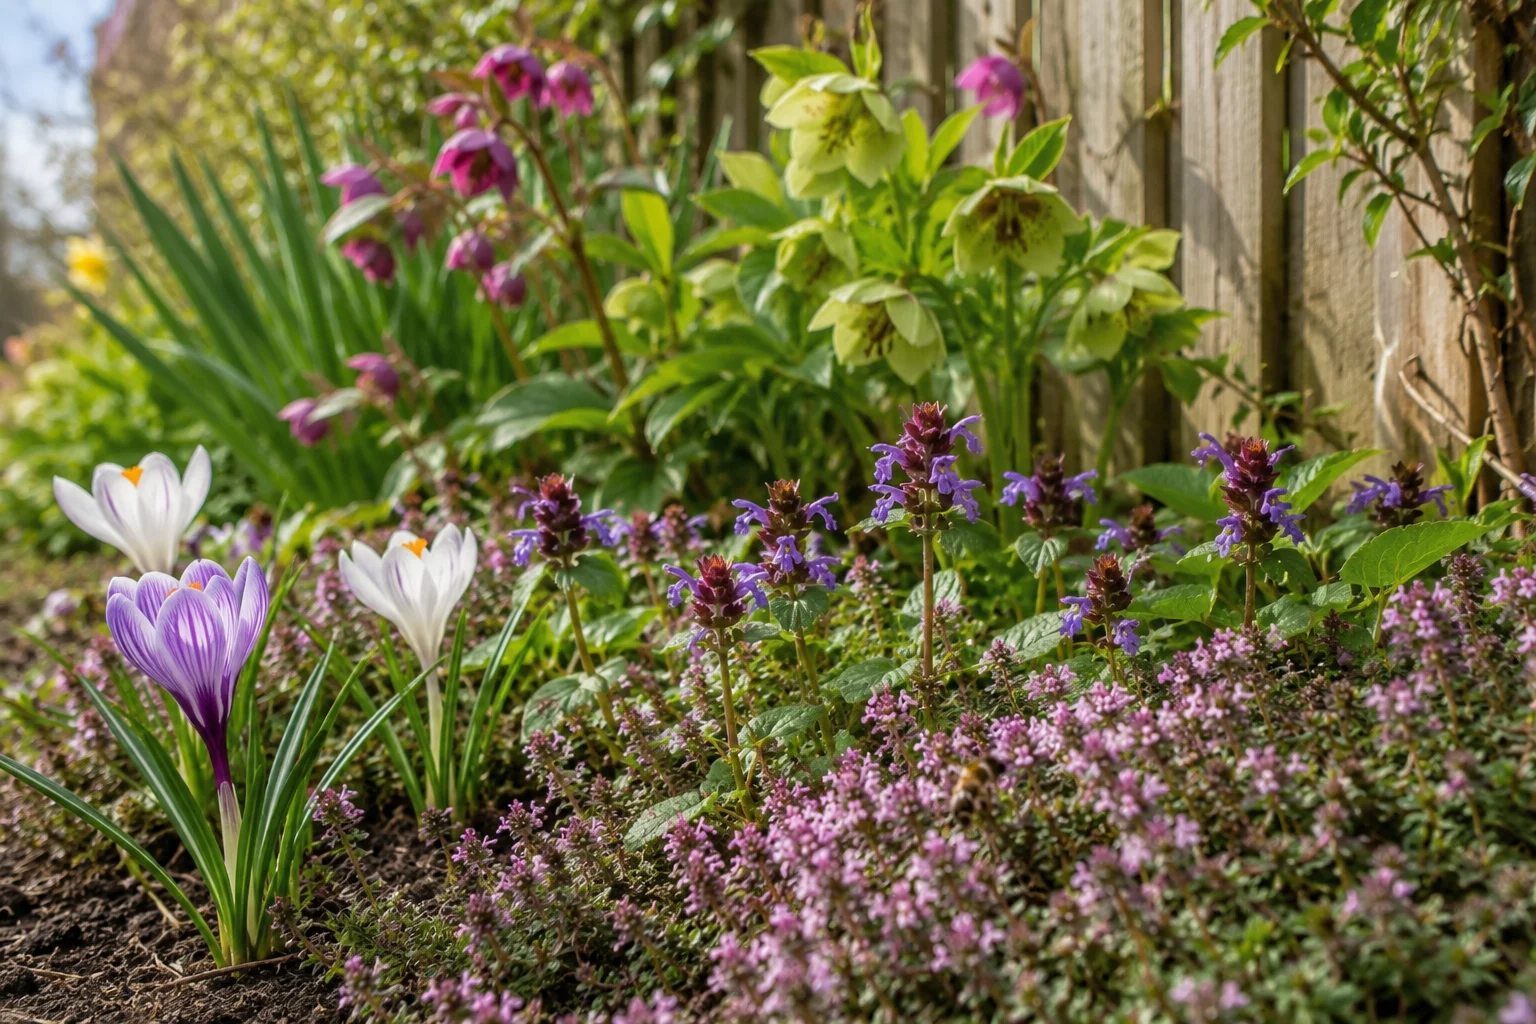
Layer 4 — Spring bulbs for the early season. A fence border should start working in February, not June. Plant spring bulbs between perennials and around the base of deciduous shrubs in autumn so the border wakes up before the main plants grow tall enough to shade them. Crocus, snowdrops, muscari, species tulips, alliums, camassia, and miniature daffodils all work well at fence borders. Position them at the front of the border and around deciduous shrubs where winter light can reach the soil. If your border looks completely empty in March, you did not plan the early season. Add bulbs this autumn.
Layer 5 — Ground cover and mulch. Bare soil along a fence dries out, compacts, grows weeds, and looks unfinished. Low plants and mulch protect the soil, suppress weeds, and soften the hard line between fence, soil, and path. Creeping thyme, wild strawberry, self-heal, low sedums, native violets, and ajuga (where it is not invasive in your region) all work well. Leaf mulch, compost mulch, and wood chips — kept away from plant crowns — fill any remaining gaps. Ground covers also give the border a finished, deliberate appearance rather than the look of something abandoned mid-project.
Choose Plants Based on Your Actual Fence Conditions
Do not copy a plant list blindly. That is how gardens fail in their first summer.
A fence changes the growing conditions in front of it in ways that vary enormously depending on its orientation, the materials it is made from, what overhangs it, and what sits on the other side. Before planting anything, assess three things: how much direct sun the border receives each day, what the soil drainage is like, and whether the fence creates a rain shadow that keeps the base dry even after rainfall.
A sunny fence — south or west facing — can be hot and dry, particularly against dark-painted timber or brick. Lavender, catmint, salvia, yarrow, coneflower, sedum, thyme, and native grasses all handle these conditions well. This is usually the easiest fence for bees because the plants that love dry sun are among the most productive for nectar.
A part-shade fence — near trees, buildings, or north-facing — gets only half-day sun at most. Hardy geranium, foxglove, columbine, lungwort, hellebore, astrantia, viburnum, serviceberry, snowdrops, and muscari are all well suited. Part shade can absolutely support pollinators, but it requires realistic plant choices rather than forcing sun-lovers into the wrong conditions.
A dry fence base — common in rain-shadow positions under overhanging panels — needs soil improvement with compost at planting time, deep watering through the first season, and tough plants that establish without constant intervention. Moisture-loving perennials in bone-dry fence soil fail slowly and expensively.
A damp fence line — where water collects after rain — suits Joe-Pye weed, meadowsweet, camassia, cardinal flower, native irises, dogwood shrubs, and moisture-tolerant sedges. Match the plant to the place. That one rule saves more gardens than any clever design principle.
A Starter Planting Plan for a 10-Foot Sunny Fence
For a new border in a straightforward sunny position, this gives you structure, spring bloom, summer nectar, late-season flowers, and soil cover without overwhelming complexity.
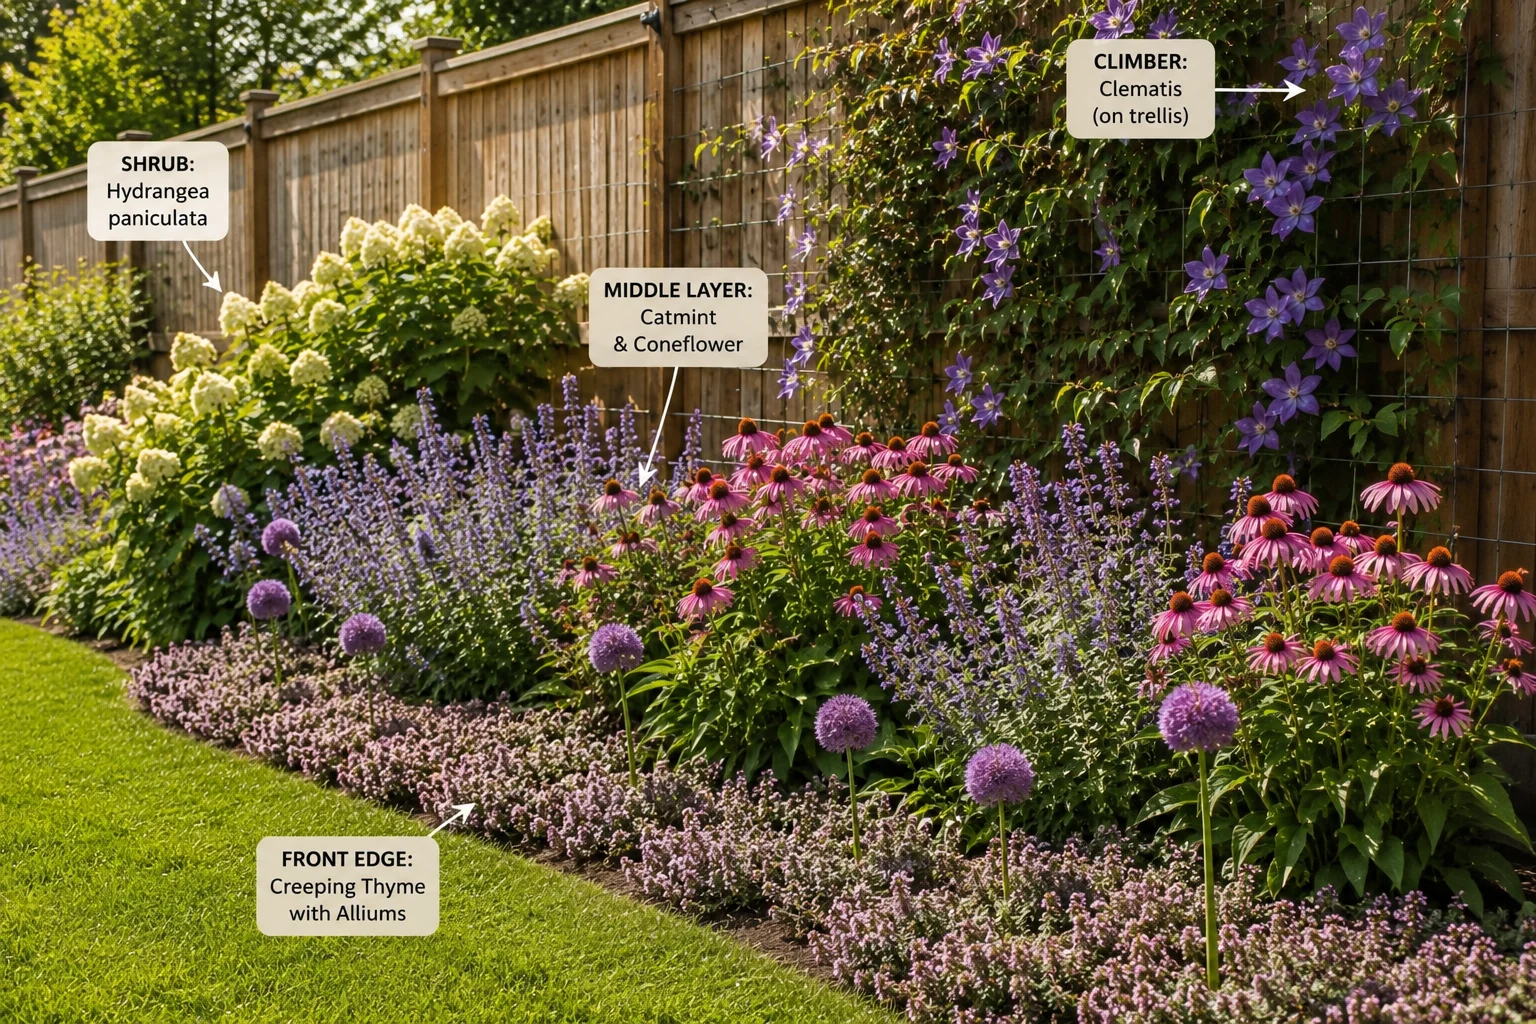
Back against the fence: One compact flowering shrub, one climbing honeysuckle or clematis on a trellis, two clumps of ornamental or native grass.
Middle layer: Three catmint, three salvia, three coneflower, three rudbeckia, two sedum.
Front edge: Five creeping thyme or wild strawberry plants, 25 crocus bulbs, 15 muscari bulbs, 10 allium bulbs.
Seasonal annuals to fill gaps in year one: Calendula, borage, nasturtium, and dill or fennel where space allows. These fill the visual gaps while perennials establish, self-seed into subsequent years, and provide immediate nectar from their first season.
This plan works because it covers every layer, every season, and every bee need without requiring you to choose from an overwhelming plant list. University of Maryland Extension’s pollinator garden guidance recommends exactly this approach — different bloom periods, different heights, habitat features alongside planting, and pesticide avoidance — which is what this layered formula delivers.
Keeping the Border Looking Intentional
A fence border can become messy quickly without a few basic structural rules.
Repeat plants in groups of three, five, or seven rather than scattering single specimens. Keep taller plants toward the back of the border, shorter plants at the front edge. Maintain a clean lawn or path edge along the front — this single detail makes a wildlife border look deliberate rather than neglected, even when the interior planting is relaxed and naturalistic. Avoid too many species in a small space. Prune shrubs lightly after flowering if needed. Cut back only what is genuinely diseased, invasive, or completely collapsed. Leave seedheads and hollow stems through winter — they provide overwintering habitat for cavity-nesting native bees and food for birds through the hungry gap between December and March.
The fence already gives you a clear visual line. A clean front edge plus repeated planting blocks is everything you need to make a working wildlife border look as good as it performs.
Common Mistakes That Undermine the Whole Border
Planting too close to the fence. Plants need airflow between themselves and the fence panels. Without it, you get mildew, weak growth, and awkward maintenance. Leave a clear gap between the rearmost plants and the fence surface itself.
Choosing only summer flowers. Plan explicitly for spring (bulbs, early shrubs), summer (perennials), and late season (asters, sedum, goldenrod). A border that is spectacular in July and silent by August is not a pollinator border — it is a temporary summer display.
Using double flowers throughout. Double-flowered cultivars look impressive but are often poor for bees because the breeding process that produces extra petals typically reduces or eliminates access to nectar and pollen. Choose open, single-flowered varieties wherever possible.
No water nearby. If the border is in a hot, exposed position or near a hive, add a shallow bee water source within range. A shallow dish with pebbles or river stones so bees can land without drowning is all that is needed.
Spraying the border. This one is straightforward. If you build a pollinator border and then apply pesticides to it, you are not managing a bee garden — you are running a trap. Tolerate some leaf damage. A living garden has insects.
A Note for Backyard Beekeepers
If you keep honeybees, a fence border does more than provide flowers.
A planted fence line can soften wind around the apiary, create a visual screen, encourage foragers to gain altitude on departure — acting as a partial fly-up barrier — and add nearby forage that reduces the energy cost of every foraging trip. But practical considerations come first. Do not plant so densely that you block hive access. Keep the inspection side clear, avoid thorny plants where you work, and leave enough open ground around equipment to inspect, feed, and lift boxes without having to fight through planting.
A good hive garden is useful first and decorative second. For the specific plants and spacing that work best immediately around a hive without creating management problems, the guidance in Best Plants to Grow Near a Backyard Beehive covers the close-apiary planting zone in full.
If you want to take the fence border further and replace the fence itself with a living boundary, the same layered logic scales up into a full bee-friendly living fence that provides windbreak, fly-up barrier, privacy screening, and a full season of forage in a single planted structure. And for those who want to extend the design principle across the entire boundary rather than just one fence, Multi-Layered Boundary Hedgerows: The Garden Design Trick That Feeds Bees All Season gives you the complete multi-boundary approach.
Conclusion: Stop Wasting the Fence Line
A plain fence is an opportunity that most gardens are currently ignoring.
With a layered pollinator border — climbers using the vertical space, shrubs providing structure, perennials delivering the main nectar flow, bulbs opening the season in February, and ground cover protecting the soil — a boring fence line becomes one of the most productive and ecologically valuable parts of the garden.
You do not need a huge yard. You need a clear depth, a layered approach, repeated planting groups, seasonal bloom from spring to autumn, and enough restraint to avoid turning the border into chaos.
Start with the width. Add climbers. Anchor the border with one or two shrubs. Fill it with repeated groups of bee-friendly perennials. Tuck spring bulbs in at planting time. Cover the soil. Keep the front edge clean. Leave some winter structure standing.
That is how a boring fence becomes one of the most useful parts of the garden — and one of the best things you have ever done for the bees in your neighbourhood. 🌿🐝