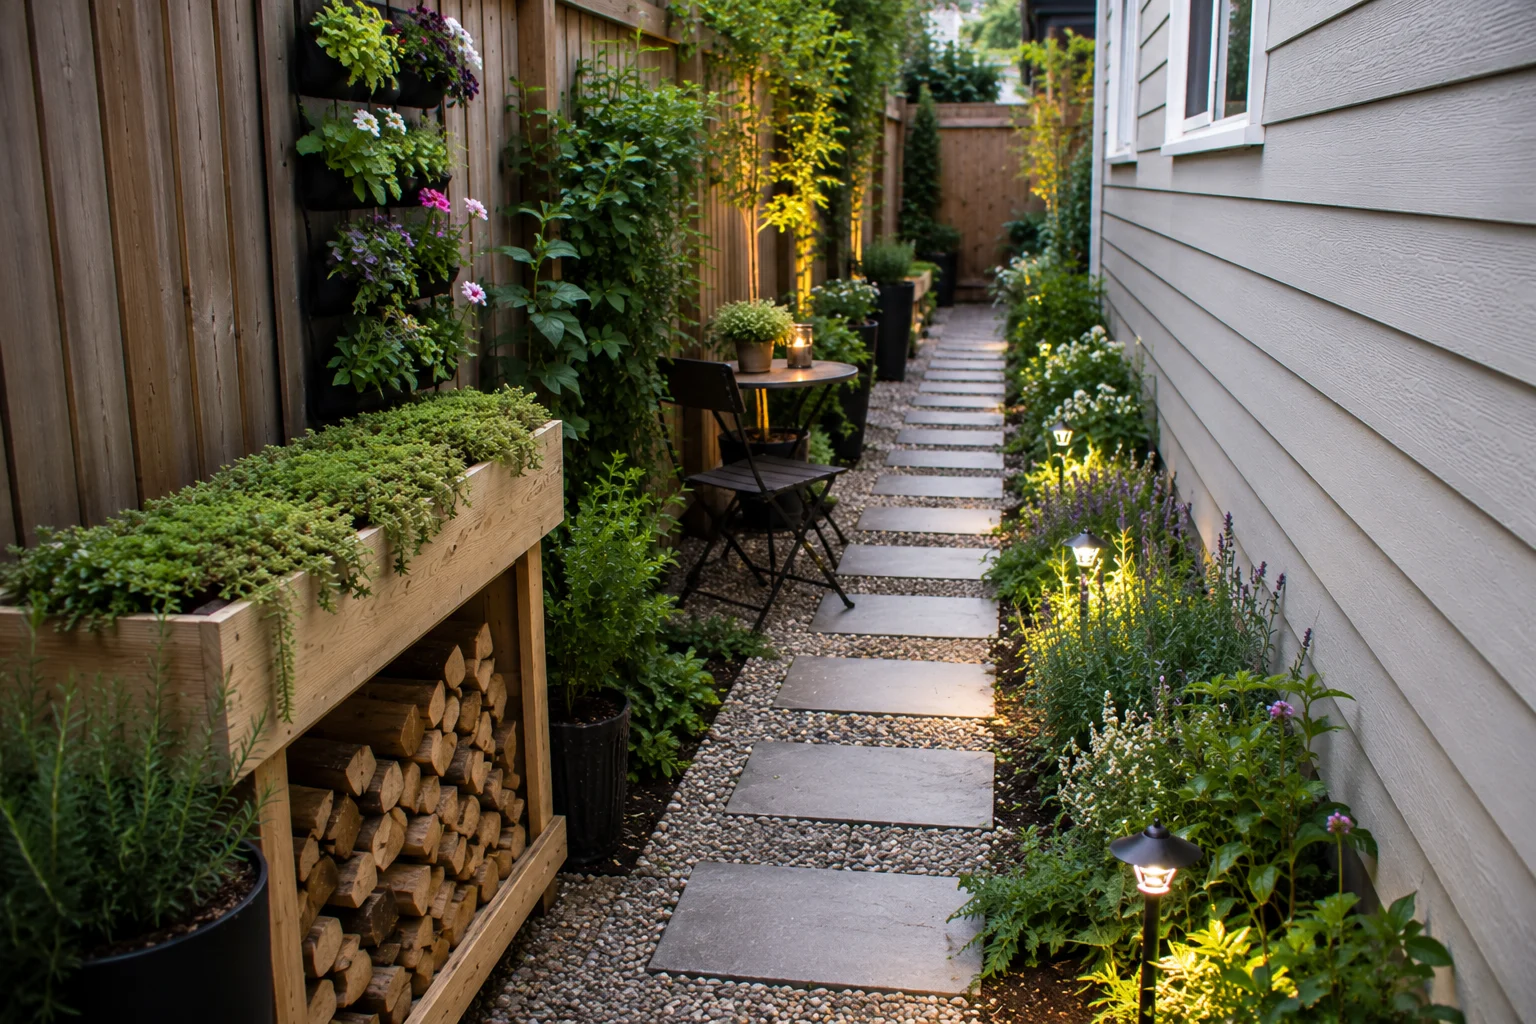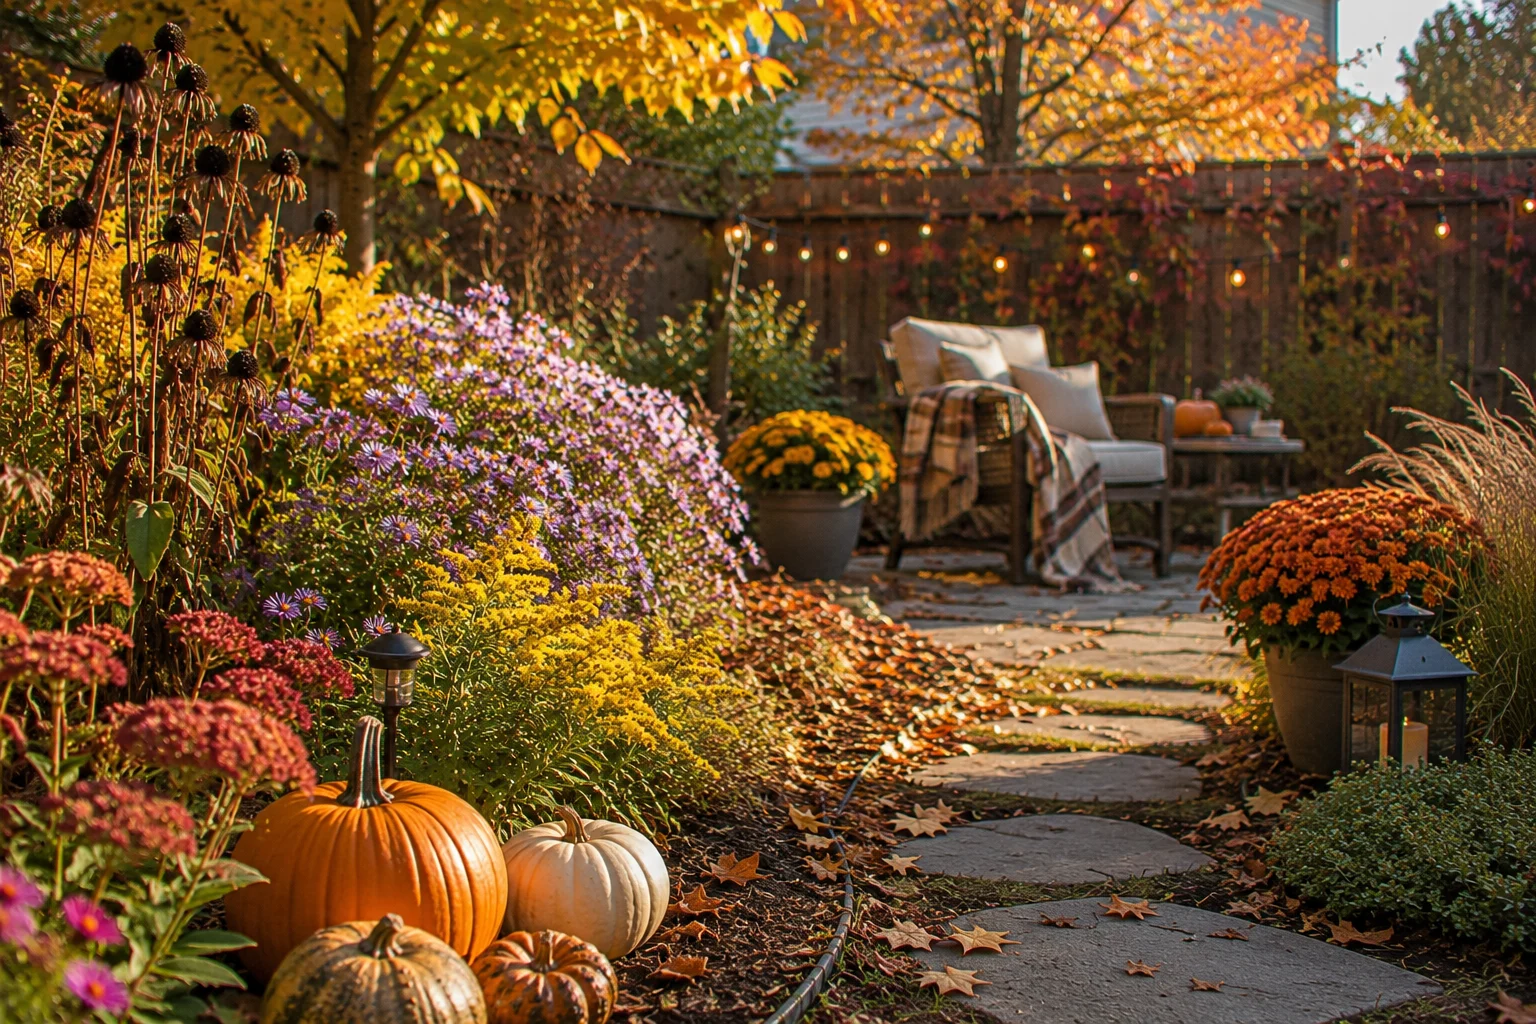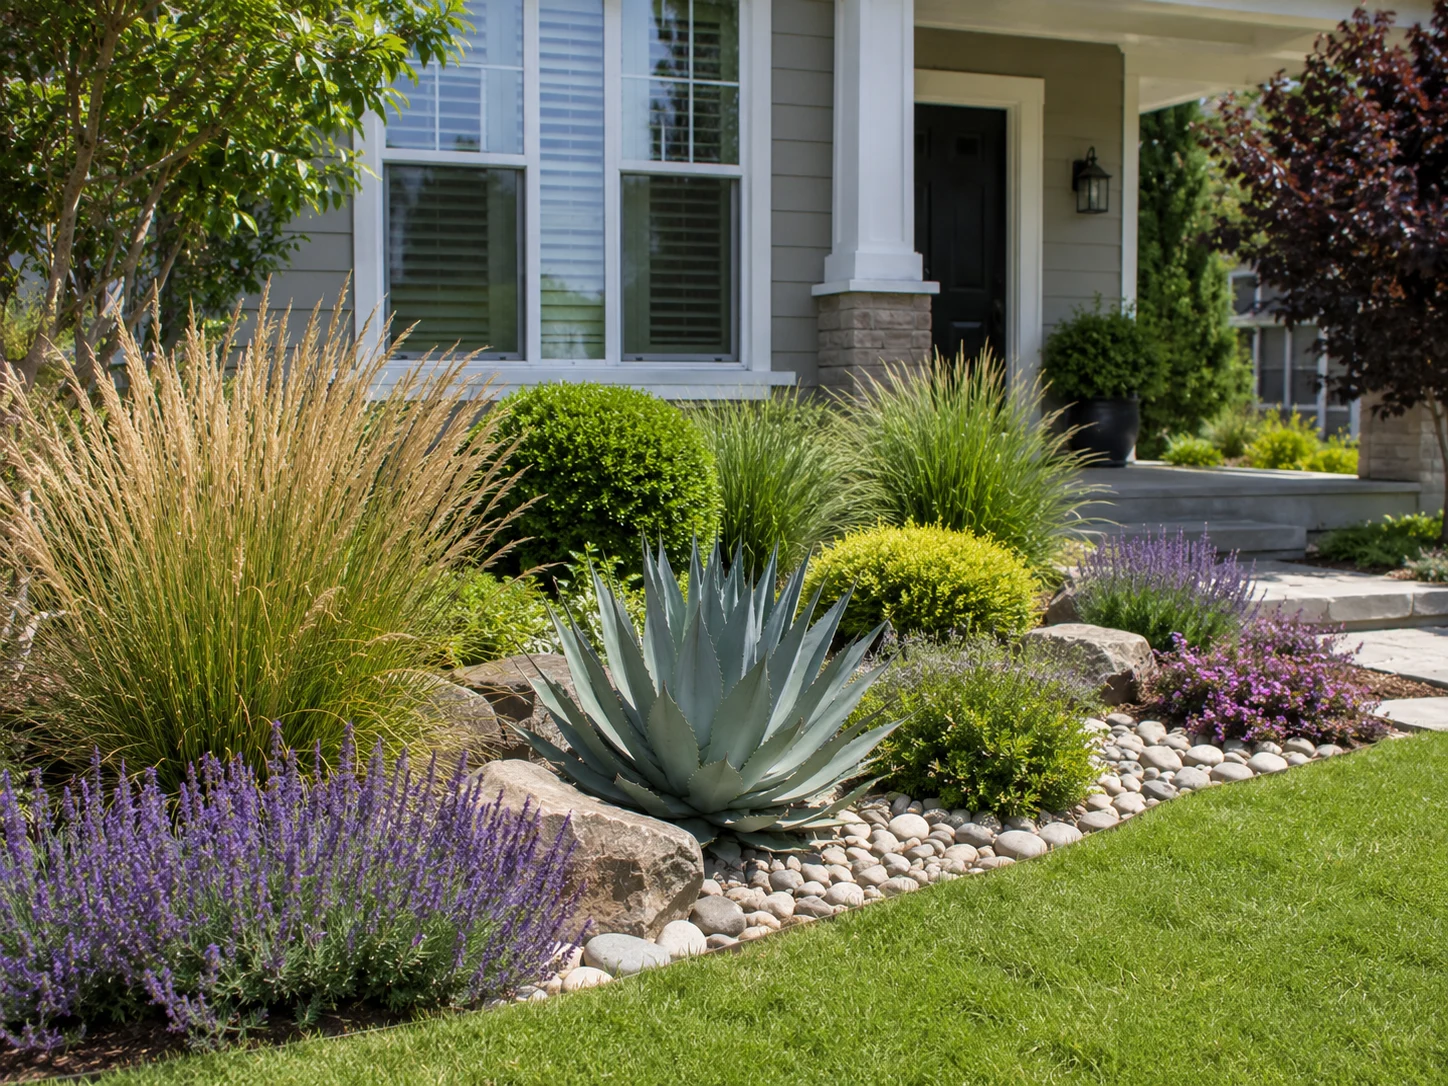

There’s a quiet assumption behind a lot of backyard planning: that if a garden looks good, it’s automatically doing right by pollinators. Walk through most suburban yards and you’ll see the result — neat rows of double-petaled annuals, a few specimen shrubs spaced evenly apart, mulch everywhere in between. It photographs well. Bees mostly ignore it.
A truly bee-friendly garden and a conventionally “pretty” garden are not the same design problem, but they don’t have to be opposing ones either. With the right layout principles, you can build a backyard that looks intentional, functions as real living space for your family, and gives bees something worth visiting from spring through fall. This guide walks through exactly how — the design rules, the zoning strategy, the common layout mistakes, and how to adapt all of it to a small yard.
Why “Pretty” and “Bee-Friendly” Often Diverge
Most conventional backyard design prioritizes uniformity: matched plant heights, evenly spaced specimens, tidy mulch rings, and flowers bred for bigger, showier, often double-layered petals. Each of those choices quietly works against pollinators.
- Double flowers are bred for visual density, but the extra petals frequently block or replace the reproductive parts bees rely on for nectar and pollen — so a flower can look spectacular and offer almost nothing.
- Evenly spaced single specimens are easy on the eye but hard for foraging bees to use efficiently. A bee expends energy flying between isolated plants that a single dense patch would deliver in one stop.
- Mulch-heavy minimalism looks clean but removes bare ground that native, ground-nesting bees need, and it eliminates the “messy edges” — leaf litter, seed heads, hollow stems — that support overwintering insects.
None of this means abandoning design intent. It means treating pollinator function as a design constraint, the same way you’d treat sun exposure or soil type — something the layout has to account for, not an afterthought bolted on later. Research from university extension programs on pollinator landscaping consistently shows that layout and plant grouping matter as much as species selection for how effectively pollinators use a space (see Penn State Extension’s pollinator garden guidance for a useful regional reference point).
The Three Design Rules That Make a Garden Work for Bees
1. Curves Over Rows
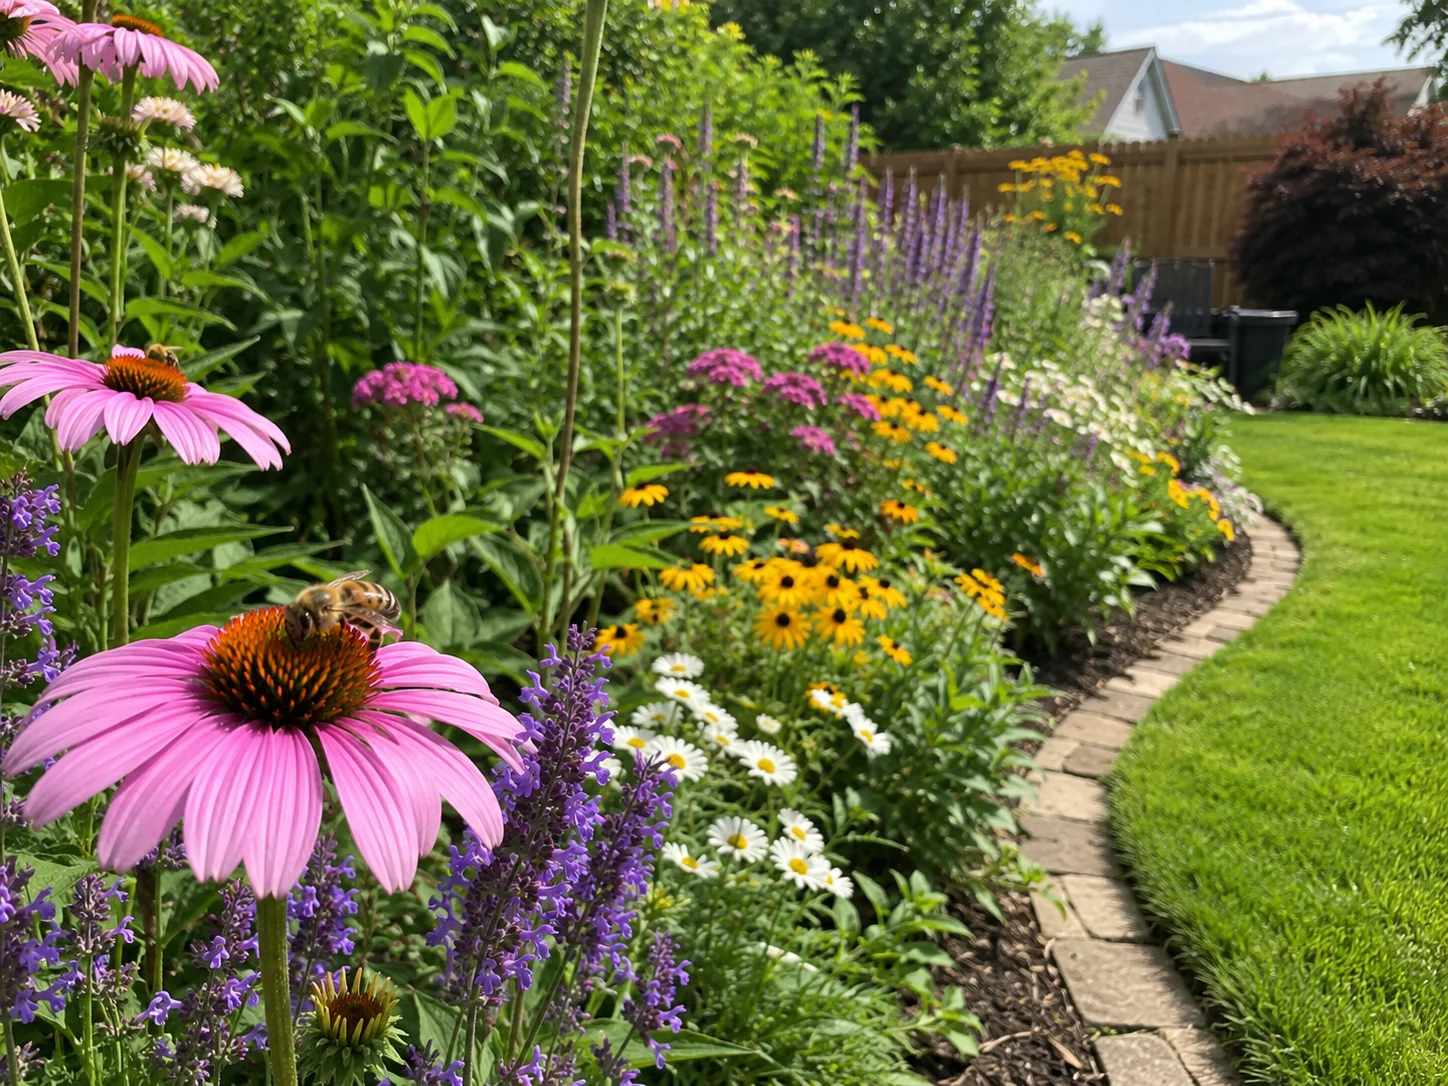
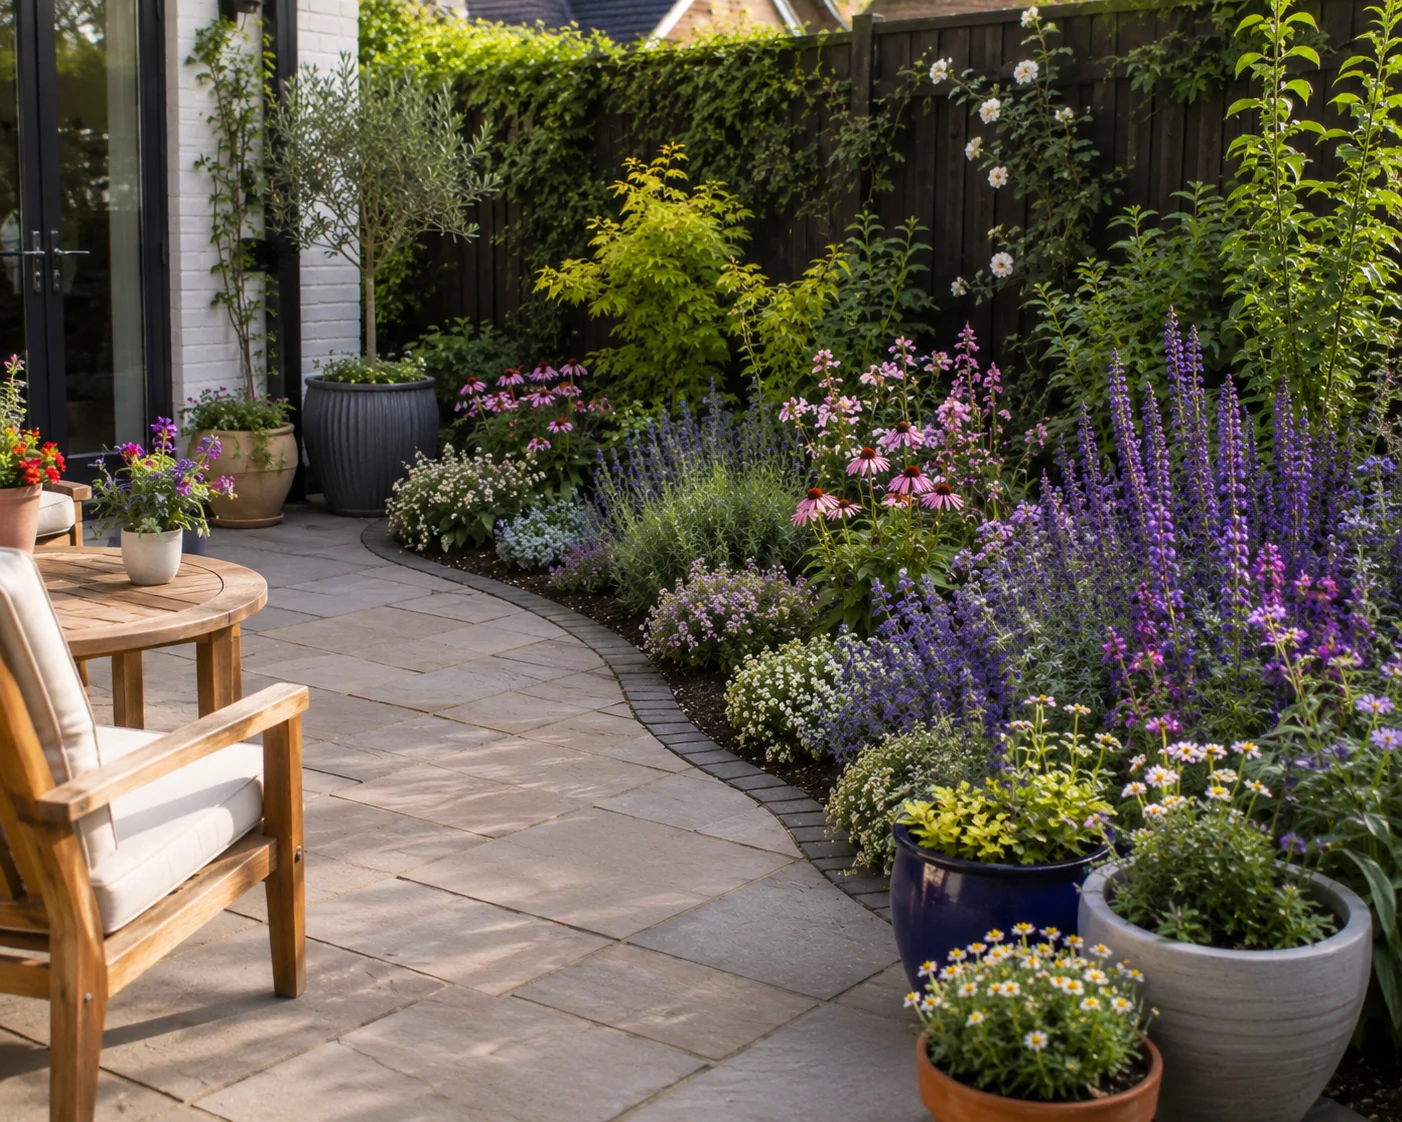
Straight rows and rectangular beds are efficient to plan but create less usable edge space than curved borders. A flowing, curved bed increases the actual planting perimeter within the same footprint, which means more room for layered planting and more bloom surface for bees to work. Curves also read as more natural and less rigid — a genuine aesthetic upgrade, not just a functional one.
2. Height Layering
A backyard border that reads as “designed” almost always has a height gradient: taller plants or a small flowering tree at the back or center, mid-height perennials filling the body of the bed, and low groundcover or edging plants at the front. This isn’t just visually pleasing — it stacks multiple bloom windows into the same bed and gives different pollinator species, which forage at different heights and depths, more to work with. This is the same layering logic behind our multi-layered hedgerow approach applied to a standalone garden bed instead of a boundary line.
3. Repetition in Drifts, Not Scatter
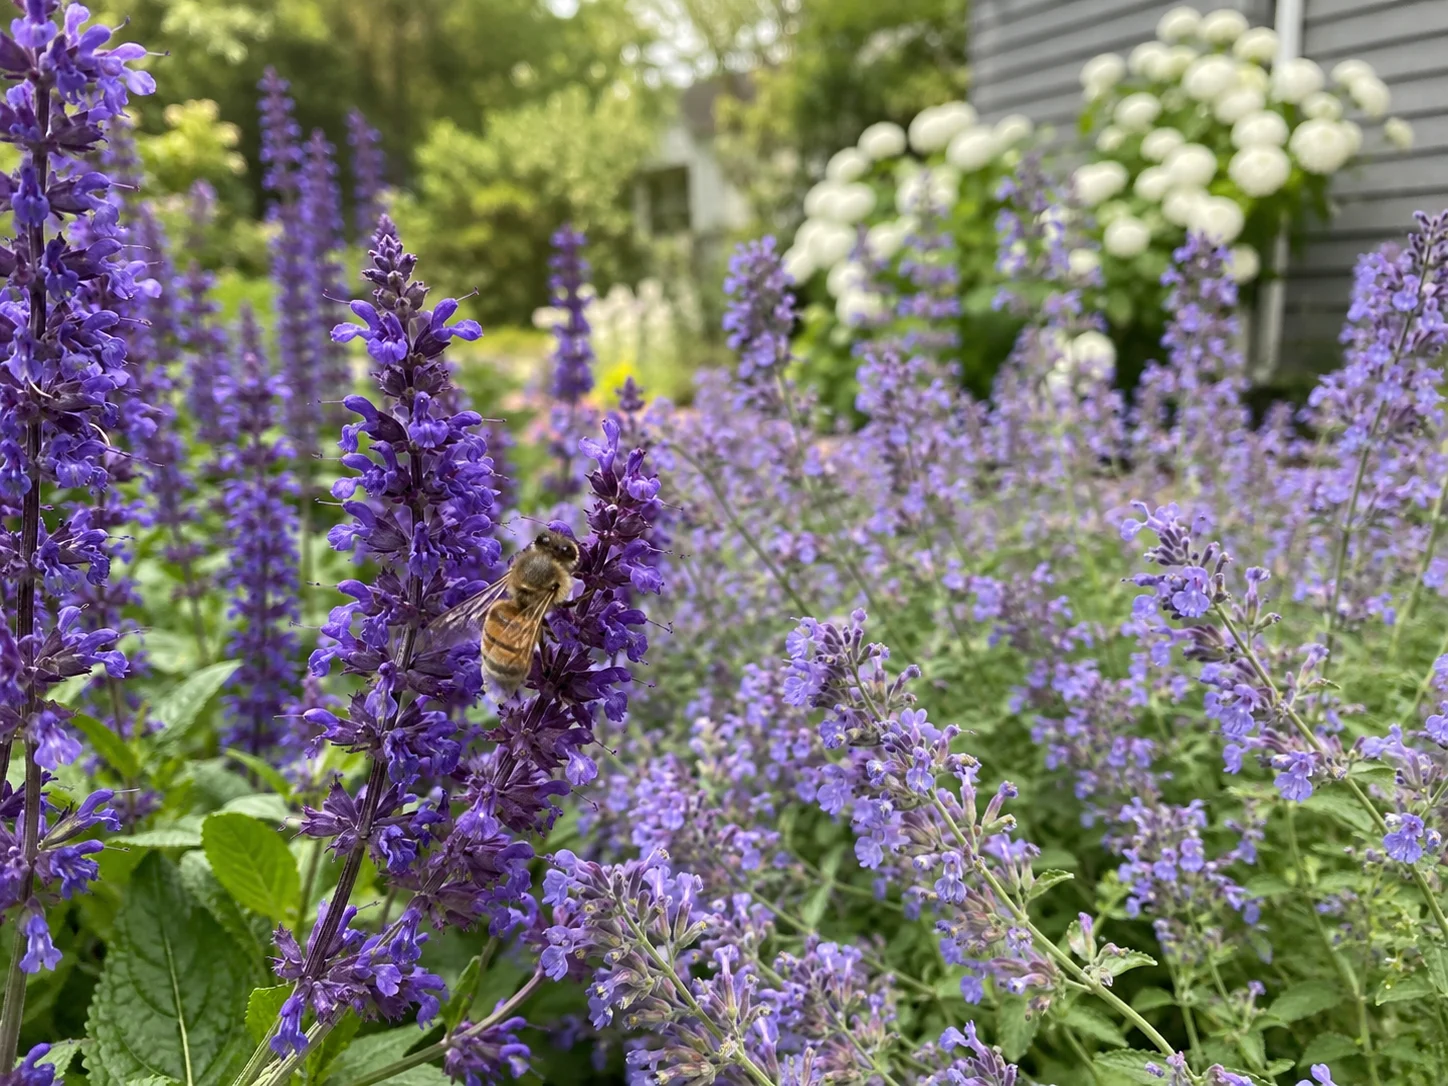
Instead of buying one of everything, plant in repeated groups of three, five, or more of the same species. A drift of catmint or salvia reads as a deliberate design choice and gives foraging bees a concentrated, efficient target. Repeating two or three “anchor” plants throughout the bed also ties a design together visually — a trick professional garden designers use regardless of pollinator intent.
Zoning Your Backyard: Living Space and Forage Space
A backyard that’s actually used — not just looked at — needs to balance human function with pollinator function. Rather than treating the whole yard as one undifferentiated space, divide it into rough zones:
- Living zone: patio, seating, dining space, or lawn for kids and pets. Keep this open and low-maintenance.
- Border/forage zone: the layered, drift-planted beds along fence lines, property edges, or around a focal feature, where most of the pollinator value concentrates.
- Transition zone: paths, low hedges, or stepping stones that connect the two without hard, abrupt lines.
- Hive zone (if applicable): if you keep bees, position the hive with a planted screen or flight-path barrier between it and the living zone, similar to the wind and fly-up barrier planning covered in our small backyard beekeeping setup guide.
Zoning this way solves the tension directly: you get a yard that still functions as outdoor living space, while the border zones do the heavy lifting for pollinators without needing the whole property covered in flowers.
Give the Garden a Focal Point
Every well-designed backyard bed benefits from a clear anchor — something the eye lands on first. A small flowering tree (serviceberry is a strong choice for both design and early-season bee forage), a large shrub, or even a well-placed trellis with a flowering climber can serve this role. Beyond aesthetics, a woody focal plant tends to bloom earliest in the season, giving pollinators a reliable food source before the rest of the border has caught up — the same principle behind building a strong plant “backbone” described in our beginner pollinator garden framework.
Adapting the Design for a Small Backyard
You don’t need acreage to apply any of this. In a small yard:
- Pick one curved border instead of trying to layer the whole perimeter — a single well-designed bed does more than several thin, scattered ones.
- Use vertical space. A trellis, obelisk, or fence-trained climber adds bloom without eating ground space.
- Combine containers with in-ground beds at the edges of a patio to extend bloom season without committing more square footage — an approach explored further in our guide to container pollinator gardens for balconies and patios.
- Choose compact cultivars of the same anchor species (dwarf butterfly bush, compact salvia varieties) so the height-layering principle still works in a tighter space.
Common Layout Mistakes That Keep Bees Away
- Spacing single specimens too far apart. It looks tidy on install day but never reads as intentional once the plants mature, and it gives bees very little to work with.
- Over-relying on double-flowered ornamentals chosen purely for visual impact, with little or no accessible nectar and pollen.
- Skipping the height layer. A bed of uniform-height annuals is flat both visually and functionally.
- Treating hardscape and planting as separate decisions. Patios, paths, and beds designed without reference to each other tend to produce awkward, underused corners — exactly where a pollinator-friendly patch could otherwise go.
- Removing all bare ground and leaf litter in the name of tidiness, eliminating nesting habitat for ground-dwelling native bees alongside honeybees.
Planning Bloom Timing Into the Design
A layout can follow every design rule above and still fail bees if bloom is concentrated into a single short window. Good backyard design and good forage planning are the same exercise, just viewed from two angles.
- Anchor with an early bloomer. A flowering tree or shrub that opens in early spring gives the border both a visual focal point and the season’s first real forage source, before most perennials have started.
- Build the mid-border with successive perennials. Choose three or four species that bloom in a relay — one finishing as the next opens — rather than several species that all peak in the same six-week window.
- Reserve a section for late bloom. Asters, sedum, and goldenrod toward the back or edge of the border keep the design (and the forage) going well into fall, which matters more than most people plan for, since a garden that looks finished by August is also finished feeding bees by August.
If you want a deeper breakdown of exactly which species to use for each stretch of the calendar, our four-season pollinator garden guide covers the full bloom-relay approach this design method is built on.
Choosing a Plant Palette That Reads as Designed
One reason DIY pollinator beds sometimes look chaotic isn’t the plant choice — it’s the palette. A few rules keep a layered, drift-planted border looking intentional rather than accidental:
- Limit your color palette to 3–4 core colors, repeated throughout the bed, rather than one of everything in every shade.
- Repeat foliage texture, not just flower color. Pairing fine-textured plants (like ornamental grasses or thread-leaf perennials) against broader-leaved shrubs creates contrast that reads as deliberate even before anything blooms.
- Use one “structural” evergreen or woody element per bed section so the border still has shape and presence in the off-season, rather than disappearing entirely over winter.
- Match plant scale to bed size. A small backyard bed overwhelmed with large shrubs looks cluttered; a large bed with only low groundcover looks sparse and unfinished.
This is largely a professional landscape-design principle applied to pollinator planting — the plants are chosen for bees, but the composition rules are the same ones used in any high-end residential garden design.
Maintenance That Keeps the Design Working
A layered, bee-friendly border needs a different maintenance rhythm than a conventional foundation planting, mostly because “tidy” and “productive” pull in slightly different directions.
- Deadhead selectively, not universally. Removing spent blooms on repeat-flowering perennials extends their bloom window, but leave late-season seed heads standing rather than cutting the whole bed back in early fall.
- Edit drifts as they mature. Perennials spread at different rates; thin and divide aggressive growers every couple of years so one species doesn’t swallow the drift-based design.
- Refresh mulch only where beds show bare, tired soil — and leave a portion of bare ground undisturbed for ground-nesting bees rather than mulching every inch.
- Prune the focal shrub or tree for shape, not size control, ideally right after its bloom period so you’re not cutting off next year’s flowers.
- Walk the design once a season and note where bloom drops off — the same kind of seasonal audit useful for closing forage gaps, and a good moment to note any spots the fall cleanup habits are removing too much habitat.
Frequently Asked Questions
Do I need to redesign my whole backyard to make it bee-friendly? No. Most yards only need one well-designed curved border done properly — layered, drift-planted, and bloom-timed — to make a meaningful difference. A full-yard overhaul is rarely necessary or realistic.
Will a bee-friendly design actually look more “wild” or unkempt than a conventional garden? Not if the design rules above are followed. Curves, height layering, repeated drifts, and a limited color palette read as more intentional, not less — the “wild” look usually comes from skipping structure and repetition, not from including pollinator plants.
Can I combine a pollinator border with a lawn my family actually uses? Yes, and this is the core idea of zoning. Keeping an open living zone separate from the planted border zone means you don’t have to choose between usable yard space and pollinator forage.
How long does it take for a redesigned border to look established? Most layered perennial borders look reasonably filled in by their second growing season and fully established by the third, once drifts have matured and the height gradient has filled out.
A Simple Before-and-After Way to Think About It
Picture a standard yard: a rectangle of lawn, a thin foundation hedge along the fence, and a few isolated shrubs. Now picture the redesign: the fence line becomes a curved, layered border with a small flowering tree as an anchor, drifts of three or four repeated perennials filling the body of the bed, and a narrow path connecting it back to a patio seating zone. The square footage hasn’t changed. What changed is that every part of the yard now has a job — living space, forage space, or the transition between them — instead of being generic, low-effort ground cover.
Final Thoughts
A backyard doesn’t have to choose between looking designed and actually supporting bees. Curved borders instead of straight rows, height layering instead of uniform planting, and repeated drifts instead of scattered specimens do double duty: they read as more intentional design and they give pollinators something genuinely usable. Zone the yard so living space and forage space each get room to work, anchor the design with a focal plant that also blooms early, and resist the urge to over-tidy the edges. The result is a backyard that earns its “beautiful” label the way it should — because something is actually using it.