
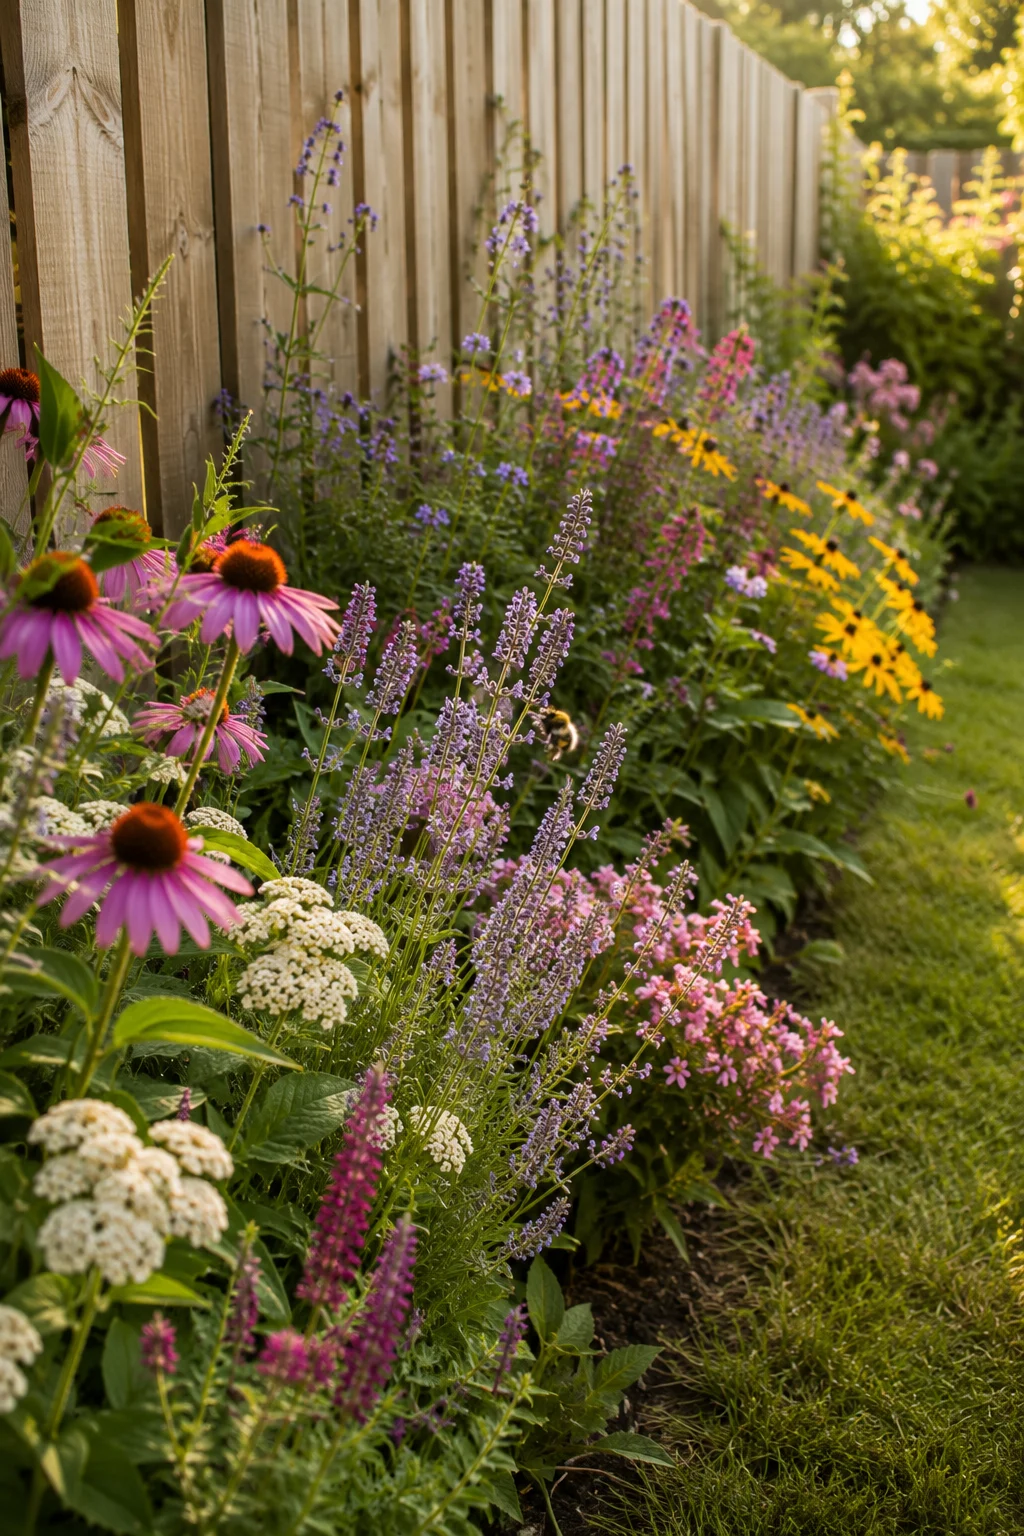
A fence line or wall base is one of the most underused strips of land in an average yard — narrow, often overlooked, and frequently left as bare mulch or patchy grass. It’s also one of the easiest places to add real pollinator forage, precisely because it doesn’t compete with lawn space, seating areas, or anywhere else the yard actually gets used. The catch is that narrow strips against a hard vertical surface come with a specific set of problems — rain shadow, compacted soil, uneven light — that a typical open flower bed doesn’t have to deal with.
This guide walks through 7 steps to plant a pollinator strip properly, from assessing the space through long-term maintenance, so the bed actually thrives against a fence or wall instead of struggling the way narrow foundation plantings often do.
Step 1: Measure and Assess the Space
Before choosing a single plant, walk the length of the fence or wall at a few different times of day and note what you’re actually working with:
- Width available. Even 18–24 inches is enough for a functional strip, but it changes which plants are realistic — a strip under two feet wide needs upright growers, not sprawling ones.
- Sun exposure. A south-facing wall behaves completely differently from a north-facing fence; walls in particular can create intense reflected heat on the sunny side and deep shade on the opposite side.
- Orientation relative to the sun’s path. Note when the strip gets direct light and when it’s shaded by the structure itself, since this shifts through the seasons as the sun angle changes.
Skipping this step is the single most common reason fence-line plantings fail — a strip planted with full-sun perennials against a wall that’s shaded most of the afternoon will struggle regardless of soil quality.
Step 2: Test and Prepare the Soil
Soil directly against a fence or wall is very often different from soil a few feet out into the yard — frequently more compacted from construction, foot traffic, or leftover building debris, and it may drain differently depending on how the structure was built.
- Dig a test hole at least a foot deep in a couple of spots along the strip to check for buried debris, concrete footings, or unexpectedly poor drainage.
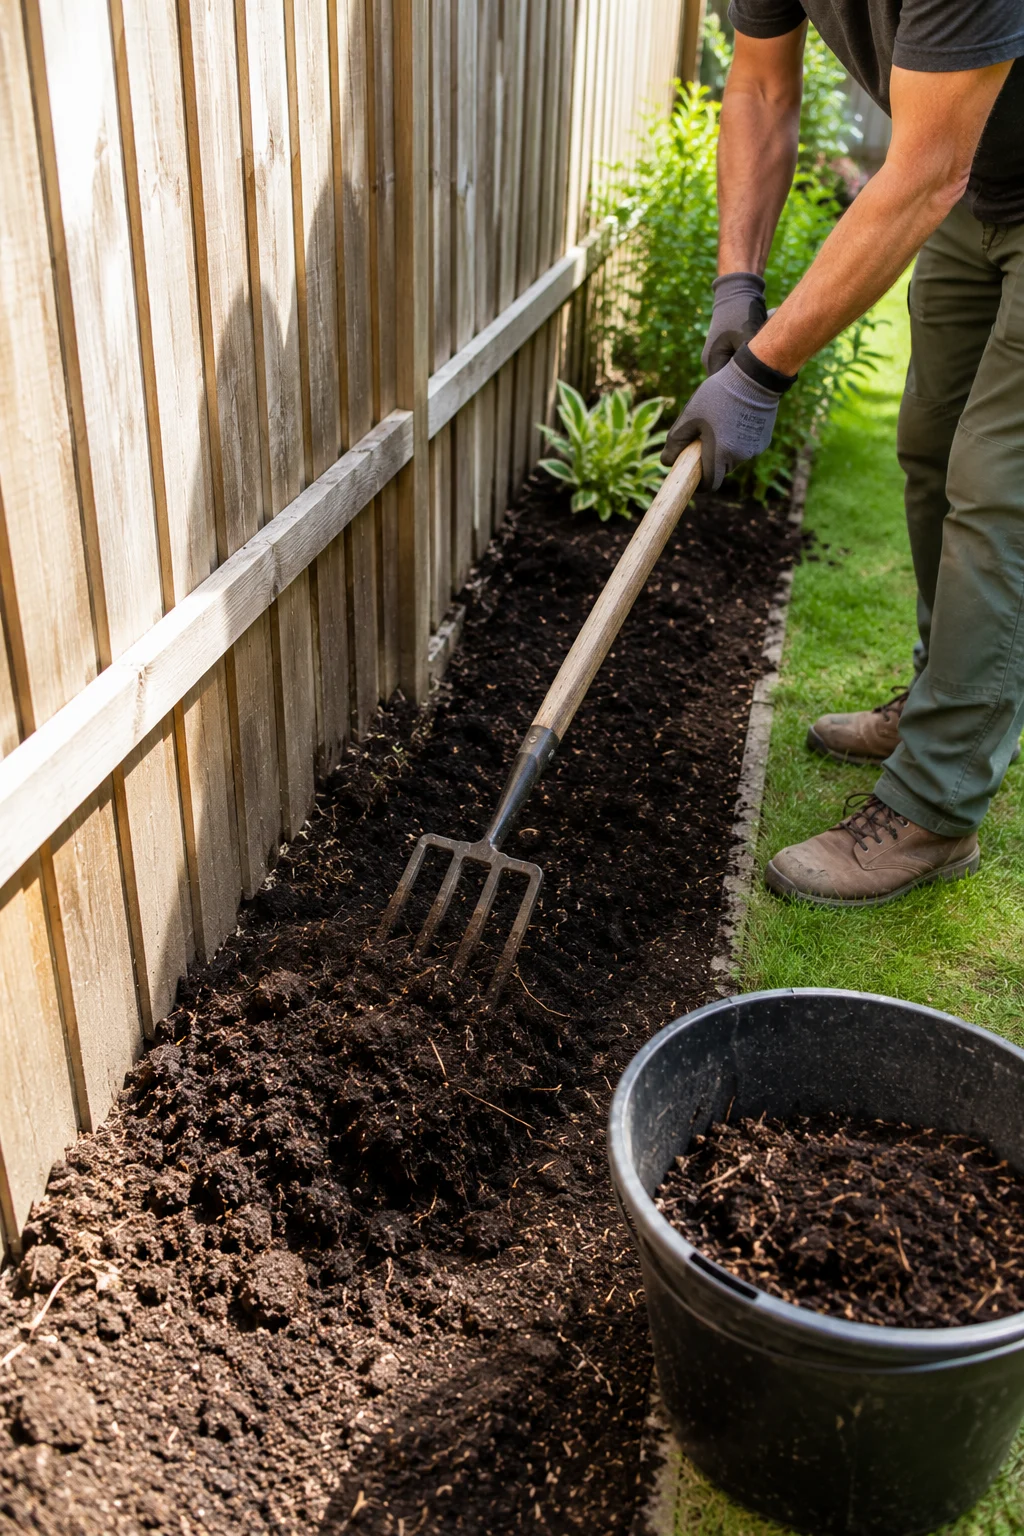
- Loosen compacted soil with a garden fork rather than just turning over the top few inches, since compaction close to foundations tends to run deeper than typical bed soil.
- Work in compost generously — narrow strips benefit disproportionately from soil improvement, since there’s less total soil volume for roots to draw from compared to an open bed.
Step 3: Account for the Rain Shadow Effect
This is the step most people miss entirely. Solid walls and, to a lesser extent, solid fences block rainfall from reaching the soil directly beneath them, creating a rain shadow — a strip of consistently drier soil than the rest of the yard, even during a normal rainy season. A strip planted without accounting for this often looks fine for the first few weeks and then struggles through the first dry spell.
- Prioritize drought-tolerant plants for the section closest to a solid wall, reserving moisture-loving species for open fence sections where rain reaches the soil more directly.
- Plan for supplemental watering along wall-adjacent strips specifically, even if the rest of the yard rarely needs it.
- Angle any downspouts or gutters away from, rather than directly onto, one section of the strip, to avoid creating an oddly waterlogged patch next to an otherwise dry bed.
University extension research on foundation and wall-adjacent plantings consistently identifies rain shadow as one of the most overlooked site factors in narrow bed design, often causing plant failure that gets misattributed to poor plant choice rather than the actual moisture deficit (University of Minnesota Extension: gardening near foundations).
Step 4: Choose Plants Suited to a Narrow, Vertical Space
Once you know the width, light, and moisture pattern, plant selection becomes straightforward:
- Upright, narrow-profile perennials — Russian sage, agastache, and upright salvias — work well in strips under three feet wide, since they don’t sprawl into walkways.
- Climbing plants trained onto the fence or wall itself effectively add a second planting layer without using any additional ground space; our climbing plants for bees guide covers species suited to exactly this kind of narrow-strip vertical planting.
- Low, front-of-strip groundcover — creeping thyme or catmint — softens the front edge of the bed without competing for the limited root space behind it.
- Native bee-friendly perennials from a broader plant list, chosen specifically for the sun and moisture conditions found in Steps 1–3, round out the middle of the strip; our best plants for pollinators guide is a useful starting reference for matching species to the seasonal bloom windows you’re trying to fill.
Step 5: Plan Bloom Succession Along the Strip’s Length
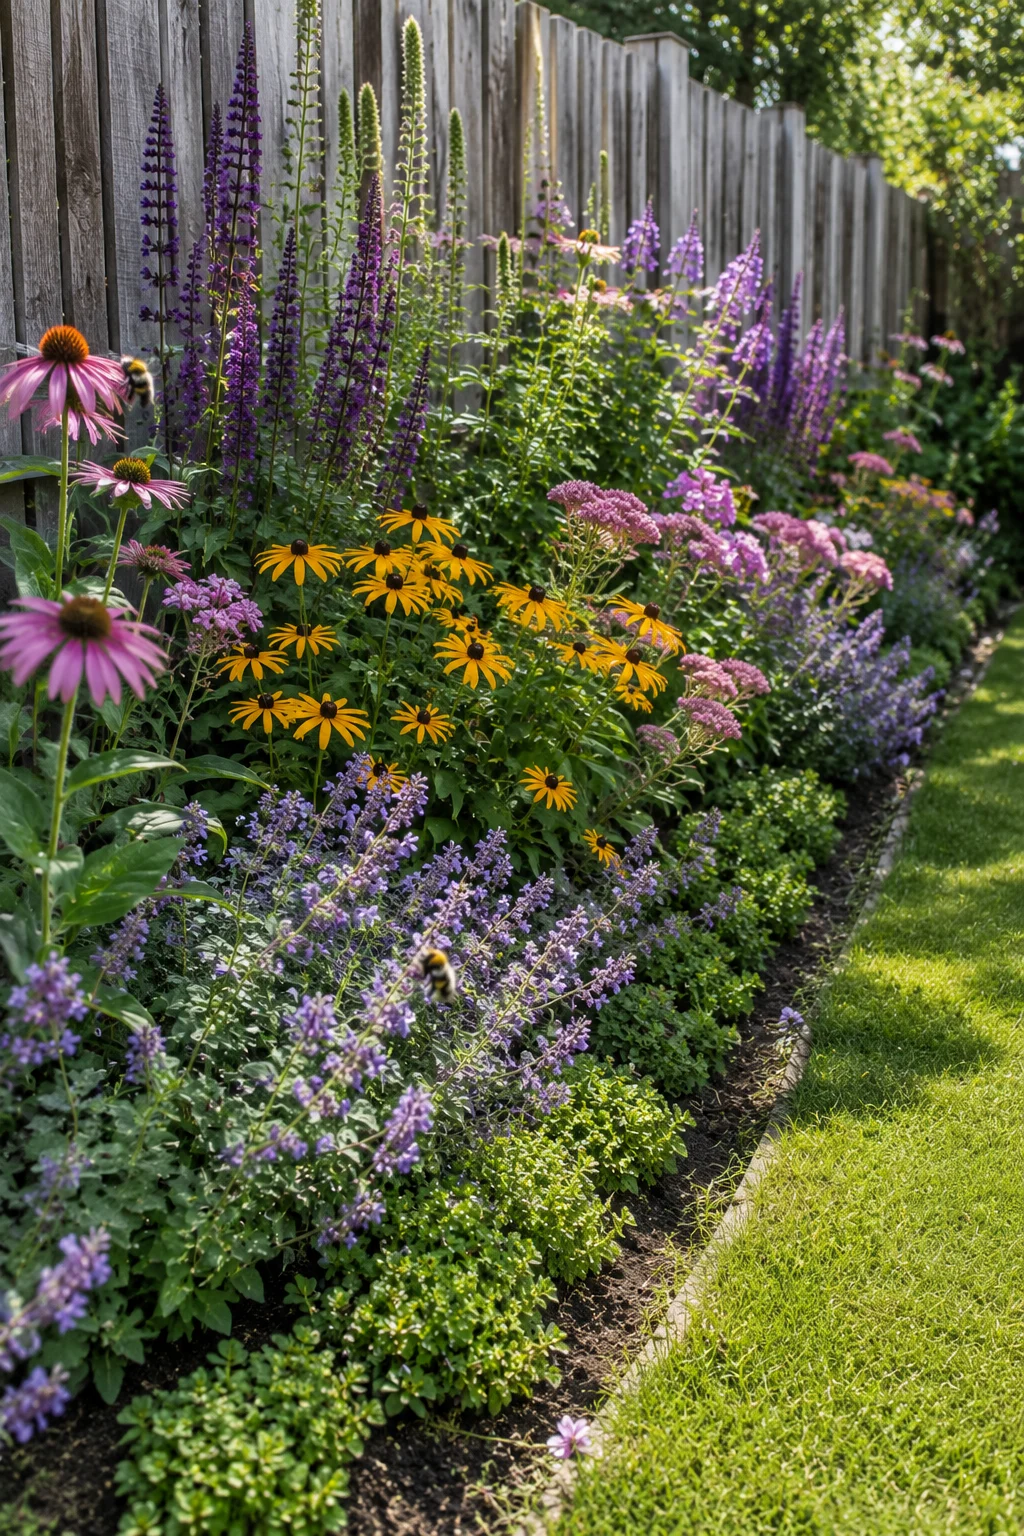
Rather than repeating the same three plants end to end, treat a long strip as a chance to build a bloom relay along its length — early bloomers at one end transitioning into midsummer and fall bloomers further along, so the whole strip is never without color at once. This is the same succession-planning principle used in a full four-season bed, just stretched into a single linear run rather than a block.
- Plant in repeated blocks of three to five, not single specimens, so the strip reads as intentional rather than scattered.
- Overlap bloom windows between adjacent blocks by a few weeks, so one section is winding down as the next is just starting.
- Reserve the most visible section — near a gate, path, or window view — for your longest-blooming or most reliable plants, since that’s the stretch you’ll actually see most often.
Step 6: Install Plants With Proper Spacing and Access
Narrow strips get crowded fast if plants are spaced the way they would be in an open bed. A few adjustments matter specifically here:
- Stagger plants in a slight zigzag rather than a single straight line, which fills the strip’s width more fully without requiring it to be any wider.
- Leave a small gap between the plants and the fence or wall itself — typically 6–12 inches — for airflow, maintenance access, and to avoid roots interacting with foundations or fence posts.
- Water in thoroughly at planting, especially near the wall-adjacent, rain-shadowed sections identified in Step 3, since new plants are most vulnerable to that moisture deficit before their root systems establish.
Step 7: Mulch, Edge, and Maintain
A finished-looking strip needs the same structural finishing as any other bed:
- Mulch 2–3 inches deep, keeping mulch pulled a few inches back from stems to avoid rot, and topping it up annually as it breaks down.
- Add a simple edging material along the strip’s outer edge to keep it visually distinct from lawn or path, and to stop grass from creeping in from the open side.
- Check the wall-adjacent section for moisture through the first full growing season more often than the rest of the strip, adjusting your watering routine as you learn how the rain shadow actually behaves in your specific yard.
If the strip runs along a fence rather than a solid wall, you may not need to worry about rain shadow nearly as much — solid fencing and walls block rain far more than open lattice or picket-style fencing does, which is worth factoring back into Step 1 when you’re first assessing the site. For a fence specifically, our plain fence to pollinator border guide goes further into fence-specific planting and screening options that pair well with the strip approach covered here.
Final Thoughts
A pollinator strip along a fence or wall works because it turns genuinely unused space into forage, but only if the specific challenges of that space — rain shadow, compacted soil, uneven light — get addressed up front rather than discovered after the first dry spell kills half the planting. Assess the site honestly, prep the soil properly, choose plants suited to the actual conditions rather than generic “full sun perennial” assumptions, and plan bloom succession along the strip’s length the same way you would across a full season. Do that, and a narrow strip that used to be bare mulch can become one of the most consistently active parts of the whole garden.