
For beekeepers, preparing a colony for winter is a delicate balancing act. We obsess over varroa mite counts, carefully monitor honey stores, and insulate our boxes to protect against the freezing wind. However, one of the most devastating winter threats to a beehive is not the cold, and it is not a microscopic parasite. It is the common field mouse.
As autumn temperatures drop, mice begin desperately searching for a warm, dry place to spend the winter. To a freezing mouse, a beehive is the ultimate luxury real estate. It provides a waterproof roof, a highly insulated environment, and a built-in pantry filled with high-calorie honey and protein-rich pollen.
If a mouse breaches your hive during the winter, the results are almost always catastrophic. This guide will walk you through exactly why mice target hives, the devastating damage they cause, and the step-by-step process you must follow to completely mouse-proof your apiary before the first hard frost.
Why Do Mice Invade Beehives?
To understand how to keep mice out, you first need to understand why they are so desperate to get in, and why your bees cannot simply sting them to death.
During the spring and summer, a healthy honeybee colony aggressively defends its entrance. Any mouse foolish enough to stick its nose inside a Langstroth box in July will be met with a swarm of guard bees and swiftly killed. However, winter is a completely different story.
When the ambient temperature drops below 50°F (10°C), honeybees pull back from the entrance and form a tight winter cluster around the queen to conserve heat. Because they are in this dormant, clustered state, they are completely incapable of defending the lower regions of the hive. A mouse can easily waltz right through the front door, set up a nest on the bottom board, and live comfortably just inches away from the freezing bees.
The Devastating Damage a Mouse Can Do
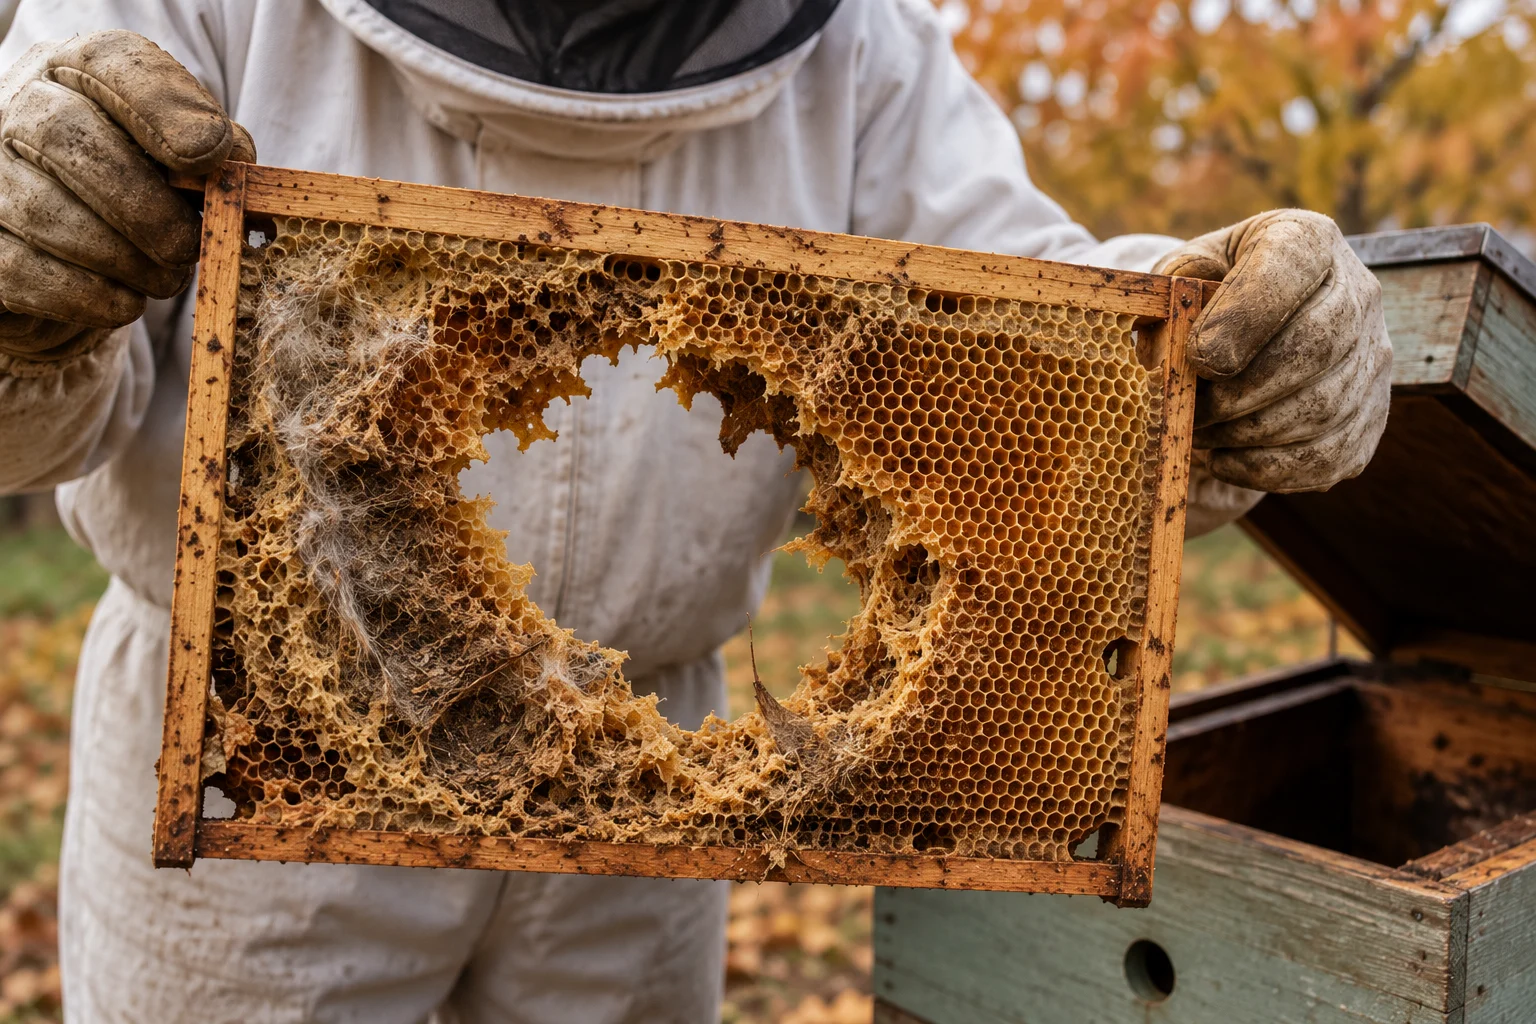
A mouse does not just sleep in your hive; it actively destroys it. Here is what happens when a rodent takes up winter residence in your apiary:
- Chewed Foundation and Comb: Mice will rapidly chew through your expensive wax comb and plastic foundations to carve out a spacious area for their nest. Replacing drawn comb is one of the most resource-intensive tasks for a spring colony.
- Contamination: Mice are incredibly unhygienic guests. They will urinate and defecate all over the bottom board and lower frames. This intense stench and bacterial load can cause the surviving bees to abscond (flee the hive) as soon as spring arrives.
- Starvation: The mouse will continuously feed on the colony’s winter honey and pollen stores, literally eating the food the bees need to survive until the spring bloom.
- Cluster Disruption: As the mouse moves around and builds its nest, the vibrations and disturbances can agitate the winter cluster. If the bees break their cluster to investigate, they will freeze to death.
According to the British Beekeepers Association (BBKA) guidelines on winter management, preventing pest ingress is just as critical as ensuring adequate food stores for overwintering success.
When is the Best Time to Mouse-Proof Your Hive?
Timing is everything. If you put your mouse guards on too early, you disrupt the bees’ late-season foraging and create a traffic jam at the entrance. If you put them on too late, you might end up locking a mouse inside the hive.
The ideal time to mouse-proof your hive is in late autumn, just as the nighttime temperatures begin to consistently drop and before the first hard frost.
Typically, this aligns perfectly with the end of the foraging season. If you have been using entrance reducers to protect weak colonies from robbers, replacing those wooden reducers with permanent metal mouse guards is the natural next step in your fall checklist.
Step-by-Step: How to Mouse-Proof Your Beehive
Protecting your apiary from rodents is a straightforward process, but it requires attention to detail. Follow these steps to ensure your boxes are locked down.
1. Perform a Thorough Inspection First
Never slap a mouse guard on a hive without looking inside first. If you install a guard while a mouse is already inside, you will trap it. The bees will eventually kill it when spring arrives, leaving you with a rotting carcass on your bottom board.
- Action: Gently tip the hive back or look through the entrance with a bright flashlight. Check the bottom board for chewed wax cappings, mouse droppings, or nesting materials like dried grass and leaves.
2. Install a Metal Mouse Guard
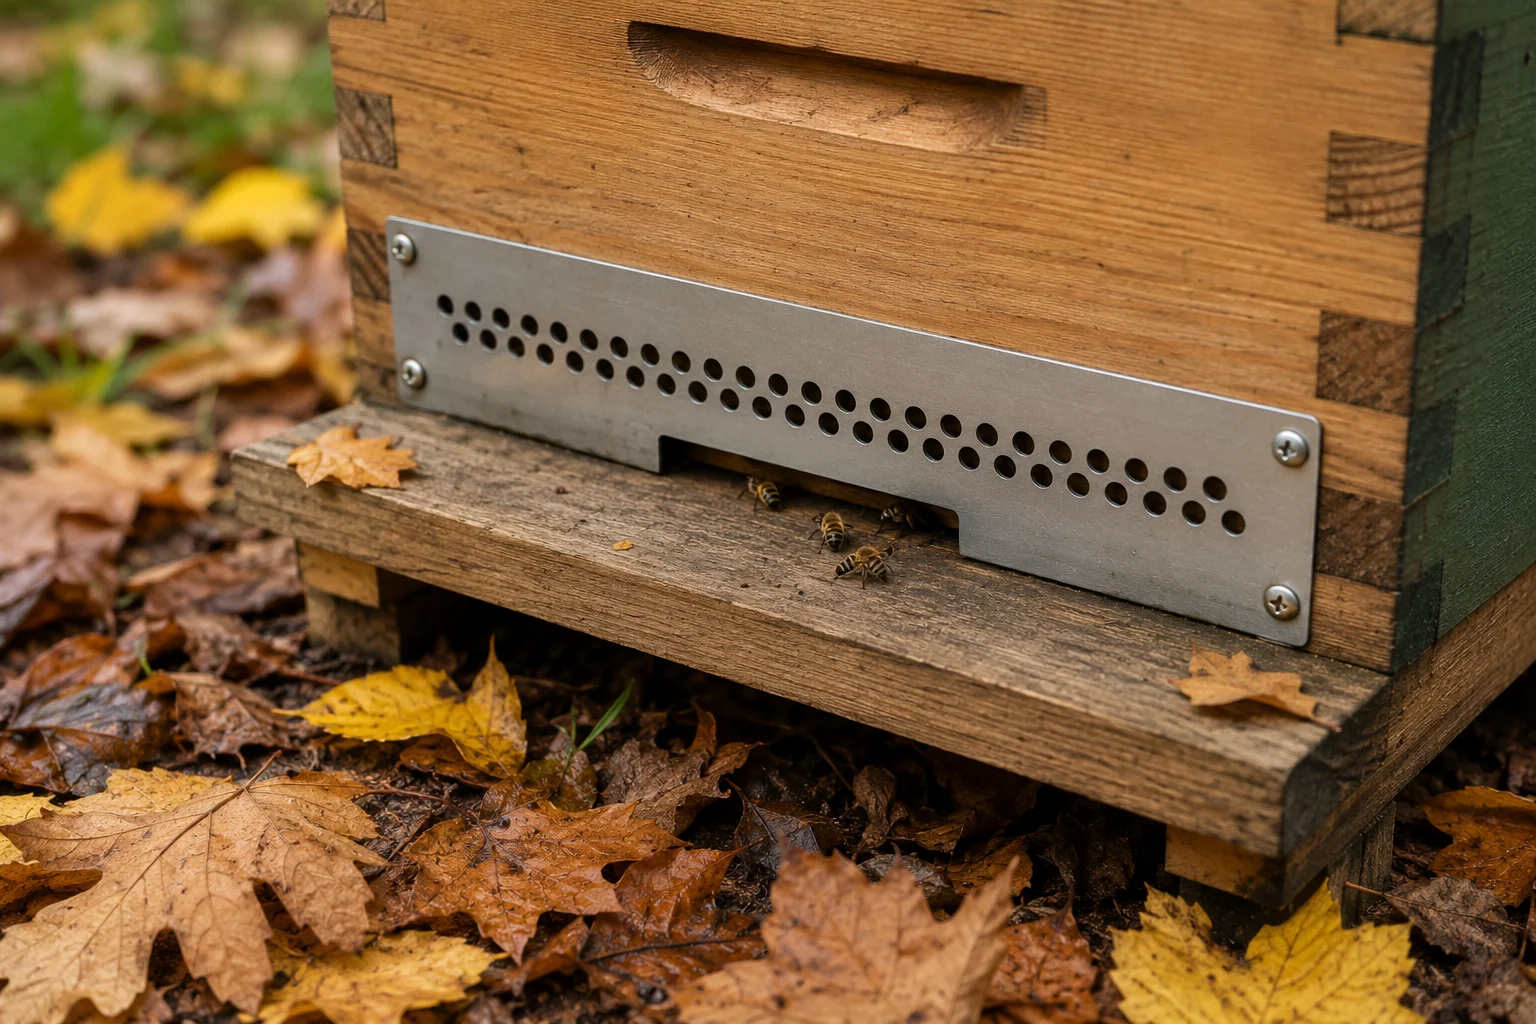
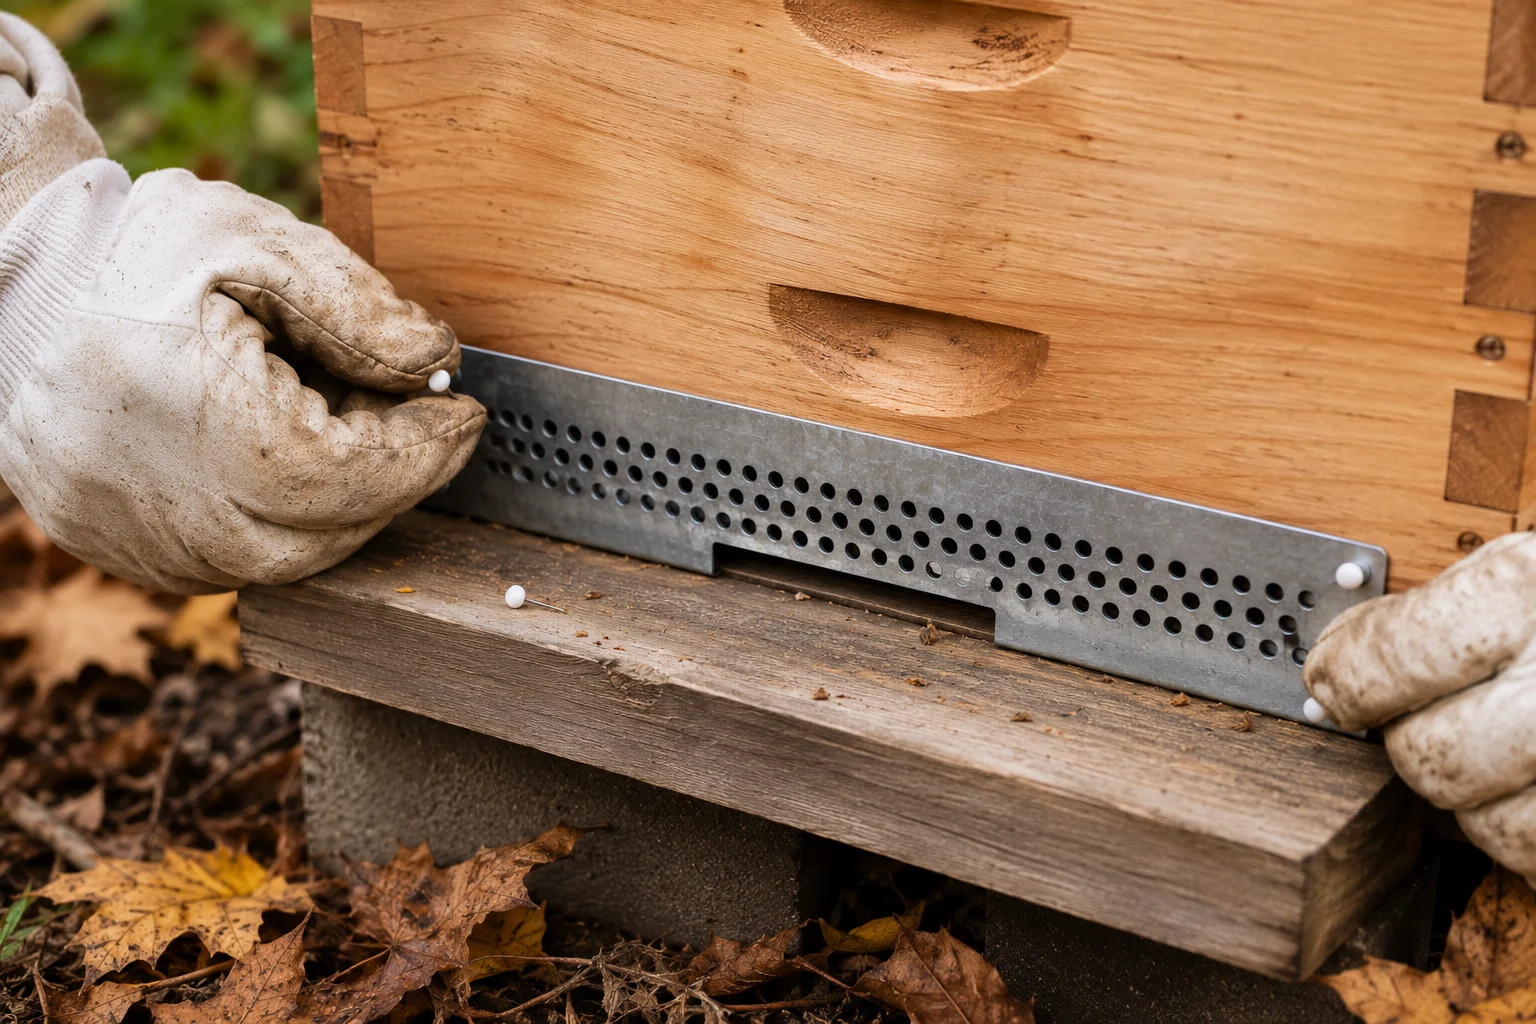
This is the most critical step. You must install a physical barrier across the entrance that bees can fit through, but a mouse’s skull cannot.
- Action: Pin or staple a galvanized metal mouse guard across the lower entrance. These guards typically feature 3/8-inch holes. This exact measurement is crucial—it is large enough for a worker bee to pass through freely (even while carrying out dead winter bees) but entirely too small for a mouse.
3. Check the Hive Floor and Screened Bottom Boards
Mice do not just enter through the front door; they will look for the path of least resistance.
- Action: If you use screened bottom boards for varroa management, ensure the wire mesh is entirely intact. If the mesh is rusted or torn, a mouse will chew right through it from underneath. If you are using a solid bottom board, check the corners for rot.
4. Manage Your Apiary Landscape
Mice prefer to travel under cover. If your hives are surrounded by tall, dead grass or leaning branches, you are providing a hidden highway right to your front door.
- Action: While it is important to remember the rules of selective yard cleanup to preserve beneficial insect habitat, you should still use a weed whacker to clear the tall grass directly beneath and immediately around your hive stands.
Common Mouse-Proofing Mistakes to Avoid
Even experienced beekeepers occasionally lose a hive to rodents because of a few easily avoidable mistakes.
- Relying on a Wooden Entrance Reducer: This is the most common beginner error. A standard wooden entrance reducer is great for stopping robbing bees, but it is useless against a mouse. A mouse’s teeth never stop growing, and they can chew through a soft pine reducer in a matter of hours. You must use metal.
- Ignoring Top Entrances: Many beekeepers drill upper ventilation holes or use upper entrances to allow moisture to escape during winter. If these holes are larger than 3/8 of an inch, a climbing mouse will get in. Cover upper ventilation holes with heavy-duty hardware cloth.
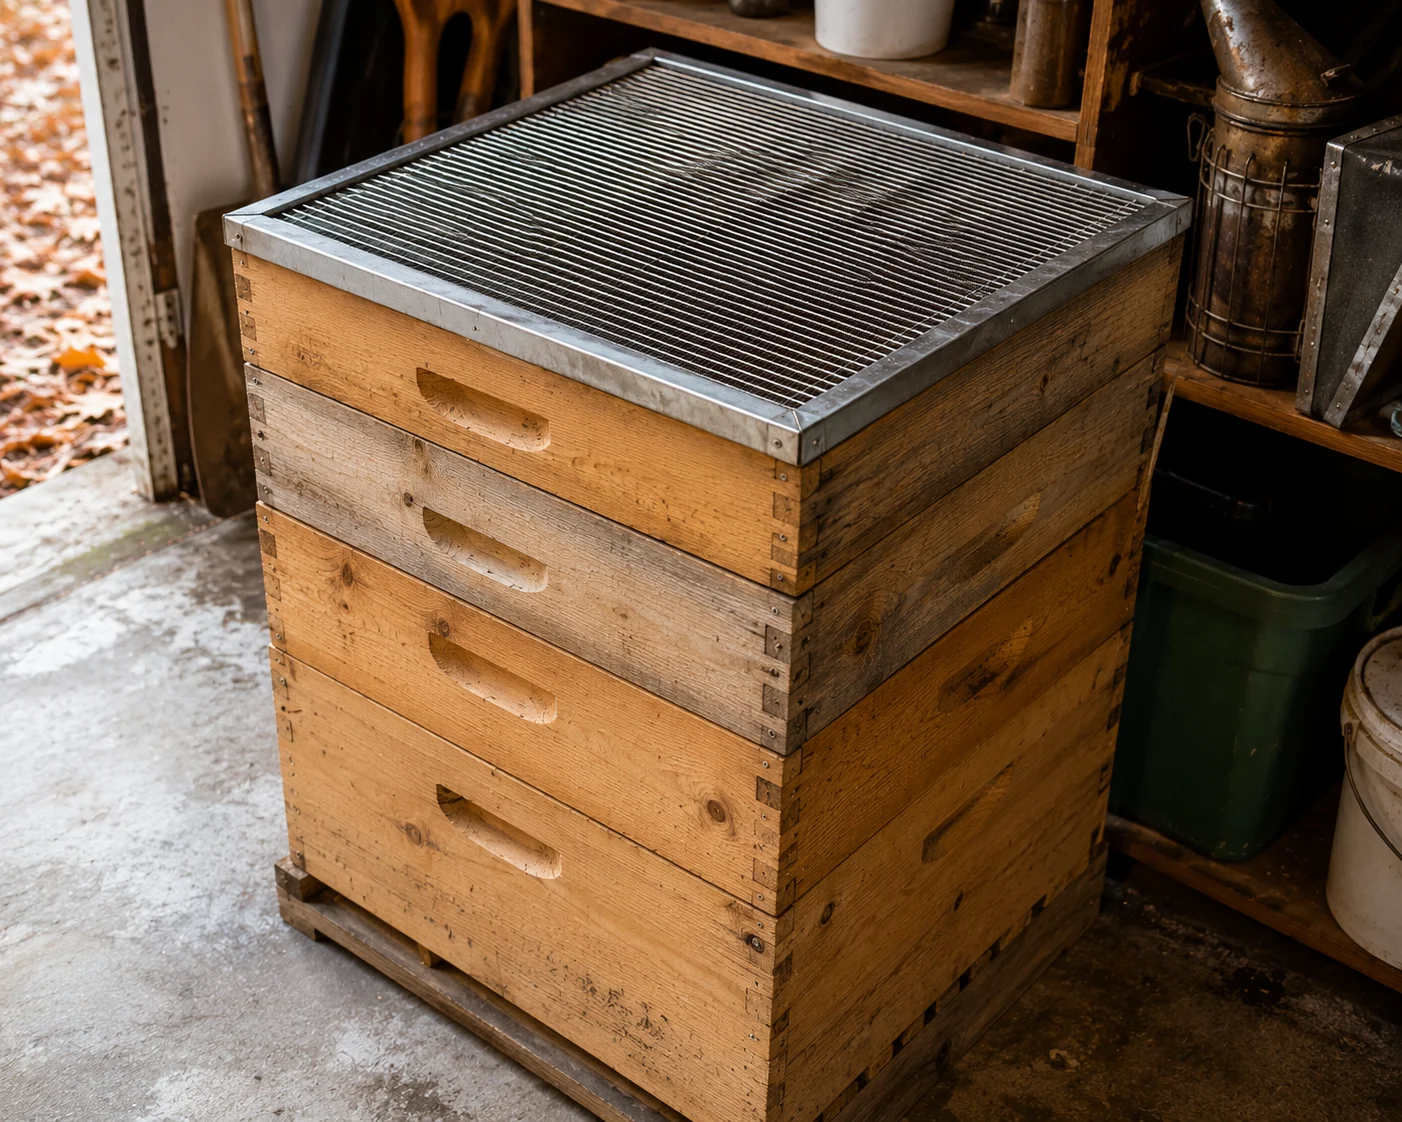
- Forgetting Equipment Storage: Your active hives aren’t the only targets. Stacks of stored honey supers in your garage or shed are a prime target for mice. When gathering your essential beekeeping tools and hive parts, make sure you also invest in metal queen excluders to place at the top and bottom of your stored super stacks to keep rodents out.
What to Do If a Mouse is Already Inside
If you inspect your hive in the middle of winter and discover a mouse nest, you must act quickly, but carefully.
First, wait for a sunny day when temperatures are as warm as possible to minimize chilling the bee cluster. Suit up—mice carry diseases like hantavirus, and their nests are filthy. Open the hive, physically remove the mouse (often they will jump out and run when exposed), and use a hive tool to scrape out the entire nest, including all contaminated wax and feces.
Do not attempt to salvage heavily chewed, urine-soaked frames. Remove them completely and replace them with clean drawn comb or rigid foam insulation boards to fill the empty space until spring. Once the hive is clean, immediately install a metal mouse guard so the rodent cannot return that night.
According to Penn State Extension’s guide on overwintering honey bees, minimizing hive disturbances during cold months is paramount, so completing this cleanup swiftly is vital to the cluster’s survival.
Conclusion
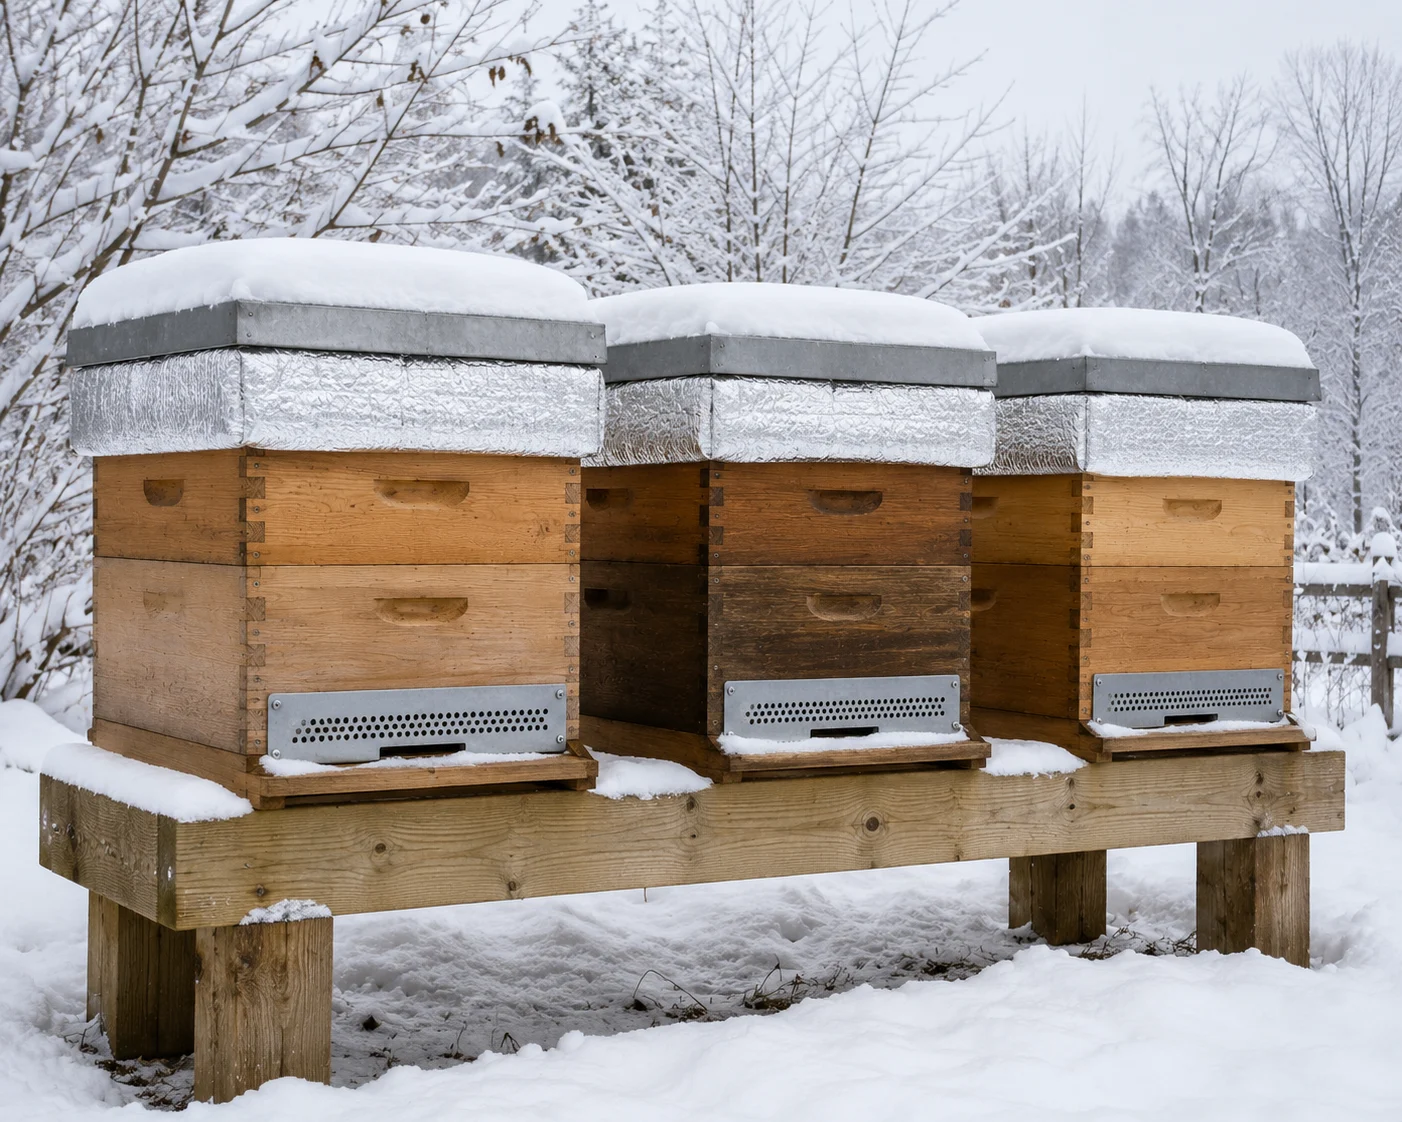
Losing a strong, healthy colony of bees to a field mouse is an incredibly frustrating experience, primarily because it is 100% preventable. By understanding the timeline, inspecting your boxes thoroughly, clearing the surrounding landscape, and investing in simple, high-quality metal guards, you can ensure your bees are safe from furry intruders. A few minutes of preventative work in the autumn will save you hundreds of dollars in damaged wax and lost bees in the spring.