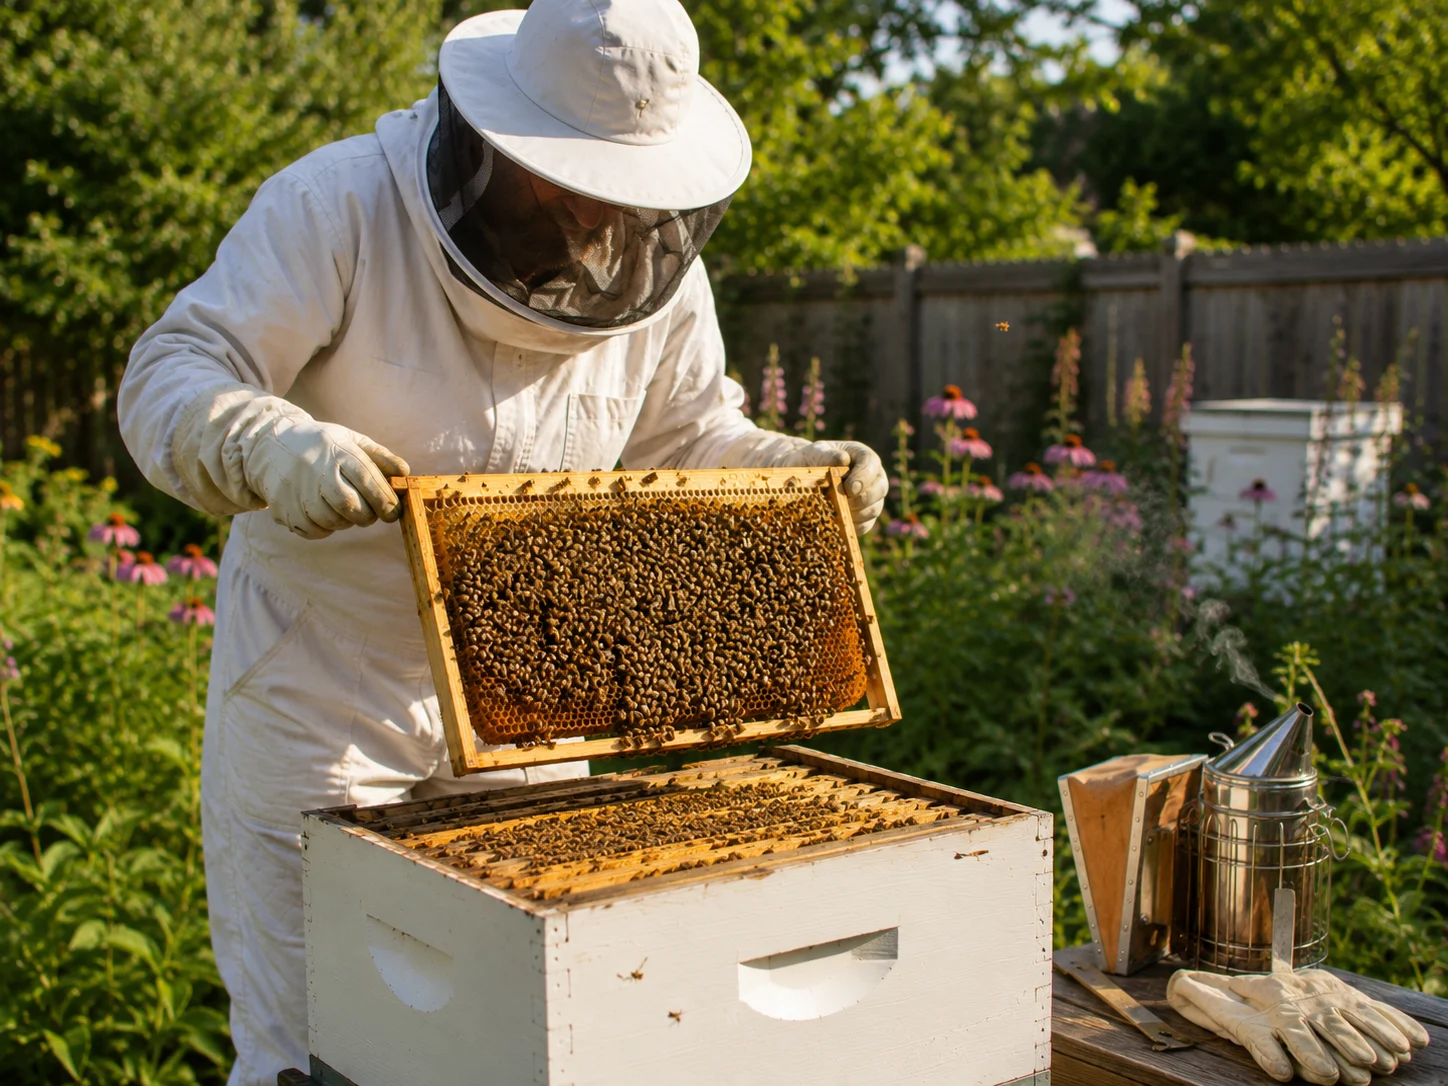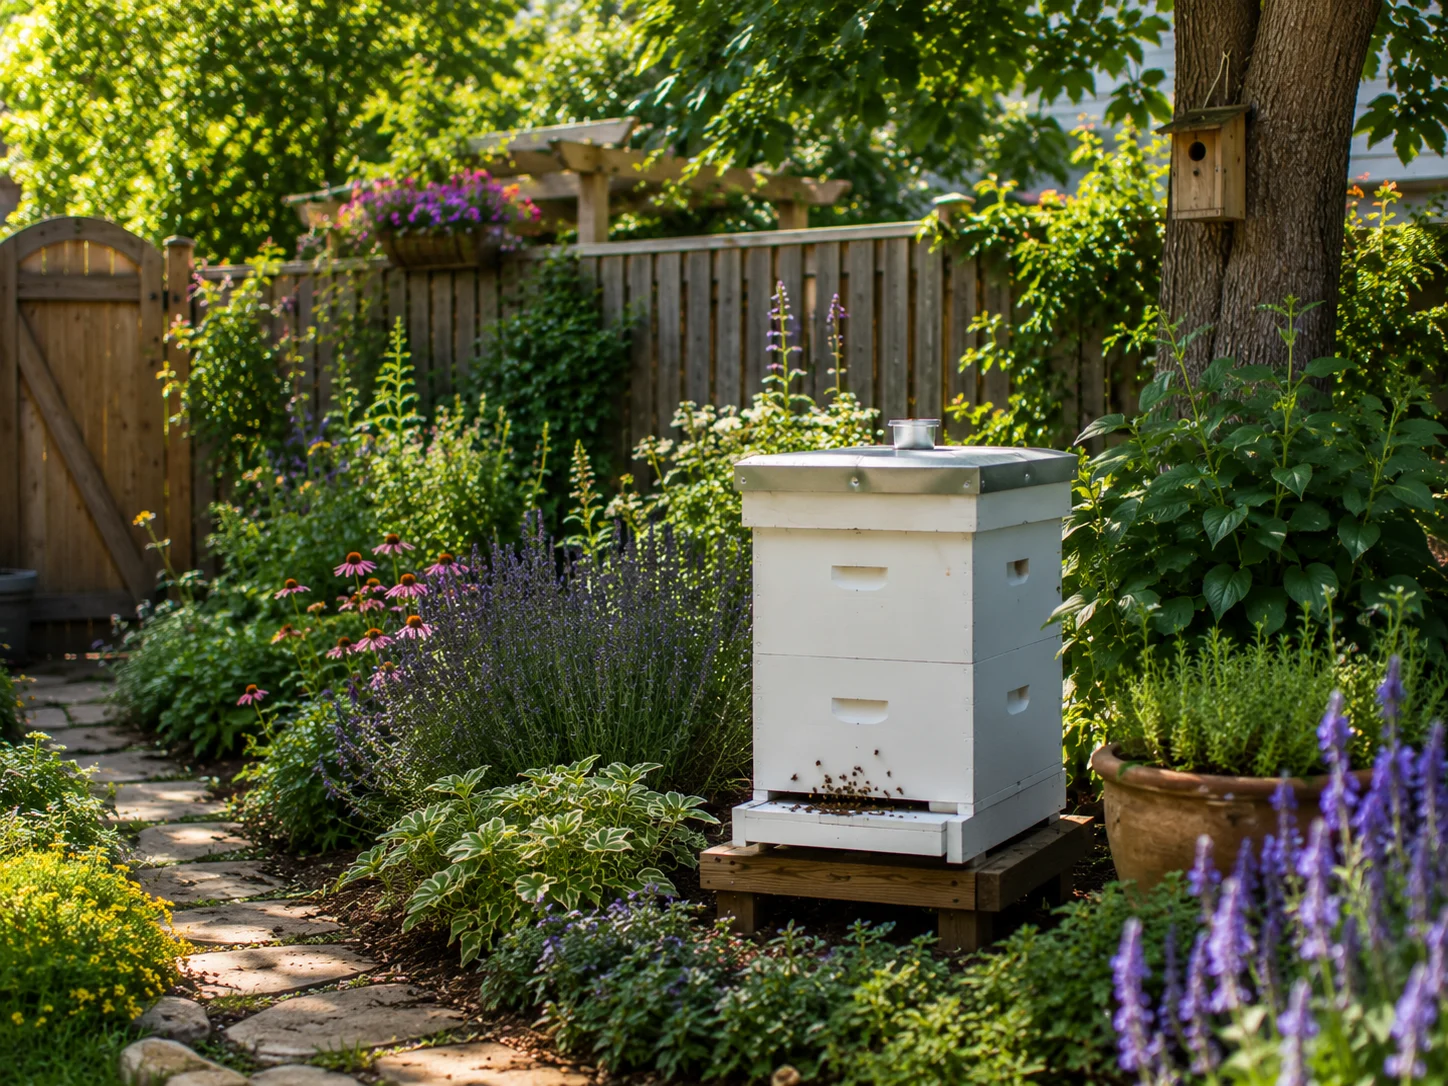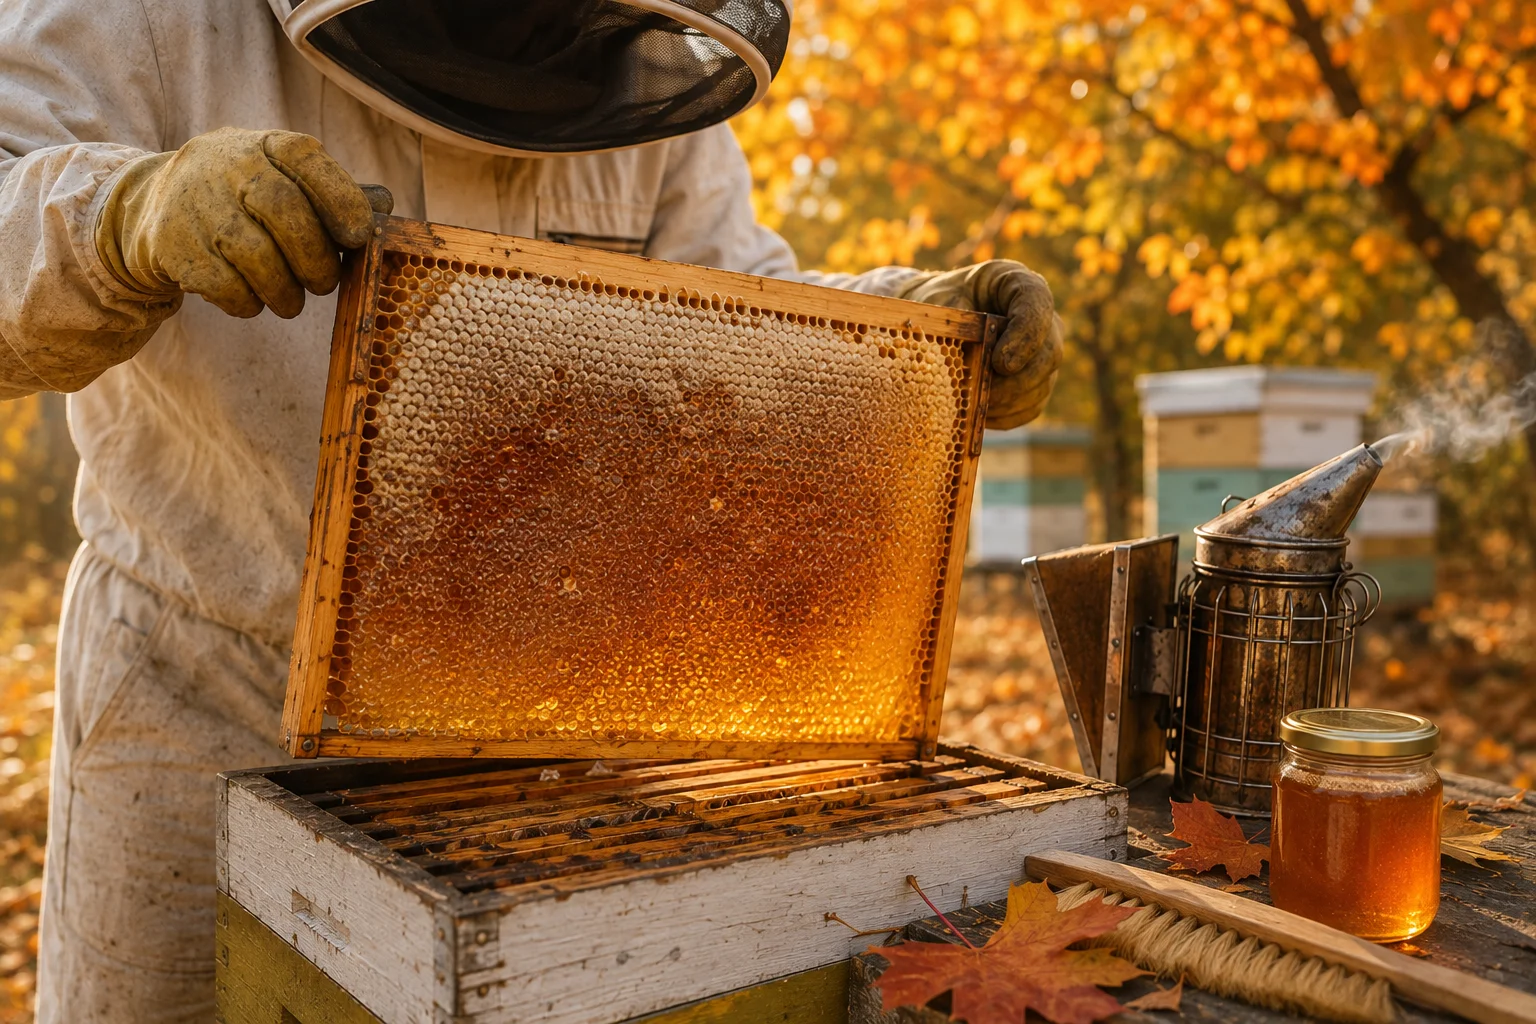

Small backyard beekeeping can work exceptionally well—but only when the setup is designed around bee behavior, neighbors, forage, safety, and year-round colony management.
The size of your yard is not automatically the problem. A poorly positioned hive on a large property can create more trouble than a carefully managed hive in a compact garden. What matters is whether you can direct bee traffic, provide reliable water, inspect the colony comfortably, control pests, and prevent your bees from becoming your neighbor’s problem.
And here is the part beginners often underestimate: buying the bees is one of the last steps, not the first.
Before a single bee arrives, you need a legal location, complete equipment, a colony health plan, protective gear, local support, and enough time to manage a living superorganism containing thousands of insects.
This guide explains exactly what you need before starting a backyard beehive—and what can go wrong when you rush.
1. Check Whether Backyard Beekeeping Is Allowed
Do not order bees until you have checked the rules applying to your property.
Depending on where you live, backyard beekeeping may be controlled by:
- Municipal or county ordinances
- Agricultural regulations
- Apiary registration requirements
- Property-line setbacks
- Limits on colony numbers
- Homeowners’ association rules
- Landlord or rental agreements
- Requirements for fencing or fly-up barriers
Regulations can differ between two neighboring towns. Never assume that because someone nearby owns bees, your property automatically qualifies.
Search your local government website, contact the relevant agricultural authority, and ask a local beekeeping association about current requirements. Some areas require apiary registration or periodic inspections, while others mainly regulate placement and nuisance complaints.
Get the legal answer in writing whenever possible. “Someone told me it was allowed” is worthless when a complaint arrives.
2. Decide Whether Your Yard Is Actually Suitable
A small yard does not need acres of empty land, but it does need a usable apiary zone.
The University of Georgia’s beekeeping guidance recommends placing hives in a discreet, sheltered location while keeping flight paths away from sidewalks, playgrounds, and other heavily used spaces. It also warns that bees without a dependable water source may begin visiting neighboring pools or outdoor taps. (extension.uga.edu)
Look for a location with:
- Firm, well-drained ground
- Protection from strong prevailing winds
- Reasonable sunlight without extreme all-day heat
- Space behind and beside the hive for inspections
- A clear entrance facing away from doors, paths, pets, and play areas
- Enough overhead clearance for bees to rise safely
- Vehicle or wheelbarrow access for moving equipment
- No risk of roof runoff flooding the hive
Avoid low, damp corners where cold air and moisture settle. Do not wedge the hive between a wall and a fence so tightly that you cannot remove boxes or step backward safely.
Create a Fly-Up Barrier
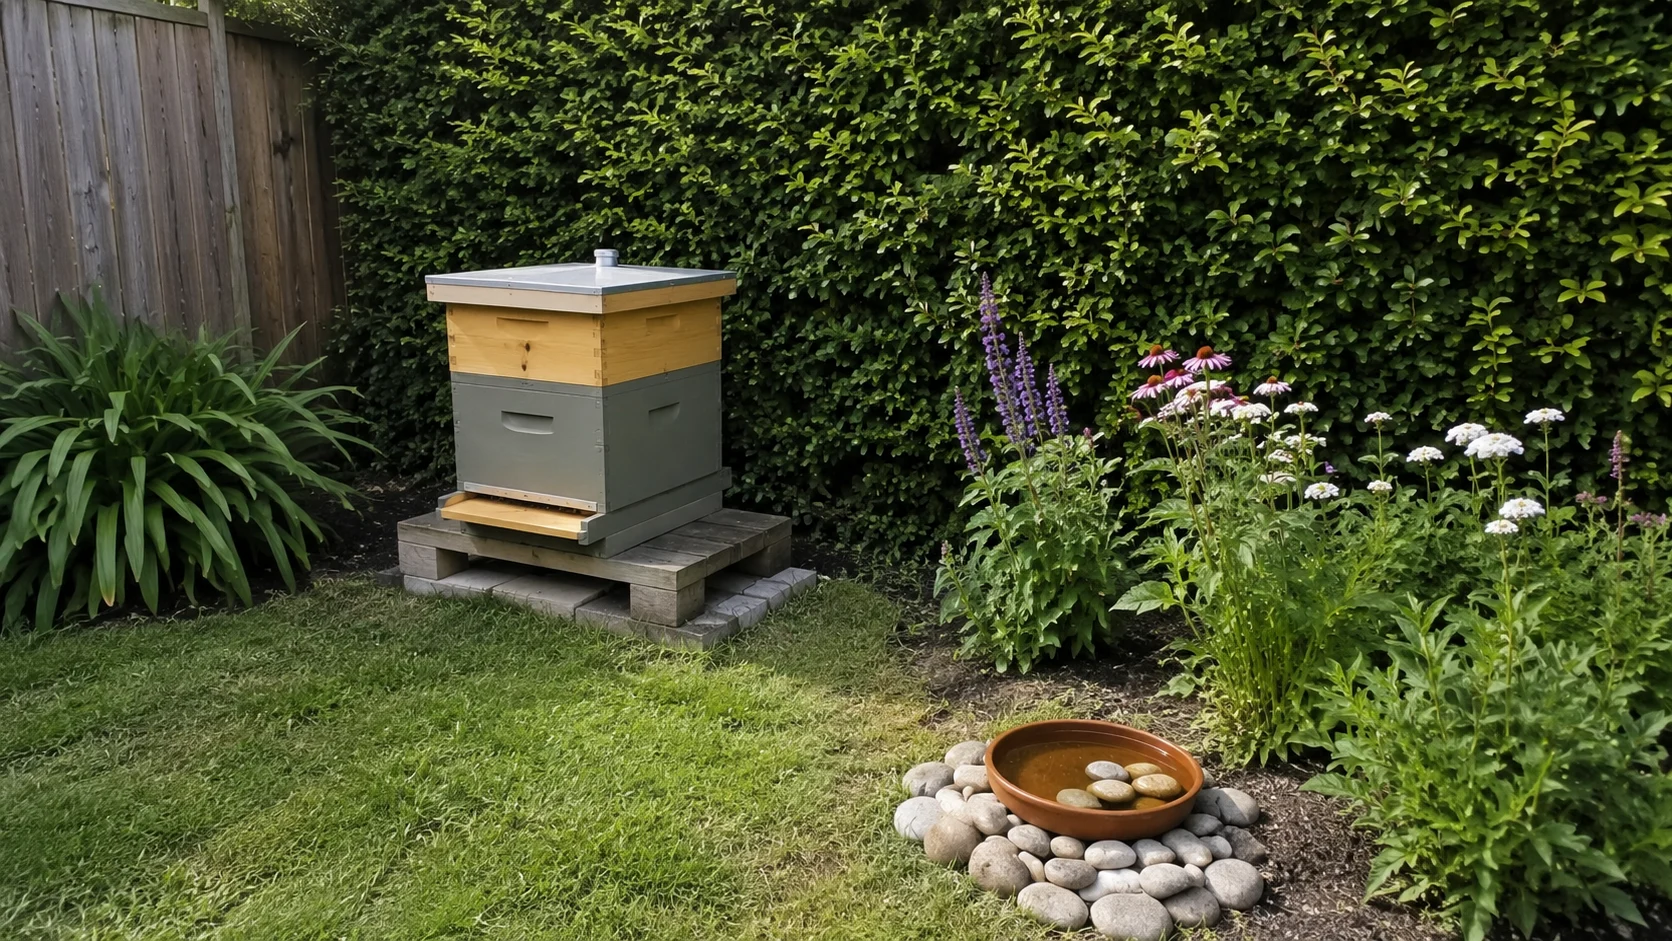
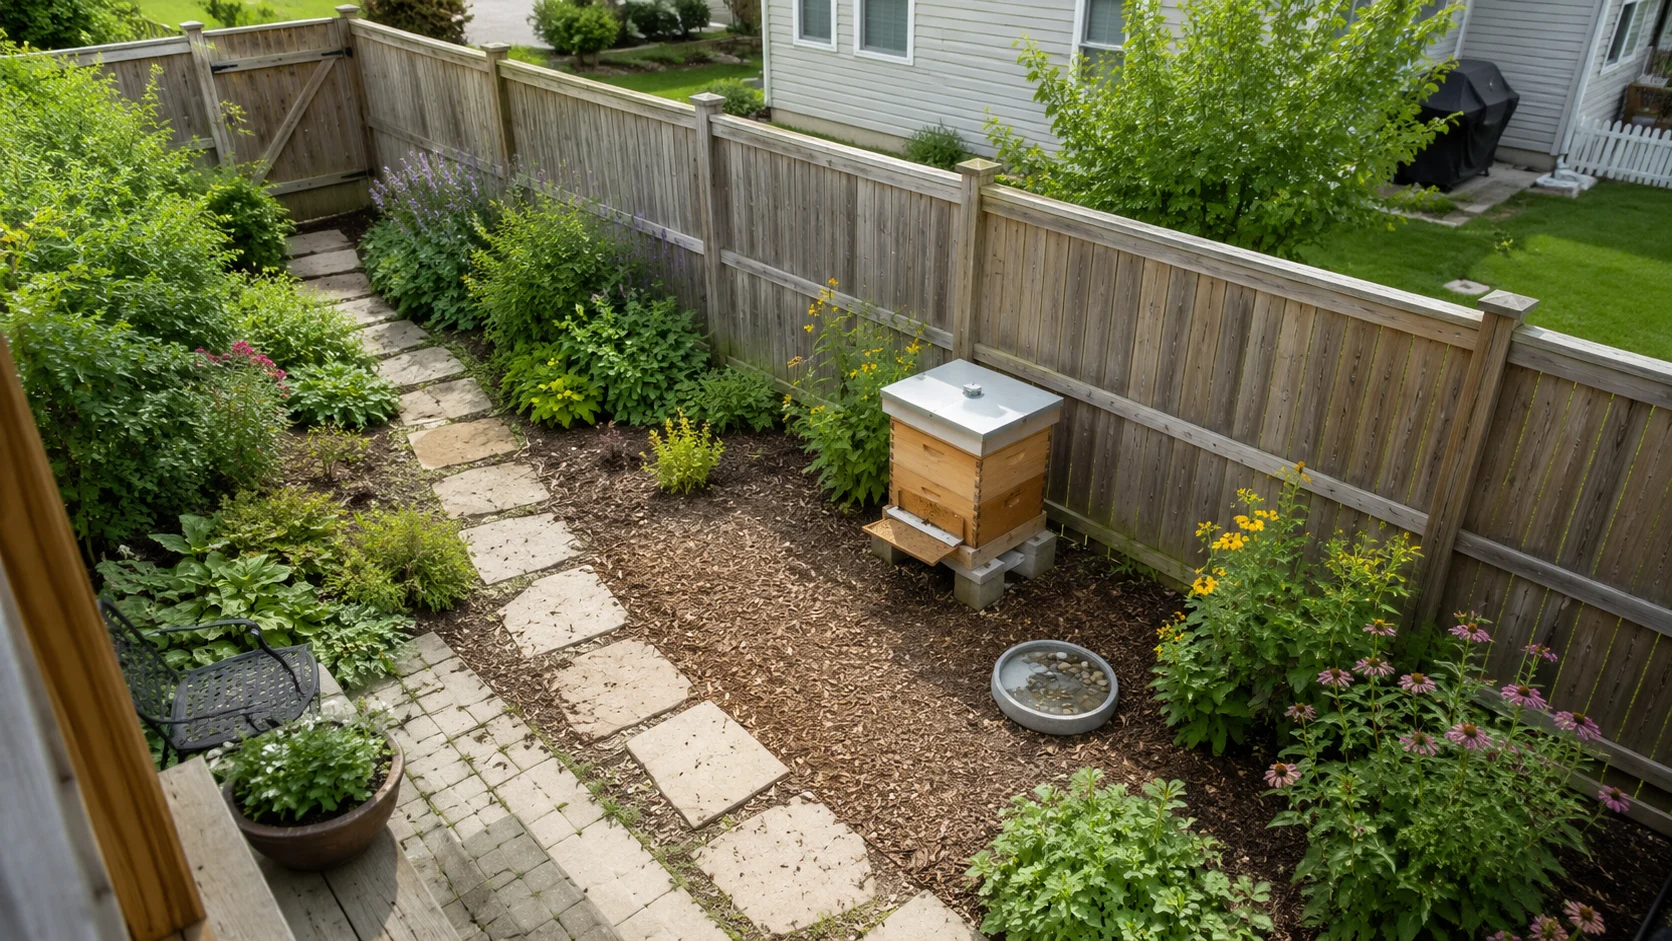
A solid fence, dense hedge, wall, or tall screen placed strategically in front of the hive can push departing bees upward. This reduces the chance of bees crossing the yard at face height.
A barrier is not permission to put the entrance directly beside a patio. It is one part of a responsible placement plan.
For a planted solution, consider designing a multi-layered boundary hedgerow around your apiary.
3. Talk to Your Neighbors Before the Bees Arrive
Hiding a hive and hoping nobody notices is a stupid strategy.
Your neighbors do not need to love beekeeping, but they should not discover your colony after finding hundreds of bees around their swimming pool.
Explain:
- Where the hive will be positioned
- Which direction the entrance will face
- How you will provide water
- How you will reduce swarming
- How they can contact you if they notice unusual activity
- That you will manage defensive colonies rather than ignore them
Do not promise that nobody will ever see a bee or get stung. That is unrealistic. Instead, show that you understand the risks and have designed the apiary responsibly.
Also identify sensitive situations nearby, including:
- A person with a serious sting allergy
- Children’s play equipment
- Frequently used patios
- Livestock or confined pets
- Public paths
- Outdoor dining areas
- Pools, fountains, ponds, or dripping taps
Your hive should improve the neighborhood—not turn it into a conflict zone.
4. Choose One Hive System and Stick With It
Beginners often sabotage themselves by buying mismatched equipment from different sellers.
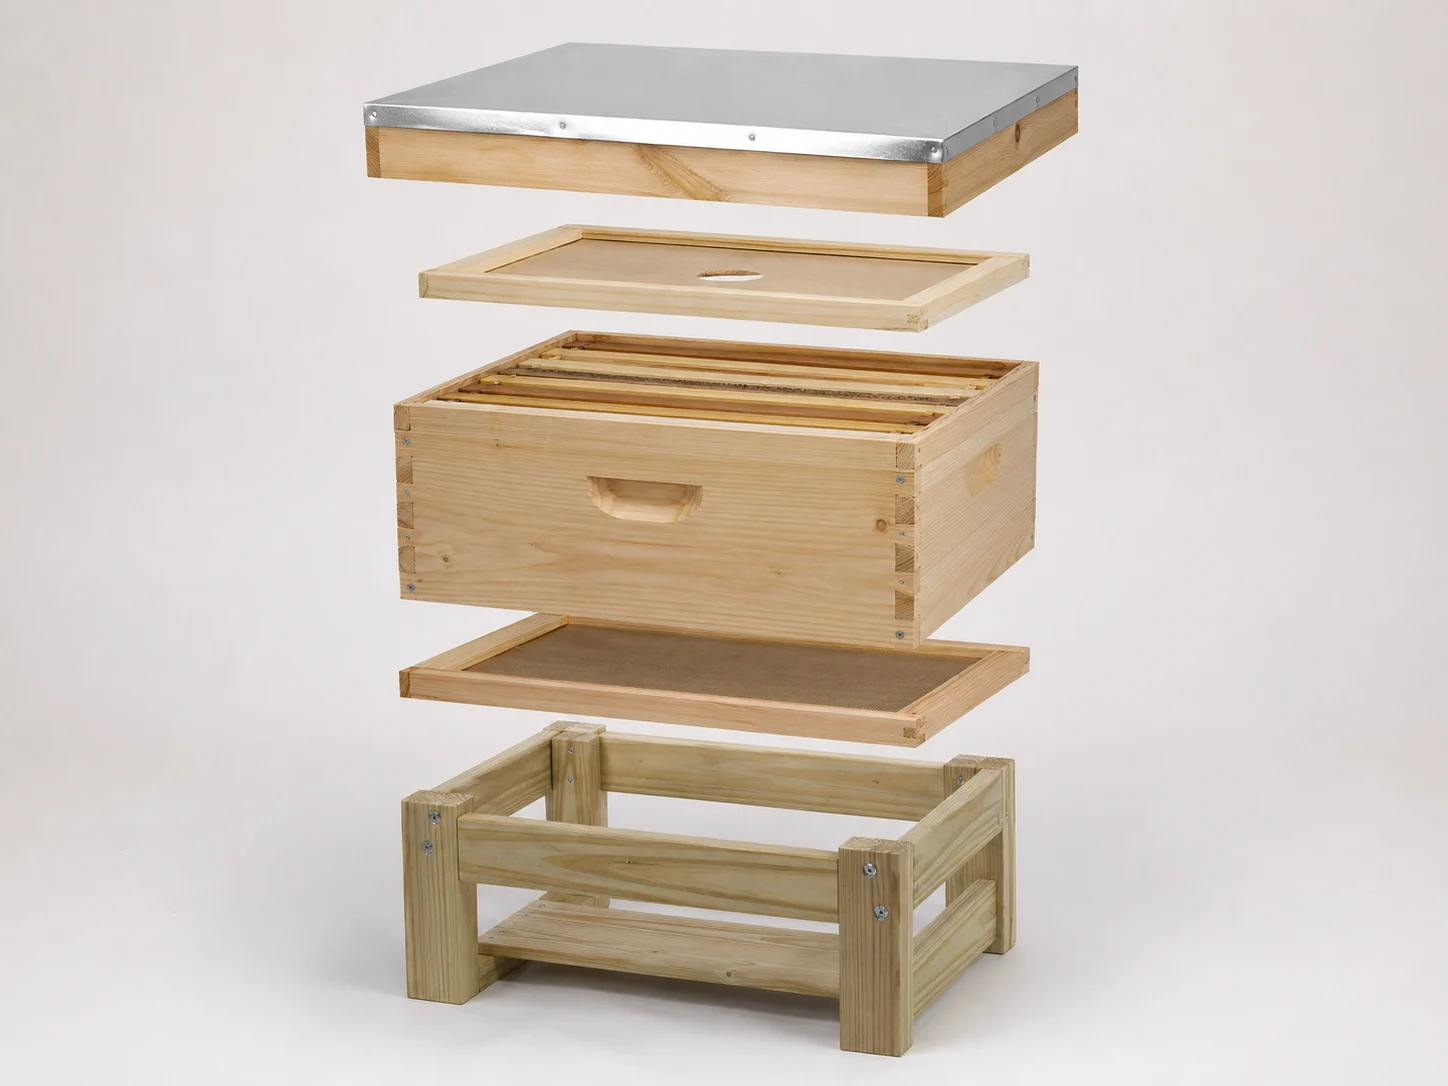
A typical movable-frame hive requires:
- A bottom board
- One or more brood boxes
- Properly sized frames and foundation
- An inner cover
- A weather-resistant outer cover
- A hive stand
- An entrance reducer
- A feeder
- Honey supers for future expansion
The Langstroth hive is widely used because its modular boxes and removable frames make inspections, expansion, feeding, and honey harvesting relatively straightforward. However, you must choose between equipment formats—such as eight-frame or ten-frame boxes—and remain consistent.
Mississippi State University Extension warns that hive components from different manufacturers can vary slightly and recommends purchasing compatible parts from the same source. Its beginner guide also notes that eight-frame equipment is lighter, while ten-frame equipment provides more capacity but becomes substantially heavier. (extension.msstate.edu)
Think About Weight Before Buying
A full deep box can exceed 70 pounds, while a full medium super can weigh around 50 pounds. That is not a minor detail when you are lifting boxes in hot weather while surrounded by bees. (extension.msstate.edu)
Choose equipment you can safely handle. Using all-medium boxes or eight-frame equipment may make sense for beekeepers with back, shoulder, or mobility limitations.
5. Buy the Essential Beekeeping Tools
A hive kit alone is not a complete beekeeping setup.
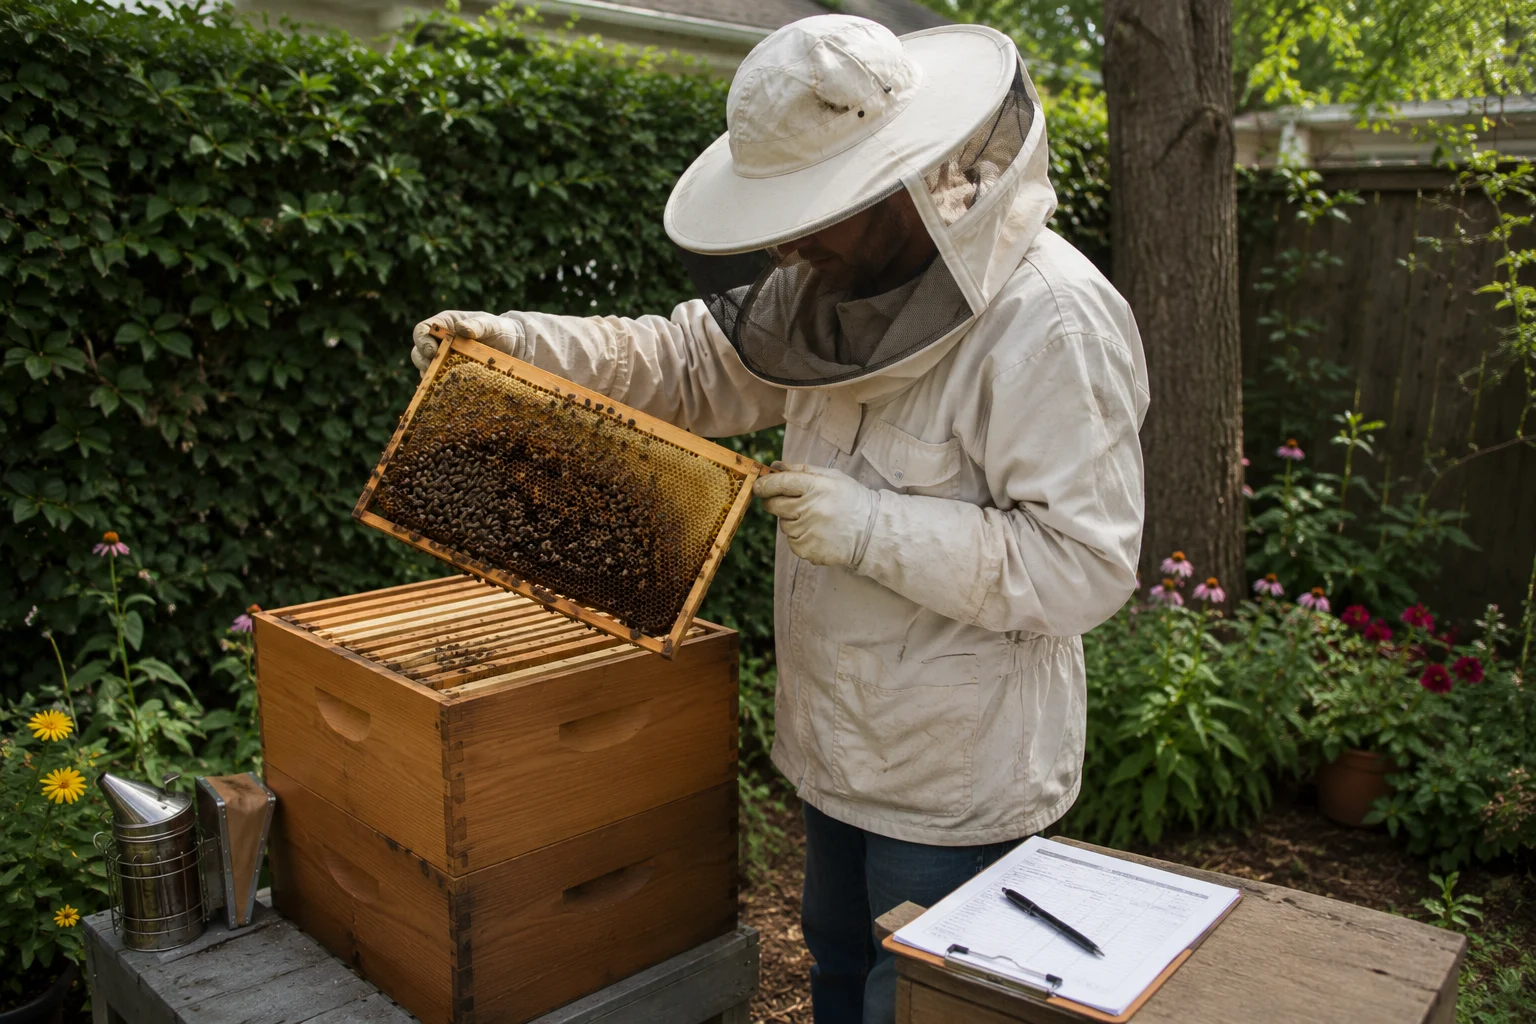
At minimum, you need:
- A secure bee veil: Facial protection is non-negotiable for beginners.
- Protective jacket or suit: Choose something breathable that closes securely.
- Beekeeping gloves: They reduce confidence-destroying hand stings while you learn.
- Hive tool: Used to separate propolized boxes, loosen frames and scrape wax.
- Bee smoker: Helps reduce defensive reactions during inspections.
- Smoker fuel: Use clean, untreated material that produces cool smoke.
- Feeder: Needed when a new colony lacks adequate incoming nectar.
- Bee brush: Useful for gently moving bees from equipment.
- Notebook or inspection app: Every inspection should produce a record.
- Spare frames and equipment: Colonies do not wait while you place an online order.
The Mississippi State University Extension beginner beekeeping guide recommends preparing protective equipment, assembling and weatherproofing the hive, and studying honey bee biology before the colony arrives. It specifically identifies the veil, hive tool and smoker as core equipment for new beekeepers. (extension.msstate.edu)
Practice lighting your smoker before inspection day. A smoker that dies five minutes after opening the colony is practically useless.
6. Install a Stable Hive Stand
Do not place the wooden hive directly on damp soil.
A good stand should:
- Keep the hive off wet ground
- Remain stable under increasing weight
- Resist wind and accidental bumps
- Provide a comfortable working height
- Prevent weeds from blocking the entrance
- Allow water to drain rather than collect inside
Concrete blocks, treated structural lumber, or a purpose-built metal stand can work. The hive should be level from side to side so comb hangs correctly. A very slight forward tilt can help rainwater drain toward the entrance rather than pooling at the back of the bottom board. (extension.msstate.edu)
Test the stand by pushing it firmly before installing bees. If it rocks while empty, it will not become safer after adding boxes, honey and thousands of bees.
7. Provide Water Before Introducing Bees
Bees need water for cooling the colony, diluting stored food and supporting brood rearing.
Set up the water source before the colony arrives so the bees learn to use it immediately. Once they establish a habit of visiting a neighbor’s pool, changing that habit can be difficult.
A practical bee water station can be:
- A shallow ceramic dish
- A poultry-style waterer
- A small tub with floating corks
- A container filled with stones or pebbles
- A slowly replenished basin with safe landing surfaces
Bees need somewhere to stand without drowning. Keep the container clean, shaded enough to reduce rapid evaporation, and continuously filled during hot or dry weather.
Do not place it directly in front of the entrance where inspections and bee traffic will disturb it.

8. Evaluate the Surrounding Forage
Your garden does not need to feed the entire colony by itself. In most cases, it cannot.
But you should examine the wider neighborhood for:
- Flowering trees
- Hedgerows
- Clover lawns
- Herb gardens
- Roadside vegetation
- Parks and community gardens
- Agricultural crops
- Long periods with few blooming plants
- Heavy pesticide use
A yard overflowing with spring flowers can still become a nutritional desert in midsummer. Plant for a sequence rather than one spectacular three-week bloom.
Include:
- Early-flowering trees and shrubs
- Spring bulbs and native perennials
- Summer herbs and long-blooming flowers
- Plants that bridge local nectar gaps
- Goldenrods, asters and other late-season forage
Use the best plants to grow near a backyard beehive.
The goal is not to cram flowers against the hive entrance. Maintain open access around the colony while planting useful forage elsewhere in the yard.
9. Understand That Food Shortages Can Happen in Summer
Many beginners assume warm weather and visible bee activity mean abundant nectar. That assumption is trash.
A colony may be flying heavily while struggling to find enough food. Nectar availability depends on rainfall, temperature, plant species and local bloom cycles—not simply the season printed on the calendar.
Before starting, learn how to recognize:
- A falling hive weight
- Reduced incoming nectar
- Robbing attempts
- Decreased brood production
- Bees aggressively investigating weak colonies
- Empty or rapidly shrinking food stores
Your management plan must include knowing when feeding is necessary and how to feed without triggering robbing.
For deeper seasonal preparation, see why a hive can struggle during the July nectar crash.
10. Decide How You Will Obtain Your Bees
Beginners typically start with:
A Nucleus Colony
A nucleus colony, or nuc, usually includes several established frames containing brood, food, workers and an accepted laying queen.
Advantages include:
- Existing drawn comb
- Brood already developing
- An accepted queen
- Faster initial development
- Easier installation
A Package of Bees
A package generally contains loose workers and a separately caged queen but no established comb or brood.
Packages can succeed, but they must build their nest from scratch and establish the queen after installation.
An Established Colony
Buying a complete colony can provide a strong start, but it also creates the risk of purchasing old equipment, unhealthy bees, contaminated comb, poor genetics or a serious pest problem.
Buy from a reputable local supplier and ask about:
- Queen age and origin
- Temperament
- Varroa mite management
- Disease history
- Treatment records
- Inspection status
- Frame and box dimensions
- Pickup and installation timing
The University of Georgia’s honey bee and beekeeping guide notes that starting with two colonies allows a beekeeper to compare performance and transfer brood or food when one colony needs support. (extension.uga.edu)
Two colonies provide useful comparison, but they also mean more equipment, expense and management. One well-managed colony is better than two neglected ones.
11. Have a Varroa Mite Plan From Day One
You are not ready to keep bees if your pest-management strategy is: “I’ll see how they look.”
Varroa mites can spread viruses and destroy apparently strong colonies. Mississippi State University Extension describes Varroa destructor as the most serious current health threat to honey bees and warns that screened bottom boards alone provide, at best, minimal control. (extension.msstate.edu)
Before receiving bees, know:
- How you will test mite levels
- Which testing method you will use
- How often you will monitor
- What treatment thresholds apply locally
- Which treatments are suitable for the season
- How honey supers affect treatment choices
- When you will test again after treatment
You also need to learn the signs of brood disease, queen failure, starvation, robbing, wax moth damage and small hive beetle pressure where those problems occur.
A colony can appear busy at the entrance while collapsing internally. Entrance watching does not replace inspections.
Your Pre-Bee Backyard Beekeeping Checklist
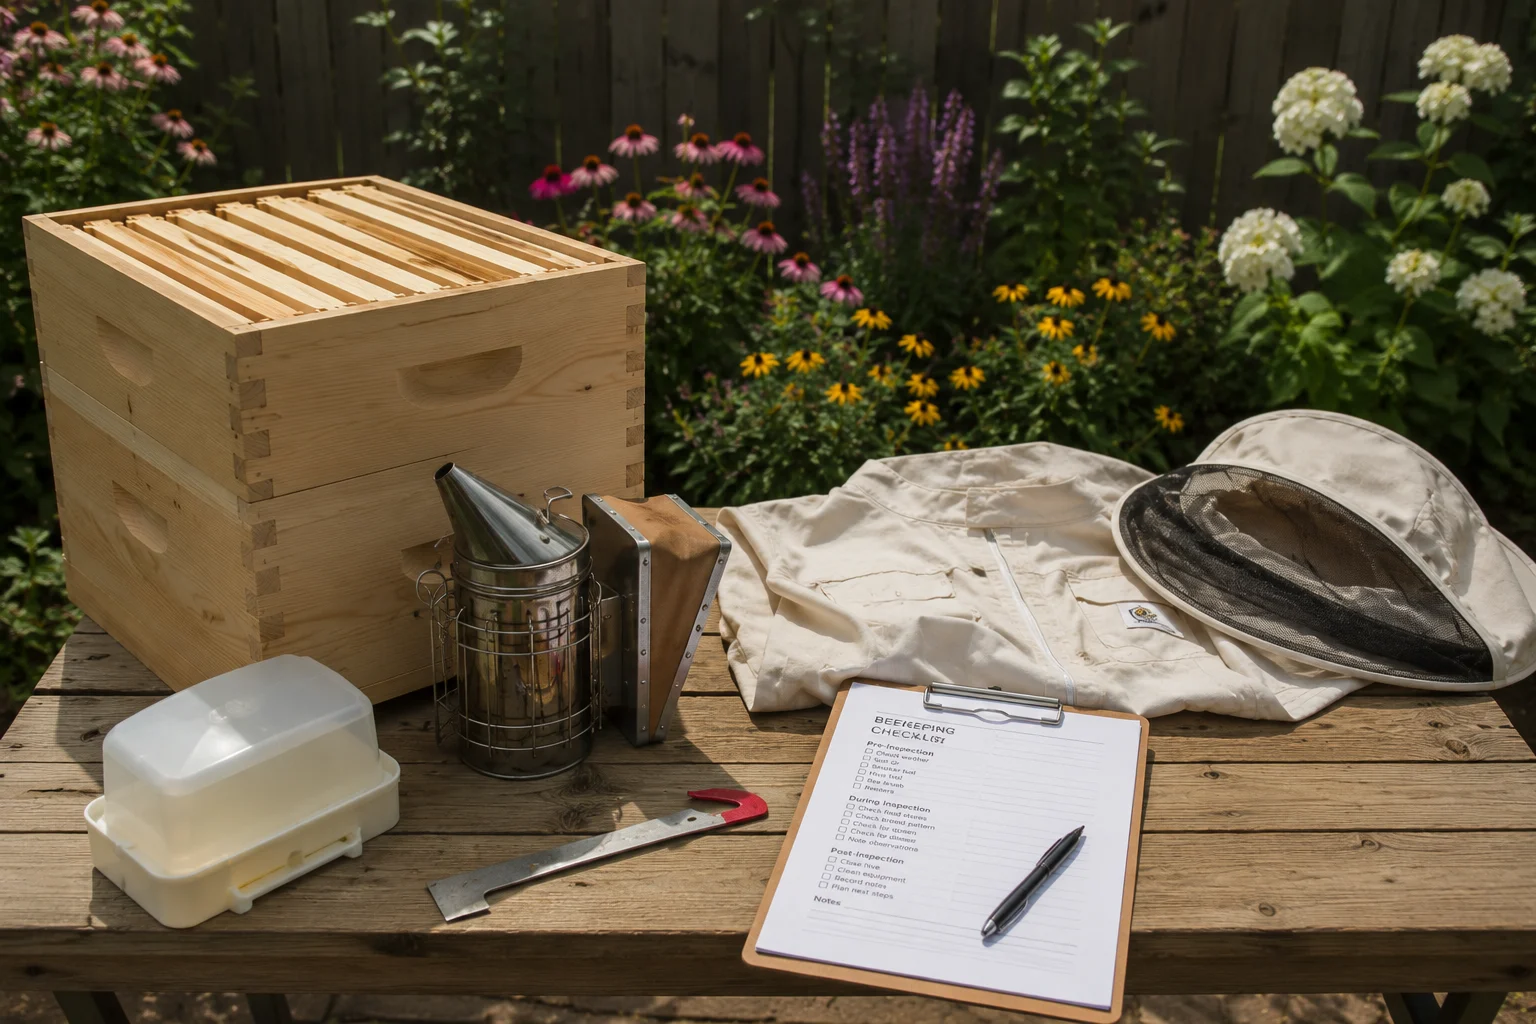
Before bringing home a colony, confirm that you have:
- Verified local laws and registration requirements
- Chosen a safe hive location
- Directed the entrance away from people and animals
- Created a fly-up barrier where necessary
- Spoken with nearby neighbors
- Installed a stable, elevated hive stand
- Assembled and weatherproofed all hive components
- Purchased compatible spare boxes and frames
- Obtained a veil, protective clothing, smoker and hive tool
- Practiced using the smoker
- Established a permanent water source
- Evaluated local spring, summer and fall forage
- Found a reputable bee supplier
- Connected with a local mentor or beekeeping association
- Created an inspection-record system
- Learned how to monitor Varroa mites
- Budgeted for replacement queens, feed, treatments and extra equipment
- Made a plan for swarms and defensive colonies
Start With a System, Not Just a Box of Bees
Small backyard beekeeping is absolutely possible, but success has little to do with squeezing a hive into the only empty corner of your yard.
A responsible beginner prepares the location, controls the flight path, provides water, studies seasonal forage, buys compatible equipment, plans for pests and builds a relationship with nearby neighbors. The bees should arrive only after that system is ready.
Get those foundations right and a compact backyard can support a healthy, manageable apiary. Ignore them and even a single hive can become expensive, stressful and difficult to keep alive.