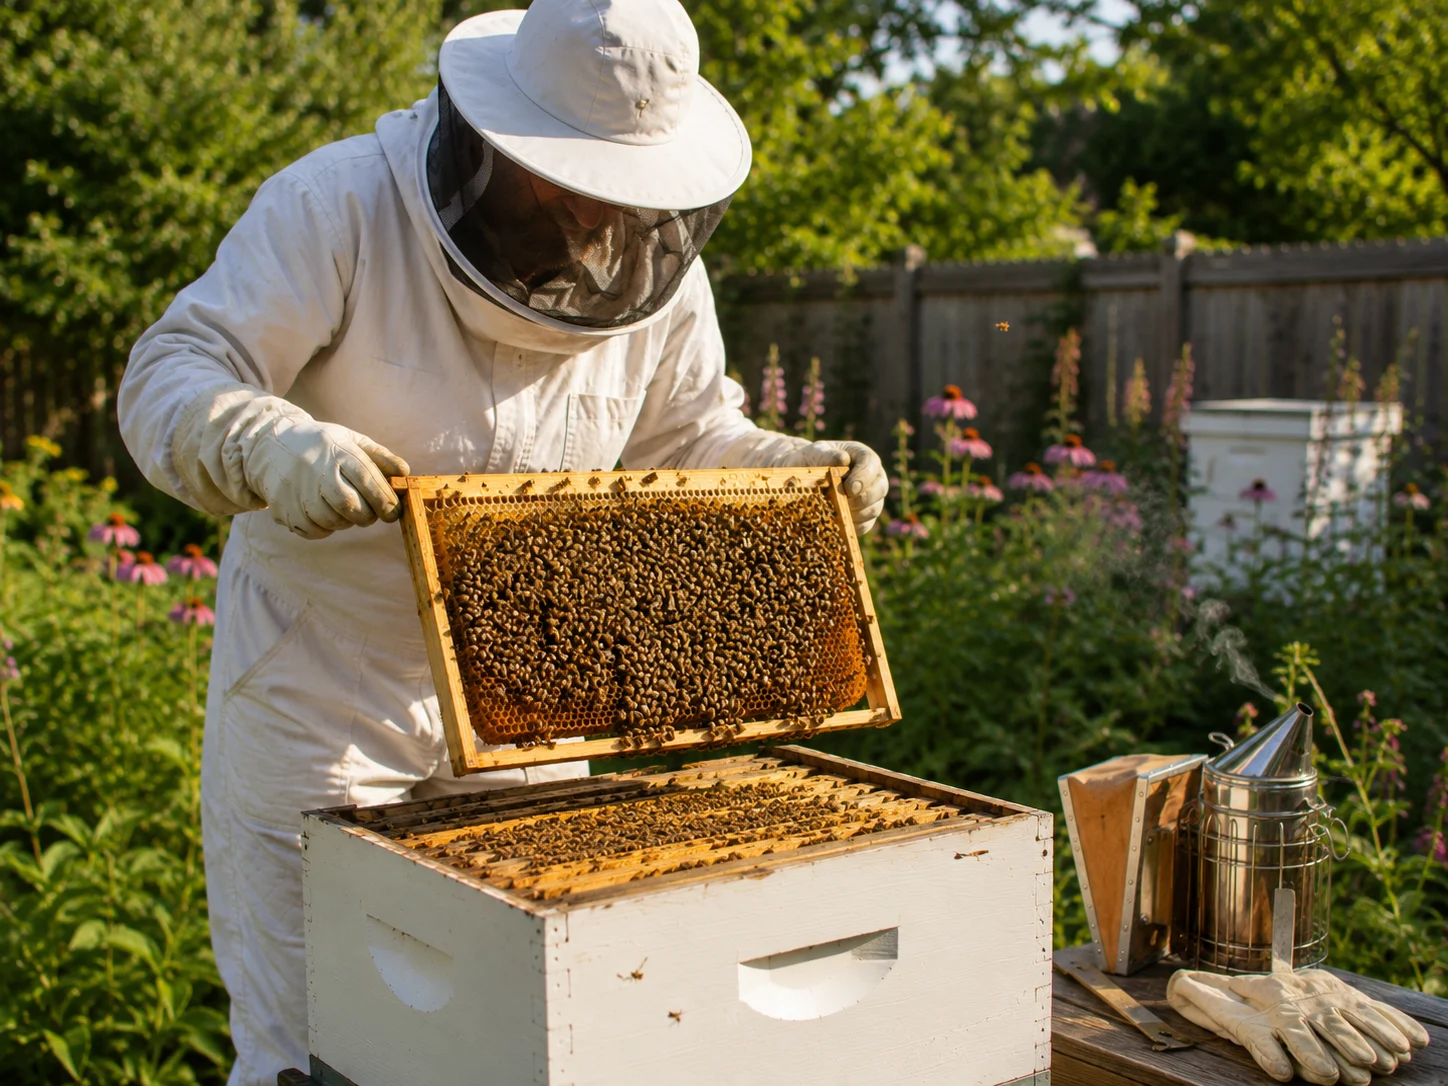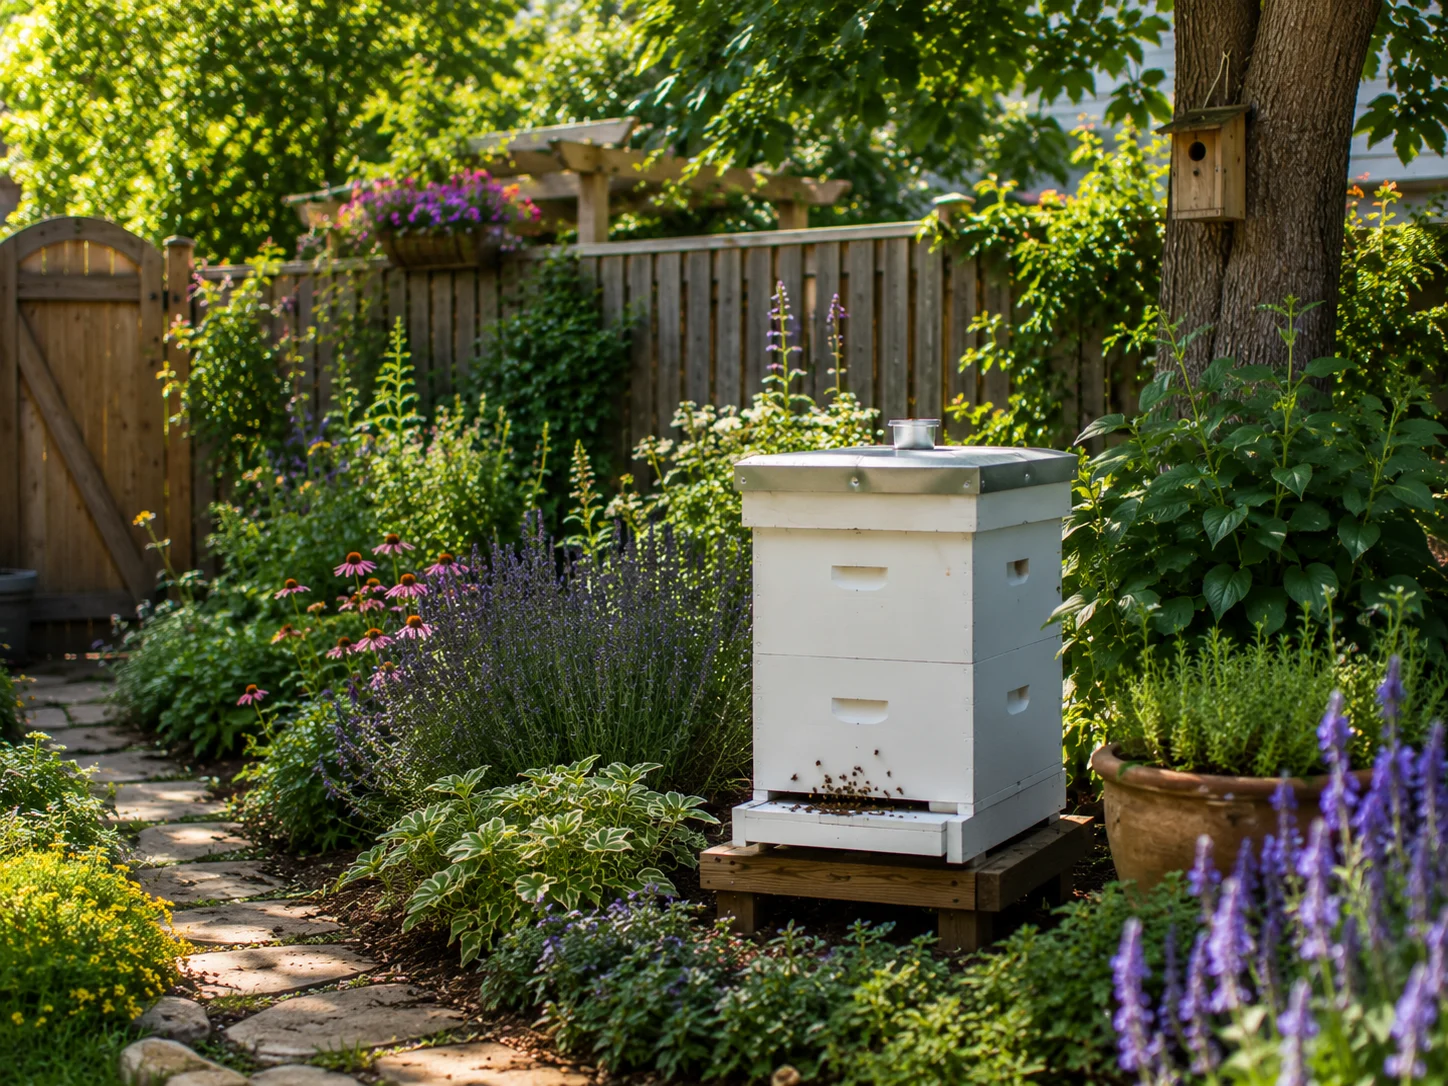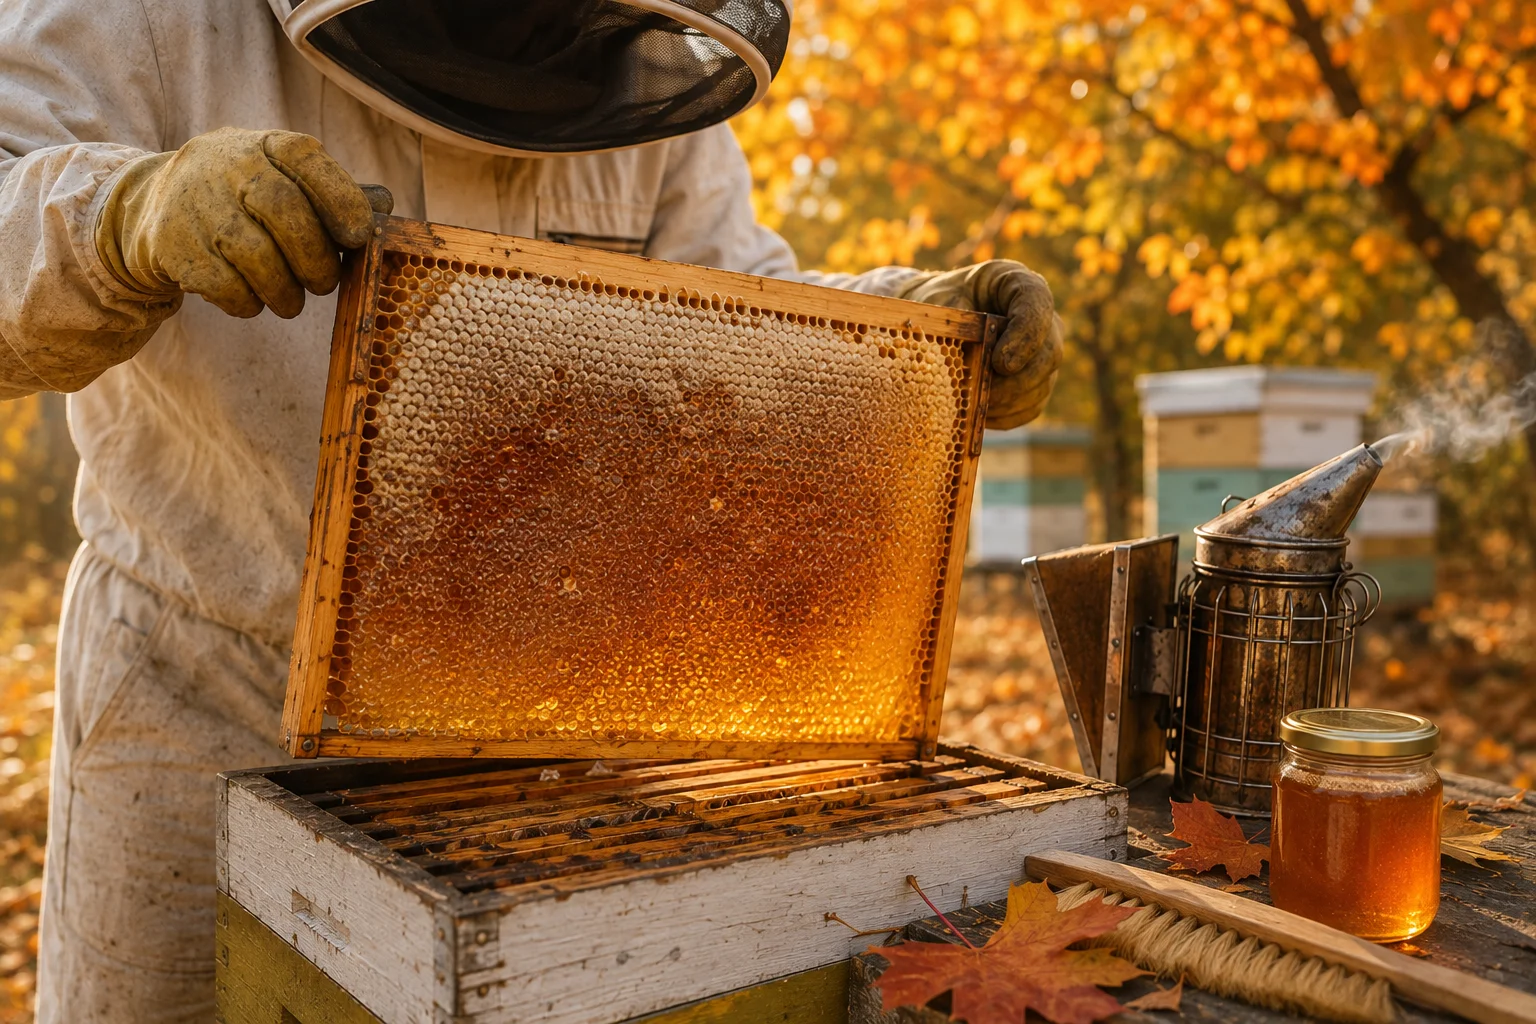

The most important thing in your hive is also the hardest to assess. You can heft the hive and estimate stores. You can watch the entrance and read foraging activity. You can count mite drops and track population through the season. But queen performance — whether the bee at the center of everything is doing her job well, declining quietly, or already failing — is invisible unless you know exactly what to look for in the brood she leaves behind.
A failing queen rarely announces herself. She does not slow down dramatically or stop laying all at once. She declines gradually, and the signs appear in the comb weeks before the colony shows obvious external symptoms. By the time a hive looks sick from the outside — reduced population, poor foraging activity, unusual defensiveness — the queen problem has usually been present for a month or more. The beekeeper who catches it early has options. The one who catches it late is managing a crisis.
This post gives you the diagnostic framework to catch it early. We will cover every sign of a failing queen — in the brood pattern, in the colony’s behavior, and in the population — explain what each sign means and why it appears, walk through the causes of queen failure, show you how to distinguish a failing queen from other problems that look similar, and tell you exactly what to do once you have made your diagnosis.
Why Queens Fail: The Common Causes
Before looking at the signs, it helps to understand why queens fail — because the cause often determines both the urgency of your response and the most appropriate solution.
Age is the most common cause of queen failure in managed hives. A honeybee queen can live three to five years, but her productive laying life — the period during which she lays consistently at high rates with good fertilization — typically peaks in her first and second seasons and begins declining by year three. The spermatheca, the small organ that stores the sperm from her mating flights, gradually depletes over years of continuous laying. As sperm supplies diminish, the queen’s fertilization rate drops and an increasing proportion of worker-sized cells receive unfertilized eggs that develop into drones instead of workers. This is the most common queen failure pattern in established hives and the easiest to anticipate through basic record-keeping.
Poor mating is the second most common cause, and one that affects new queens particularly. A queen mates during a brief window of mating flights in the days after she emerges. Weather, drone availability, and the length of that window all affect how many drones she mates with. A well-mated queen mates with 12–20 drones; a poorly-mated one may have mated with only 3–5. The consequences show up over time: reduced genetic diversity in the worker population, lower disease resistance, and a sperm supply that depletes faster than average. A queen that seems adequate in her first season may show accelerated failure signs by her second.
Disease and physical damage can cause sudden or rapid queen failure at any age. Queens are vulnerable to the same pathogens as workers — nosema, various viral infections, and bacterial diseases can all affect queen performance. Physical damage during inspection — a queen accidentally rolled between frames, dropped, or crushed — can cause immediate laying cessation or gradual deterioration depending on severity. A queen that has been damaged but not killed may lay erratically for several weeks before declining to the point of obvious failure.
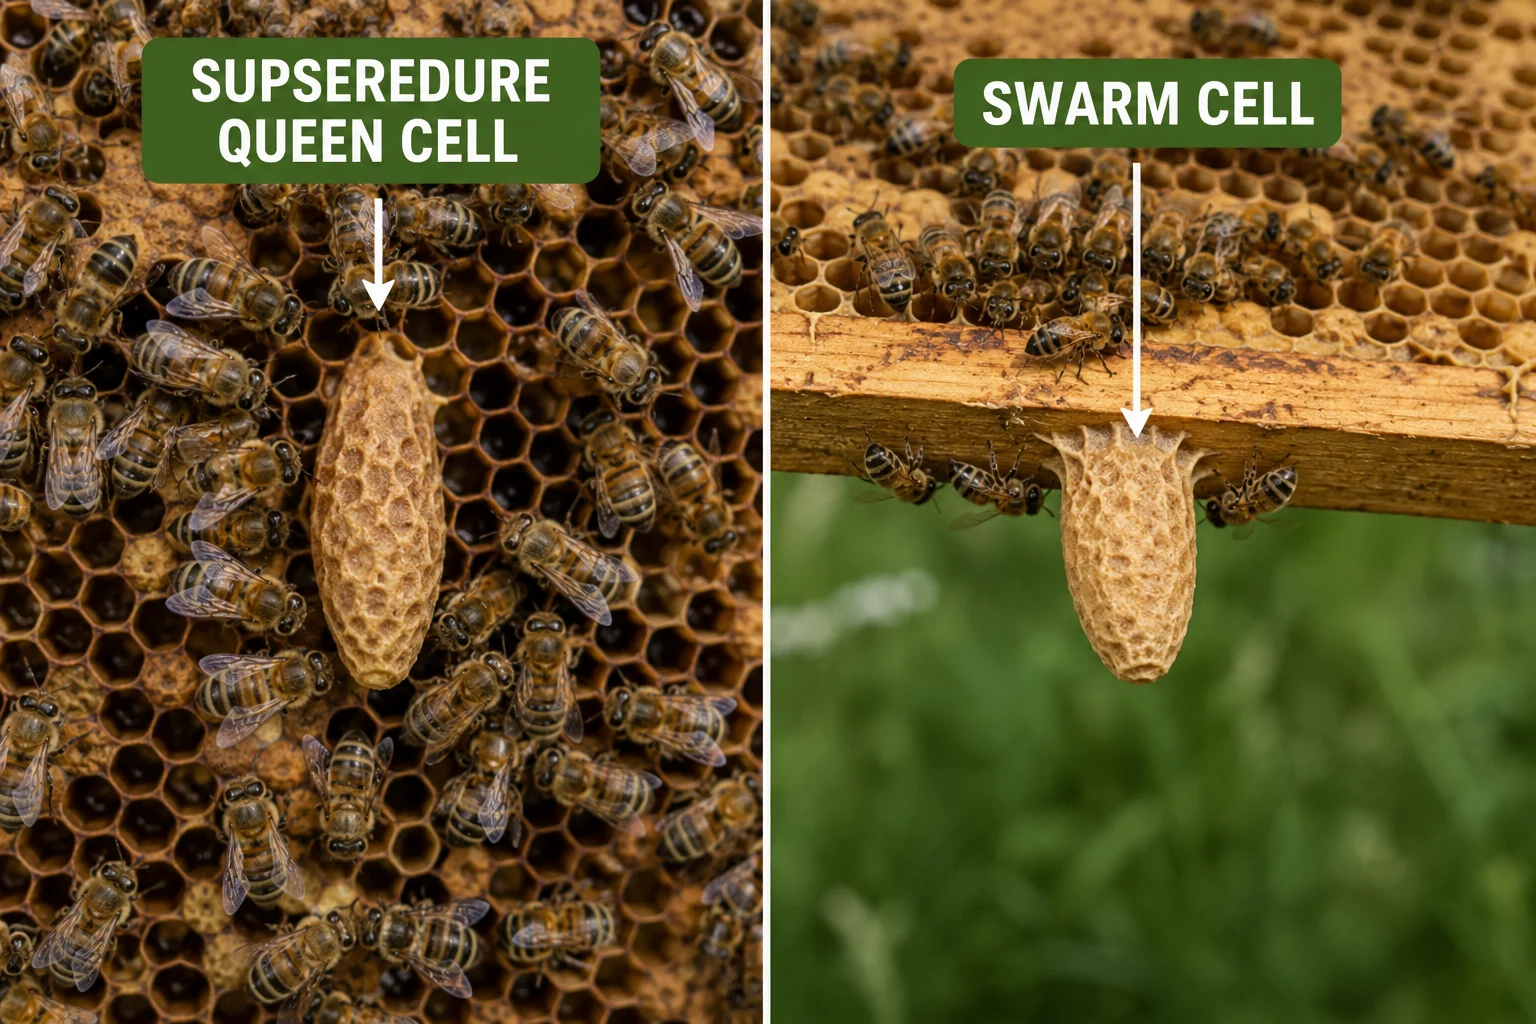
Supersedure is worth understanding separately from failure. When a colony detects declining queen performance, it sometimes initiates supersedure — the quiet replacement of the current queen by raising a new one while the old queen continues laying. Supersedure cells look different from swarm cells: they appear on the face of the comb rather than the bottom edge, there are usually only one to three of them, and the colony does not show swarm behavior. Supersedure is the colony’s own solution to a declining queen, and in many cases the right beekeeper response is simply to allow it to proceed.
Reading the Brood Pattern: Your Primary Diagnostic Tool
The brood pattern is the most reliable indicator of queen health — more reliable than finding the queen, more reliable than observing her behavior, and more reliable than any external sign the colony produces. A brood frame is a time-stamped record of the queen’s laying performance over the preceding three weeks. Learning to read it accurately is the single most important inspection skill a beekeeper can develop.
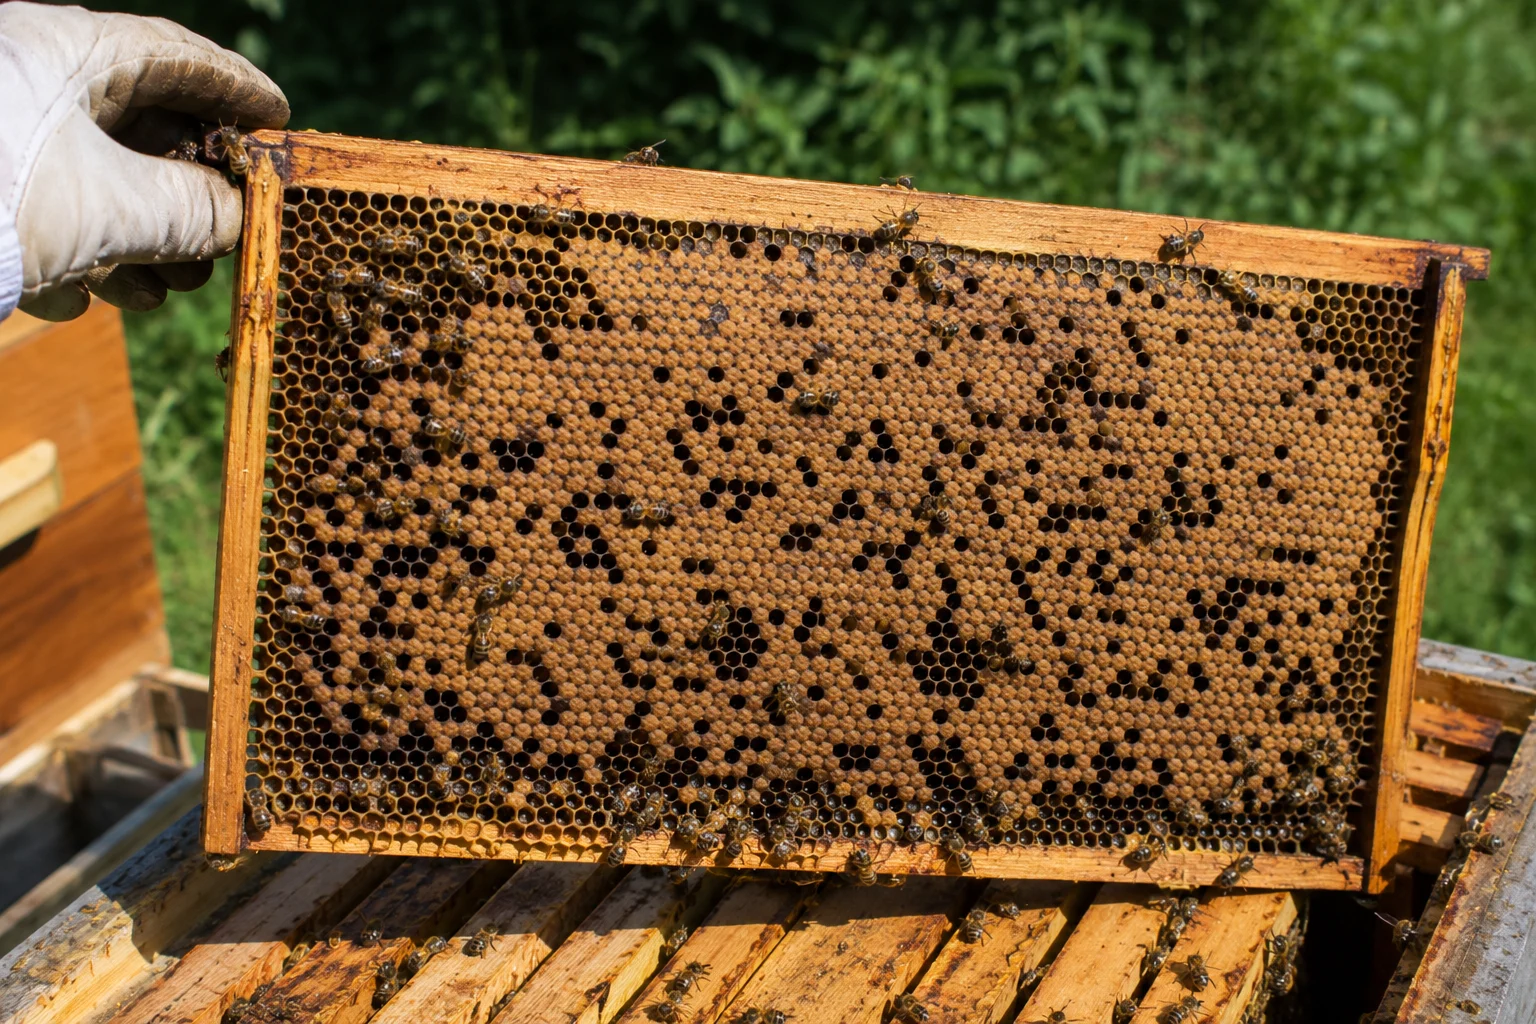
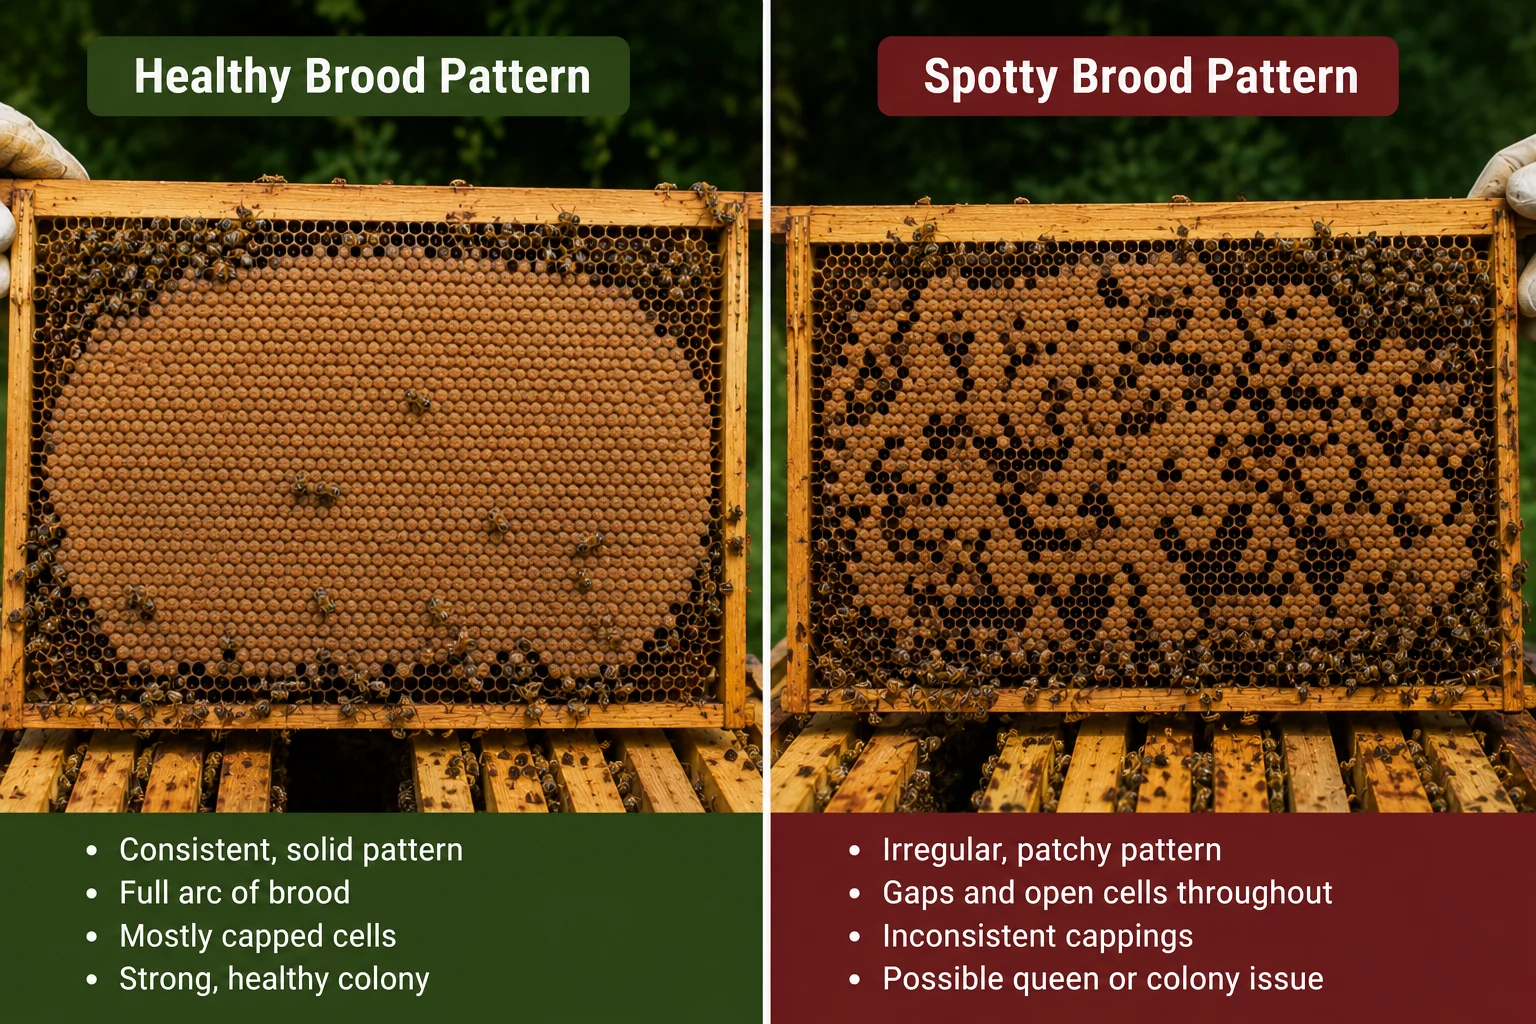
A healthy brood pattern from a high-performing queen has a specific, recognizable appearance: a solid arc of capped worker brood occupying 80–95% of the available comb face within the brood area, with a consistent tan or biscuit-colored capping that is slightly convex rather than sunken. The capped brood is surrounded by rings of open larvae at various developmental stages, and the outermost ring — visible only if the light hits the frame correctly — contains eggs standing upright at the bases of cells. This arc pattern, with honey stores in an arch above the brood and pollen packed into cells adjacent to the brood area, is what a well-managed hive should look like in spring and summer.
Deviation from this pattern is where queen failure first becomes visible.
A spotty or scattered brood pattern — many empty cells distributed through the capped brood area rather than concentrated at the margins — is the primary visual signal of a failing queen. These empty cells represent eggs or young larvae that the queen laid but that died before capping, either because the eggs were unfertilized, because the larvae were pulled by workers detecting a problem, or because disease has killed them after capping and the cappings have been removed. In a genuinely spotty pattern caused by a failing queen, the empty cells are distributed irregularly throughout the brood area rather than clustered at the edges, and the remaining capped cells may show inconsistent capping height and coloring.
The spotty pattern has an important caveat: it can also be caused by chilled brood after a cold snap, by American foulbrood or European foulbrood, by sacbrood virus, or by the aftermath of a varroa infestation. Before concluding queen failure, assess the other possible causes. A spotty pattern immediately after a late-spring cold spell in a colony that was otherwise healthy is likely chilled brood, not a failing queen. A spotty pattern in midsummer in a colony with high mite counts is more likely disease-related. A spotty pattern in a colony with a queen in her third season, showing other signs on this list, is likely queen failure. Context matters as much as the observation.
Drone brood in worker cells is the most unambiguous sign of serious queen failure. Worker brood is capped flat or very slightly domed. Drone brood is capped with a distinctly bullet-shaped or dome-shaped capping that protrudes noticeably from the face of the comb. When you find bullet-shaped cappings in worker-sized cells — cells that are visibly narrower than standard drone comb — you have drone-laying queen or a laying worker situation. A drone-laying queen has exhausted her sperm supply and is producing only unfertilized eggs regardless of cell size. This colony cannot replace itself without beekeeper intervention.
Eggs or larvae in multiple cells — more than one egg per cell, or eggs laid against the cell walls rather than centered on the base — indicates either a failing queen laying erratically or the presence of laying workers. A healthy queen deposits one egg, centered, standing upright at the base of each cell with precision. Multiple eggs per cell, or eggs on the cell walls at angles, are characteristic of laying workers rather than a failing queen. The distinction matters because the response differs: a failing queen can be replaced with a mated queen; a laying-worker colony is significantly harder to correct.
A contracted brood nest — a brood area that has noticeably shrunk over successive inspections without a corresponding drop in population or a known seasonal trigger — indicates the queen is laying fewer eggs than the colony needs to maintain its population. In a healthy colony at peak season, the brood nest should be expanding or stable. A brood nest that is clearly smaller than it was two inspections ago, in a colony that is not preparing to swarm or entering winter, is a queen performance problem.
Behavioral Signs: What the Colony Is Telling You
The brood pattern is the primary diagnostic tool, but colony behavior provides important supporting evidence — particularly for catching problems early or confirming a diagnosis made from the brood.
Increased noise and restlessness is often the first behavioral sign a beekeeper notices. A queenright colony has a steady, purposeful hum. A colony that has lost its queen or is detecting queen failure tends to produce a higher-pitched, more anxious sound — sometimes described as a roaring rather than a humming. This change in colony acoustics is subtle and takes experience to recognize reliably, but experienced beekeepers often describe knowing a colony has a queen problem before they open the hive simply from the sound.
Unusual aggression or defensiveness at a colony that is normally calm can signal queen problems. The queen produces pheromones — particularly Queen Mandibular Pheromone (QMP) — that regulate worker behavior and suppress defensive responses among other functions. As queen quality declines and QMP production drops, the colony’s behavioral regulation becomes less consistent. This can manifest as increased defensive behavior, more rapid alarm response to smoke and inspection, or unpredictable temperament swings between inspections. A colony that has been gentle for two seasons and suddenly becomes difficult to inspect is worth examining carefully for queen health.
Reduced foraging activity at the hive entrance — fewer bees departing and returning than you would expect given the weather and the time of year — can indicate a declining population caused by a failing queen. Forager numbers lag behind brood production by approximately three weeks, so a queen that began failing a month ago will only now be producing a visible reduction in foraging workforce. This is why external hive observation catches problems weeks after the brood pattern would have shown them.
Emergency queen cells on the face of the comb — not at the bottom edge — indicate the colony has detected a queen problem and is taking action. Emergency cells are built in a crisis: when the queen dies suddenly or fails rapidly. They are constructed over existing young larvae, giving them the bullet-shaped profile with an irregular surface texture that distinguishes them from carefully constructed swarm cells. Finding emergency cells means the colony has detected a problem before you have. Inspect for the queen immediately and assess the quality of the emergency cells — ideally leave the best one and allow the colony to complete its own replacement.
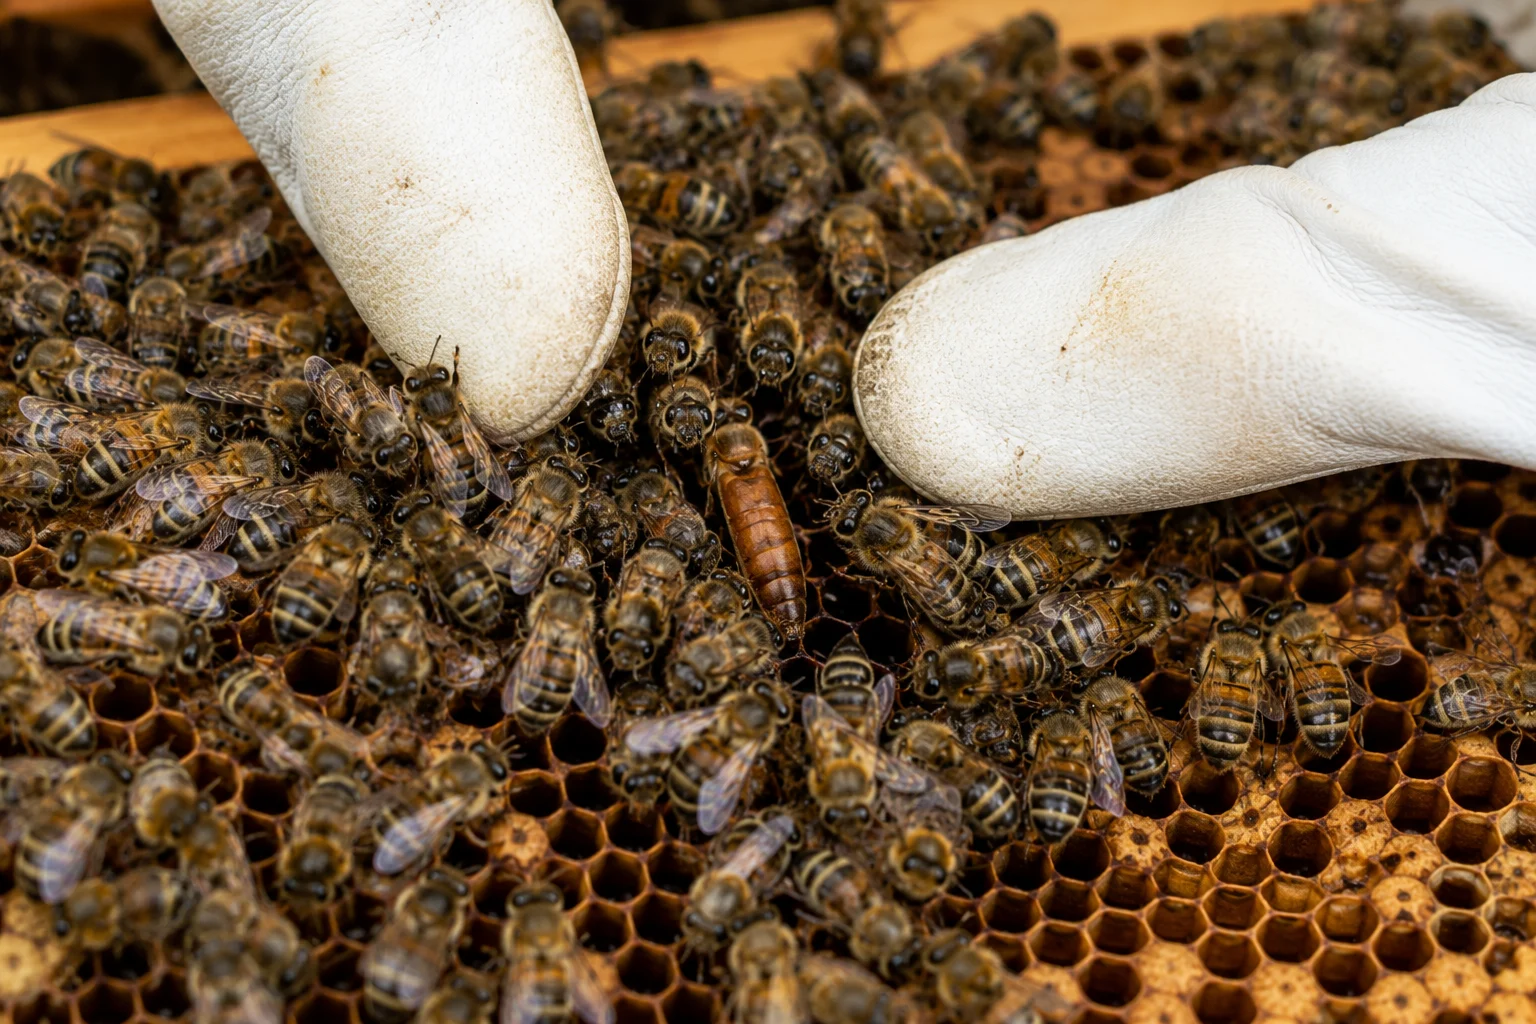
Workers balling the queen — a tight cluster of workers surrounding and attacking their own queen — is occasionally observed during inspections and indicates the colony has rejected its current queen. This is a serious emergency. Remove the balling cluster carefully, release the queen, assess her condition, and decide whether she is viable or needs to be replaced. A queen that has been balled may be physically damaged and should be observed over the following two weeks for laying performance before being retained.
The Inspection Process: How to Check Systematically
Suspecting a queen problem is not the same as confirming one. A systematic inspection approach prevents misdiagnosis and ensures you are making decisions based on complete information rather than one alarming frame.
Inspect at the right time. The best inspection conditions for queen assessment are a warm, calm, sunny day when foragers are out of the hive — reducing the total bee population you are working through and making the brood frames easier to assess. Avoid inspecting in cold, wet, or windy conditions when the colony is clustered and the brood pattern is compressed by cold. A brood pattern assessed in suboptimal conditions is an unreliable diagnostic.
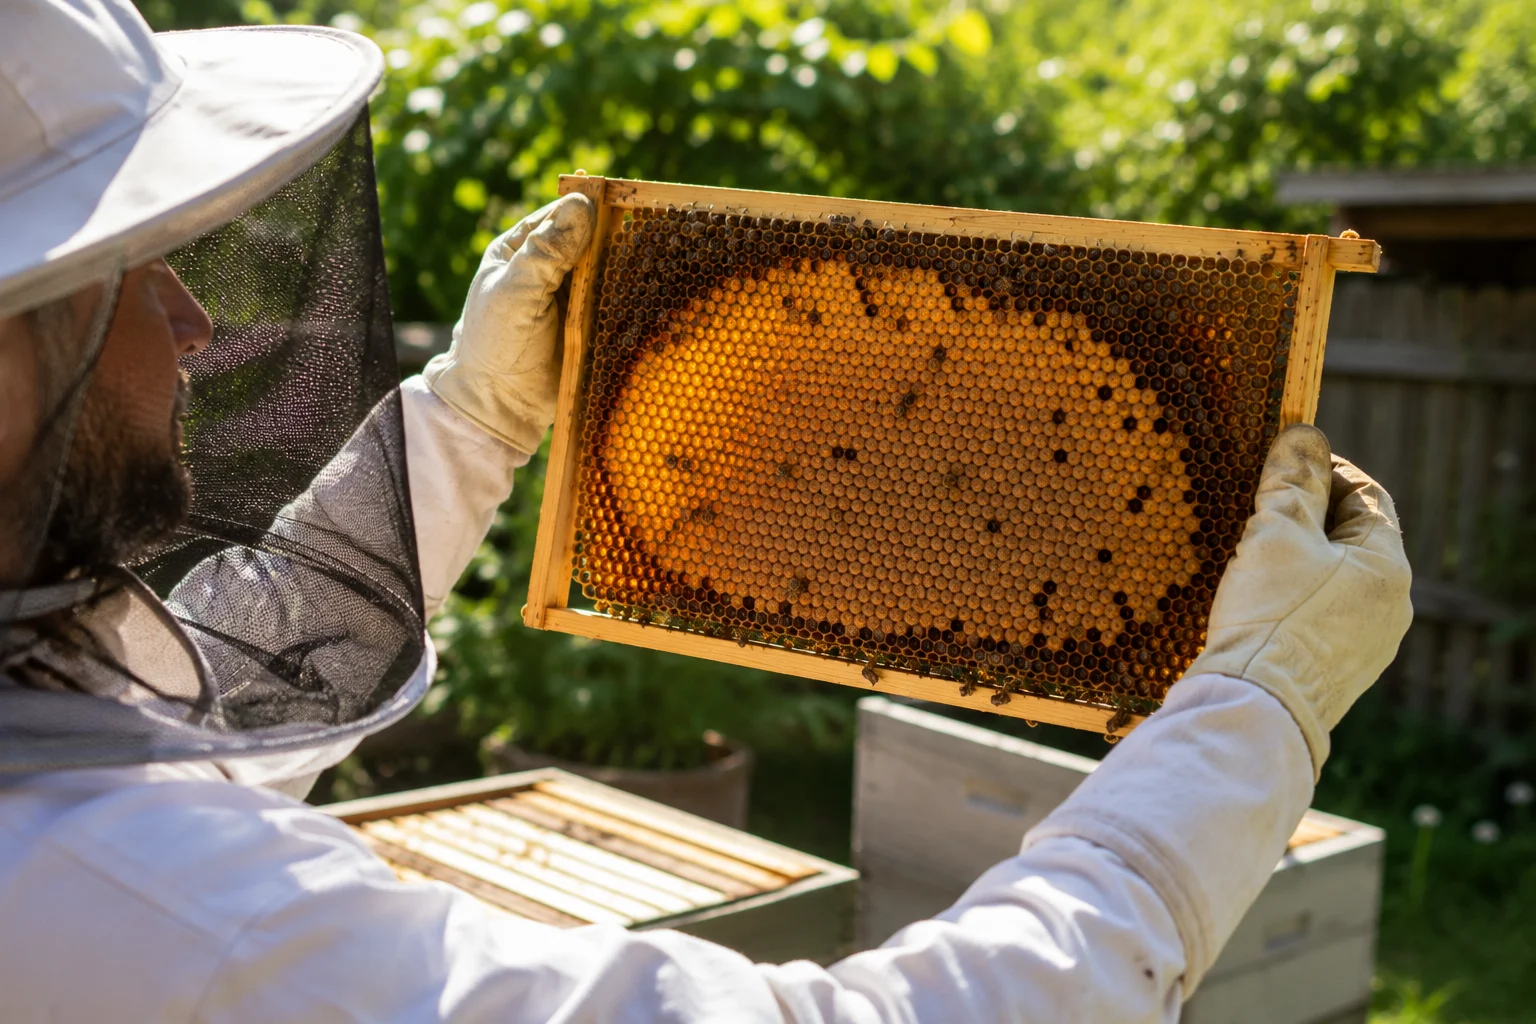
Work methodically through the brood box. Do not pull one frame, see something concerning, and immediately conclude queen failure. Work through each frame in sequence, noting what you observe on each one before drawing conclusions. The brood pattern typically occupies the central three to five frames of a ten-frame box — pull these frames in order, hold each one up to the light to see eggs clearly, and assess the overall pattern across all of them rather than judging from a single frame.
Look for eggs first. The presence of eggs — tiny white cylinders standing upright at the base of cells, visible when you angle the frame toward the sun or a bright light source — tells you the queen was present and laying within the last three days. If you find eggs, the queen is present and recently active regardless of whether you can locate her. No eggs means the queen has been absent or has stopped laying for more than three days — which is significant and requires further investigation.
Look for the queen only after assessing the brood. Finding the queen and seeing that she appears healthy is reassuring but not diagnostic. A queen can look physically normal and still be failing — the brood pattern tells you what she is actually doing, not what she looks like. Assess the pattern first, then locate the queen as a confirming step.
Give yourself two inspections before deciding. A single anomalous inspection is not enough to diagnose queen failure. Weather events, a recent cold snap, a disease flare, or an accidental disturbance can all produce temporarily abnormal brood patterns. If the first inspection raises concerns, note what you saw and return in seven to ten days. If the same pattern persists or has worsened, you have a genuine queen problem. If it has normalized, something temporary caused the anomaly. This two-inspection rule prevents unnecessary requeening of colonies with sound queens — a costly mistake both financially and in terms of lost production time.
This inspection framework is especially important during summer when hive pressure from heat and dearth can temporarily suppress laying in ways that mimic queen failure. The context of [Internal Link: what your hive is experiencing during the summer nectar crash and how it affects brood production -> Target: “The July Nectar Crash: Why Your Hive Can Struggle in Midsummer”] is critical background for any mid-July inspection that raises queen concerns.
Distinguishing Queen Failure From Other Problems
The spotty brood pattern that characterizes a failing queen can also result from several other causes, and distinguishing between them is essential before taking any action. Replacing a sound queen because of a misdiagnosis is one of the most expensive and disruptive mistakes in beekeeping.
American Foulbrood produces a spotty pattern with a characteristic twist: the dead larvae in open cells are brown and coffee-colored rather than pearly white, with a distinctive ropey consistency when a matchstick is inserted and withdrawn. The smell is also distinctive — a sour, faintly fecal odor that is unlike normal hive smell. AFB cappings are often sunken, greasy-looking, and perforated. If you suspect AFB, do not attempt to requeen — contact your state apiary inspector immediately. This is a notifiable disease in most US states and requires specific management protocols.
European Foulbrood also creates a spotty pattern but affects younger, uncapped larvae rather than capped brood. The larvae appear twisted or melted in the cell rather than in their normal curled position, and are often yellow or brown. EFB is less severe than AFB but still a disease problem that requires specific management rather than requeening.
Sacbrood is a viral disease that produces dead capped larvae with a characteristic water-filled sac appearance — the larva looks like a small fluid-filled bag within the cell. Sacbrood is usually self-limiting in healthy colonies and often resolves without intervention.
Chilled brood produces dead larvae — usually solid white rather than discolored — in a pattern that typically corresponds to the exposed margins of the brood nest. It occurs after cold weather in colonies that were too small to cover their brood fully. The central brood area is usually normal; the problem is confined to the edges where the cluster could not maintain warmth. Chilled brood resolves when the weather warms and is not a queen problem.
High varroa infestation can produce a spotty pattern through a different mechanism: varroa-associated viruses damage larvae after capping, and the workers remove affected brood, leaving empty cells throughout the pattern. In a high-mite colony, sacbrood, deformed wing virus, and other viral conditions combine to produce an irregular brood pattern that can be mistaken for queen failure. Always assess mite levels alongside brood pattern — a sticky board count or alcohol wash will tell you whether mite pressure is a contributing factor.
What to Do When You Confirm a Failing Queen
Once two inspections have confirmed a genuine failing queen — persistent spotty pattern, drone brood in worker cells, or emergency queen cells indicating colony-detected failure — you have three main options.
Allow supersedure if the colony is already attempting it. If you find one to three queen cells on the face of the comb, well-constructed and properly positioned, the colony has already identified the problem and is taking action. In this case, the most successful approach is often to step back and allow the colony to complete the process. Mark the date, reduce inspections to avoid disturbing the queen-rearing process, and return in four to five weeks to confirm a laying queen is present. This approach works best when the colony is strong enough to sustain itself through the queen-raising period — at least four to five frames of bees and adequate stores.
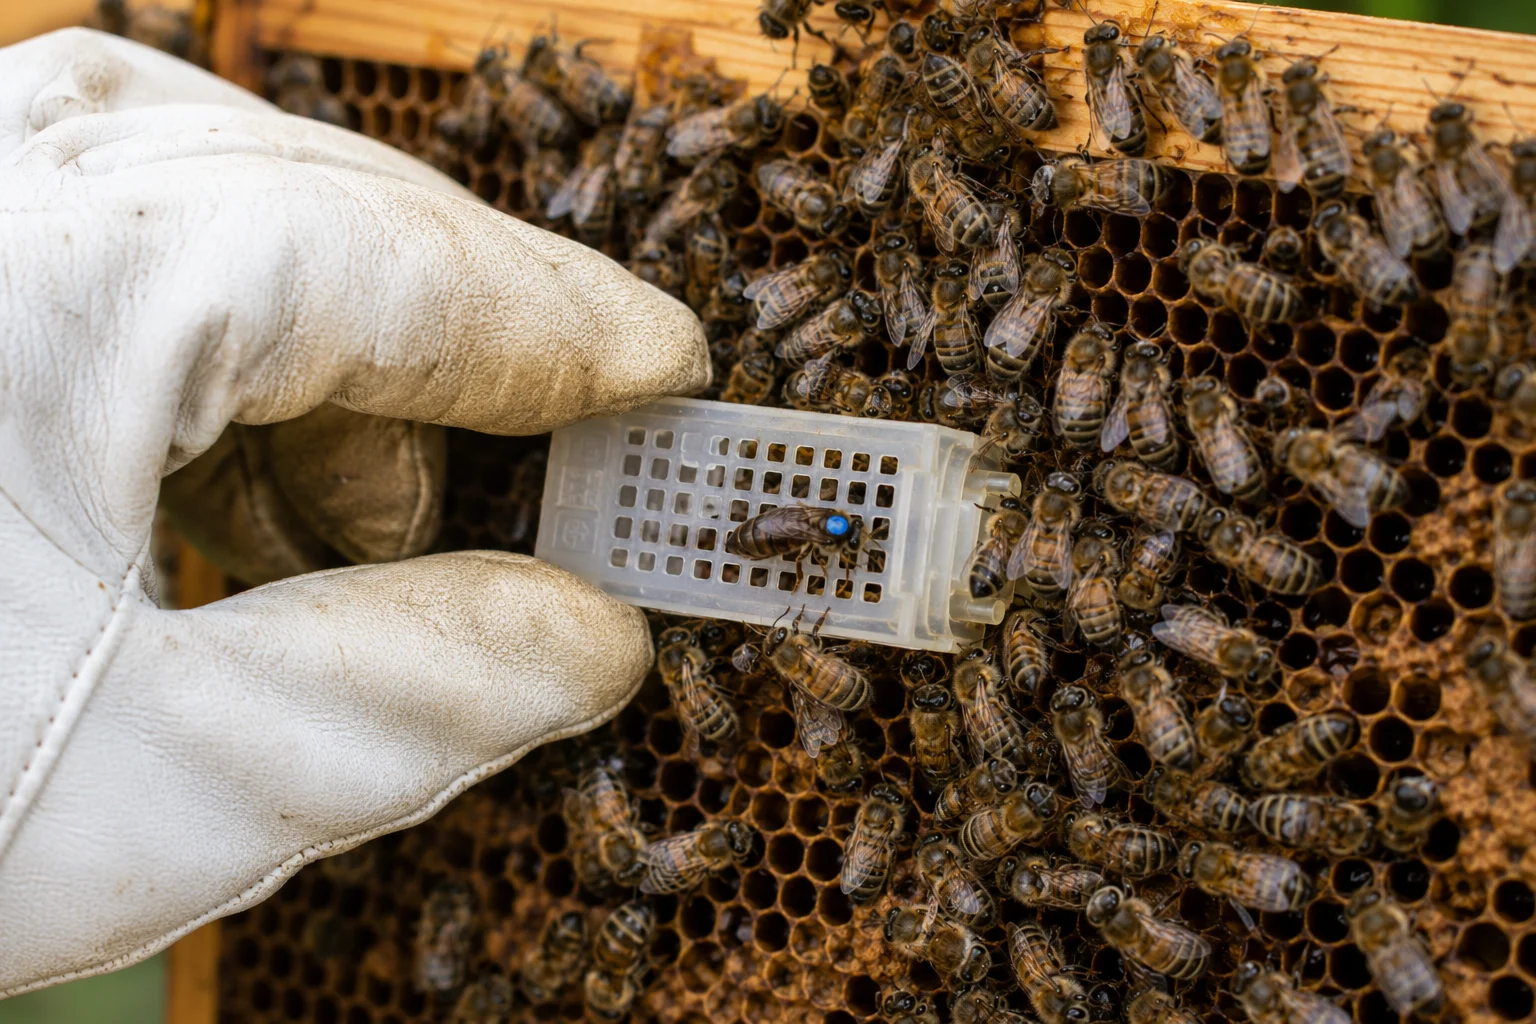
Introduce a mated queen for the fastest resolution. A purchased mated queen eliminates the three-to-five week queen-raising and mating period and gets the colony back to productive laying within days of successful introduction. The introduction process requires patience — a mated queen must be accepted by the colony, which means a slow-release method using a candy-plug introduction cage and a minimum of 48–72 hours of caged introduction before the queen is released. Never simply place a new queen in a colony that has just had its old queen removed — the residual pheromone environment of the old queen makes rejection likely for at least 24 hours.
Combine with a strong colony if the failing queen colony is too depleted to recover on its own — fewer than two to three frames of bees, minimal stores, and no healthy brood to sustain a queen-raising attempt. A newspaper combine — placing the two colonies together separated by a single sheet of newspaper with small holes, allowing the bees to merge gradually as they chew through the paper — produces one strong colony from two compromised ones. This is sometimes the most practical solution in late summer or autumn when there is insufficient time to build a new colony before winter.
The timing of your response matters significantly. A requeening decision made in July gives a new queen time to build colony population for winter. One made in September leaves very little time for the new queen to establish and for the colony to raise adequate winter bees before cold weather. This is why understanding seasonal pressure on colony health through summer and into autumn matters for every queen decision — knowing where you are in the seasonal calendar shapes which of these three options is most appropriate.
A Quick Reference: Signs Summary
Here is a compact reference you can take to the apiary:
Signs in the brood pattern:
- Spotty or scattered pattern with many empty cells through the brood area
- Bullet-shaped drone cappings in worker-sized cells
- Multiple eggs per cell or eggs on cell walls
- Sunken, discolored, or perforated cappings not explained by disease
- Brood nest that has contracted over successive inspections without seasonal reason
- No eggs present when the colony should be actively laying
Signs in colony behavior:
- Higher-pitched, anxious colony sound when approaching the hive
- Unusual aggression or defensiveness in a previously calm colony
- Emergency queen cells on the face of the comb
- Workers balling the queen during inspection
- Reduced foraging activity without weather or seasonal explanation
What it is not (before you decide):
- A single spotty inspection immediately after cold weather
- Spotty brood with ropey brown larvae (AFB — different problem entirely)
- Spotty brood with twisted yellow larvae (EFB — different problem)
- Spotty brood in a high-mite colony without other queen failure signs
- A reduced brood nest in a colony preparing to swarm
Conclusion: Catch It Early, Act With Confidence
A failing queen caught in its early stages — a slightly spotty pattern, a mildly contracted brood nest, the first emergency cell on the face of the comb — is a manageable beekeeping problem with a clear, established response. The same problem caught six weeks later, in a colony that has lost half its population and entered a laying-worker spiral, is significantly harder and more expensive to resolve.
The diagnostic framework here is straightforward: read the brood pattern systematically across two inspections, use colony behavior as supporting evidence rather than primary diagnosis, distinguish queen failure from other causes before acting, and choose your response based on the colony’s strength and the time of year. Most queen problems are caught and resolved without drama by beekeepers who inspect regularly, look at every brood frame methodically, and trust the two-inspection rule before making any decision.
Your bees communicate through the brood they leave behind. Learn to read it, and queen problems stop being a surprise. 🐝
Inspect regularly. Read the brood. Act early. 🍯