
Autumn preparation can decide whether a colony reaches spring strong—or quietly collapses before winter ends.
The mistake is waiting until cold weather arrives. By then, the colony has less time to raise healthy winter bees, store feed, and respond to treatment. The best time to prepare your beehive for autumn is while days are still warm enough for inspection and the bees can reorganize the hive.
This practical checklist covers colony strength, queen status, Varroa, food stores, robbing, hive space, pests, and weather protection. Exact timing and food needs vary by climate, so use local beekeeping guidance alongside it.
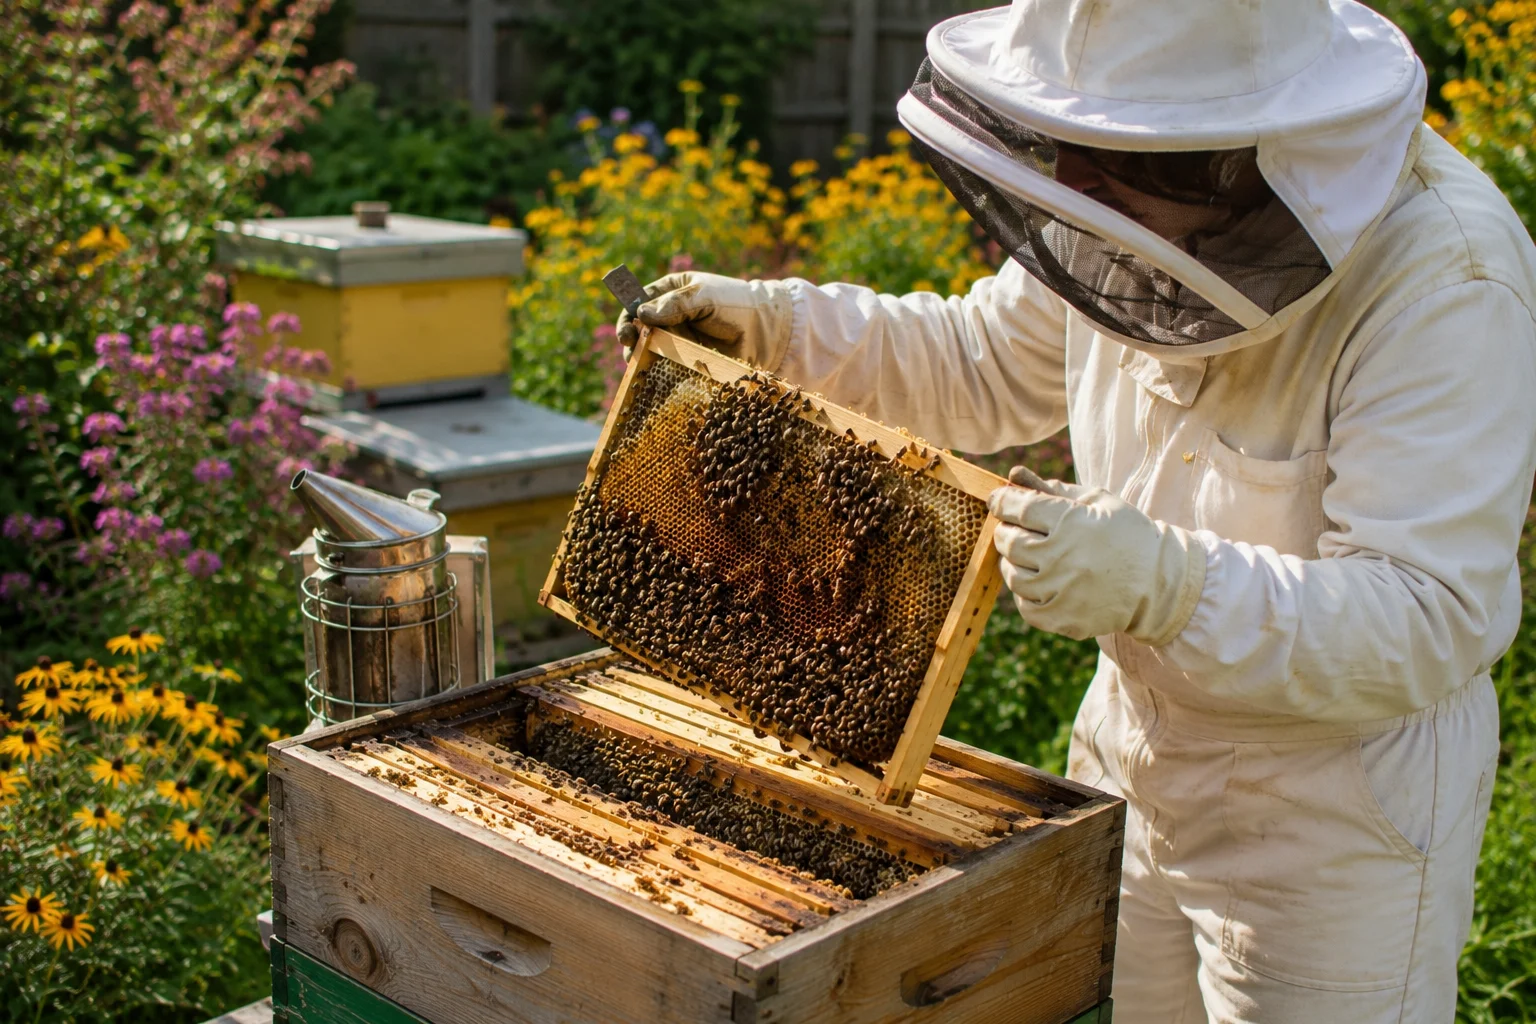
1. Start Before the Weather Turns
Autumn preparation is not one final inspection. It is a short management period that often begins in late summer.
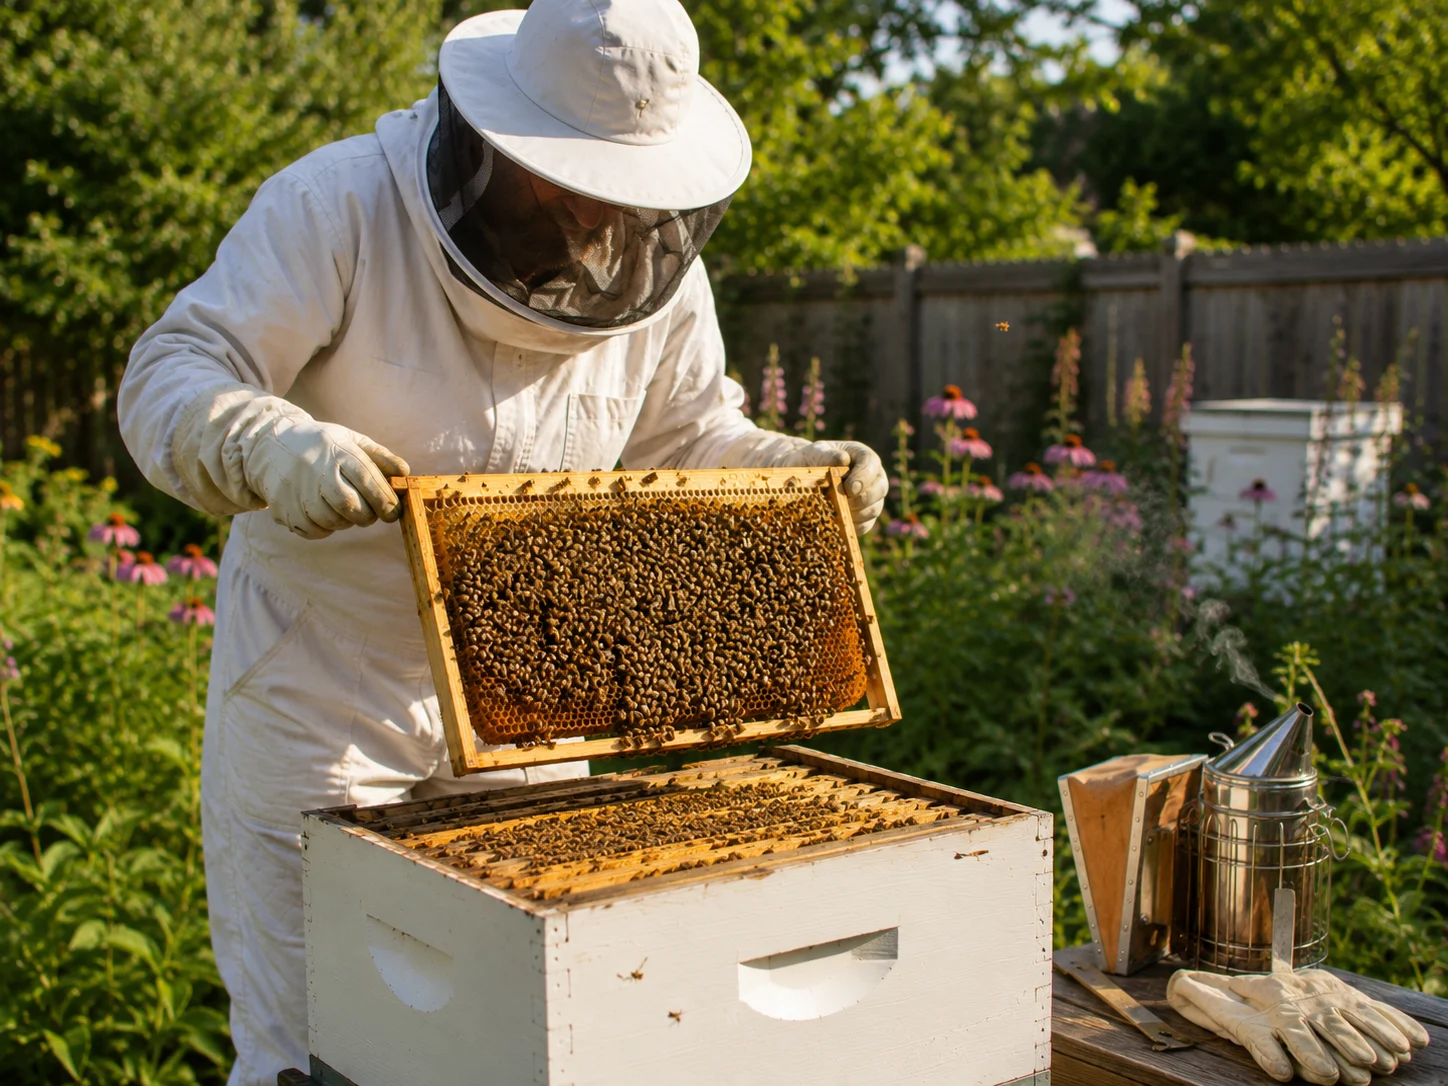
Choose a mild, dry day and work efficiently. As nectar becomes scarce, long inspections can encourage robbing. Have your feeder, entrance reducer, treatment equipment, and record sheet ready before opening the hive.
Record:
- Colony population
- Brood and queen status
- Food stores
- Varroa test result
- Disease or pest signs
- Equipment needing repair
Cornell University’s Beekeeping Calendar for the Northeast notes that colonies begin winter preparation in August and recommends recording cluster size, stores, and colony condition. Its exact store figures are regional, but the planning principle applies broadly.
2. Confirm the Colony Is Queenright
You do not need to see the queen if you find eggs, young larvae, and a reasonably compact brood pattern.
Scattered brood can indicate a failing queen, disease, poor nutrition, mite pressure, or a normal seasonal brood reduction. Judge it together with colony strength and local conditions.
Warning signs include:
- No eggs or young larvae
- Multiple eggs in cells
- Drone brood in worker cells
- Very little brood during suitable weather
- A shrinking adult population
Queen problems become harder to fix as autumn advances. If the colony appears queenless or seriously failing, seek local help before attempting a late correction.
3. Decide Whether the Colony Is Strong Enough
A large hive box does not guarantee a strong colony. Check how many frames are well covered with bees and how much brood is emerging.
A weak colony may struggle to defend itself, maintain warmth, and reach stores. Options may include correcting a queen problem, reducing empty space, or combining it with a stronger queenright colony.
Never combine colonies blindly. Weakness may be caused by disease, and merging can spread the problem. Confirm both colonies are healthy first.
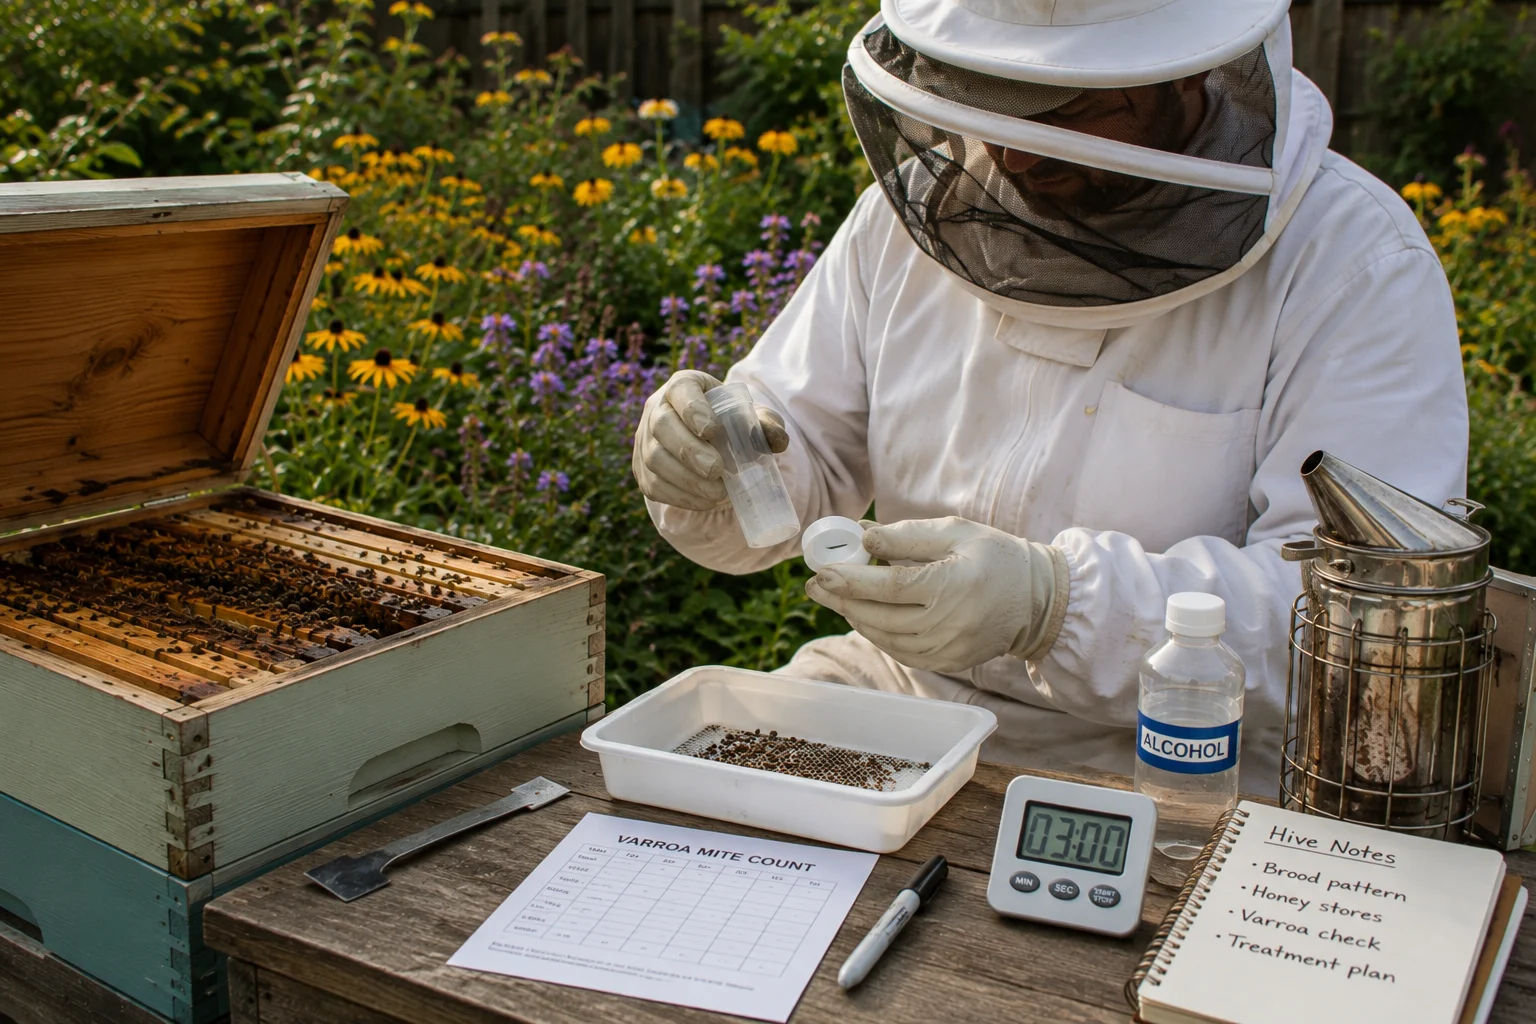
4. Test for Varroa—Do Not Guess
Varroa management is one of the most important autumn jobs because mites and mite-associated viruses can damage the bees expected to survive winter.
A colony can look busy while carrying a serious mite load. Use a recognized monitoring method, such as an alcohol wash or another method recommended by your regional authority.
Then:
- Record the count.
- Compare it with local seasonal thresholds.
- Select a legal treatment suitable for temperature, brood level, and honey-super status.
- Follow the label exactly.
- Test again afterward.
Treatment is not universal. Temperature limits, resistance, brood levels, and the presence of harvestable honey all matter. Applying the same product every year without testing is not a strategy.
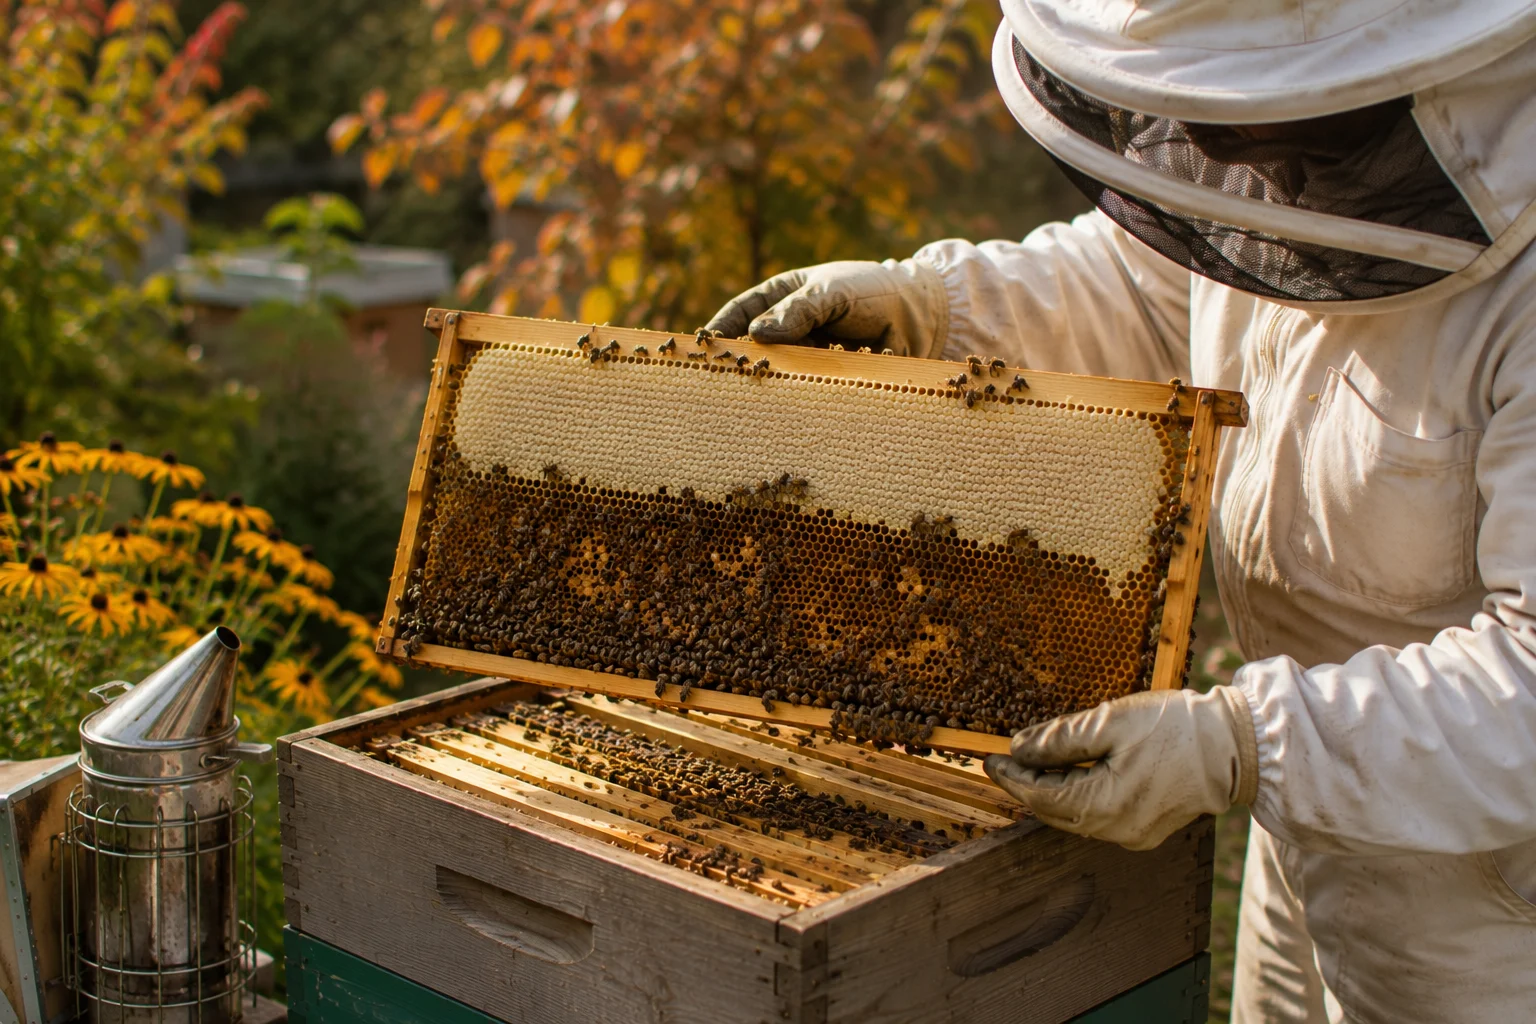
5. Check Food Stores Honestly
A hive that looks active can still be dangerously light.
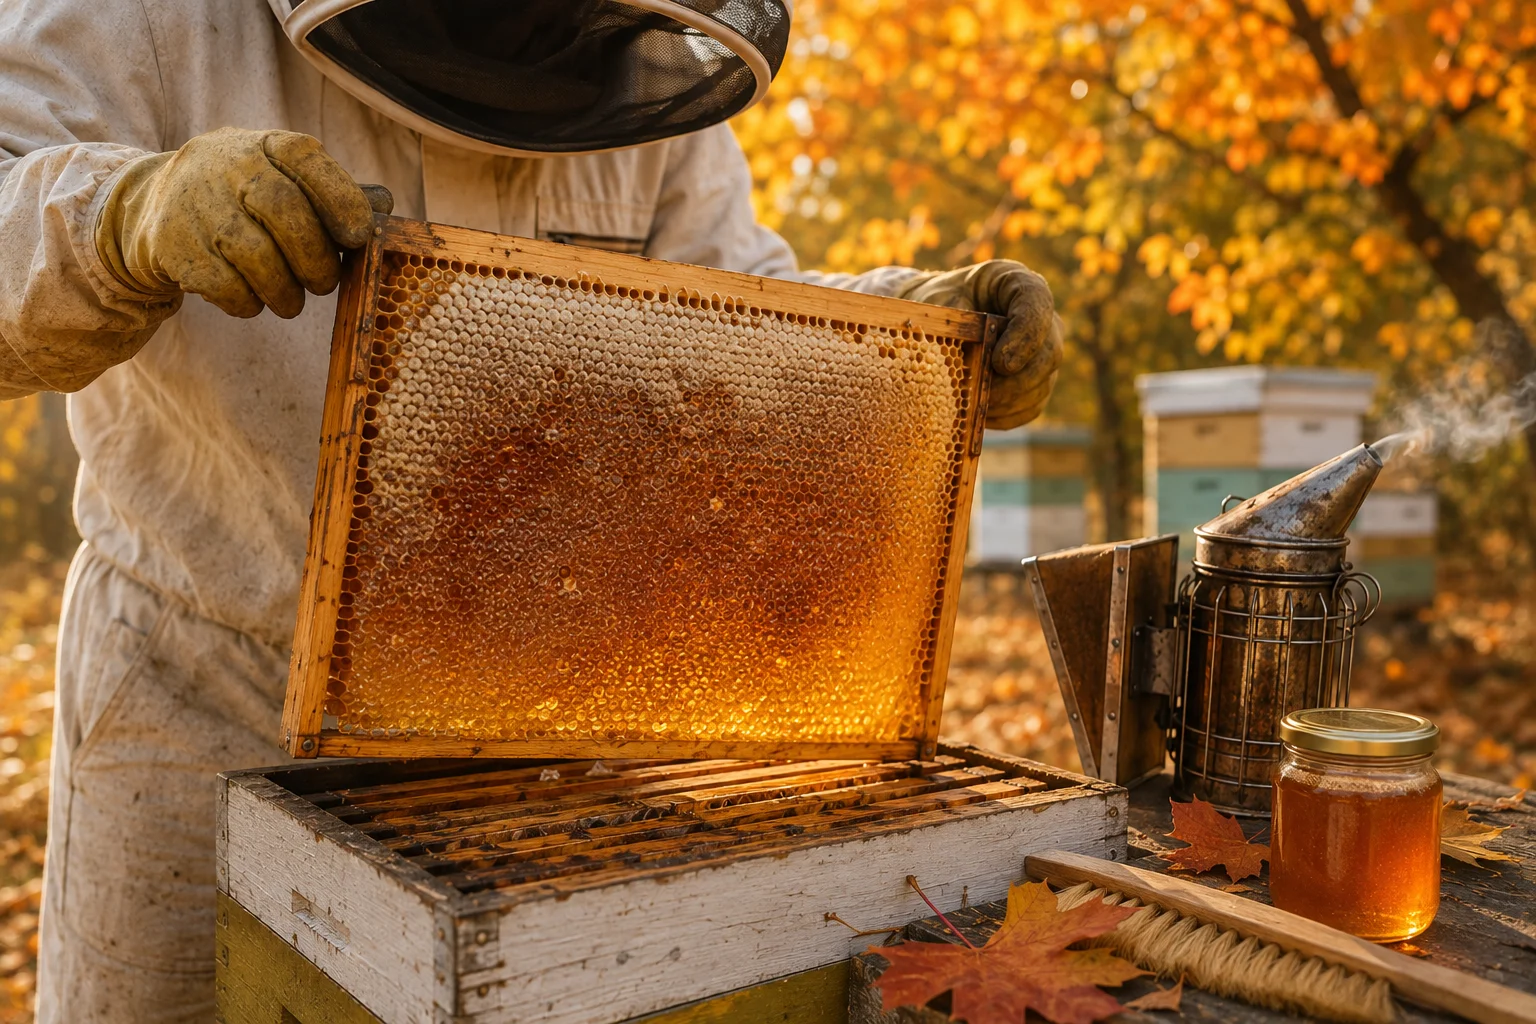
Inspect capped honey and pollen, then estimate total weight by hefting the hive from the back or using a scale. Required stores vary by climate, hive type, colony size, bee strain, and winter length. Follow local recommendations rather than copying a number from another region.
The University of Florida’s overwintering guidance recommends beginning preparation in late summer or early fall and ensuring colonies are healthy and adequately supplied because lack of food is a leading winter risk.
If stores are low, feed while temperatures still allow the bees to process syrup. Thick autumn syrup is commonly used, but ratios and timing should follow local guidance.
Avoid open feeding, syrup spills, exposed feeders, and removing more honey than the colony can spare.
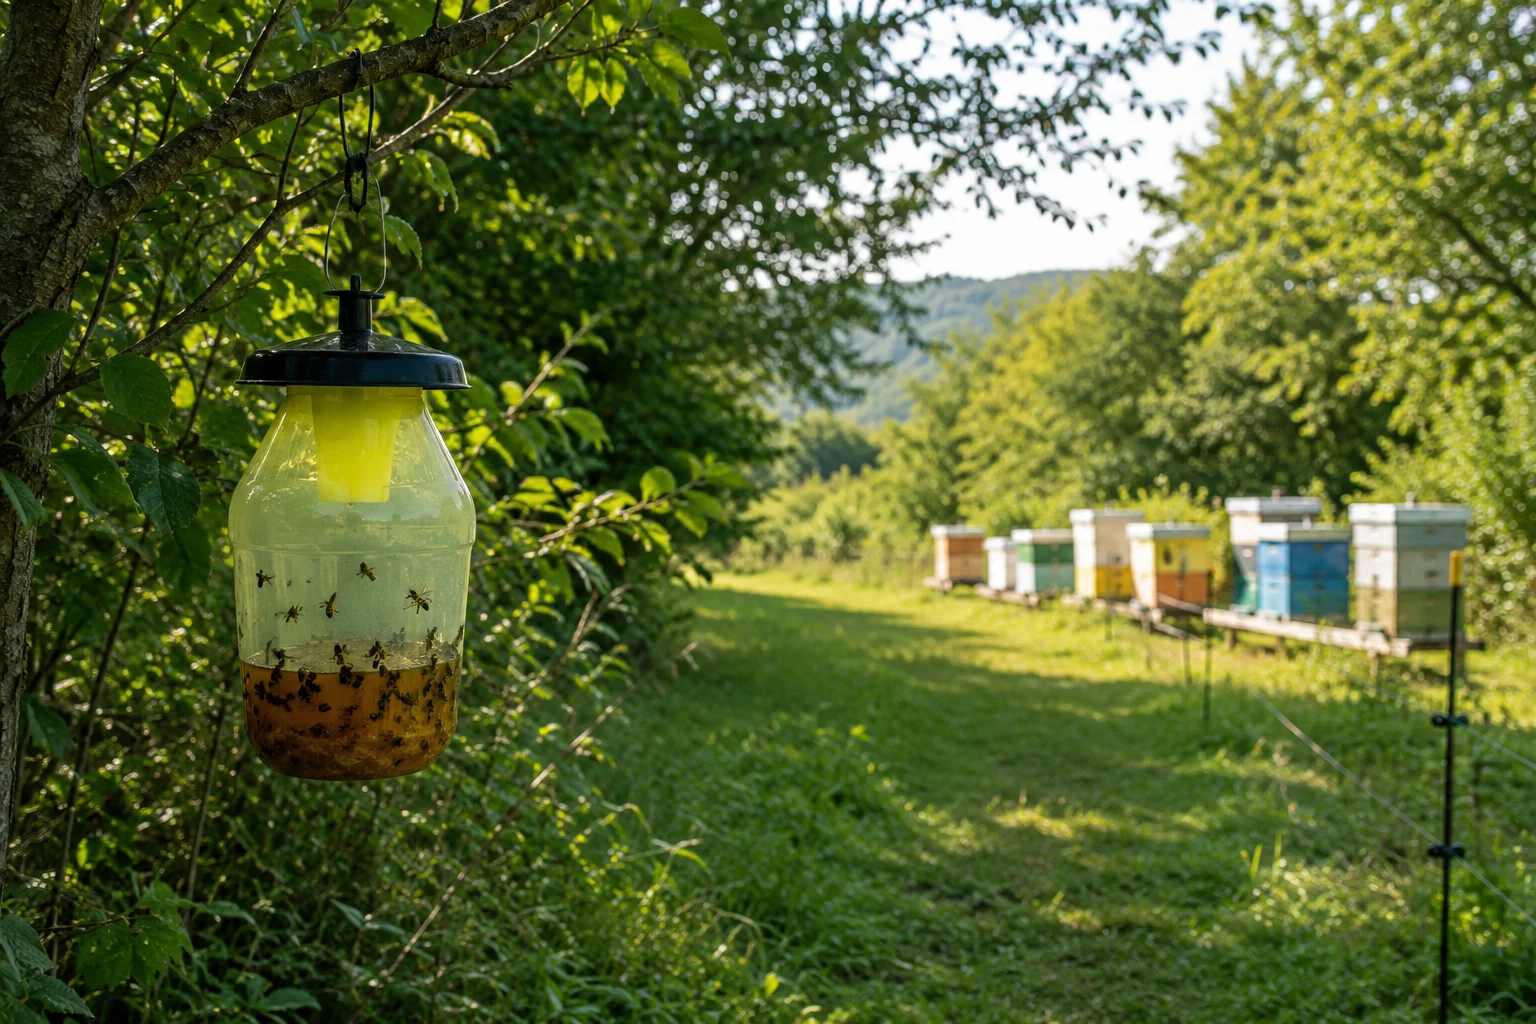
6. Reduce Robbing and Wasp Pressure
Late summer can bring a nectar shortage while colonies remain highly active. That creates ideal robbing conditions.
Reduce entrances to a size the colony can defend, keep inspections short, avoid exposing honey frames, and clean spills immediately.
Watch for fighting, bees searching box joints, wax debris at the entrance, and frantic attempts to enter through several gaps. Do not confuse robbing with orientation flights, which are usually calmer and concentrated in front of the hive.
recognize and stop robbing before a colony is overwhelmed
7. Remove Unnecessary Space
Do not leave a small colony defending a tower of empty boxes.
After the final harvest, remove unused supers and store comb safely. Right-size the hive so the colony can protect its space and move efficiently through stores.
Check whether a queen excluder remains between the brood nest and winter food. In cold climates, it can separate the queen from a cluster moving upward. Management varies, but it should never be forgotten accidentally.
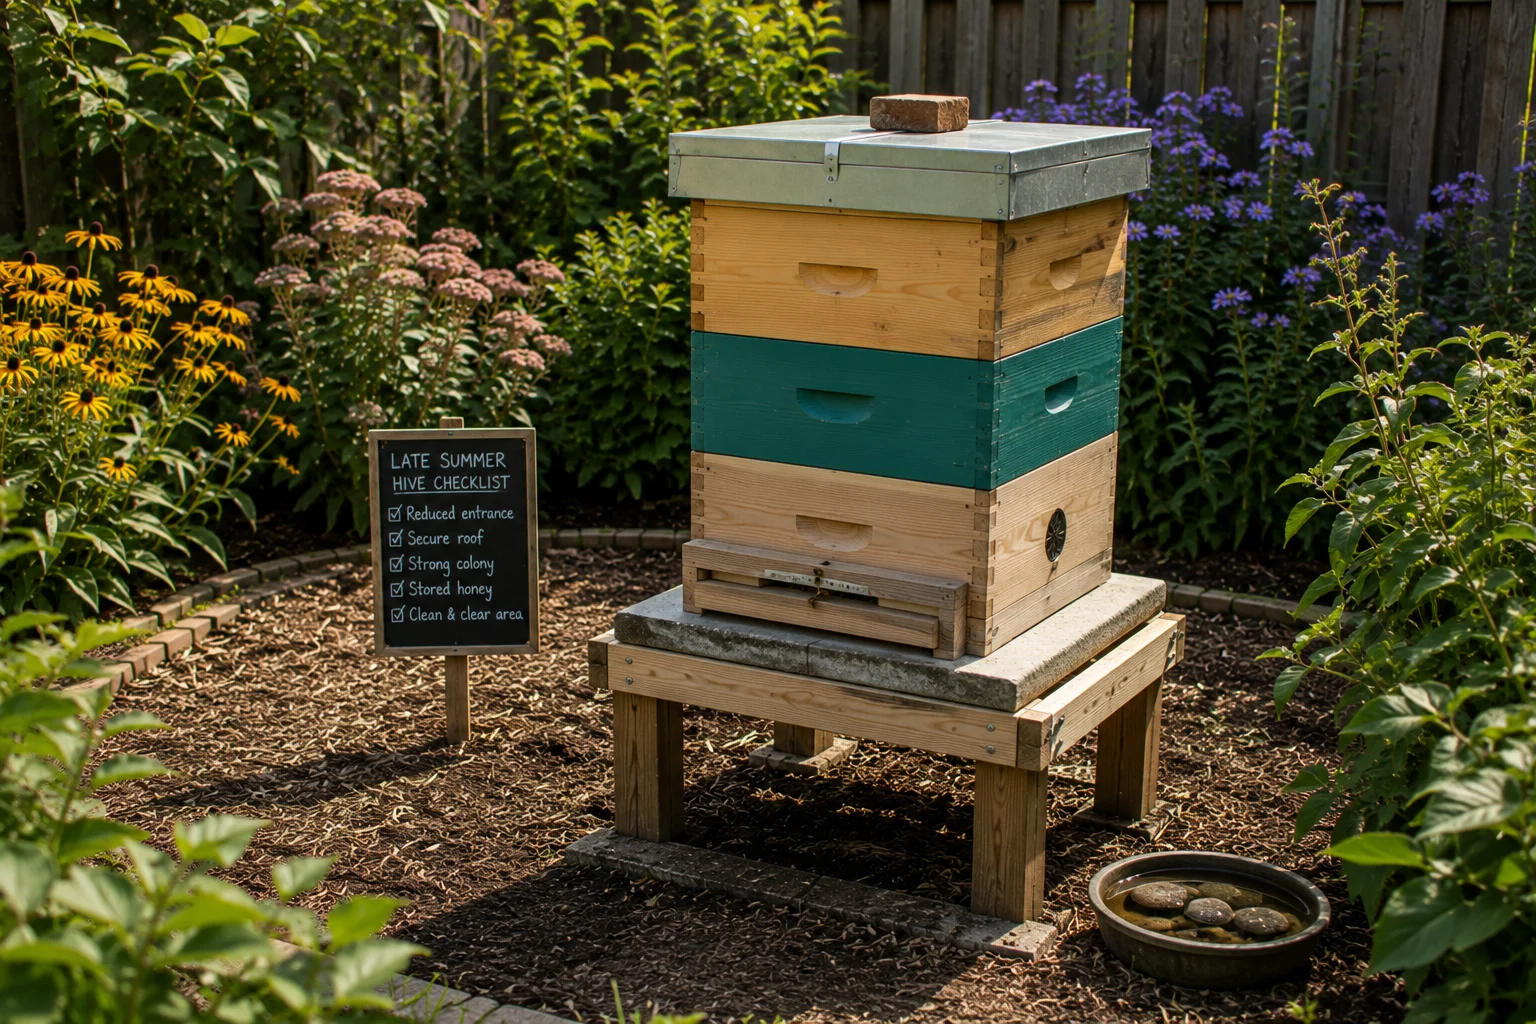
8. Repair and Weatherproof the Hive
Fix physical problems before the first storm.
Check that:
- The roof is watertight
- Boxes fit without major gaps
- The stand is stable
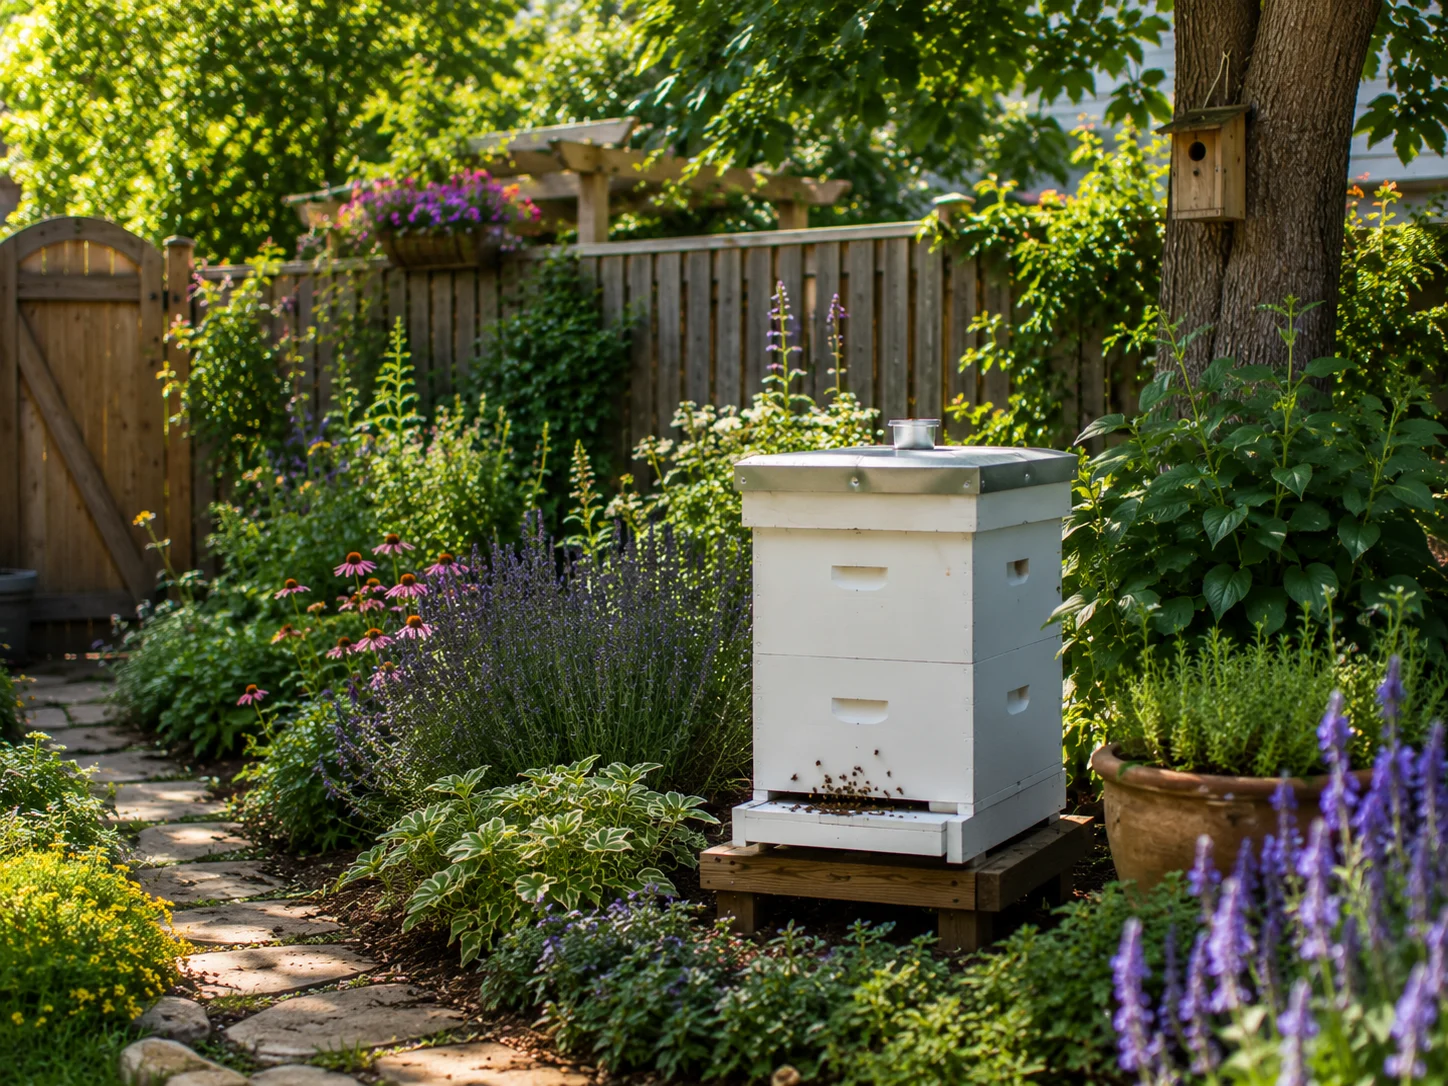
- Vegetation is clear of the entrance
- The hive can be secured against wind
- Rotten or damaged equipment is replaced
A slight forward tilt may help water drain, depending on hive design. Keep the hive stable and avoid an angle that causes frames to hang badly.
9. Control Moisture Without Creating Drafts
Moisture condensing above the cluster and dripping onto bees can be dangerous.
The answer is neither a wind tunnel nor a completely sealed box. Insulation, ventilation, wrapping, and upper entrances depend heavily on climate and hive design.
Use a system proven locally. The goal is to:
- Keep rain out
- Reduce drafts through the cluster
- Limit condensation above the bees
- Allow controlled moisture escape
Copying a severe-winter setup in a warm, damp climate—or the reverse—is a poor shortcut.
10. Add Pest Protection
As temperatures fall, mice may seek shelter inside hives. Install a mouse guard before they move in, while ensuring bees can still clear debris.
Also inspect for ants, wax moth damage, small hive beetles where present, and animal or woodpecker risks. Strong colonies manage many minor pests better than weak ones, which is why health and Varroa control come before cosmetic improvements.
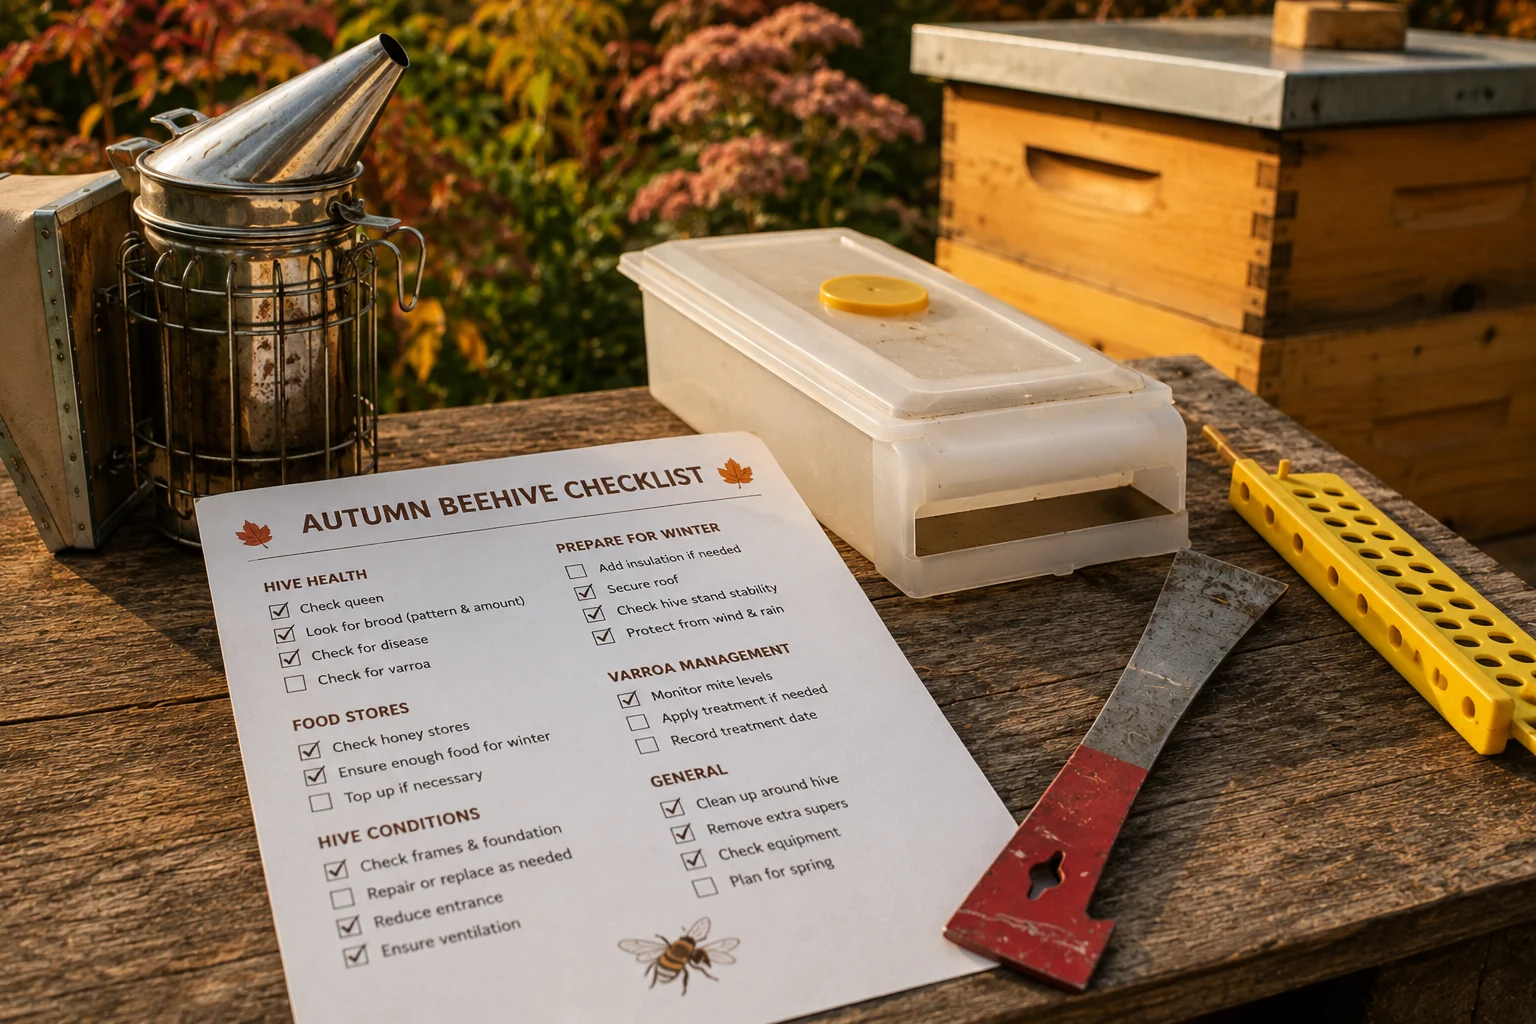
Printable Autumn Beehive Checklist
Before autumn is fully established, confirm that you have:
- Checked eggs, larvae, brood pattern, and queen status
- Assessed adult population and colony strength
- Tested for Varroa
- Treated when required and planned a follow-up test
- Estimated honey and pollen stores
- Fed early enough if stores were low
- Reduced entrances to limit robbing
- Removed empty supers and excess space
- Reviewed or removed the queen excluder
- Repaired the roof, boxes, floor, and stand
- Planned local moisture and insulation control
- Installed pest guards when needed
- Secured the hive against wind and animals
- Recorded the colony’s condition
support colonies with flowers that keep blooming into autumnn
Conclusion
To prepare your beehive for autumn, focus on the colony before the equipment.
A strong queenright colony with low mite pressure, adequate food, defendable space, and a dry, secure hive has a better chance than a weak colony surrounded by expensive insulation.
Start early, test instead of guessing, and adapt each decision to your climate. Autumn preparation is not about making the hive look tidy. It is about giving the bees the health, stores, and time they need to reach spring.