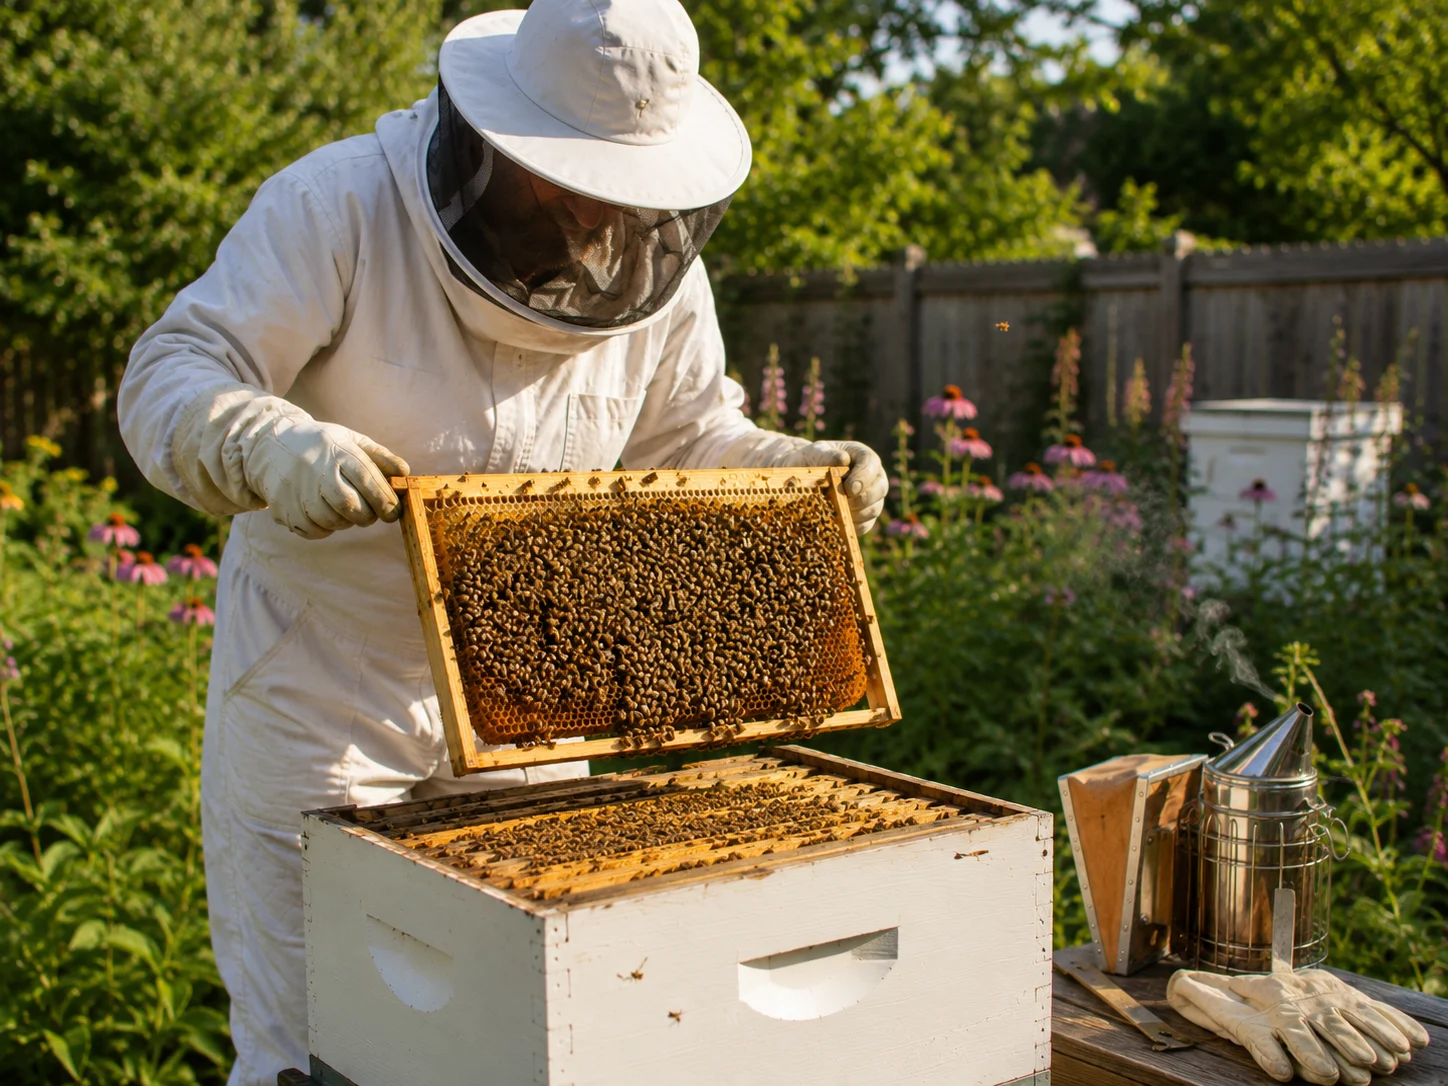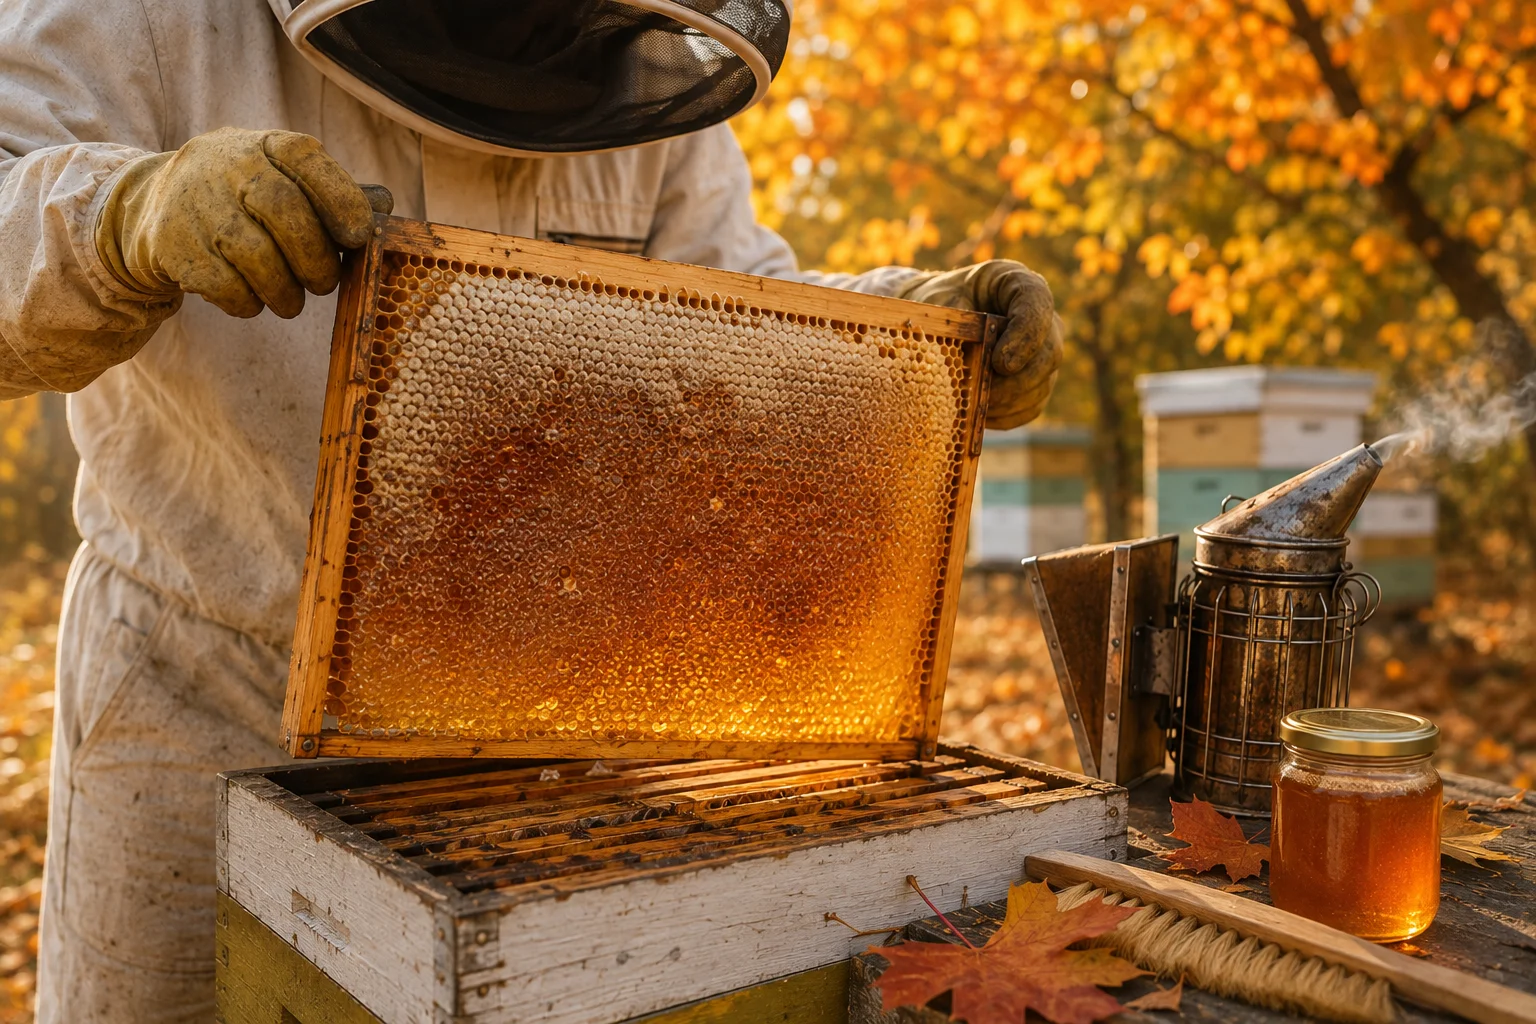

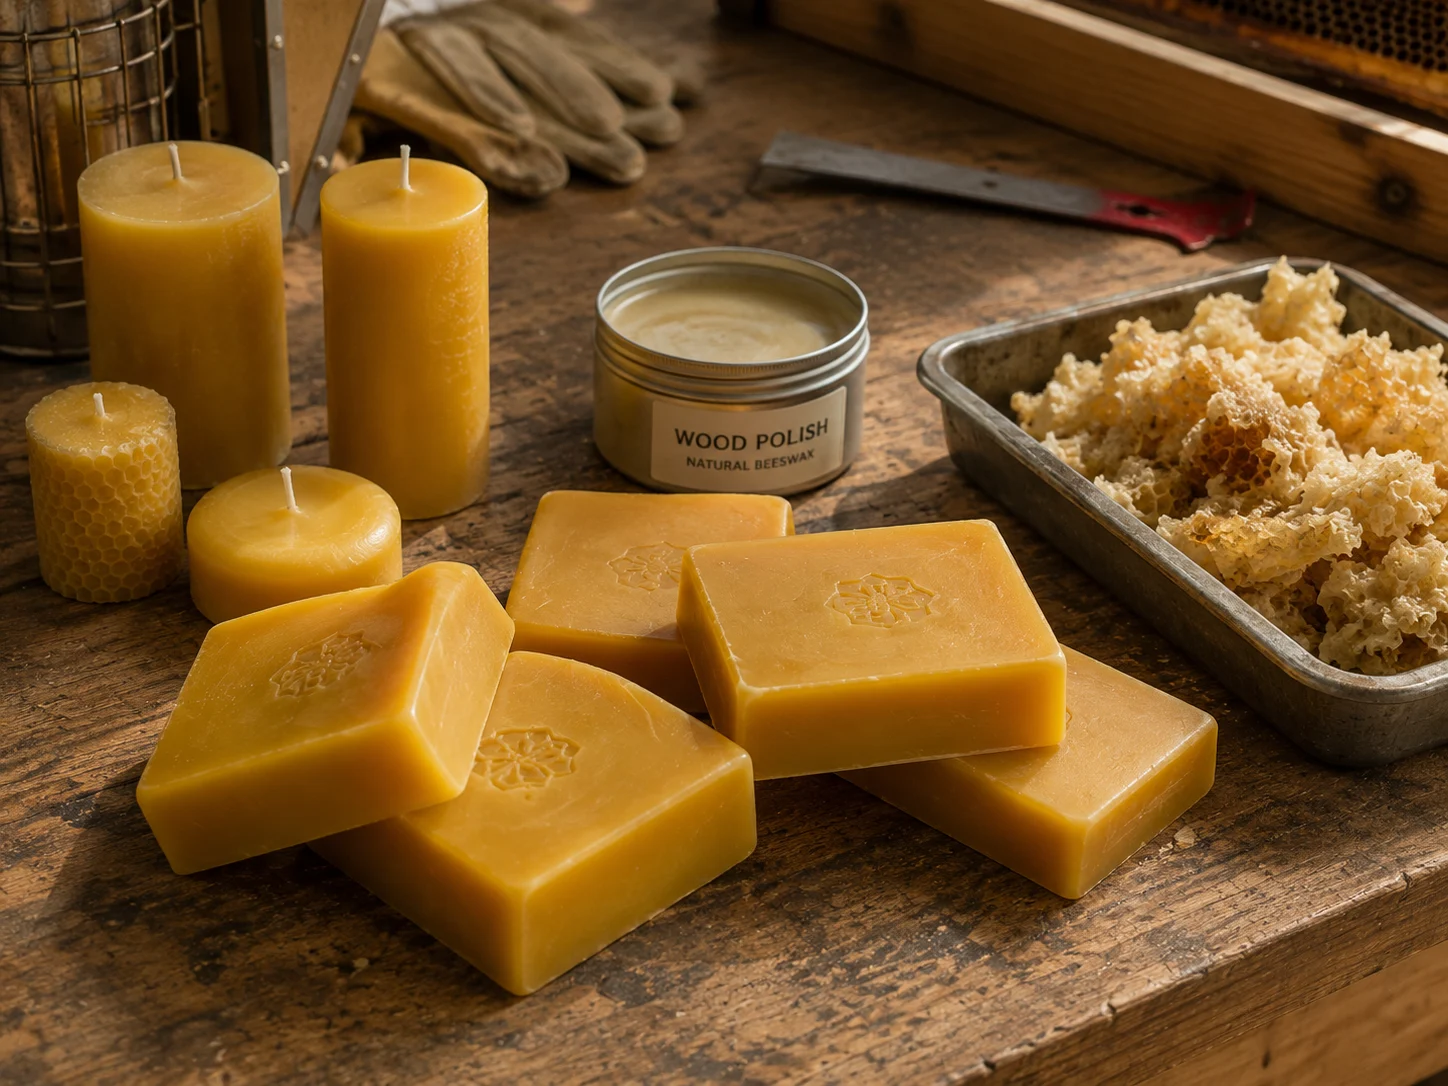
Old cappings, broken comb and wax scrap do not look valuable when they are sitting in a sticky bucket. But once cleaned and rendered, that mess becomes usable beeswax for candles, polish, wax wraps, firelighters, new foundation projects and countless small jobs around the apiary.
The problem is that melting wax indoors can become a disaster.
Wax sticks to saucepans, worktops and floors. It can block drains. It smells stronger than expected, especially when old brood comb is involved. Direct heating also creates a genuine fire and burn risk if the wax is forgotten or overheated.
A solar wax melter solves most of those problems by moving the process outside and replacing electricity or gas with sunlight.
Despite the name, “zero-energy” does not mean no energy is involved. The sun supplies the energy. What you eliminate is the need for purchased electricity, gas or another fuel source.
This guide shows you how to build a practical solar beeswax melter for less than £20, provided you reuse the main box and at least some of the smaller components. If you buy every piece new, the under-£20 promise becomes marketing nonsense. The entire point is to build around reclaimed materials.
What Is a Solar Wax Melter?
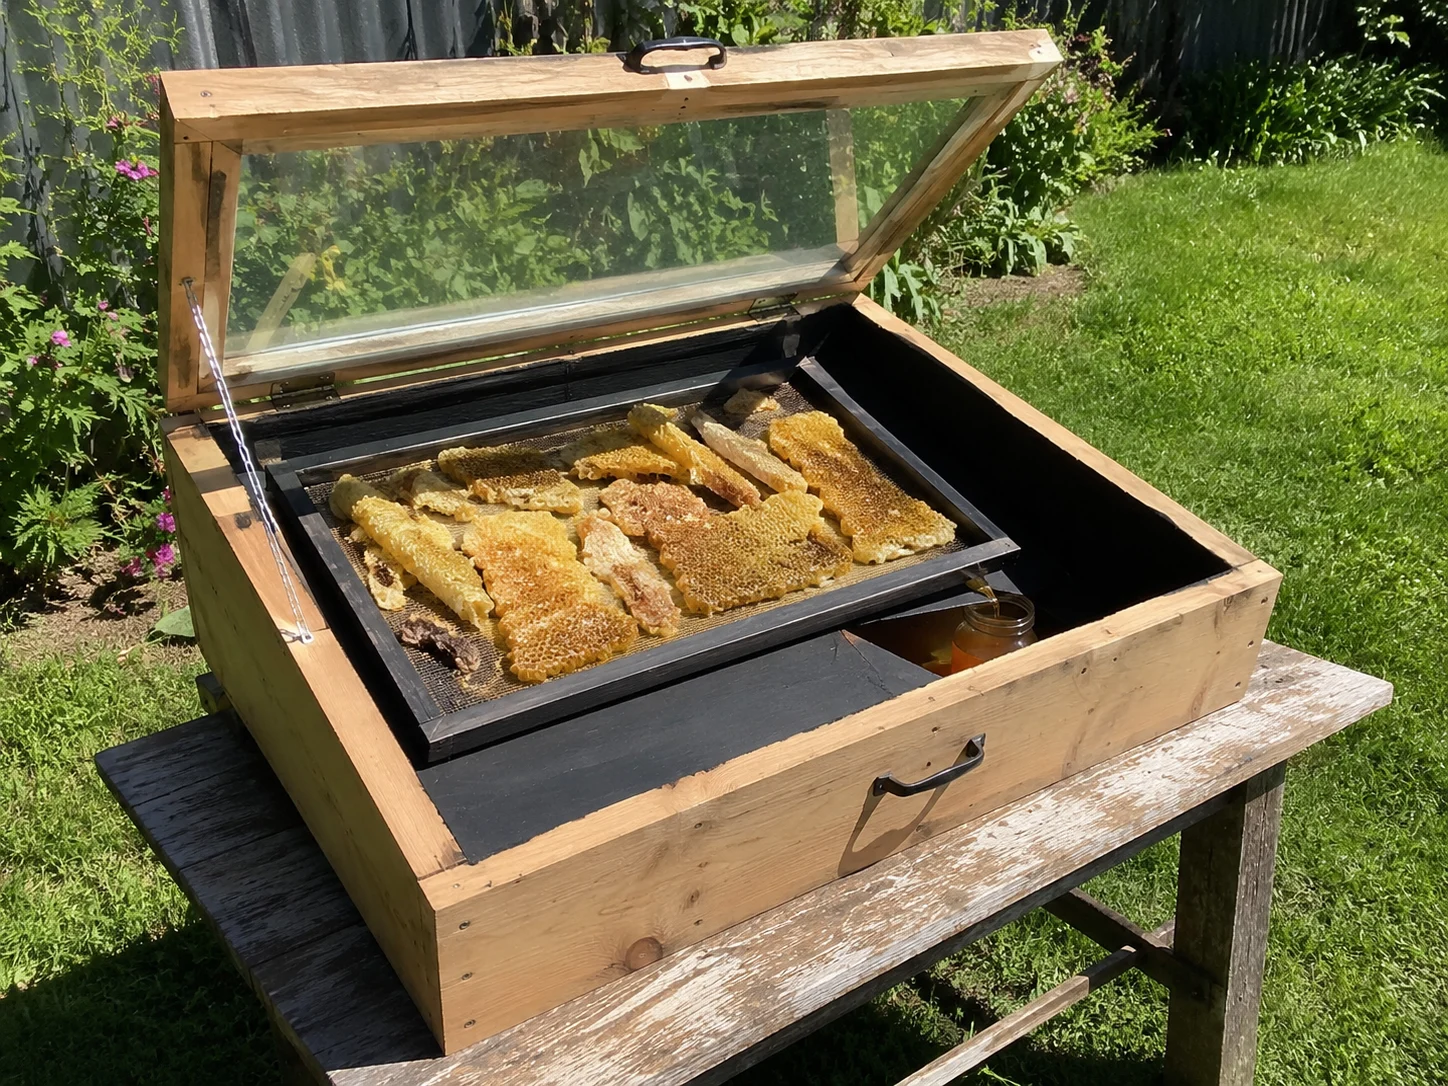
A solar wax melter is essentially a small, insulated greenhouse designed for beeswax.
Sunlight passes through a transparent glass or plastic cover and strikes a dark surface inside the box. That surface absorbs the light and converts it into heat. The transparent cover and insulated walls slow heat loss, allowing the internal temperature to rise high enough to melt beeswax.
Beeswax generally melts at approximately 62–65°C. Prolonged heating at substantially higher temperatures can darken or damage its colour, so hotter is not always better.
Inside the melter:
- Dirty wax sits in a metal sieve, mesh basket or cloth filter.
- Sunlight heats the enclosed chamber.
- The wax melts and passes through the filter.
- Cocoons, dirt, propolis and other debris remain behind.
- Cleaner liquid wax runs into a collection container.
- The wax cools into a solid block after the melter is removed from the sun.
This is not an industrial wax refinery. It is a slow, low-cost tool for hobby beekeepers who process small batches.
Can You Really Build One for Under £20?
Yes—but only by refusing to buy everything new.
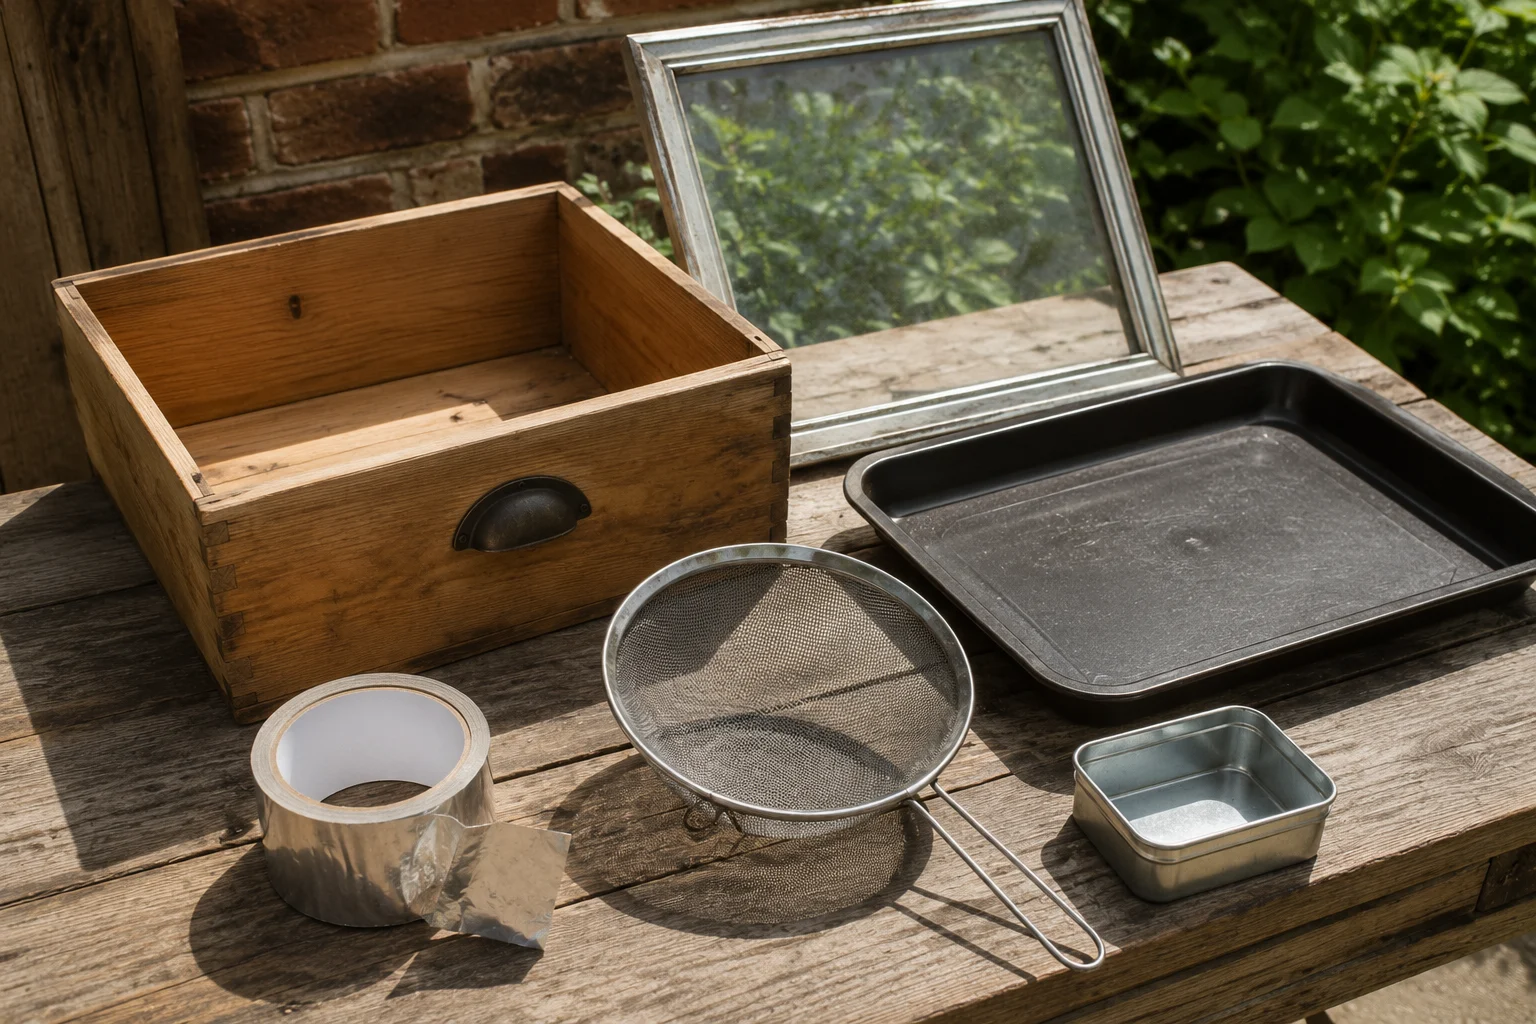
The box, glass and collection container should ideally come from materials you already own, a recycling centre, a charity shop, a local reuse group or a free online listing.
Example Budget
| Material | Target Cost |
|---|---|
| Reclaimed wooden drawer, wine box or shallow cabinet | £0–£4 |
| Second-hand picture frame with glass | £2–£5 |
| Dark metal baking or roasting tray | £3–£5 |
| Small metal collection tin | £0–£2 |
| Metal mesh, old sieve or filter cloth | £1–£3 |
| Foil tape or weather seal | £2–£3 |
| Spare screws, hinges or timber strips | £0–£2 |
| Estimated Total | £8–£24 |
To stay under £20, reuse at least two major components. A free box and an old picture frame can bring the real cost closer to £10.
Prices vary between shops and locations, so treat this as a build target rather than a guaranteed national price list.
Materials You Will Need
The Outer Box
Use a shallow wooden container large enough to hold your wax tray and collection tin.
Suitable options include:
- An old wooden drawer
- A wine crate
- A damaged bedside cabinet drawer
- A homemade plywood box
- A shallow timber storage box
- A wooden packaging crate
The box should be solid enough to support the glass and resist warping. Avoid heavily treated timber, containers contaminated with oil or chemicals, and wood with significant rot.
A cardboard box may work for a quick experiment, but it is a poor permanent design. It absorbs moisture, loses rigidity and offers little protection if hot wax spills.
The Transparent Cover
A second-hand picture frame is often the cheapest solution because it supplies both the glass and a supporting frame.
The cover should:
- Fit over the entire opening
- Sit securely without sliding
- Have no cracks or sharp exposed edges
- Be removable for loading and cleaning
- Close closely enough to retain heat
Glass usually retains its shape better than thin plastic glazing. However, picture-frame glass is fragile. Wear gloves during construction, secure it inside its frame and cover any exposed edges.
Never use cracked glass. Heating and cooling can make existing damage worse.
The Absorber and Drainage Tray
You need a dark metal surface to absorb heat and direct melted wax toward the collection point.
A shallow black roasting tray is ideal. A silver tray can still work, but it will absorb less solar radiation unless a separate dark metal sheet is placed beneath it.
Do not coat surfaces that touch the wax with random household paint. Paint can soften, flake or contaminate the wax when heated. The black surface should sit beneath the wax-processing equipment rather than becoming the collection surface itself.
The Wax Filter
The filter holds back debris while allowing melted wax to pass through.
You can use:
- An old stainless-steel kitchen sieve
- Fine stainless-steel mesh
- A metal colander lined with cotton cloth
- Muslin or tightly woven cotton supported by metal mesh
- A reusable metal filter basket
Do not allow cloth to touch the absorber plate or bunch against the collection outlet. It should be supported securely above the receiving container.
The Collection Container
Use a small heat-resistant metal tin, loaf tin or stainless-steel container.
A clean food tin can work for testing, but a slightly tapered container makes the cooled wax block easier to remove. Avoid containers with unknown residues or damaged interior coatings.
Keep every utensil used for wax separate from your normal cooking equipment. Once beeswax enters the seams and scratches of a pan, cleaning it completely is difficult.
How to Build the Solar Wax Melter
Step 1: Plan the Internal Layout
Place the dark tray inside the box before cutting or fastening anything.
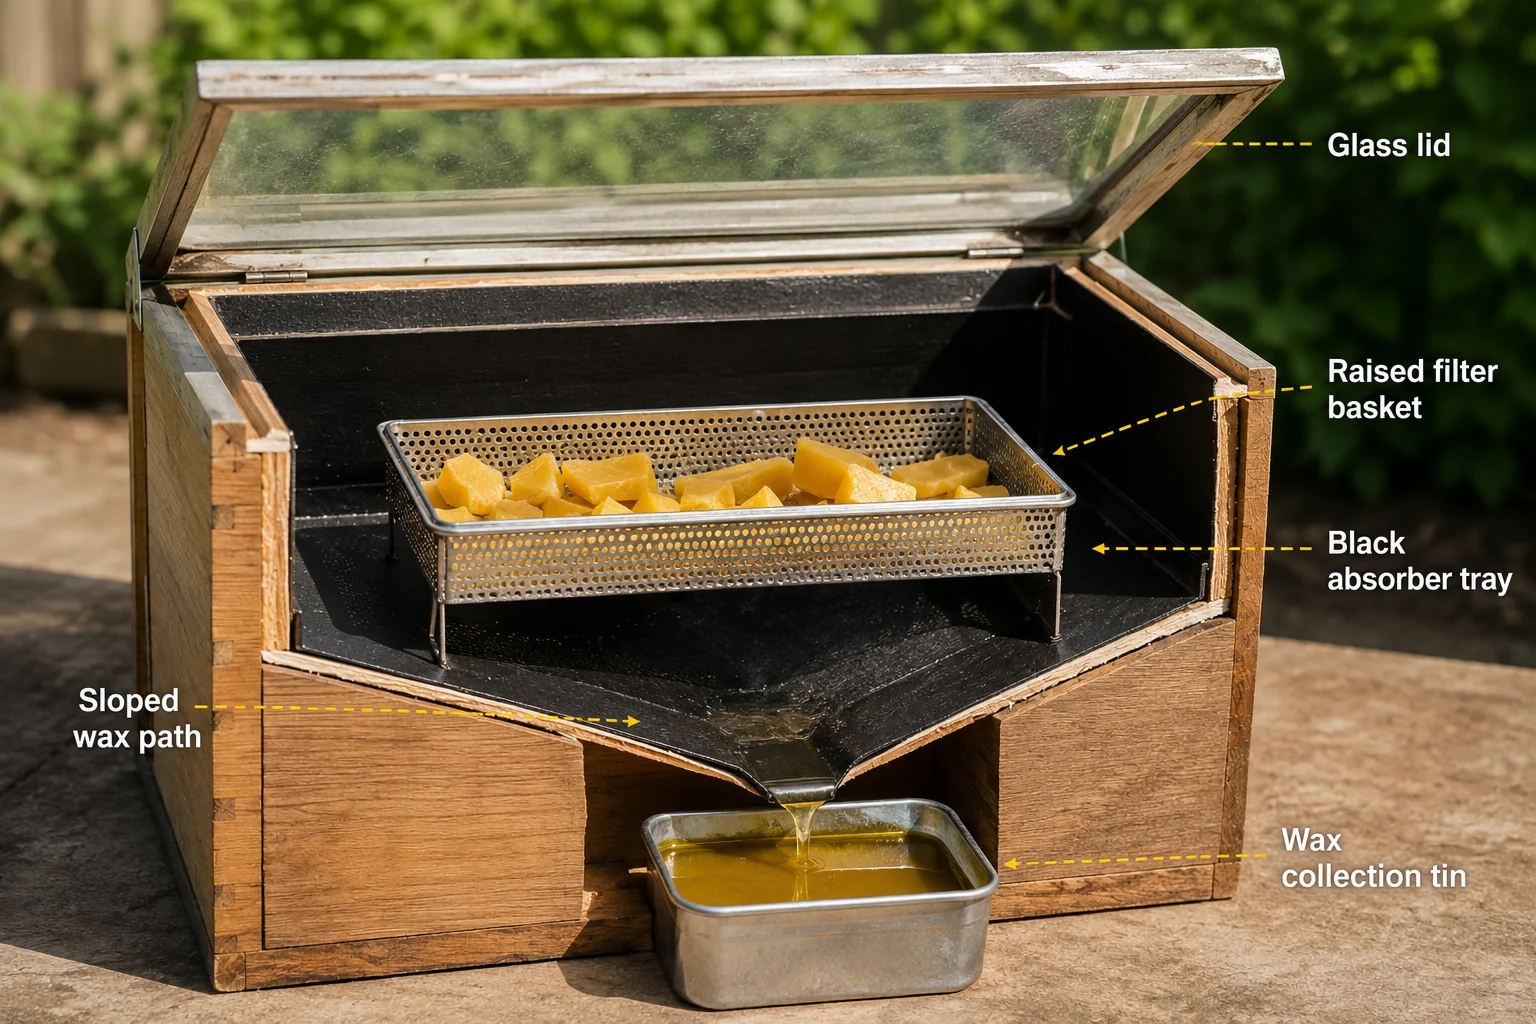
The filter basket should sit toward the higher end of the tray. The collection container should sit at the lower end.
The wax needs a clear downhill route:
Dirty wax → filter → sloping tray or outlet → collection tin
A slight slope is enough. You do not need a dramatic angle that causes containers to slide.
Test the layout with a small amount of water before adding wax. The water should travel toward the collection point without pooling in corners.
Dry every component completely afterward.
Step 2: Insulate the Box
A solar melter needs to retain heat, not merely collect sunlight.
Line the outside or enclosed wall cavities with reclaimed insulation, tightly packed corrugated cardboard or another heat-tolerant insulating material. Keep flammable or heat-sensitive insulation separated from the hot interior by a complete wooden or metal lining.
Aluminium foil can be used on selected interior walls to reflect light toward the dark absorber tray. It does not replace insulation.
Seal obvious air gaps around the lid with inexpensive weather stripping, but do not make the unit permanently airtight. You must still be able to open it easily, and a tiny amount of ventilation helps moisture escape.
Step 3: Create the Sloped Wax Path
Raise one end of the internal tray using a narrow timber strip, metal bracket or heat-resistant block.
Aim for a gentle slope toward the collection tin.
If your roasting tray already has a pouring corner, position that corner directly above the receiving container. Otherwise, allow the wax to run over one controlled edge.
Do not drill through a tray unless you can create a clean, leak-free outlet. A badly drilled hole will send molten wax underneath the tray and into the bottom of the box.
Step 4: Install the Filter Support
The filter must remain above the collection path.
Install two narrow wooden or metal rails inside the box, or place the sieve on a stable metal stand. Confirm that it cannot tip when loaded with warm, soft comb.
Leave enough room between the filter and the glass cover. Wax should never be pressed against the glazing.
Step 5: Fit the Glass Lid
Place the framed glass over the box and check that it overlaps the opening.
You can:
- Leave the lid fully removable
- Attach it with two small hinges
- Add a basic timber stop to prevent sliding
- Use a reusable strap to hold it during storage
A removable lid is easier to build and clean. A hinged lid is more convenient but requires stronger timber and accurate alignment.
Do not permanently glue the lid shut. The inside will eventually need scraping and cleaning.
Step 6: Add a Safe Tilting Base
Your melter must face the sun, so it helps to build an adjustable rear support.
A simple support can be made from:
- A hinged timber leg
- Two wooden wedges
- A stack of stable paving blocks
- A notched wooden support
- An old folding shelf bracket
The entire box must remain stable when tilted. Test it empty, then press down gently on each corner.
If it rocks or slides, fix the base before melting anything.
How to Use Your Solar Wax Melter
Choose a clear, dry day with several hours of direct sunlight.
1. Prepare the Wax
Break the wax into smaller pieces so it heats evenly.
Good material for the first batch includes:
- Honey cappings
- Clean burr comb
- Broken honey comb
- Wax scrap from frame cleaning
- Small pieces of brace comb
Cappings normally produce lighter, cleaner wax. Old brood comb contains accumulated cocoons and other debris, so it generally produces darker wax and more solid residue after rendering.
Never place whole wooden frames, plastic foundation, elastic bands, wire scraps or hive tools inside the melter.
Do not process comb from a colony subject to disease-control restrictions. Follow the instructions of your bee inspector or local authority instead.
2. Load a Small Batch
Place the wax loosely in the filter.
Do not compress a huge lump into the basket. Sunlight and warm air need access to the material. An overloaded basket melts slowly and can collapse into the collection area.
Start with a small batch so you can see how your particular design behaves.
3. Face the Melter Toward the Sun
Set the unit in a secure area receiving uninterrupted sun.
Keep it away from:
- Children
- Pets
- Dry grass
- Public paths
- The main hive flight path
- Flammable garden storage
- Areas where it could be knocked over
Read what you need before starting a small backyard beehive for a broader guide to safe apiary layout, working space and equipment planning.
Adjust the angle so sunlight passes through the glass and strikes the dark tray directly. You may need to turn the melter once or twice during a long session.
4. Monitor the Temperature
A cheap oven thermometer inside the box is a worthwhile upgrade.
You need enough heat to melt the wax, not cook it. Because beeswax melts around 62–65°C and can darken with excessive heating, a controlled, gradual melt is better than chasing the highest possible temperature.
If the chamber becomes excessively hot:
- Reduce the reflector angle
- Turn the box slightly away from direct sun
- Create a small ventilation gap
- Remove the wax once the main flow has finished
Wear heat-resistant gloves before touching the lid, filter, tray or collection container.
5. Let the Wax Flow and Cool
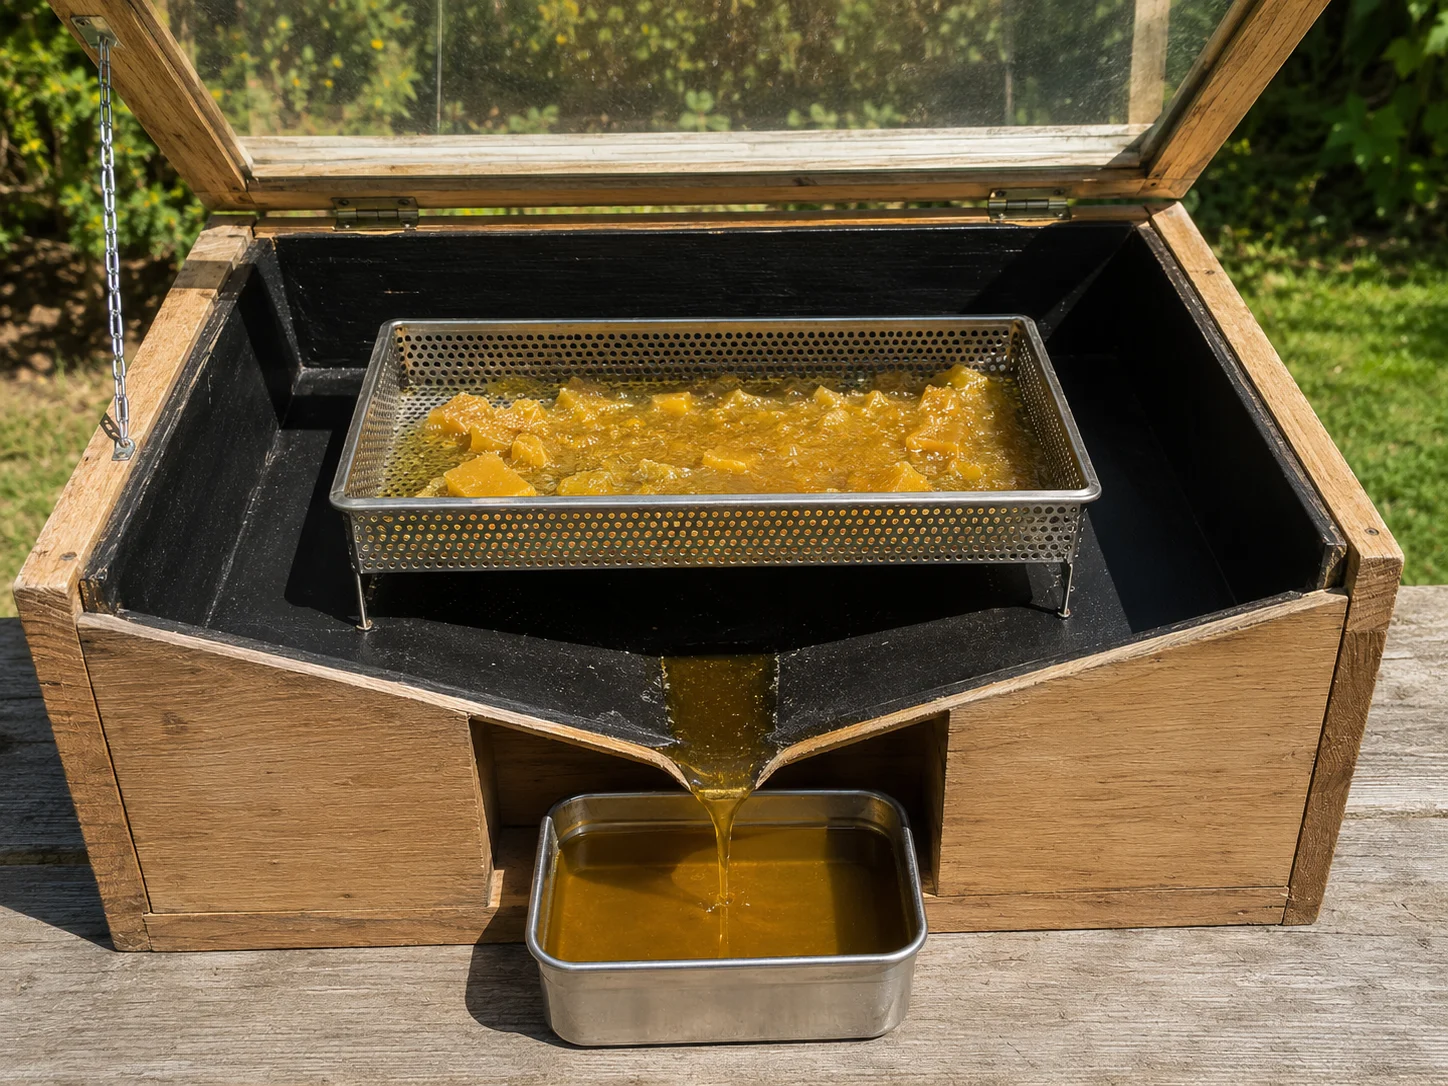
As the wax melts, it will pass through the filter and collect below.
Do not move the melter while the wax is liquid. One careless lift can spread molten wax across every internal surface.
Once the melting has finished:
- Turn the box away from the sun.
- Allow the wax to cool in place.
- Remove the solid block from the collection tin.
- Scrape debris from the filter while it is still slightly warm.
- Store the finished wax in clean paper or a labelled container.
Why Your First Wax Block May Not Look Perfect
Do not expect pale, competition-grade wax from one pass through a cheap melter.
The result depends on:
- The age of the comb
- Whether the material came from brood or honey frames
- The amount of propolis and pollen present
- The filter fineness
- The maximum temperature reached
- How long the wax remained hot
- Whether different wax grades were mixed
Cappings wax and dark brood-comb wax should be processed separately. Mixing them throws away the colour advantage of the cleaner material.
A solar melter removes a large amount of debris, but heavily contaminated wax may need a second controlled rendering and finer filtration before being used for detailed candles, polish or cosmetic products.
Do not assume homemade rendered wax is automatically suitable for skin products or food-contact uses. Its quality depends on the original comb, previous hive treatments, contamination and processing equipment.
Common Solar Wax Melter Mistakes
Using a Box That Is Too Deep
A deep box creates unnecessary air volume that takes longer to heat.
Choose a shallow chamber with just enough clearance for the filter and collection tin.
Leaving Large Air Gaps Around the Lid
If hot air escapes from every edge, the unit may soften wax without producing a useful flow.
Improve the fit with timber strips or weather seal.
Using a Flat Tray
Without a slope, wax pools beneath the debris and hardens before reaching the collection container.
Create a clear downhill route.
Overloading the Filter
More wax does not mean more output when sunlight cannot penetrate the pile.
Process several small loads instead of one compressed mass.
Mixing Clean and Dirty Wax
Clean cappings wax has greater potential than old black comb. Process them separately and label the finished blocks.
Leaving the Melter Unattended All Day
Solar does not mean harmless.
The glass, metal and wax become hot. Wind can move a poorly secured lid, animals can disturb the box, and the internal temperature can rise above what you expected.
Check the melter regularly.
Placing It Beside the Hive Entrance
Warm wax, honey residue and propolis can attract bees and other insects.
Use the melter away from the colony’s main traffic and clean up wax scraps after each session. When designing the rest of the apiary, choose useful plants to grow near a backyard beehive. The existing guide covers seasonal forage, spacing, water and a practical planting layout.
Easy Upgrades That Improve Performance
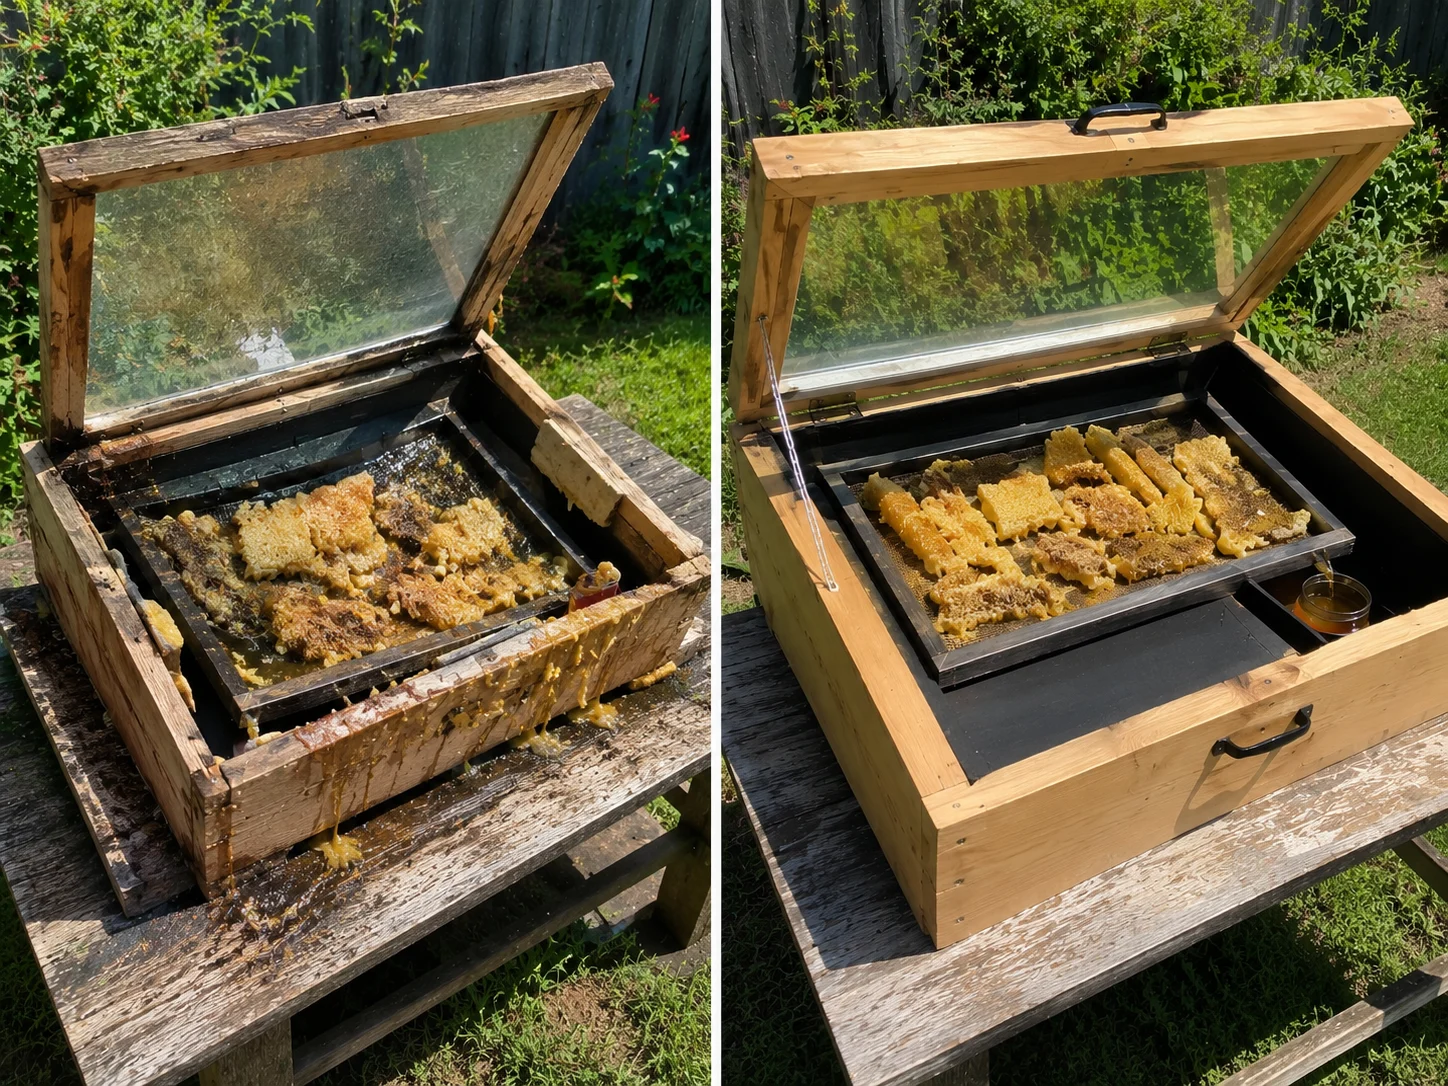
Once the basic melter works, improve it gradually.
Add a Reflective Flap
Attach a foil-covered panel behind the glass and angle it to reflect additional sunlight into the chamber.
Monitor the temperature carefully because the reflector can significantly increase heating.
Use Double Glazing
Two separated glass layers reduce heat loss, although they also increase weight and make the lid more difficult to handle.
Install a Thermometer
This is the most useful upgrade. Without a thermometer, you are guessing whether the wax is failing to melt or overheating.
Improve the Seal
Replace temporary tape with heat-resistant weather stripping or a better-fitting timber frame.
Add a Removable Metal Liner
A liner catches spills before wax reaches the wooden box. It makes cleaning dramatically easier.
Build an Adjustable Stand
A stand with several fixed angles helps the melter perform during different seasons when the sun sits higher or lower in the sky.
What Can You Do With the Finished Beeswax?
Once properly cleaned for the intended use, rendered wax can be turned into:
- Beeswax candles
- Furniture polish
- Leather conditioner
- Firelighters
- Drawer and tool lubricant
- Wax wraps
- Woodworking wax
- Craft projects
- Wax blocks for later processing
- Foundation, when suitable equipment and clean wax are available
Keep wax from different sources labelled. A pale block of cappings wax should not be mixed automatically with dark wax from old brood frames.
For further technical training, local courses and guidance on responsible hive-product handling, consult the British Beekeepers Association or your regional beekeeping association.
A Cheap Tool That Earns Its Space
A solar wax melter does not need electronics, a heating element or an expensive stainless-steel tank. It needs a well-sealed box, transparent glazing, a dark heat absorber, a stable filter and a reliable path into a collection container.
The build can stay below £20, but only when you approach it as a reuse project. Buying a brand-new box, new glazing, new cookware and new hardware defeats both the budget and the low-waste purpose.
Build the simplest version first. Test it with a small amount of cappings. Watch where the wax flows, identify where heat escapes and fix the weak points before processing a full bucket.
Once it is working, the melter turns one of beekeeping’s messiest leftovers into a useful material—without coating your kitchen in wax or adding another appliance to the electricity bill.
Keep Reading 🐝
How to Create a Bee-Friendly Backyard Without Letting It Look Abandoned — combine intentional design with lower-maintenance habitat.
Best Plants to Grow Near a Backyard Beehive — replace weak lawn areas with season-long bee forage.
The Living Fence: How to Build a Bee-Friendly Boundary That Doubles as Forage — turn an unmown boundary strip into permanent privacy and habitat.
The July Nectar Crash: Why Your Hive Can Struggle in Midsummer — understand why May flowers alone cannot support bees through summer.