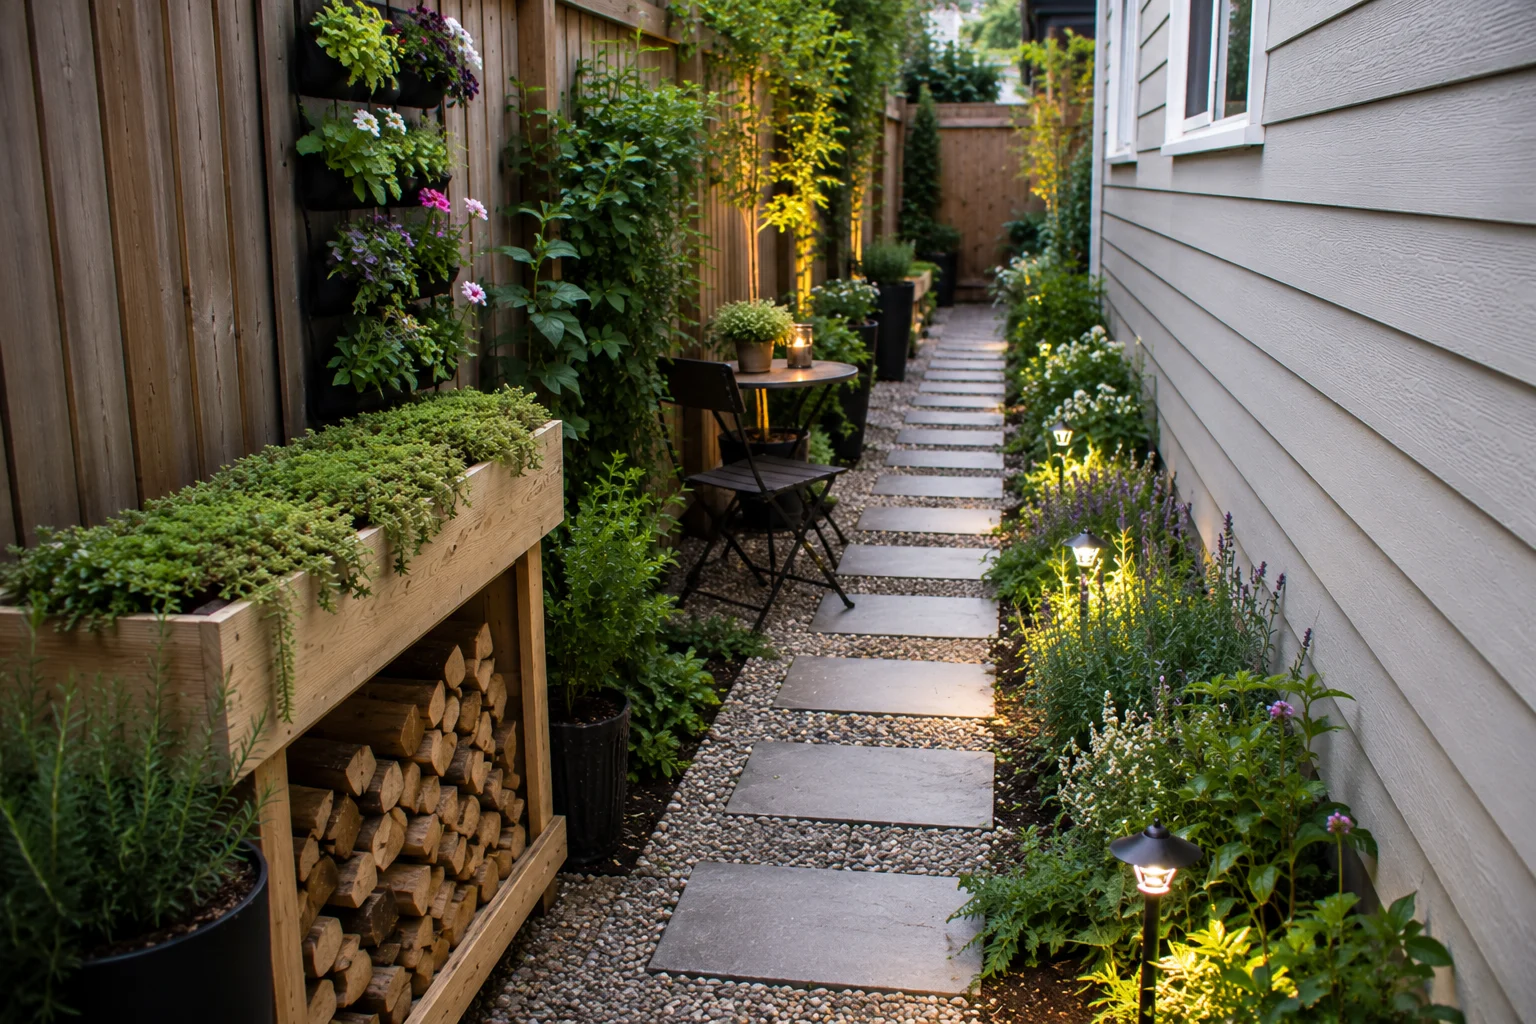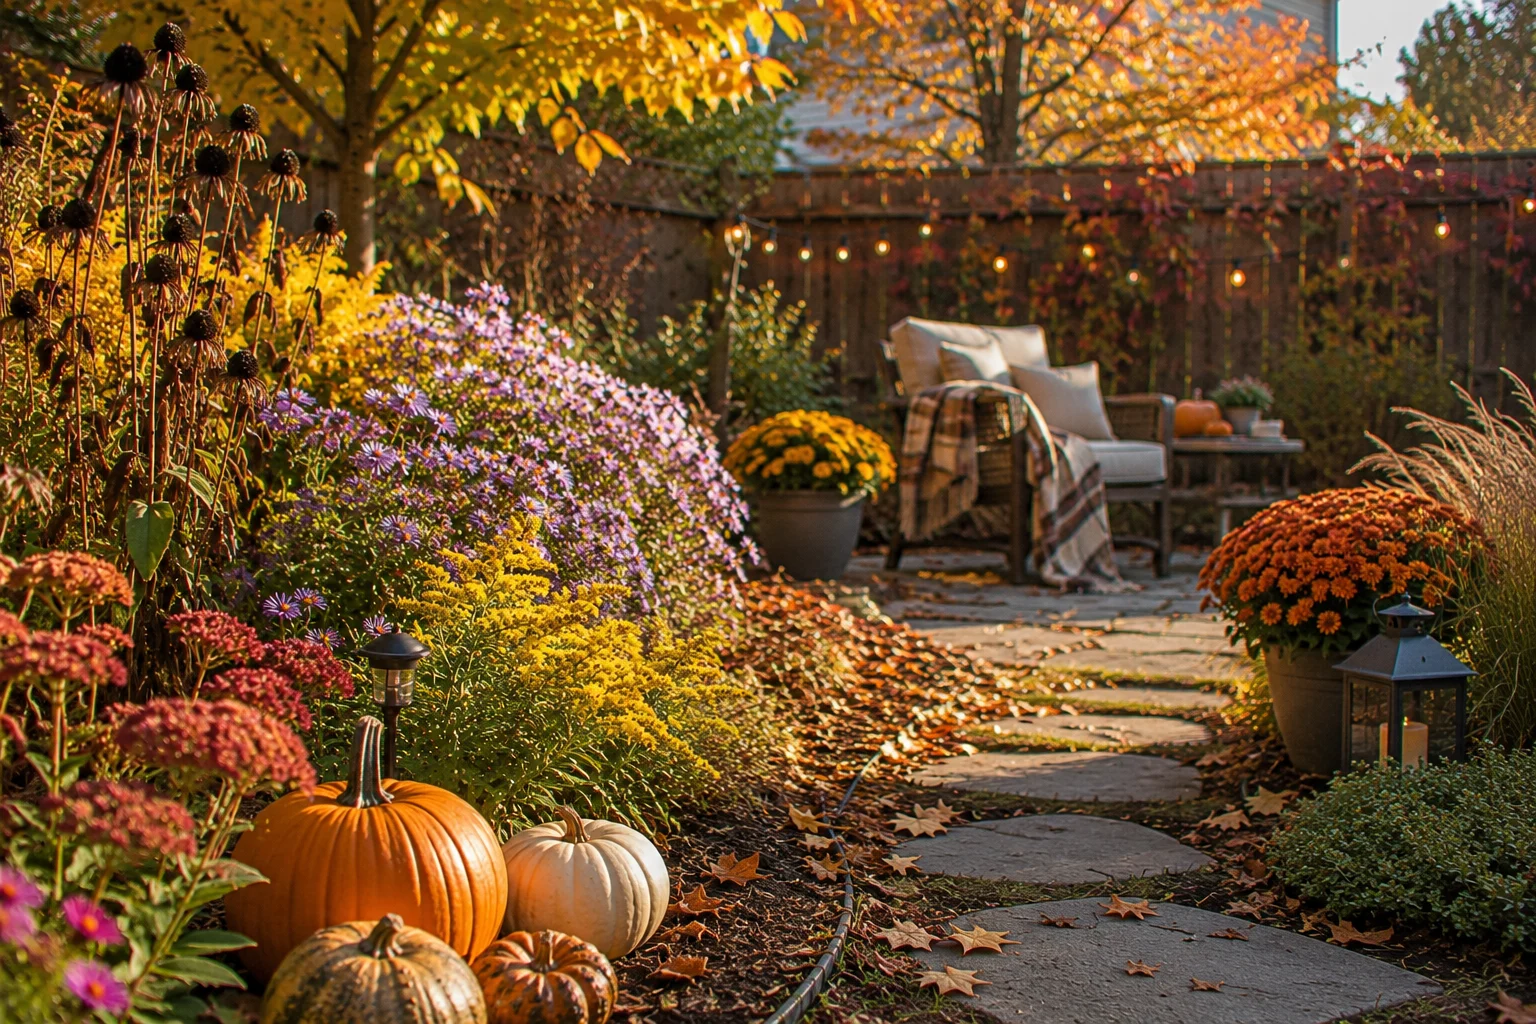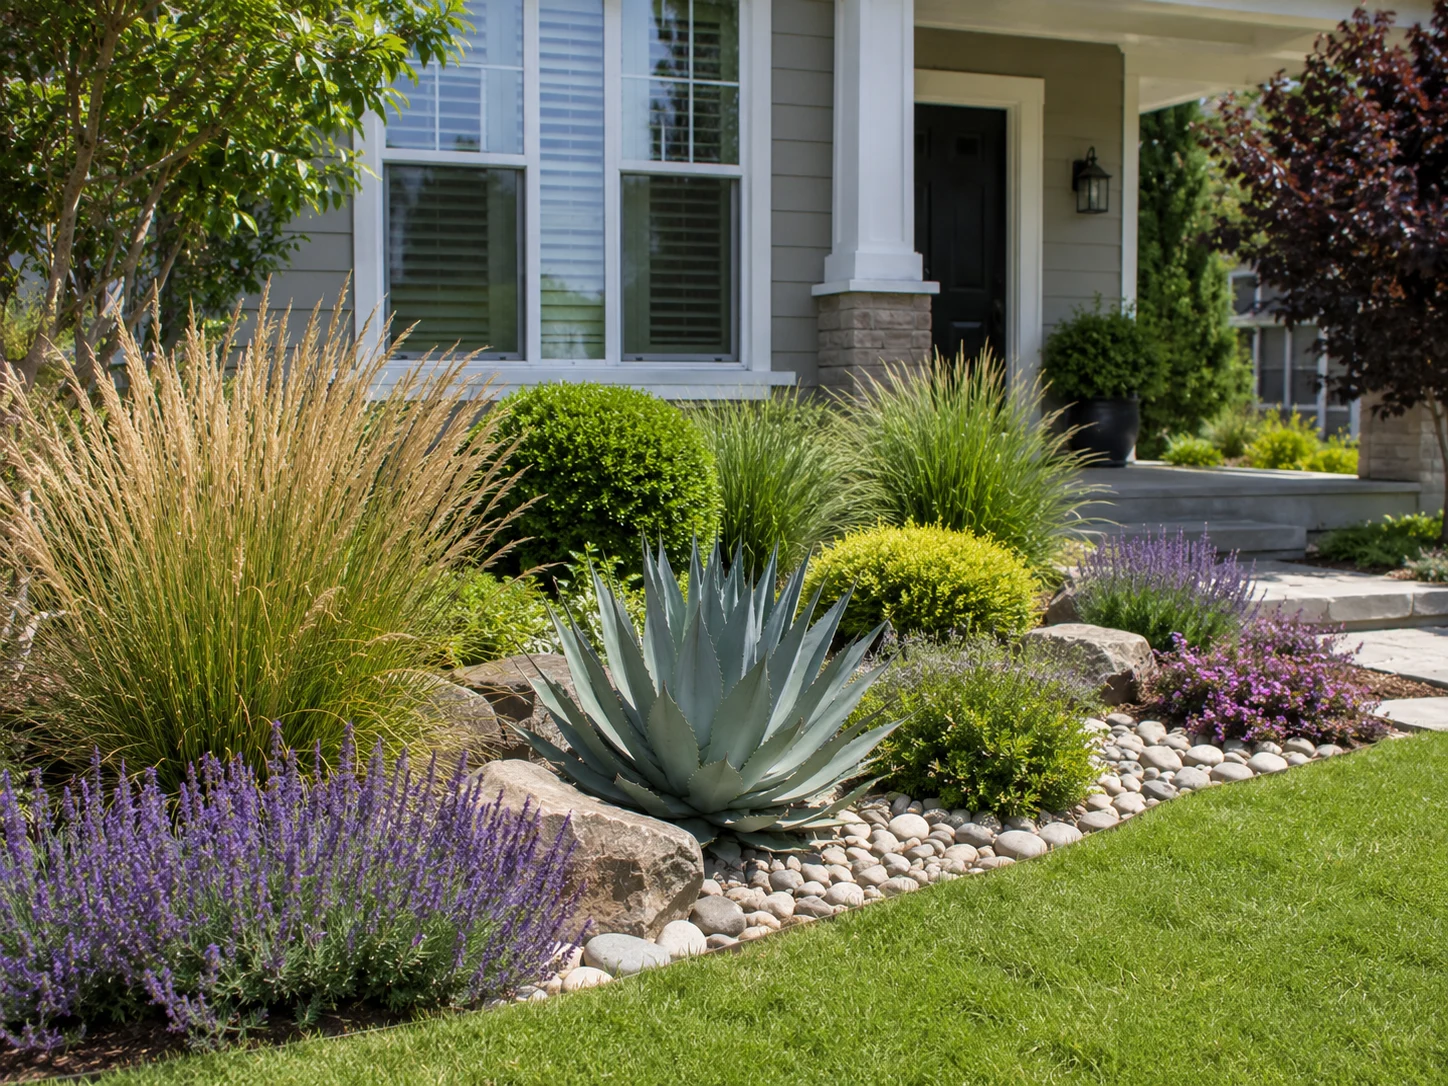

Most budget gardens don’t fail because of a lack of money — they fail because of the order money gets spent in. A common pattern: buy a cart full of flowering annuals on a nice Saturday, plant them with no real layout in mind, watch them die back by fall, and repeat the following spring with nothing to show for the previous year’s spending. A garden planned properly, even on a tight budget, works the opposite way — structure and soil first, plants that multiply and last second, and decorative extras only once the bones are solid.
This guide walks through that order: how to plan a garden that looks intentional and full without the budget of a professional installation, which purchases actually save money over time, and where most people waste cash without realizing it.
Start With a Plan, Not a Plant List
The single most effective budget-saving step is also the one most skipped: sketching a basic layout before buying anything. A rough plan — even drawn on paper — prevents the single most expensive budget mistake, which is buying and planting something in the wrong spot, only to dig it up and relocate or replace it a year later.
At minimum, a workable plan identifies:
- Which areas get full sun, part sun, or shade, since this determines which cheap, reliable plants will actually thrive versus struggle
- Where structural elements will go — paths, seating, a focal tree — before filling in the planting around them
- Which beds are permanent versus which might change, so you’re not investing serious money into a temporary arrangement
Getting this right the first time is far cheaper than getting it wrong and correcting it later. If you’re planning layout specifically, our backyard garden design guide covers the zoning and design principles that make a budget plan actually hold together visually.
Spend on Structure First, Decoration Last
A garden with strong “bones” — defined edges, a clear path, a couple of anchor plants — looks finished even when the planting itself is sparse in year one. A garden with no structure looks unfinished even when it’s packed with flowers, because there’s no organizing shape for the eye to follow.
Prioritize spending in this order:
- Soil improvement — compost and amendments are inexpensive relative to what they save you in plant losses and replacement costs down the line.
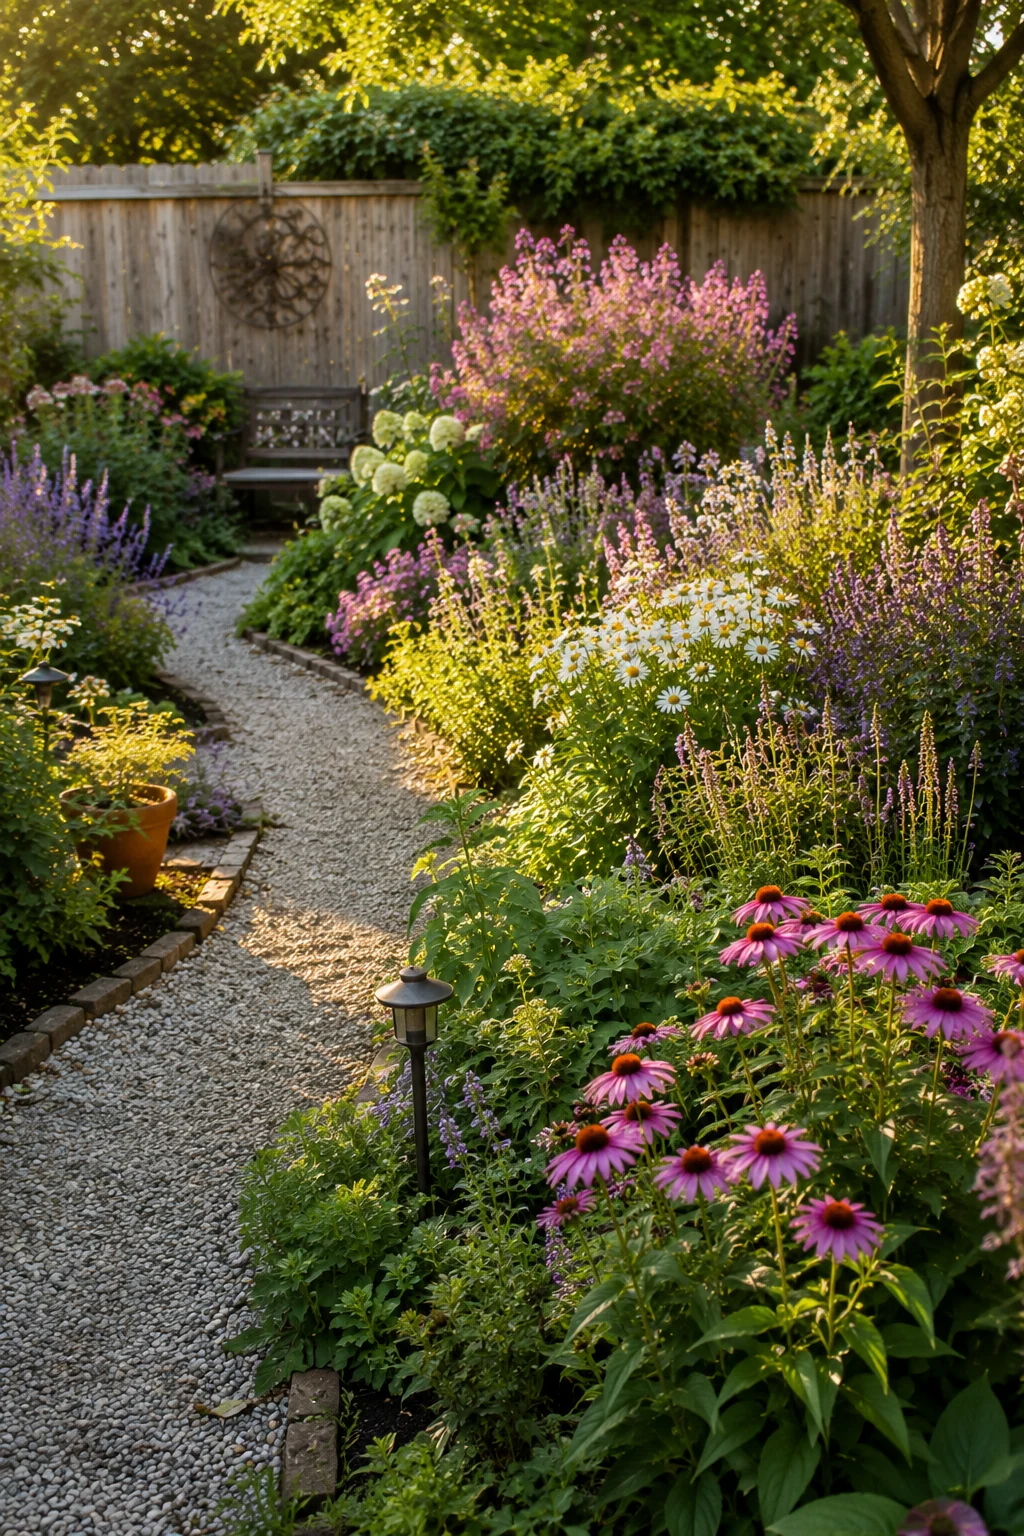
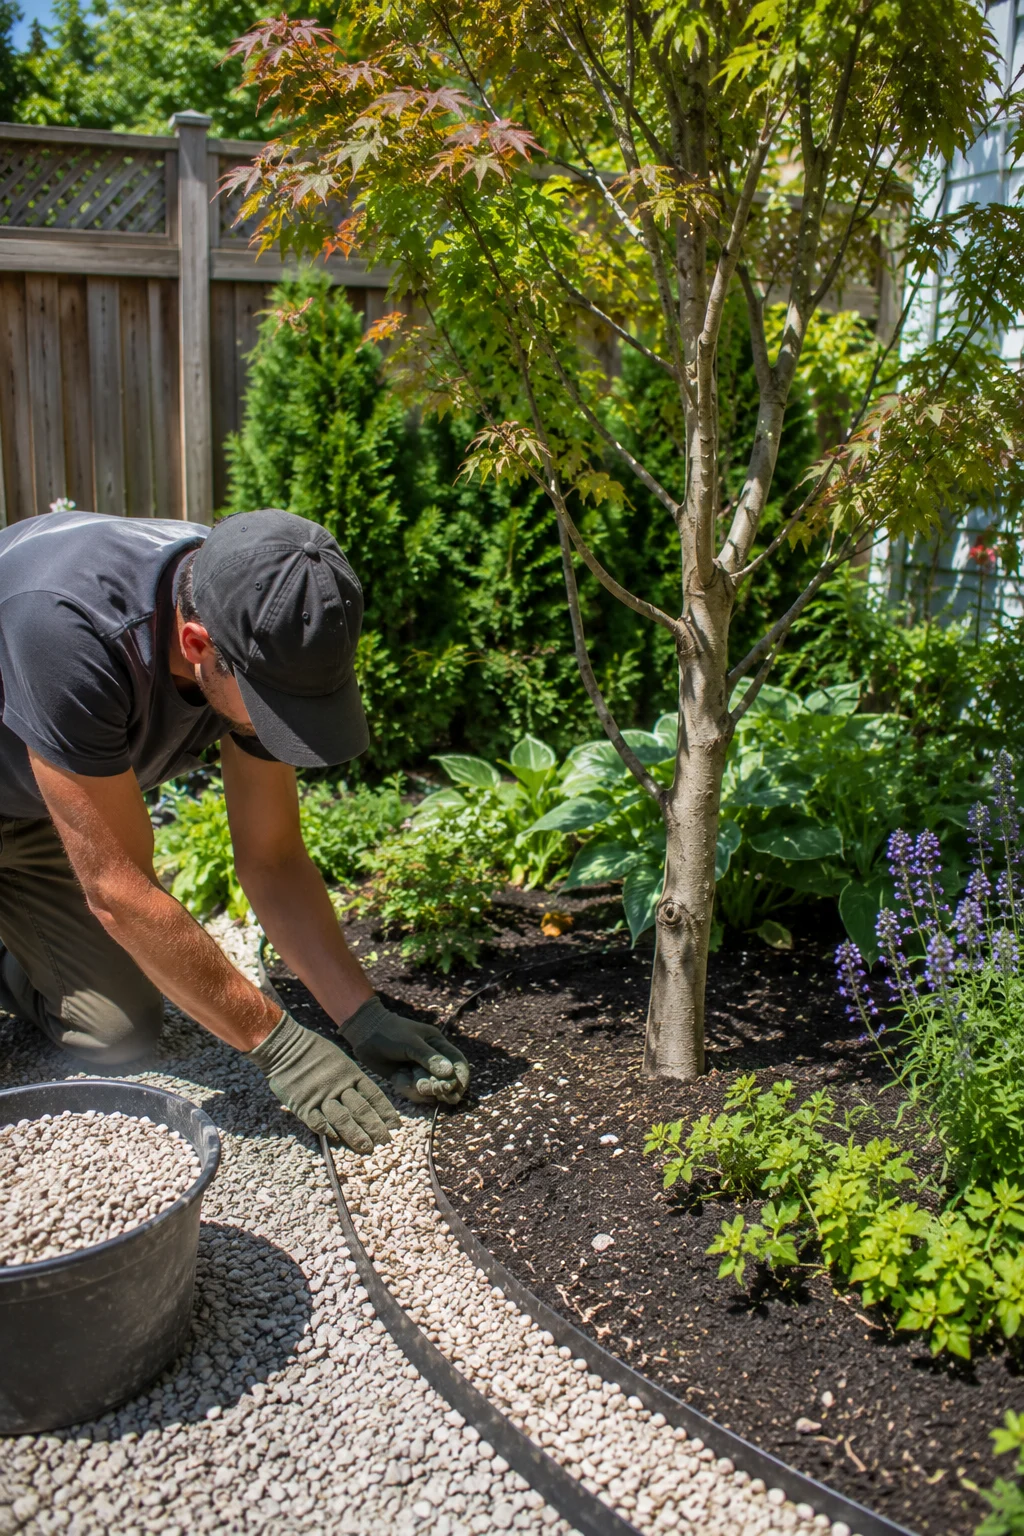
- Bed edges and paths — even a simple edging material or a gravel path defines the space and immediately makes it read as designed rather than accidental.
- One or two structural plants — a small tree or a substantial shrub gives the garden a focal point that ties everything else together.
- Fill-in perennials and groundcover — added last, once the framework is in place, so you’re not guessing at spacing around plants that don’t exist yet.
- Decorative extras — pots, ornaments, lighting — genuinely last, since they add the least structural value per dollar spent.
Choose Plants That Multiply, Not Just Plants That Bloom
The fastest way to fill a garden affordably is to buy fewer plants that spread, self-seed, or divide easily, rather than more plants that stay a fixed size forever.
- Perennials that divide well — daylilies, hostas, coneflowers, and ornamental grasses can be split every few years, turning one original plant purchase into four or five over time at no additional cost.
- Self-seeding annuals — cosmos, calendula, and poppies drop seed and return the following year with little to no reseeding effort required.
- Groundcover that spreads — low, spreading perennials fill bare soil between larger plants far more cheaply than mulch alone and reduce weeding over time; our guide to ground cover options covers several budget-friendly spreading species worth considering here.
- Bulbs bought in bulk — daffodils and crocus purchased in large bags cost a fraction per bulb compared to small packs, and they multiply on their own in following years.
Buying smaller sizes of the same plant is also a legitimate strategy. A gallon-size perennial costs a fraction of a mature specimen and, given one or two growing seasons, will often close most of the size gap on its own.
Free and Low-Cost Materials Worth Sourcing
A significant portion of garden cost is hardscaping and soil amendment material, and much of it can be sourced for free or near-free with a bit of legwork:
- Wood chip mulch — many tree services will deliver a full truckload of fresh wood chips at no cost, since it saves them a dump fee; a single load typically covers far more ground than store-bought bagged mulch for a fraction of the price.
- Compost from municipal programs — many towns and counties offer free or low-cost compost from yard-waste recycling programs.
- Secondhand hardscaping materials — broken concrete (“urbanite”), reclaimed brick, and leftover pavers are frequently available free through local classifieds and demolition sites, and work well for informal paths or edging.
- Plant swaps and divisions from neighbors — gardeners dividing overgrown perennials are often glad to give divisions away rather than compost them; local gardening groups and plant swap events are a reliable, genuinely free source of established plants.
Time Purchases Around Sales and Off-Season Buying
Plant and hardscaping prices fluctuate predictably through the year, and timing purchases around that cycle meaningfully lowers cost:
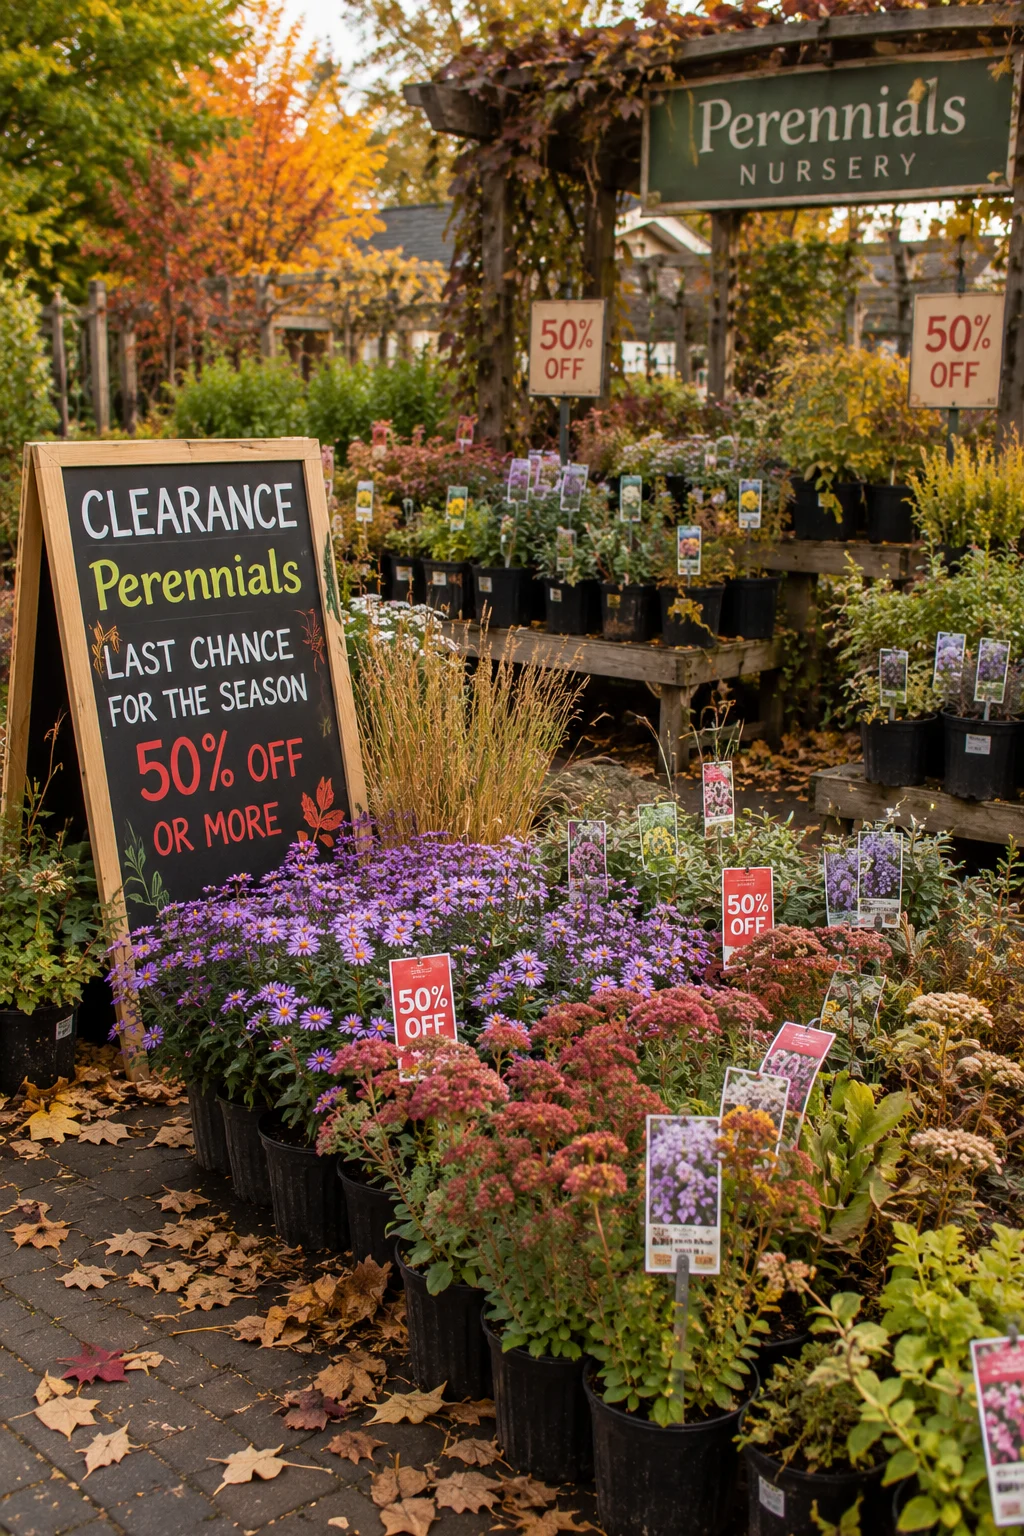
- Late-season perennial sales — nurseries discount perennials heavily in late summer and fall as they clear inventory before winter; the plants themselves are just as viable, and fall planting often establishes roots better than spring planting does.
- End-of-season hardscaping clearance — pavers, edging, and outdoor structures are frequently discounted once the primary spring and summer buying season passes.
- Bare-root season — many trees and shrubs are available as bare-root stock in late winter at a fraction of the cost of potted specimens, for gardeners willing to plant a smaller, less immediately impressive specimen that fills in over one or two seasons.
A Realistic Budget Breakdown
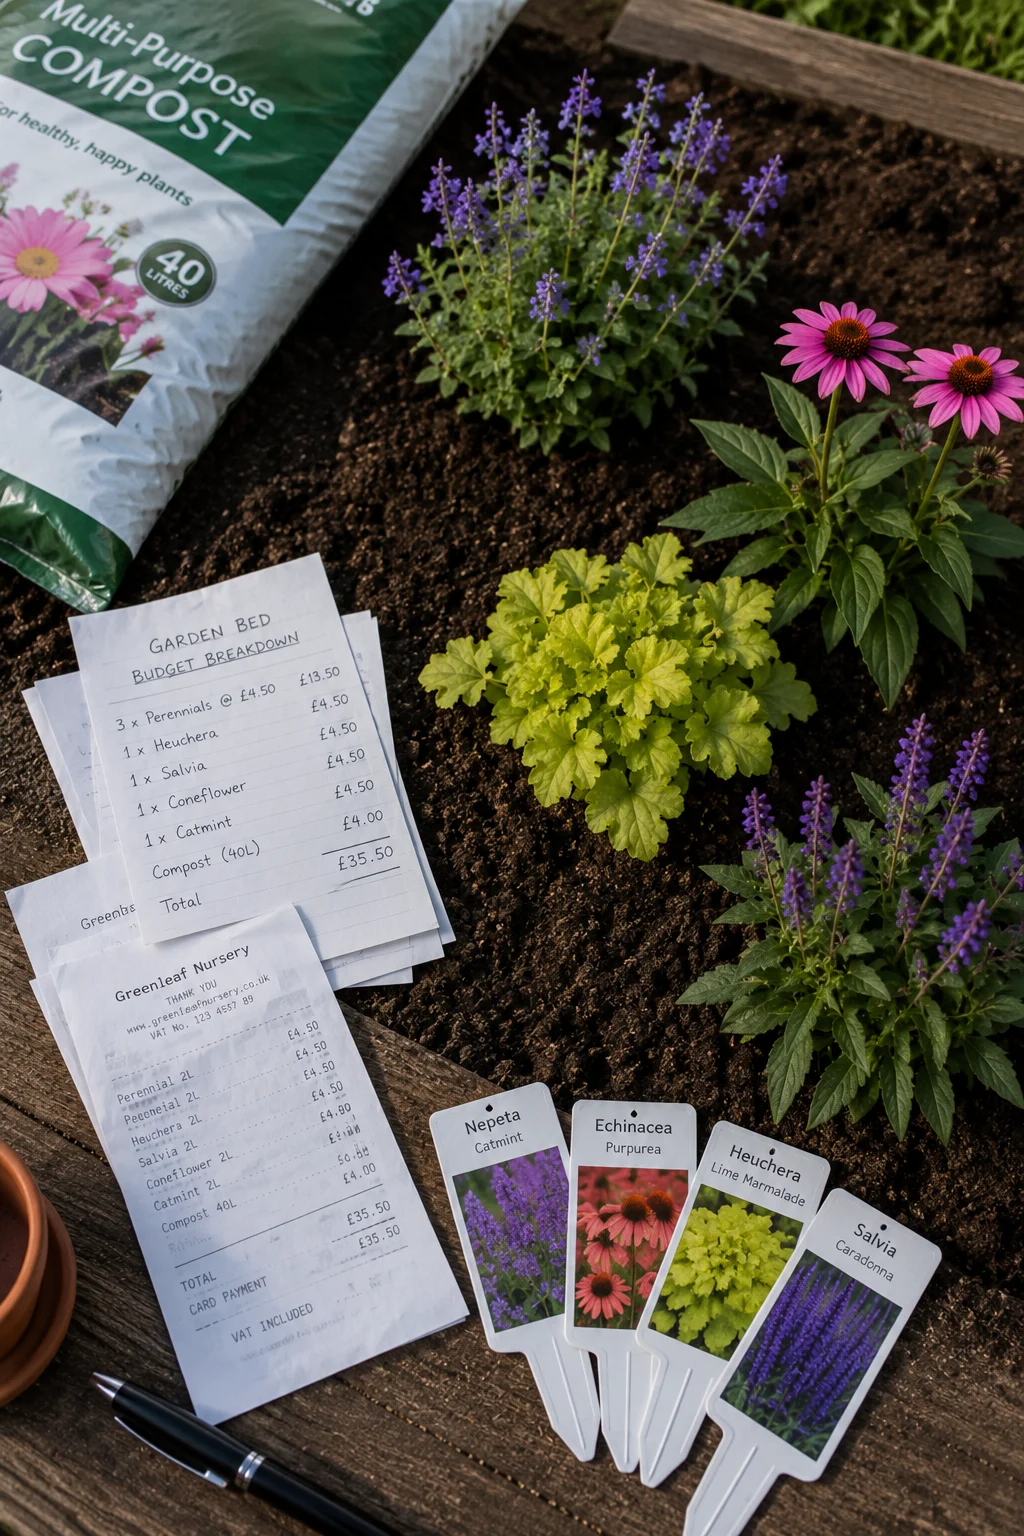
Without a rough allocation, it’s easy to blow the entire budget on plants and have nothing left for the structural elements that make them look intentional. A reasonable starting split for a new garden bed, regardless of total budget size, looks something like this:
- 35–40% on soil and structure — compost, edging, path materials
- 35–40% on core plants — the perennials, shrubs, or focal tree that form the permanent framework
- 15–20% held back — for the inevitable replacement, the plant that doesn’t survive its first winter, or a tool you didn’t realize you needed
- 5–10% on decorative extras — pots, ornaments, lighting — added only once the above is funded
Holding back that 15–20% buffer matters more than it sounds like it should. Budget gardens that spend every available dollar on the initial planting rarely have room to fix the one or two things that inevitably go wrong in year one.
What This Looks Like at Different Budget Sizes
A $150–250 starter bed typically covers: a few bags or a truckload of compost, basic metal or stone edging for a single defined bed, three to five perennial divisions or small potted perennials, and a bag of spring bulbs. This won’t fill a large space, but it establishes one properly finished bed rather than several thin, underfunded ones.
A $500–750 mid-size project can realistically stretch to include a small flowering tree or large shrub as a focal point, a simple gravel or stepping-stone path, six to ten perennials in gallon pots, and enough mulch to cover the bed properly in its first year.
A $1,000+ budget starts to make hardscaping upgrades — a proper edged path, a small seating area, or a larger specimen tree — realistic in the same season as the planting, rather than needing to be phased into a following year.
In every tier, the ratio matters more than the total: soil and structure first, core plants second, decoration last.
DIY Hardscaping: Where the Real Savings Are
Labor, not materials, is usually the largest cost in professional landscaping — which means DIY hardscaping is where a budget gardener can save the most money relative to effort, provided the project is chosen realistically.
- A gravel path is one of the most achievable DIY hardscaping projects: excavate a few inches, add a weed barrier, and fill with crushed gravel. Materials alone typically cost a small fraction of a professionally installed paver path of the same length, and the tools required (a shovel, a rake, a hand tamper) are inexpensive to buy or borrow.
- Simple steel or timber edging is straightforward to install without special equipment and immediately gives a bed a finished, intentional outline — one of the highest-impact, lowest-effort upgrades on this entire list.
- A paver patio, by contrast, is a project where DIY savings shrink considerably once you account for proper base preparation (compacted gravel, sand leveling); this is often a case where a small, professionally installed patio is a better use of the “splurge” portion of a budget than a DIY attempt that settles unevenly within a year or two.
- Raised beds from reclaimed lumber cost very little in materials if you’re sourcing pallet wood or offcuts, and give a strong return in soil control and visual structure for vegetable or cutting-garden sections.
Knowing which projects genuinely save money DIY, versus which ones are false economies, prevents the common budget-garden trap of a DIY patio or wall that needs to be redone properly (and paid for twice) within a couple of years.
Sourcing Free and Discounted Materials — Specifically
Beyond the general categories already covered, a few concrete sourcing channels consistently produce real savings for gardeners willing to look:
- Wood chip delivery apps and services connect homeowners directly with tree companies looking to dump chips locally rather than pay landfill fees — a full truckload (far more than a bagged mulch equivalent) is often free, with only a short wait for a delivery window.
- Community “buy nothing” and local classifieds groups regularly have people giving away perennial divisions, extra bricks or pavers from a finished project, and even secondhand garden tools.
- Municipal compost and mulch sites exist in many towns, often supplied by the same yard-waste collected curbside; a pickup-truck load is frequently free or available for a nominal fee.
- End-of-season garden center clearance racks, checked weekly rather than once, often have perennials reduced by half or more simply because they’ve stopped blooming for the display floor — the plant itself is unaffected.
- Seed saving and seed swaps turn a single season’s annual flowers into an ongoing, essentially free supply for self-seeding types like cosmos, calendula, and poppies.
Frequently Asked Questions
Is it cheaper to grow plants from seed instead of buying potted plants? For annuals and many perennials, yes — a seed packet costing a few dollars can produce dozens of plants, versus the same money buying only one or two potted specimens. The trade-off is time: seed-grown plants take a full season or more to reach a size comparable to a nursery pot, so a realistic budget garden often mixes a few purchased “anchor” plants with a larger number grown from seed to fill in around them.
Should I do the whole garden in one season or spread it out? Spreading it out is usually the better financial decision, not just an emotional compromise. Phasing lets you fund soil and structure properly in year one, then put a full season’s budget toward planting once the framework is right — rather than splitting a single season’s budget thin across everything at once.
Are raised beds worth the extra cost for a budget garden? For vegetable or cutting gardens on poor native soil, yes — the cost of good soil in a contained raised bed is often lower than the cost of amending a large in-ground area to the same standard, and the frame itself can be built cheaply from reclaimed material.
What’s the single highest-value purchase on a tight budget? Compost. It’s inexpensive relative to its impact, and good soil is the difference between a $10 perennial thriving for a decade versus dying within its first year and needing to be repurchased.
Common Budget Garden Mistakes
- Buying full-size specimens for instant impact. It’s tempting, but the price difference between a small and mature version of the same plant is often four or five times higher for a size advantage that closes within two seasons anyway.
- Skipping soil prep to save money up front. Poor soil kills more budget-plant purchases than any other single factor, turning a “cheap” planting into a repeated expense as replacements are bought year after year.
- Buying annuals as the primary plant budget. Annuals need replacing every single year; the same money spent on perennials pays for itself repeatedly over several seasons instead of once.
- Designing the whole yard at once. Committing the full budget to one enormous installation leaves no room to adjust after seeing how the space actually performs; phasing the project across two or three seasons lets early lessons inform later spending.
- Ignoring existing plants and hardscaping. Established shrubs, trees, or even old pathways are frequently worth incorporating into a new design rather than removing, since mature plants represent years of “free” growth already paid for.
According to home and garden cost guidance published by university extension consumer horticulture programs, the highest long-term return in a home landscape typically comes from soil preparation and appropriately sized, well-placed perennials rather than decorative purchases — a pattern that holds regardless of overall budget size (University of Maryland Extension: Home & Garden Information Center).
Phase the Project Instead of Doing It All at Once
Splitting a budget garden into phases — structure and soil prep in year one, primary planting in year two, fill-in and decorative extras in year three — spreads cost over time and gives each phase a chance to inform the next. It also avoids the most common overspending pattern: buying everything in a single enthusiastic weekend, only to realize halfway through the season that half of it was planted in the wrong place. For readers building this out alongside a broader small-space layout, our small backyard layout ideas and front yard landscaping on a budget both cover layout approaches specifically built around modest budgets.
Final Thoughts
A beautiful garden on a budget comes down to sequencing: plan the layout before buying anything, spend on soil and structure first, choose plants that multiply rather than plants that simply bloom once, and source materials for free wherever the effort is worth it. Phase the work across a couple of seasons instead of trying to finish it in one, and resist the urge to buy mature plants for instant impact. None of this requires a large budget — it requires spending the budget you have in the right order.